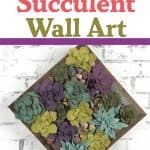
Super Easy DIY Succulent Wall Art That Won’t Die
We may earn a small commission for purchases made through affiliate links in this post. For more information go to our Privacy Policy.
Have you seen the succulent wall art at the greenhouse or on Etsy? The idea of a living wall or a succulent wall is so appealing. The problem is, I would probably end up killing the poor plants.
I have a few “hens and chickens” or “chickens and baskets” (I always forget what they are called) in my yard. They do a good job of taking care of themselves.
This craft is for all of you other plant lovers who are like me and can kill in aloe vera plant in less than a week.
Felt succulents are almost maintenance free (until they need to be dusted…right?!).
Wool Felt Crafts for Home Decor Hangings
My daughter really wanted to have a few succulents when she went to college last year. The problem was she bought one from a local hardware store and it came with spiders. My sister freaked out and wouldn’t let her keep it in the house.
These felt succulents will be spider free. Unless of course, you have a friendly house spider that takes up residence. We’ll just pretend that won’t happen.
Supplies to Make a Wool Felt Succulents
- wool felt (there are sets that are made just for succulents)
- a Cricut Maker with a rotary blade or a Silhouette
- inks or chalks to color the edges of your leaves
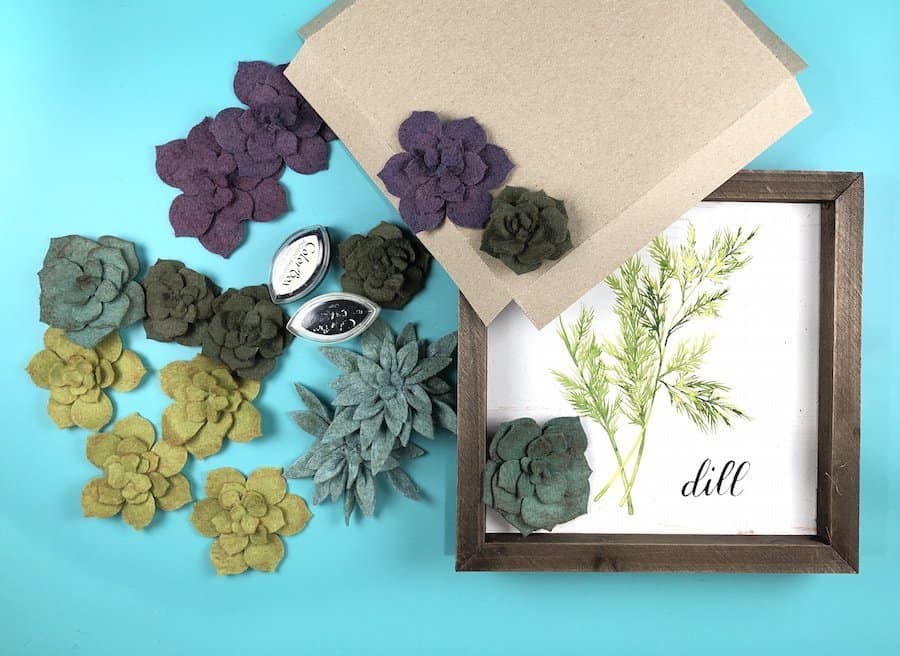
- a frame (or in my case a piece of wall art that I found for less than $5)
- a hot glue gun
- succulent SVG files
- tweezers to hold small parts
There are loads of different cut files for succulents. I designed my own and sized them so you can use them with felt. When you are cutting wool felt, the details can’t be very small or super detailed.
They get lost in the felt material.
If you were cutting paper, the smaller size would probably be fine. Cutting felt is a little harder with tiny details. Making the images just a little larger made better cuts.
If you aren’t sure what a Cricut is or if you should invest in one, you can check out this post about “What a Cricut is and How to Use One“.
Custom DIY Wall Hanger
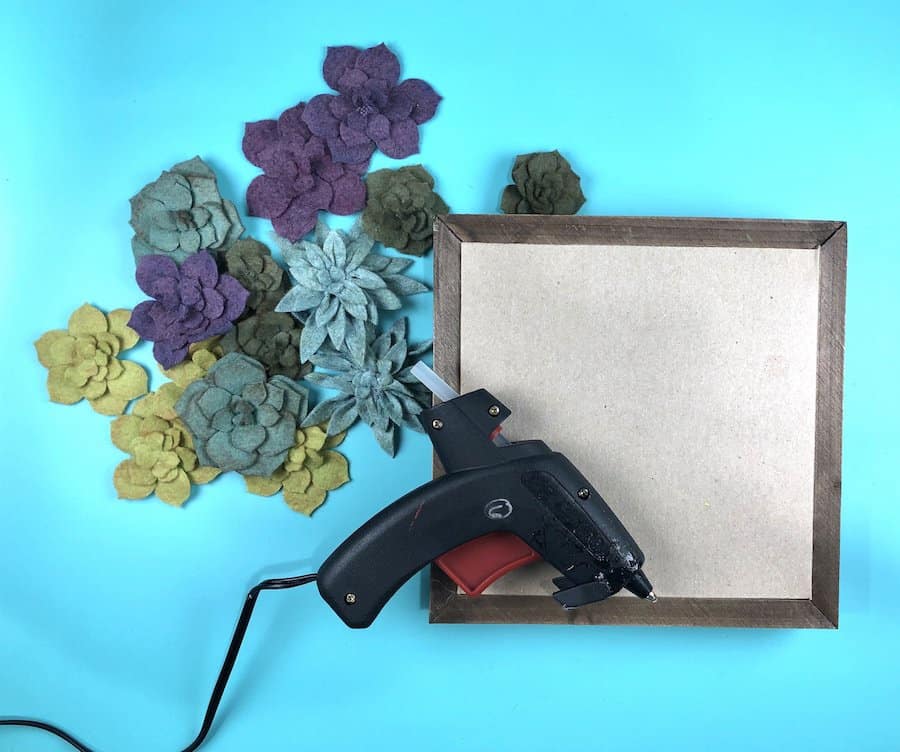
My wood frame was about 7 inches square on the inside. To fill that space it took about 15 succulents. A few more would have been ok…but it might have been a tight squeeze to get them all on the board.
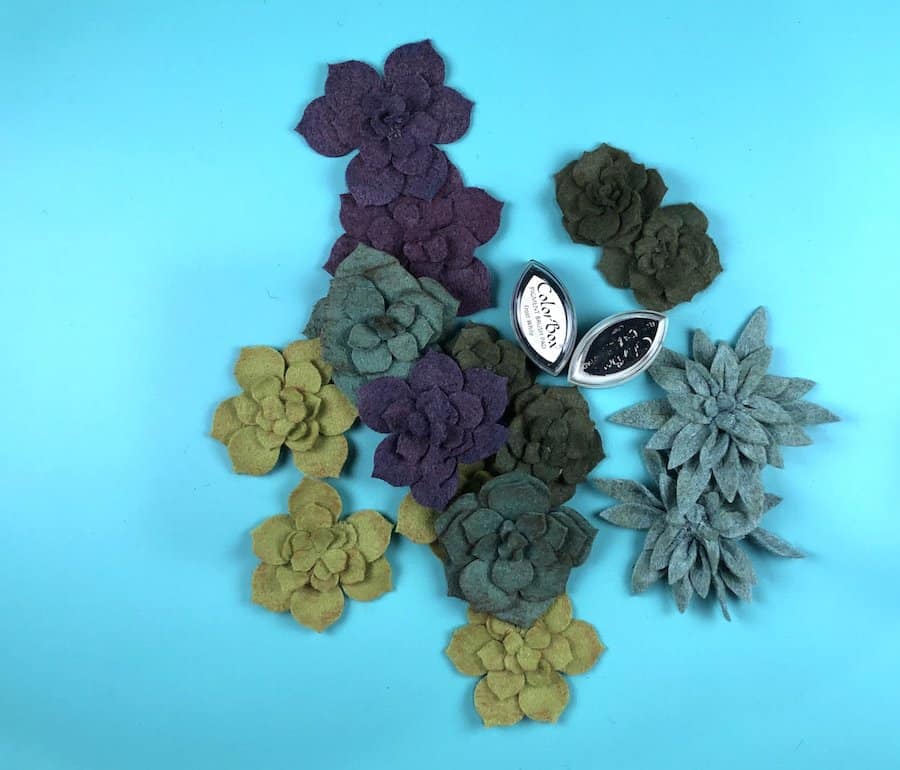
Ink or chalk the edges of your succulents once you have them made. Using a variety of SVG files and a variety of greens, purples, and blues will add variety to your succulent wall art.
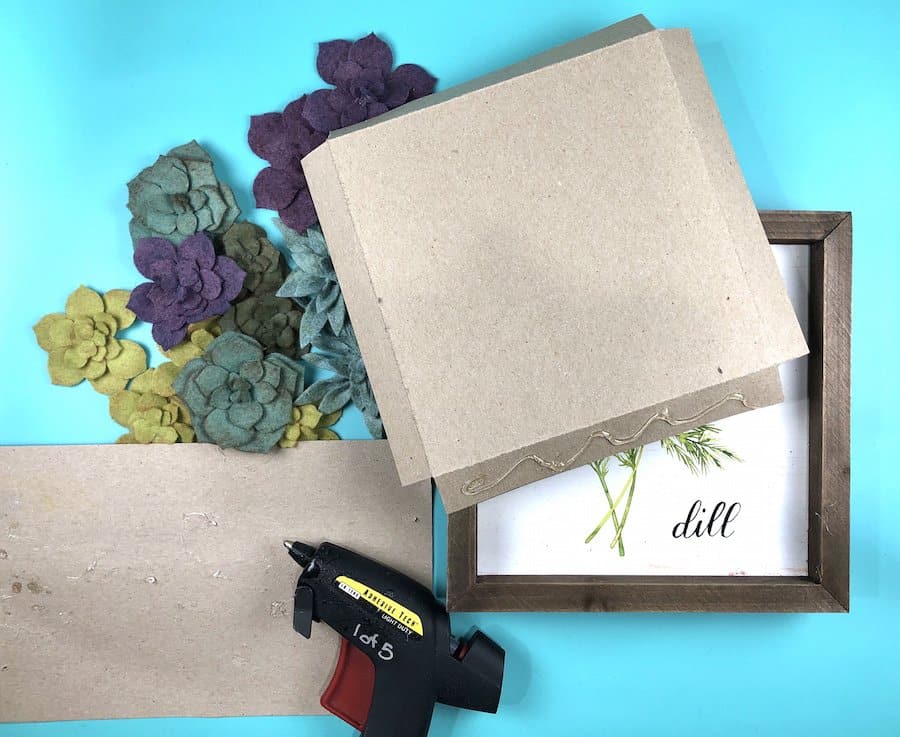
If you bought a frame that is recessed and deep, it might be harder to fill with the felt succulents. They lay pretty flat and real wall succulents also have dirt and moss. Since we don’t need that extra filler to plant our succulents, it might be necessary to fill in your frame.
I used a piece of chipboard and cut it into a square and then scored the edges and mitered the corners (cut out a square or triangles so your edges can fold down and not have overlapping material).
Foam core or foam board would work really well too. I didn’t have any extra to cut up so that’s why I went with chipboard.
Glue the edges of your filler to the frame so it won’t fall out once your succulent wall art is hanging up.
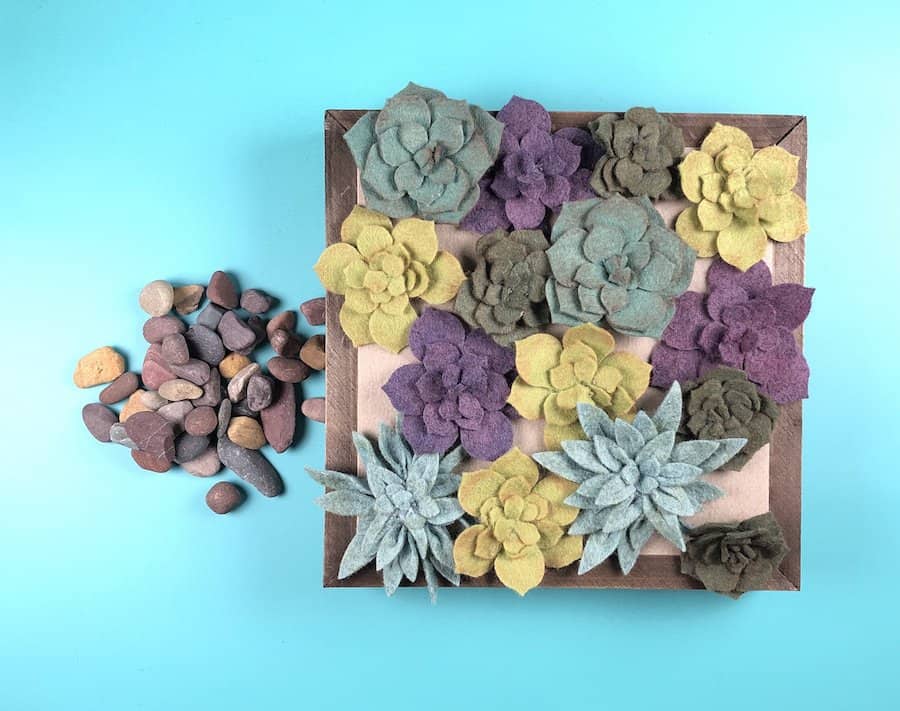
Once you have the succulents glued into the frame, fill in the extra space with pebbles. If you have extra succulents, you can squeeze more of them onto the wall hanging.
The rocks add a little more texture and help to raise up the edges of the succulents so they look more full. It also adds a little more realistic touch to the wall art.
A Simple Decor Project
This project was surprisingly simple to make. There are a few tips and tricks that will make it easier for you to replicate this project.
- Use tweezers for the little things.
- If you are working with hot glue, it’s almost a guarantee that you will burn yourself with these succulents. Some of the parts are pretty small.
- You could try a strong fabric glue (it’s safer and probably less mess than hot glue).
- Be prepared to spend some time waiting for your cutter to trim the felt.
- Resize your succulent images to be at least 2.5 – 3 inches at the largest point. Bigger is better in this case. Smaller will be harder to manipulate and glue.
- Place your finished pieces on a piece of scrap paper until they cool completely (otherwise they will stick to whatever surface you put them on).
- Once your pieces have cooled or dried, put them on your frame to see when you have enough to fill it. Rearrange them and try to do odd numbers for at least one accent color. 3’s and 5’s are always visually appealing.