
How to Use Goodnotes for Beginners: Free Stickers and Planner Spread
We may earn a small commission for purchases made through affiliate links in this post. For more information go to our Privacy Policy.
If you have poked around this site at all, you know I have a collection of paper based planners and sticker. I love, love, LOVE paper.
Not in a million years did I think that I would be writing this post about how much I am enjoying a digital planner.
As much as I love paper planners and stickers and all of those fun colored pens, I just can’t make it through more than a few months of planning. Then the whole thing gets set aside and wasted. Let’s not even talk about how many that I bought and didn’t even open (yikes).
Digital planners are way more adaptable than paper. Add in pages you will actually use. Move things around. Redesign the way it works so it fits your new plans.
You can make them look just as cute (if not even more cute) than paper. They can sync between devices. You can leave your tablet at home and still access your plans from your phone.
Are you ready to give it a try?
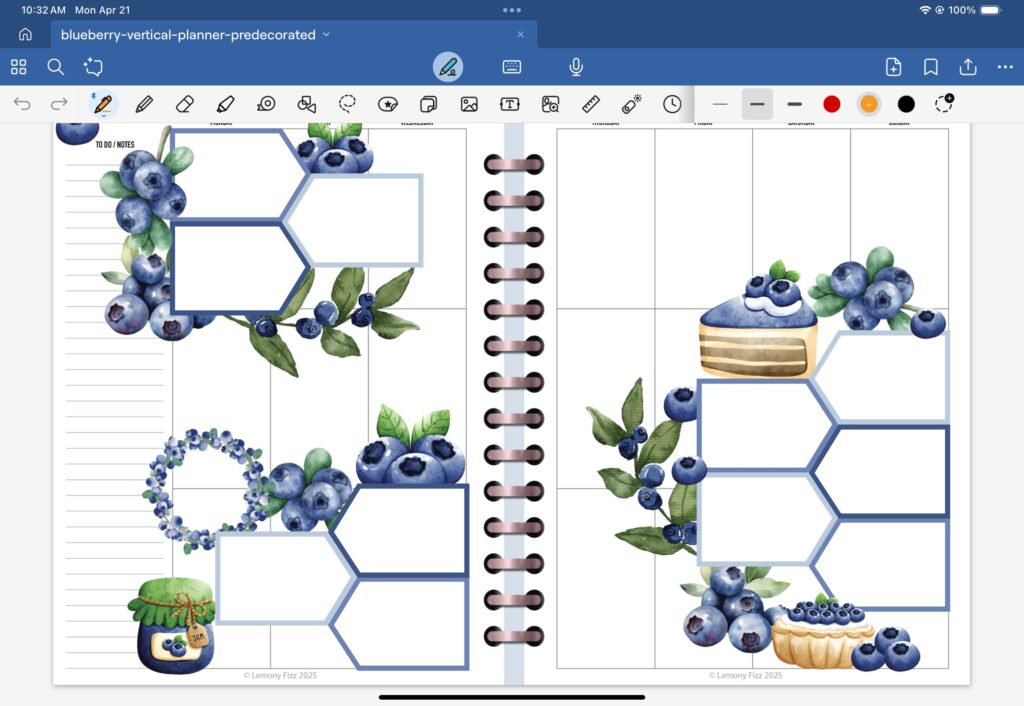
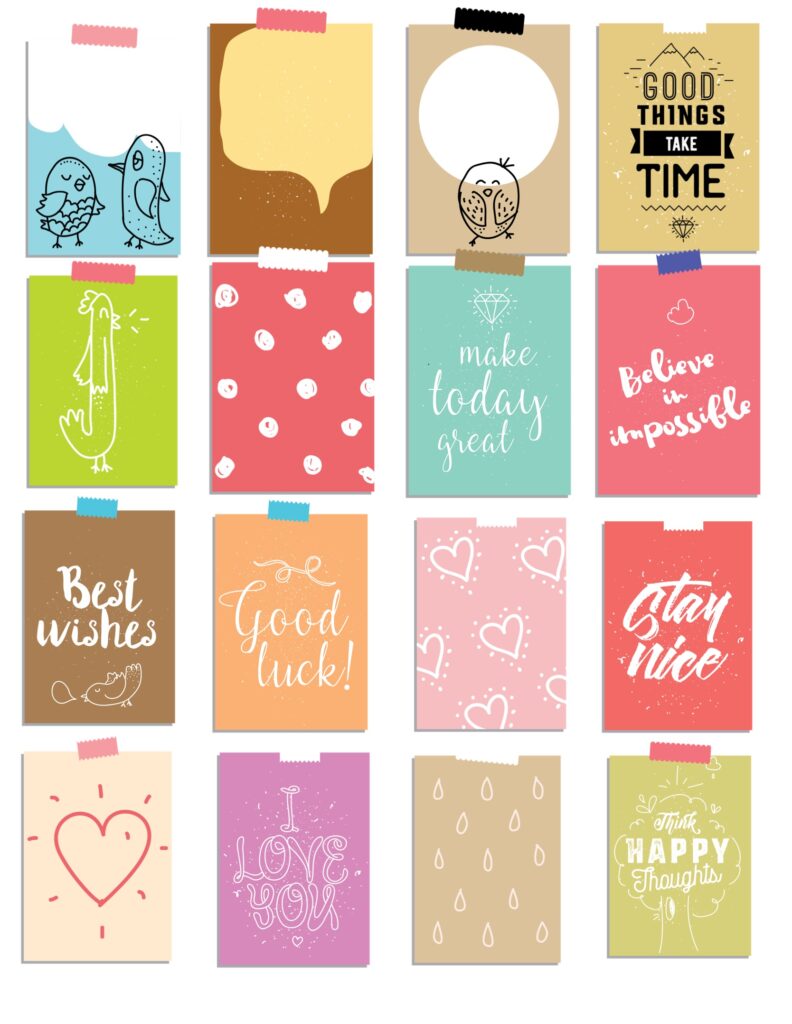
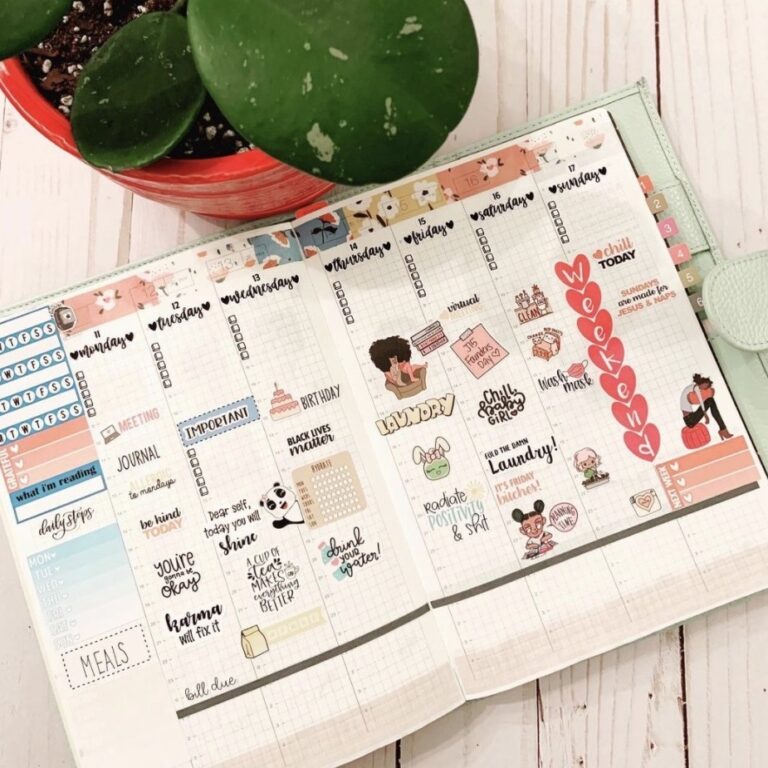
Keep reading and get the following spread and some stickers to practice with!

What Is a Digital Planner?
You can think of a digital planner like your paper planner’s tech-savvy twin. No paper or ink mess. PDF based planners can by hyperlinked so you don’t have to flip through hundreds of pages to get to a section.
Your “pen” can be any color you damn well please. You can use highlighters. Washi tape. You can even have your messy chicken scratch penmenship turned into cute handwritten fonts.
Stickers are endless and super easy to make yourself. Create habit tracker tabs, highlights that are color coded for specific events or other people’s schedules at a glance. The planner world is your oyster with a digital planner.
(The best part…if you mess up you can delete it…no ruined planner pages that you have to try and figure out how to cover up…or that make you give up on planning. again.)
Most PDF planners can be uploaded into any planner app: Goodnotes, Notion, Notability, Noteshelf, Todoist, etc.
P.S. This post will be about using Goodnotes. I’ve got the classic Mac pile and can’t tell you the last time I touched something Window’s based. Sorry…this is all I know 🙂
Why Use Goodnotes?
Goodnotes is built for Apple users. If you have a Mac stack, then Goodnotes is a great option. There are others like Notion that also work on an Apple product, but Goodnotes seems to be a clear favorite because it is smoother and inutitive.
It is super easy to import and export digital planners, sticker collections, and notes. You can quickly add a PDF as a planner book and start using it within minutes. Sticker collections that are imported are organzied before you even look at them.
The tools are straight forward (I’m not going to say super easy…I’m looking at your image crop tool). The process of selecting take a minute to get the hang of. Handwriting-to-text is a game changer and being able to have multiple planners open with tabs to flip between is amazing. We haven’t even talked about the washi tape that you can use to decorate planner pages or use when you are writing notes. Tape can be made to cover your notes so you can quiz yourself, easily.
How to Set It Up (Step-by-Step)
When I first tried a digital planner, they were just becoming a “thing”. One of my critiques was you couldn’t make them “as cute as” a paper planner. That has changed. In a major way. It was also a royal pain trying to get a PDF installed into any of the planning apps. That has also changed. The other thing to keep in mind…this isn’t just for planning. You can also use this app for bullet journaling or junk journaling. The sky is the limit.
Step 1: Download Goodnotes from the App Store. Sign up for a new account if you don’t already have one.
Step 2: Purchase and download a digital planner (There are plenty of options in the shop).
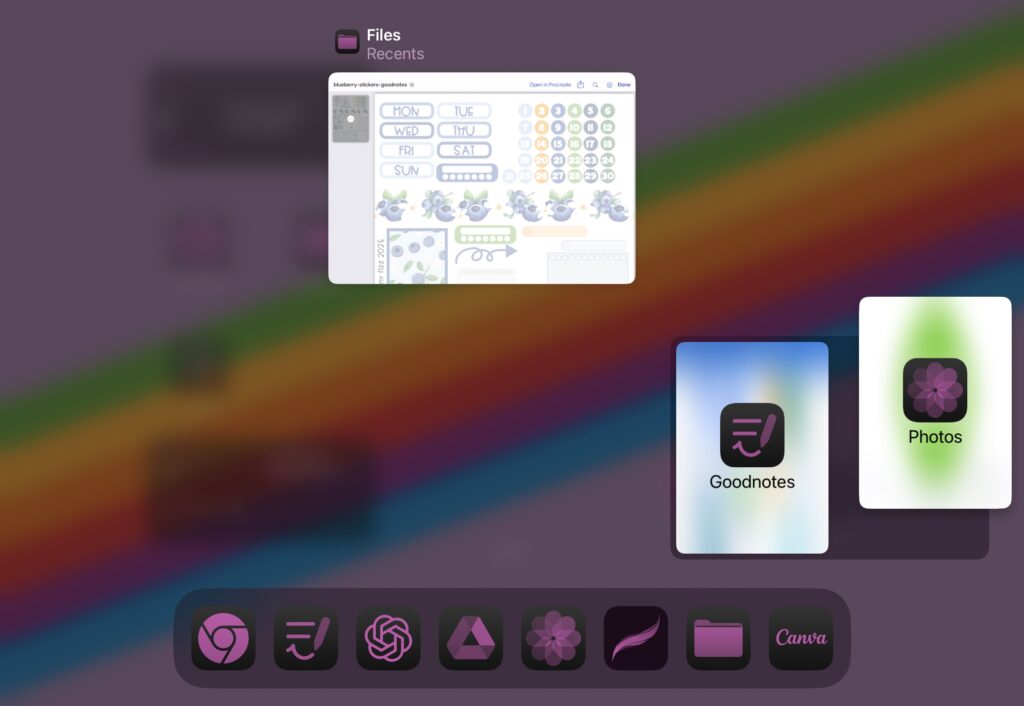
Step 3: Import the planner into Goodnotes.
- The easiest way to do this is to select the PDF in your “FILES” on your device.
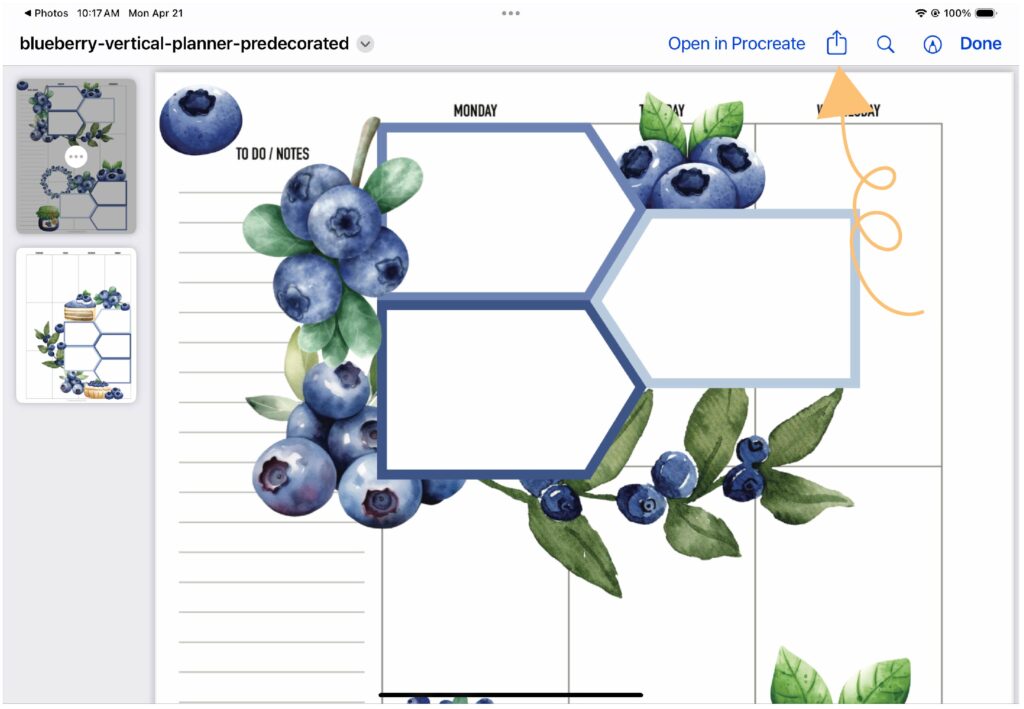
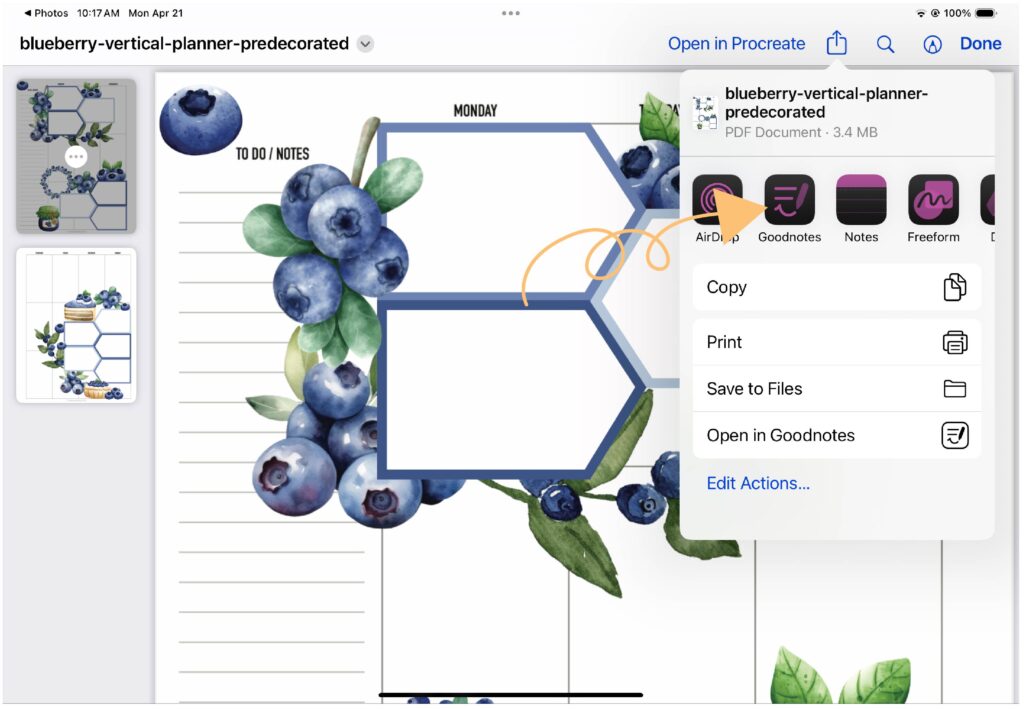
- Click the share button (the square with the arrow pointing up) and then tell the file to open in Goodnotes.
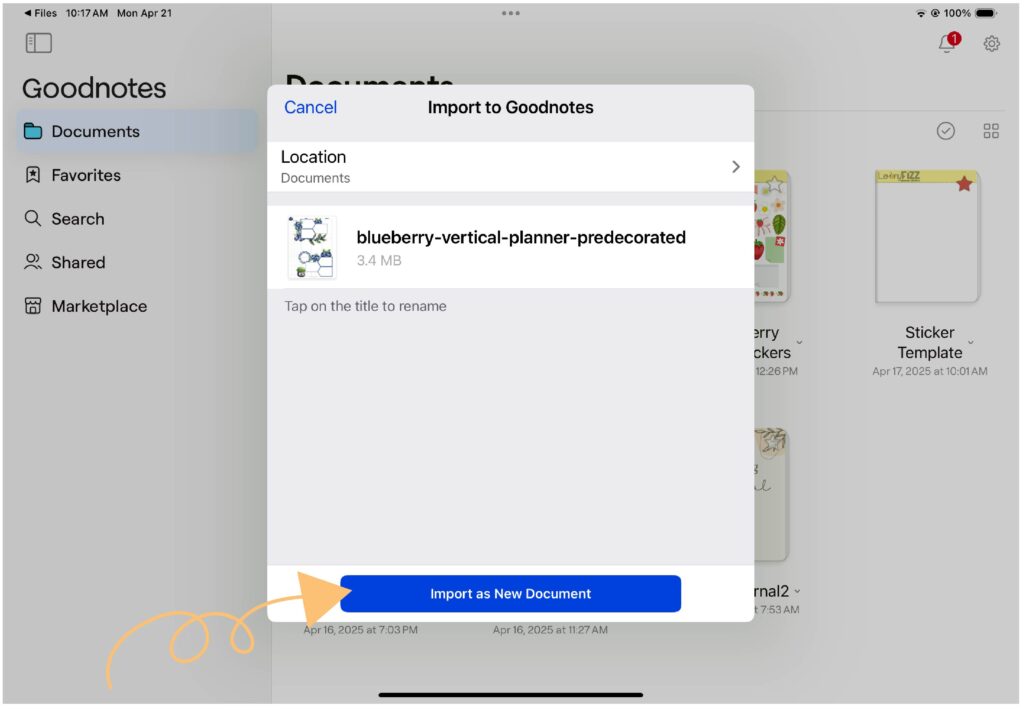
- It will transfer the file over and Goodnotes will then ask you if you want to start a new document or add to the existing one. Your choice. If you choose “New Document” it will ask you which folder you want to save it in. Instant organization.
Step 4: Click the pen tool and start exploring. Personally, I click around. Scribble on things. See what everything looks like. Then get busy with the planning.
Basic Goodnotes Tools to Know
There aren’t really that many tools to figure out on the top of the planner bar. There are options when you click on the tools that make it seem a little more busy and complicated up there. But really, its no biggie.
Pen, Pencil, Eraser, Highlighter
All the tool icons are black and white line art. The pen and pencil are the first two tools in the bar. When you click on the a tool, it becomes a colored icon to show you are using it.
On the far right, you will see options for making the tool thicker or thinner, color options, and then a dashed circle with a plus sign. This is your “more” option and where you can add custom colors to fit your style.
Easy peasy, right.
Move on to the Lasso Tool for the meat and potatoes.
Lasso Tool (your new best friend)
The Lasso Tool is where you will spend most of your time. It is your selection tool that also pulls up other functions, helps you move things around, and is basically the work horse on the tool bar. It looks like a dotted swirl and is almost center on your tool bar.
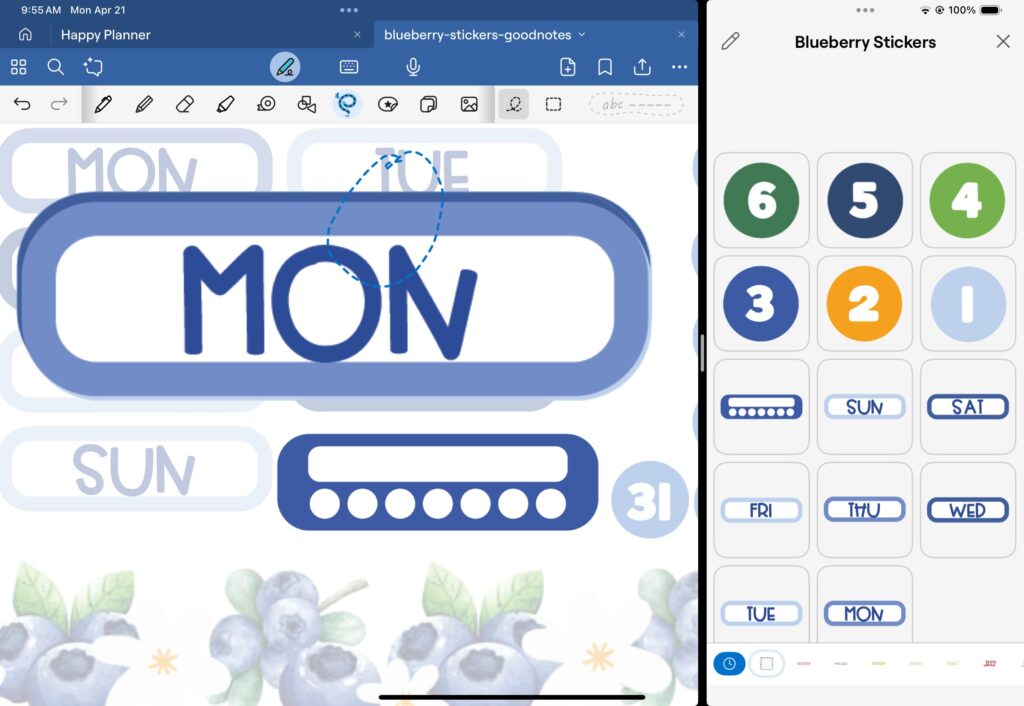
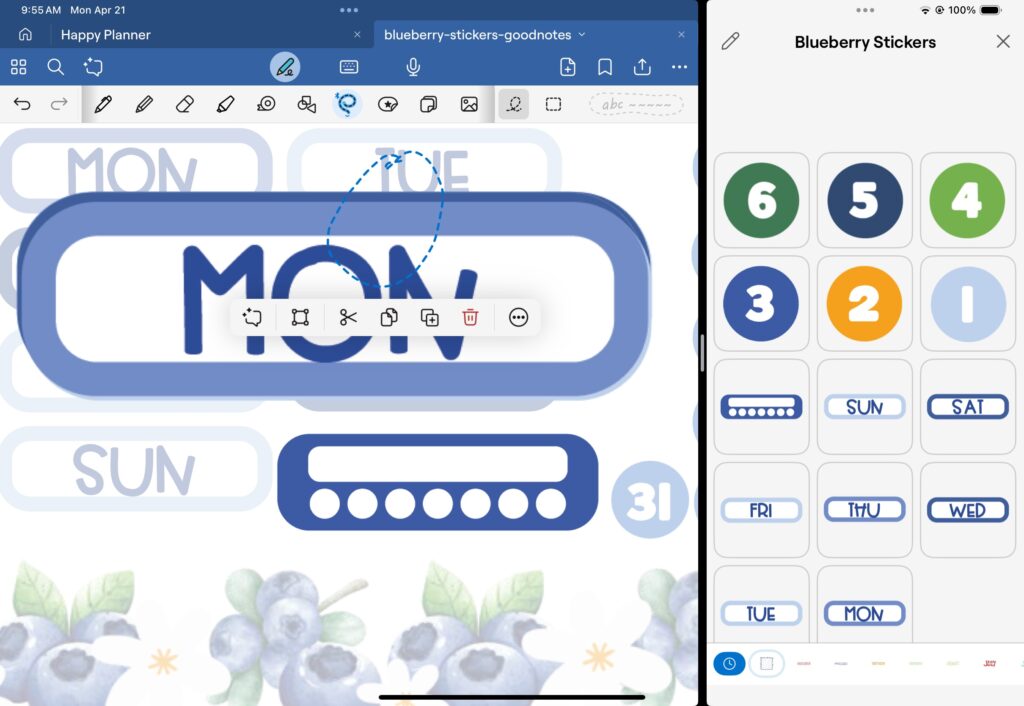
Once you have elements on your page, you use the lasso tool to make a small circle on the edge of the element you want to move or change. Click inside that circle and you will get a range of tool options from color choices, selection, cut, copy, duplicate, or trash.
The most used setting on this toolbar is probably the selection tool (the box with dots on the corners). This highlights the object and lets you resize it.
The Lasso Tool can also be used to move an object or group of objects without tapping into the circle to get the toolbar. Draw your path to touch all the objects you want to move. Then click and hold in the center. Drag the selection anywhere you wish.
Text Boxes and Text-to-Handwriting
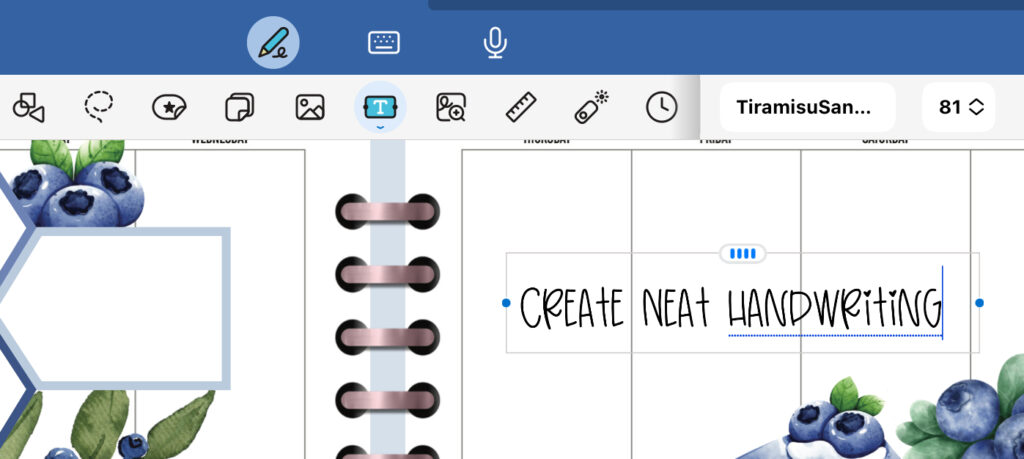
Clicking the Text Box (T inside a box) will pull up a little box with a cursor. You can either type what you want using the keyboard or write with your stylus and the app will convert your handwriting to text.
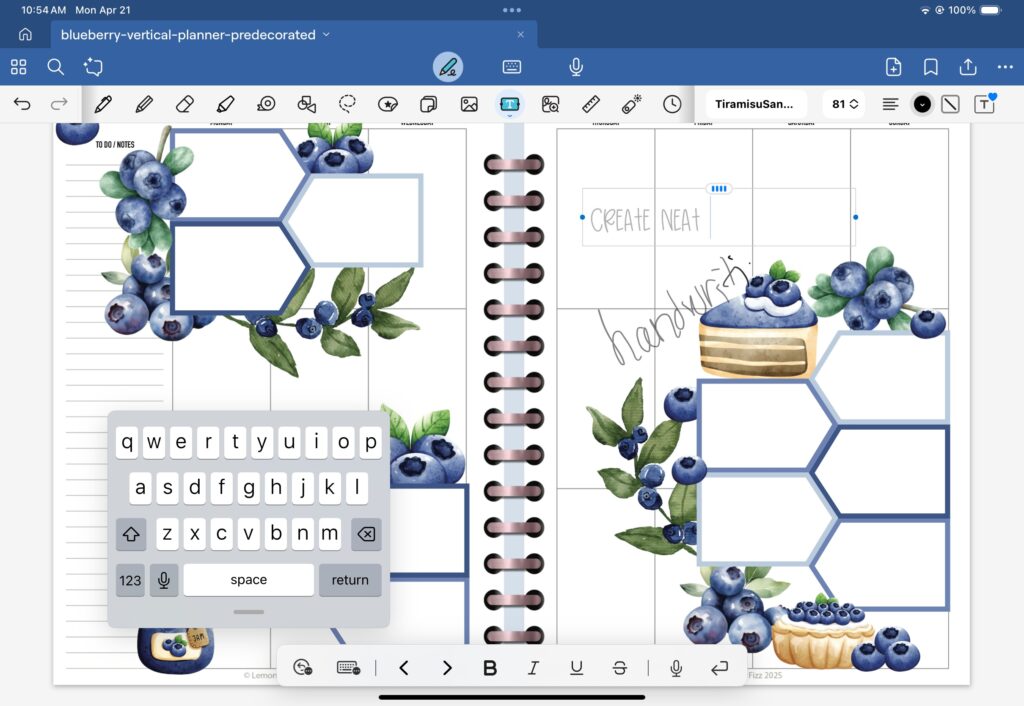
This is magic if you don’t enjoy your writing style. Choose a default font and every time you scribble words, Goodnotes will turn your handwriting into a legible cute font.
Zoom Window for Neat Writing
The Zoom Window is to the right of the Text Tool. It is an editing loop with a plus sign in a magnifying glass. This opens a window on the bottom of your page that is showing a zoomed in section of where you are working on the page.

This enables you to see what you are working on better and be more precise with your writing or placement of highlighting.
Adding Stickers and Decoration
Now for the fun part.
See that oval shape with the corner pulled up and the star in the center? This is your “collections”. All the digital stickers and elements that you start to collect can go in here. You just tap on the one you want and it is added to your page. Then you resize, drag, rotate and arrange as needed.

The image icon is another way to add items to your page. Photos from your day. PNG files that have been created as planner or journaling decorations. Patterns for your own tapes.
Navigating a Hyperlinked Digital Planner
Hyperlinks are the secret sauce that makes digital planners so much better than paper. Tap a tab or a date, and—boom—you’re instantly taken to that section. No flipping pages. No hunting around. Just fast, easy access.
Most digital planners have tabs for months, sections (like goals, notes, or to-dos), and even weekly or daily spreads. Use the read-only mode in Goodnotes to make hyperlinks work. (This is at the top of your page in the blue section…if the pencil up there is colored in, you are editing. Click it to go into read mode and use the hyperlinks to navigate). If you’re in writing mode, you’ll just draw instead of jumping around.
Pro tip: If you feel a little lost, use the undo button or hit your home/index page (most planners have one). Bookmark your favorite pages, and you’ll always have a shortcut back to where you need to be.
Section 6: Planning Your Life Digitally
Digital planning isn’t about doing more or even doing less (although…the physical amount of “stuff” is way less). It’s about doing it smarter. With the right setup, your planner becomes a flexible, organized space that works with you, not against you. It leaves you more time for the fun parts like reflecting, journaling, or decorating.
Start simple. Use your planner just like you would on paper:
- Add your daily to-dos and appointments.
- Fill in weekly spreads to see your priorities at a glance.
- Keep a monthly calendar to track big-picture events, deadlines, or routines.
Here’s where digital starts to take the win—you can duplicate pages when you need more space. Move tasks from one day to the next without rewriting. Erase mistakes cleanly (no white-out needed). And when your day explodes with chaos? Copy a fresh spread and start over. Or if the opposite happens and your day becomes your own with nothing on the agenda…move what you had planned to another day. No muss. No fuss.
Now layer on the good stuff:
Checklists for shopping, projects, or packing
Goal trackers for monthly focus areas
Habit trackers to see patterns and celebrate wins
Mood or wellness logs to reflect on how things are really going
Vision boards or daily journaling with photos or embellishments.
And the best part? It’s all in one place. Always accessible. Always customizable.
Want your week to feel lighter? Plan it here. Need to clear your brain? Dump it in a notes section. Your digital planner becomes a command center for real life—the messy, beautiful, always-moving kind.
Customizing Your Planner (Make It Yours)
Are you a minimalist planner? A color coded all the lists type of planner? Or a junk journal color explosion planner? You can be all 3 in one place if you choose. No worries about markers or paint bleeding through. Ink smudging in all the wrong places or heaven forbid running out mid-sentence.
Use digital stickers, text boxes and images to really make your planner your own. A reflection of all the things you find beautiful. Change the colors. Add more patterns. Use a layout similar to a Happy Planner (which is what I do). You really can’t do this wrong.

Pro Tips for Success
- Use split screen for multitasking. This makes dragging images, stickers, and other items into your planner so much easier. Less clicking. Less searching. See it. Grab it. Drop it. Arrange it.
- Backup your planner to the cloud. If you have multiple devices (iPhone, iPad, Mini, etc) you can sync your planner between them. This way you aren’t trying to remember where you made that note or wrote the time for your appointment.
- Keep a stylus nearby (because fingers are overrated). You can operate with just your finger…but it is frustrating after awhile. It isn’t as precise. You start to get a weird cramp. I don’t recommend doing it (said in my best zombie genie voice).
You’ve Got This
Digital planning isn’t just functional—it’s fun. As it is supposed to be. This isn’t just a way to stay organized. It is a way to express yourself and your style. Use the colors. Highlight or make checklists. Add all the stickers. Enjoy the process.
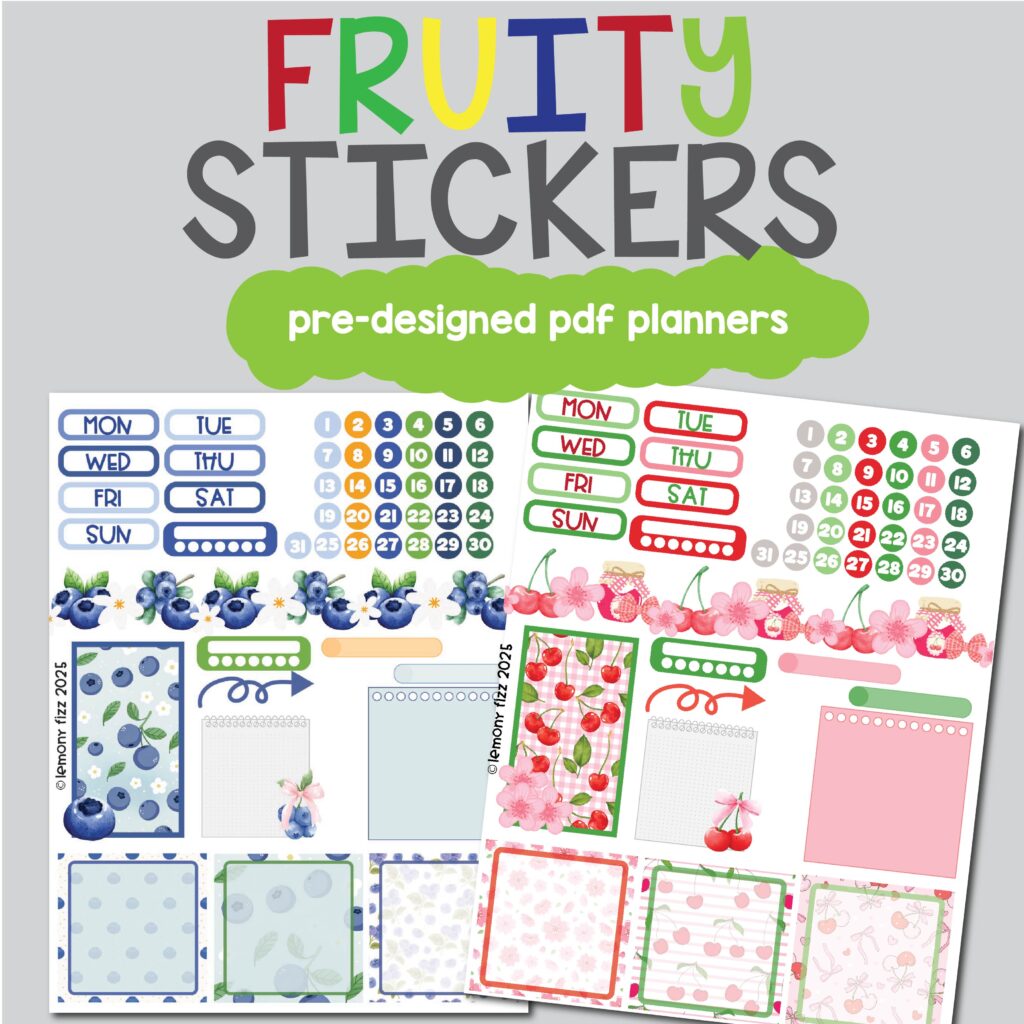
Free Blueberry Stickers and Goodnotes Planner Pages
Want the stickers and planner page that you see in this post (all the blueberries)? Fill out the form and they will be sent to you auto-magically 🙂
[convertkit form=7947286]

I would love the blueberry stickers