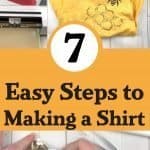
Yes, You Can Use a Cricut to Make a Shirt in 7 Easy Steps
We may earn a small commission for purchases made through affiliate links in this post. For more information go to our Privacy Policy.
There always seems to be a reason to make a shirt that is customized for the occasion, family member or, just because you love the saying.
Sports always seem to be a good reason for custom shirts too. When my kids started playing sports it seems like our collection of “Darby Tiger” wear grew by leaps and bounds.
You Can Make T-Shirts with a Cricut
There are a few steps to making a t-shirt with a Cricut machine.
- Have something like a pad or towel to place under the shirt.
- Preheat the iron to correct temperature.
- Warm up the shirt with the iron first and remove any wrinkles.
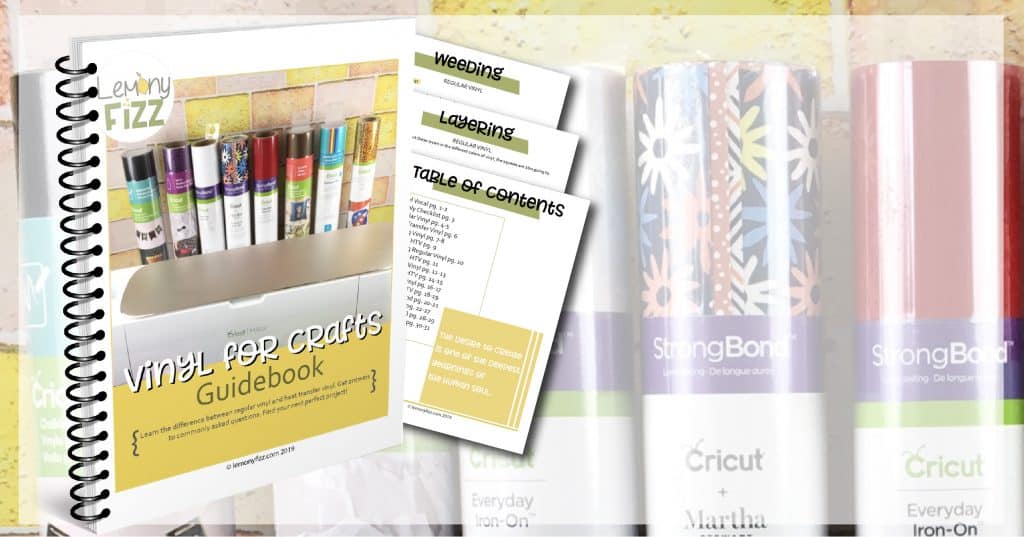
- Cut your decal from HTV (learn more about vinyl types here)
- Place your vinyl decal on the shirt where you want it.
- Place the iron over the decal and shirt and press for the desired time.
- Remove clear plastic sheeting.
I can only imagine how much fun we would have had making shirts if I had known how to make t-shirts with heat transfer vinyl back then.

Supplies Needed:
- t-shirt, long sleeve shirt, or sweatshirt of your choice
- heat transfer vinyl
- a cutting machine (Cricut or Silhouette)
- an iron or an Easy Press
- an image or quote in PNG, SVG, or JPG format
That’s it. It’s a pretty simple list.
My daughter sends me pins on Pinterest all the time. She gets on a kick for a theme and then blows up my inbox. One day she blew it up with all things bee related.
She knows I love bees and she was finding quilts, crafts, jewelry, and shirts.
One of the yellow shirts with a bee quote on it caught my eye and I started thinking about making my own bee shirt with a design I had found a few weeks earlier.
This tutorial will show you the steps I went through to make a shirt with a bee and honeycomb. You can follow along and make a shirt with any design you wish. The process is the same, no matter which design you choose.
The Process of Putting it All Together
Step 1: Pick a Design
Choose your design. You can find a number of designs here on my site. There are countless designs provided by both Cricut and Silhouette in their image libraries, and there are loads of sellers on Etsy who provide quality designs.
Step 2: Place Vinyl on Cutting Mat
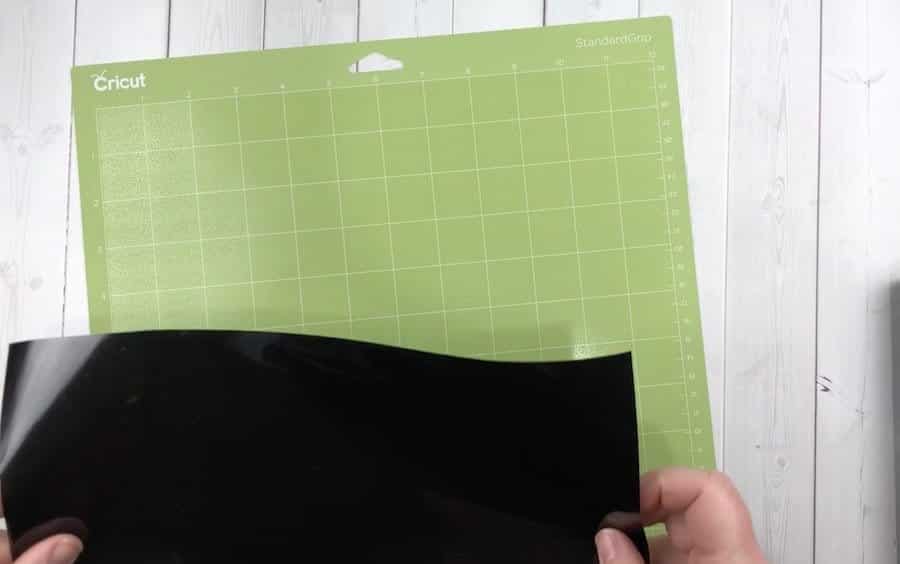
Decide on the colors of heat transfer vinyl (HTV) that you want to use for your design and attach the first one to your cutting mat.
Heat transfer vinyl usually has a shiny side and a dull side. You want to cut your design with the shiny side down (stuck to the mat). Don’t forget to MIRROR your image if you are cutting out words. Your design is going to be backward because you are cutting on the back of the material.
If you have multiple mats, you can set up all your colors at once.
NOTE: Don’t worry if you don’t have multiple mats. Just change your vinyl pieces in between design cuts if you are using multiple colors.
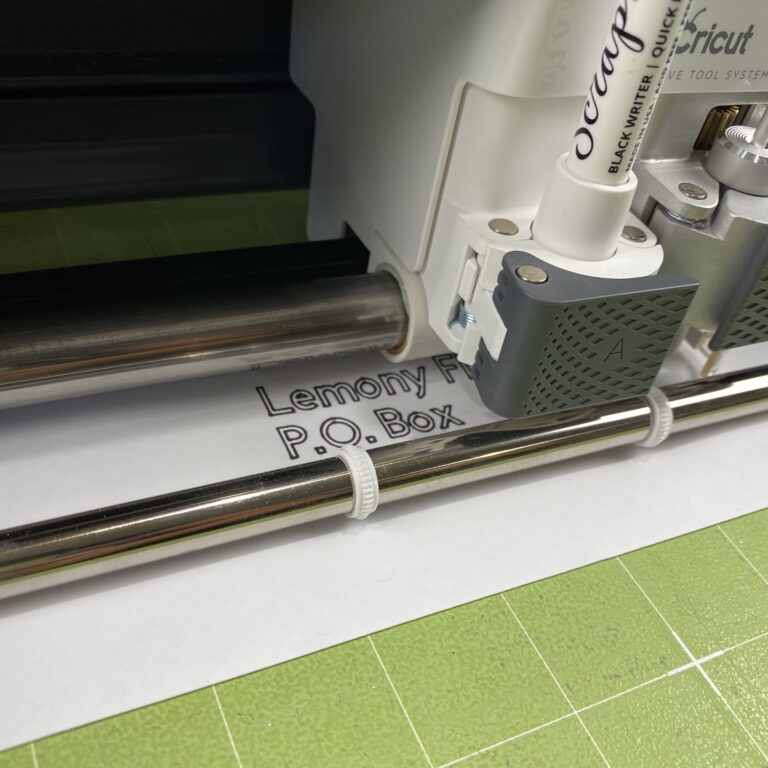
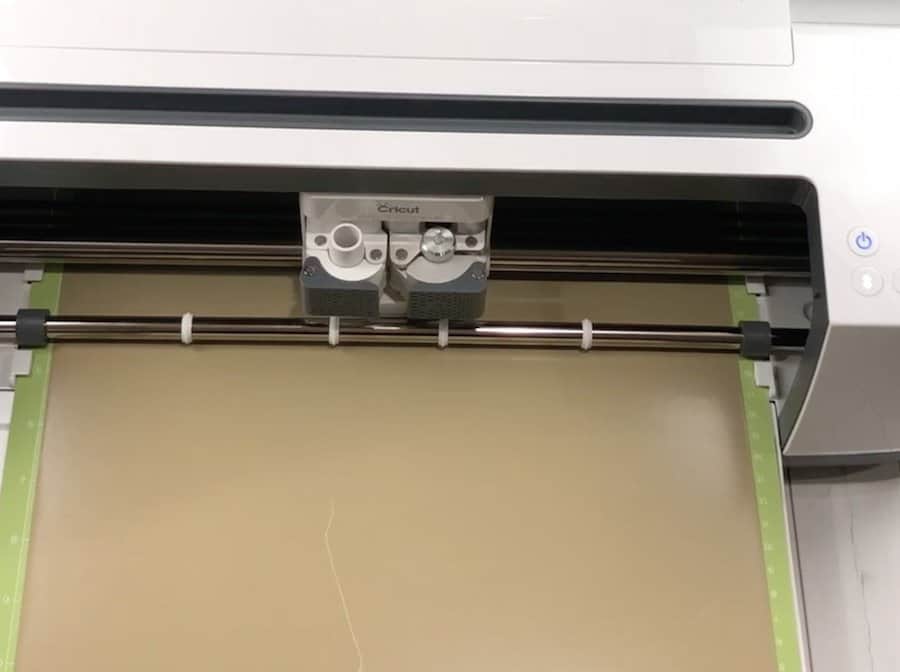
Step 3: Cut Design with Machine
Cut out your designs using your Cricut or Silhouette machine. Once you have the designs out of the machine, remove them from the cutting mat and trim around the design with scissors.
I always cut any larger pieces of vinyl away from the design if they are big enough to be used for a project later. Approximately 2 x 2 inches or larger. If you don’t want to save scraps, you can skip this step.
Step 4: Weed Your Design
Weed out the extra vinyl. This is a funny term (you can read other common Cricut terms in the “What is a Cricut” post) but it basically means that you will be pulling all the extra pieces of vinyl off the plastic sheeting. You want to clean up your design so it is ready to iron onto your shirt.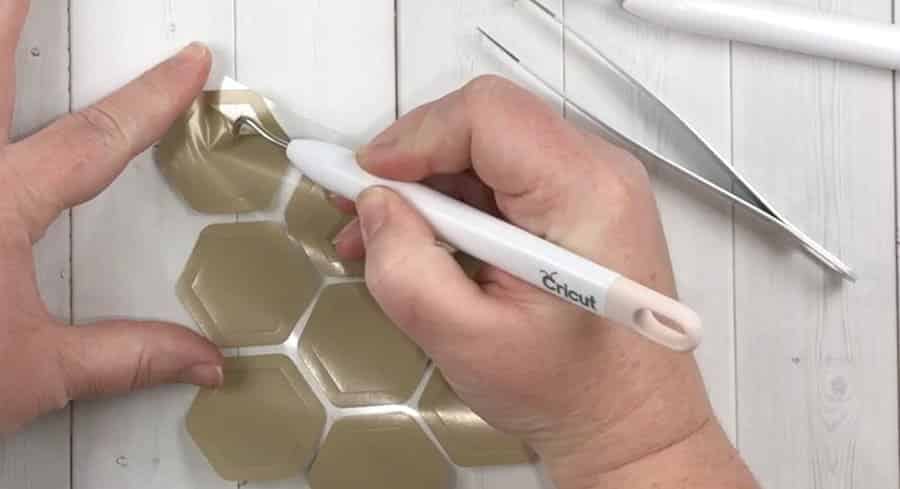
If you are having a hard time getting the edge of the vinyl started, you can take a weeding tool, a dental tool, or any other pointy tool that you have and stick it under the vinyl in a corner. Once you get an edge pulled up, the rest comes up quicker.
Small pieces in the center of a letter or your design might need to be started with a tool as well.
Step 5: Press Your Shirt and Decide on Design Placement
Place your shirt on the ironing pad or a folded towel. Warm up your machine to the specified temperature for the type of fabric you are ironing onto.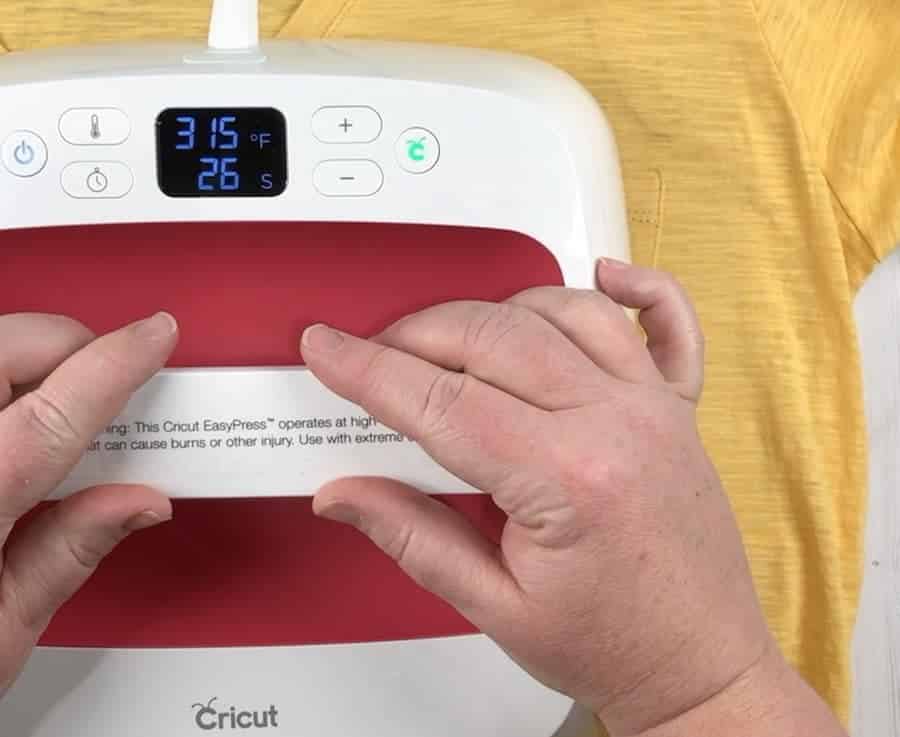
Once your heat press is warm, place it on your shirt to warm up the surface a little. This will help prep the area and make your HTV stick to the shirt better. There are many tips on how to make a shirt, but this one is universal. You want the surface to already be warmed a little.
Step 6: Press with Cricut Easy Press
Place your vinyl on your shirt in the desired location. This could be a pocket, right in the center, along a sleeve. Wherever you want your design is where you should have prepped your shirt and where you will now place the vinyl.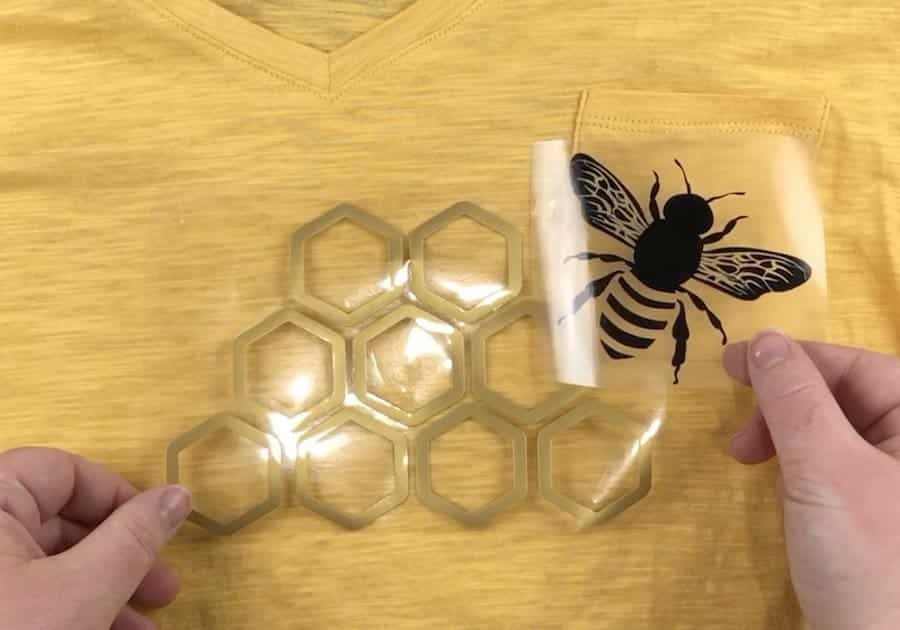
If you are happy with the placement, press it down gently so the sticky part of the plastic will hold your design in place.
Step 7: Peel of Transfer Plastic
Place your iron or Cricut Easy Press onto your design and set the timer. Once the timer goes off, remove the iron or press.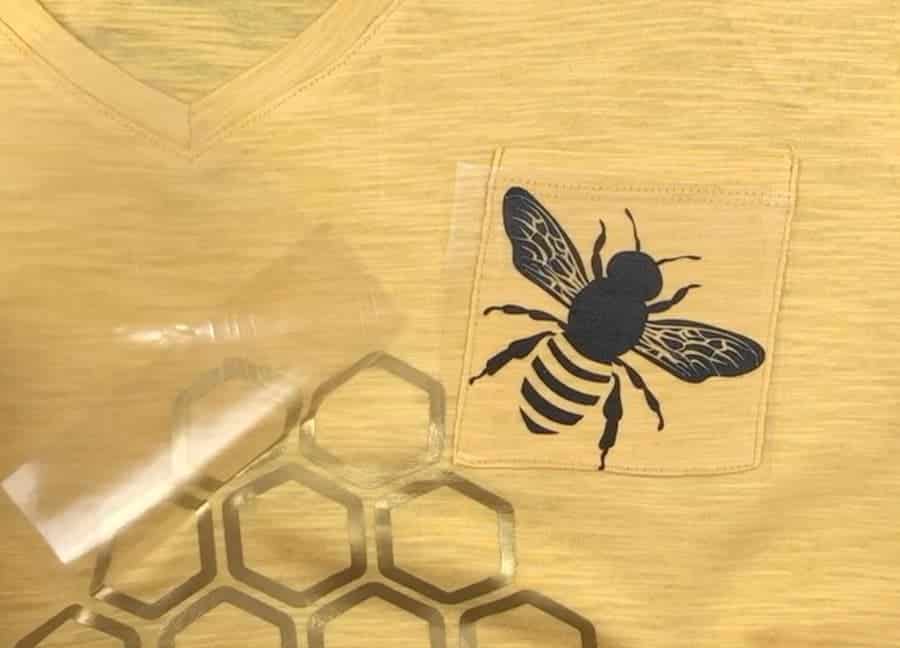
If you are working with a warm peel vinyl you can wait a minute and then start to remove the plastic sheeting from the vinyl. If it’s a cool peel vinyl you will want to wait a few more minutes before you remove the plastic sheeting.
Once you start to remove the sheeting, if your design is pulling up from the shirt or sticking to the plastic you will want to press it again. You might not need to press it for the full amount of time. Try half the time and then check the design again.
That’s it. Those are all the steps to making a shirt.
I told you it wasn’t too hard or complicated!
The same process can be used to attach HTV to any other fabric that you might be wanting to personalize. You could add something to a gym bag, a bath towel, jackets, blankets, and more.
Watch out world. You now have some heat transfer vinyl and you know how to use it!
Want the bee and honeycomb design to use for your own projects? Check them out in the shop…
Answers To Questions You May Have About Using Heat Transfer Vinyl
Q: Why is my vinyl design pulling away from my shirt when I try to peel the carrier sheet?
A: There are a couple of reasons this could happen. First, it could be a little too soon to pull it away and you’ll want to let the design cool down a little bit more and then try again. If that still doesn’t work, heat the design a little bit more. Some HTV need to cool all the way before the transfer paper is released. Others need to be very hot.
Q: Am I supposed to see the texture/fibers of my shirts through the vinyl?
A: You do not need to be able to see the texture of the fabric through the vinyl. This usually happens when you have warmed the vinyl too much.
Q: Is it bad to overheat my design?
A: Yes. Not only does too much heat ruin the integrity of the vinyl it will also harm the adhesive and cause your design to peel after wearing or washing.
Q: Is there another way I can design my t-shirts so it lasts longer?
A: Definitely. Try using Infusible Inks if you want a longer lasting design.
Q: Can I combine and layer colors of vinyl or different vinyls?
A: Yes, you can! All different colors and types of vinyl can be layered EXCEPT Glitter, Mesh or Flocked Vinyl. These need to be a top layer (don’t try to put any other vinyl over them).