How to Use Heat Transfer Vinyl with Your Cricut Machine
We may earn a small commission for purchases made through affiliate links in this post. For more information go to our Privacy Policy.
There are different types of vinyl (here is a general overview of vinyl and my guidebook for vinyl). This post is going to discuss heat transfer vinyl (HTV) and the different ways to apply it to your base or project.
(Find some great vinyl projects to try in this post.)
What is HTV?
Heat transfer vinyl is a vinyl that needs heat and pressure to be applied for application. There are different brands of vinyl: Cricut Everyday Iron On, and Siser EasyWeed are just a few. HTV can be used on fabric and materials like wood, paper, and metal.
You will also see HTV referred to as iron on vinyl. Before Cricut came out with the Easy Press and the heat press tools were more affordable, you could iron on decals with your regular household iron. The terms are used interchangeably.

Get Your Vinyl (HTV) on Amazon
- Siser EasyWeed (GET IT HERE)
- Cricut Heat Transfer Vinyl (GET IT HERE)
- NOTE: There are a number of brands that sell HTV. Quality is not always guaranteed. Siser and Cricut are the top heat vinyl transfer brands that most crafters use.
Iron On Vinyl for Personalizing Gifts and Crafts
One reason that HTV is so popular is that it applies relatively easily. There are a few tips and trick to make sure you get the most out of your supplies, but overall it is a quick and easy way to craft and make gifts.
What Can You Make with Iron On HTV?
Heat pressed vinyl can be used on fabrics, woods, metals, and more. That means you can make things like t-shirts, baby onesies, tumblers, coffee mugs, personalized signs, tote bags, notebooks, custom shoes, hats, and more! Check out this post on Cricut blanks for more great ideas.
How to Use Cricut Vinyl with Your Machine
It doesn’t matter which Cricut machine you have ( you can read up on the different Cricut machines here…). They will all cut vinyl and HTV.
The basics are the same for each machine:
- design or set up your cutting file
- load the vinyl into the machine
- cut the HTV
- weed your design
- apply the iron on vinyl to your desired base or blank
1. Design or Set Up Your Cutting File
Heat transfer vinyl can be cut by hand or with a cutting machine (Silhouette or a Cricut). The joy of a Cricut machine is that it does all the fussy cutting for you. Inside cuts. Small cuts. Tiny details. And it does it FAST.
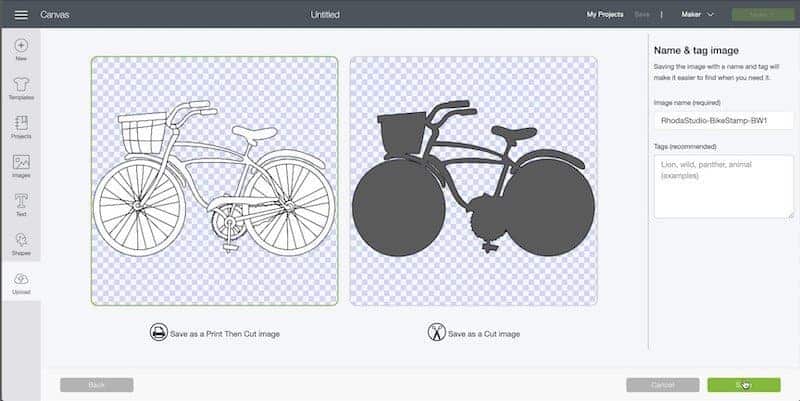
You will need to prepare the design in your software of choice. For a Cricut machine, you will be using Cricut Design Space. This design is your “cut file”. It is usually in JPG or SVG format (you can see all the great places to download free SVG files in this post.)
Tell the machine what size to cut the file (scale your design), mirror your image (flip it so that it actually cuts backward), attach items that you want to be cut in relation to each other (letters all together for words).
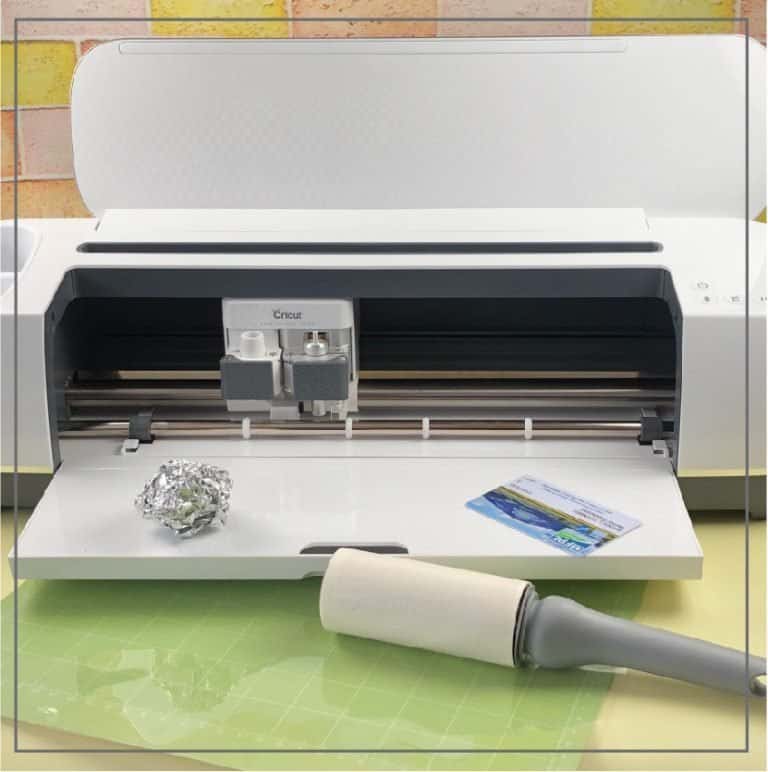
2. Load the Vinyl into the Machine
You will put your HTV on a Cricut cutting mat to load into the machine. Standard mats will fit in your Cricut Maker or Cricut Explore. If you are using a Cricut Joy then you will need the mat that is specific to that machine.
Vinyl heat transfer material is loaded with the shiny side touching them at and the vinyl facing up.
3. Cut the HTV
Follow the directions on your machine and adjust your settings based on the type of HTV that you are using. The settings will be a little different if you are using glitter or flock HTV.
4. Weed Your Vinyl Design
This term seems a bit strange. But you are basically removing all the extra vinyl from your design. Like removing the weeds from your garden. Get rid of the extra.
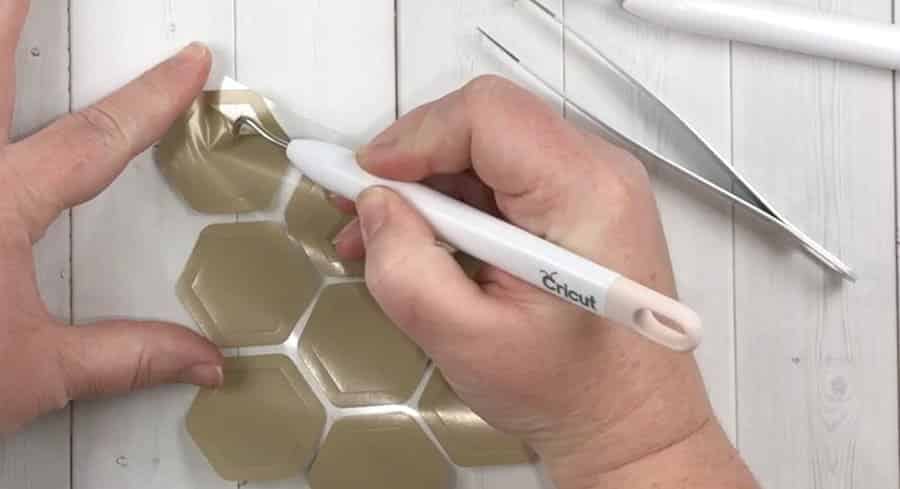
Weeding means taking out the inside of the small vowels (e, a, o) or the inside belly on the Bb, Dd, etc. The best way to do this is with a vinyl weeding tool.
You will also remove all the extra vinyl around the outside of the design. The blank or negative space.
5. Apply the Vinyl to the Craft Base or Blank
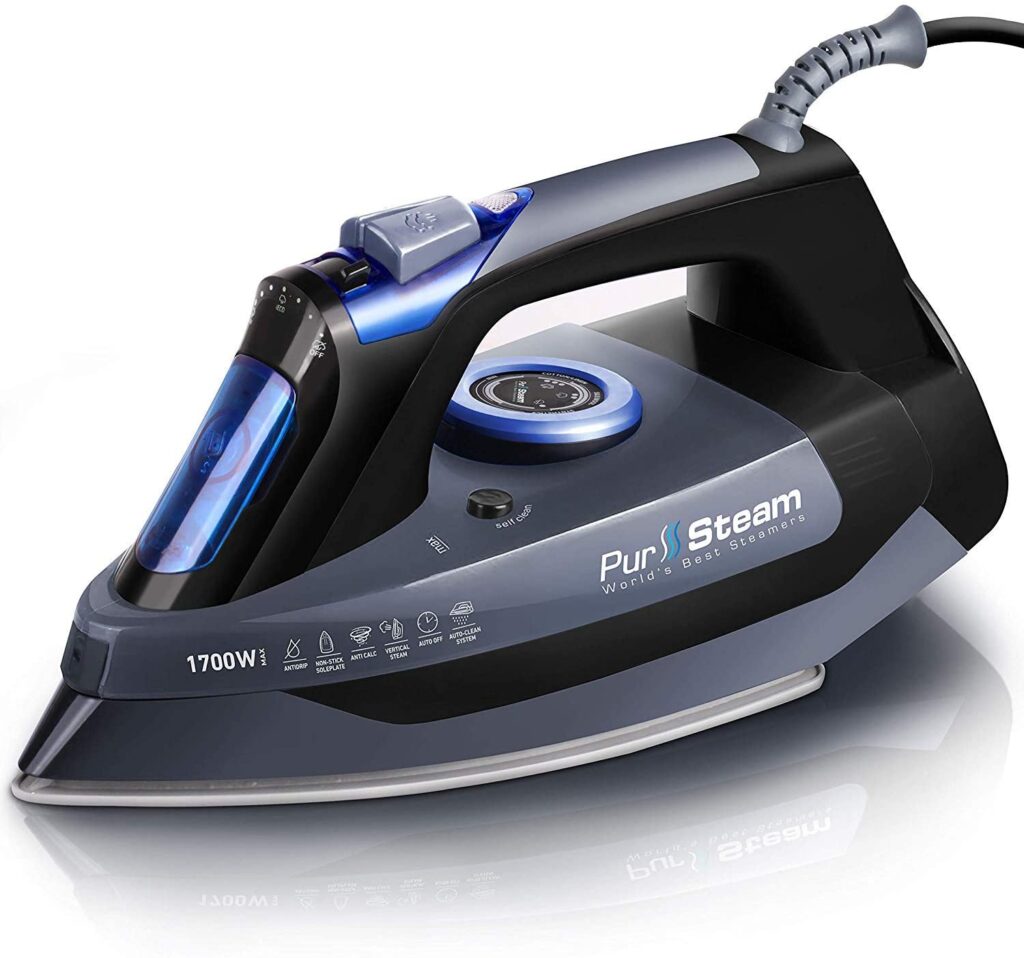
Because we are using heat transfer vinyl, you will need to apply heat to stick the design on your desired surface. You can use a regular household iron, an Easy Press by Cricut or a vinyl Heat Press machine.
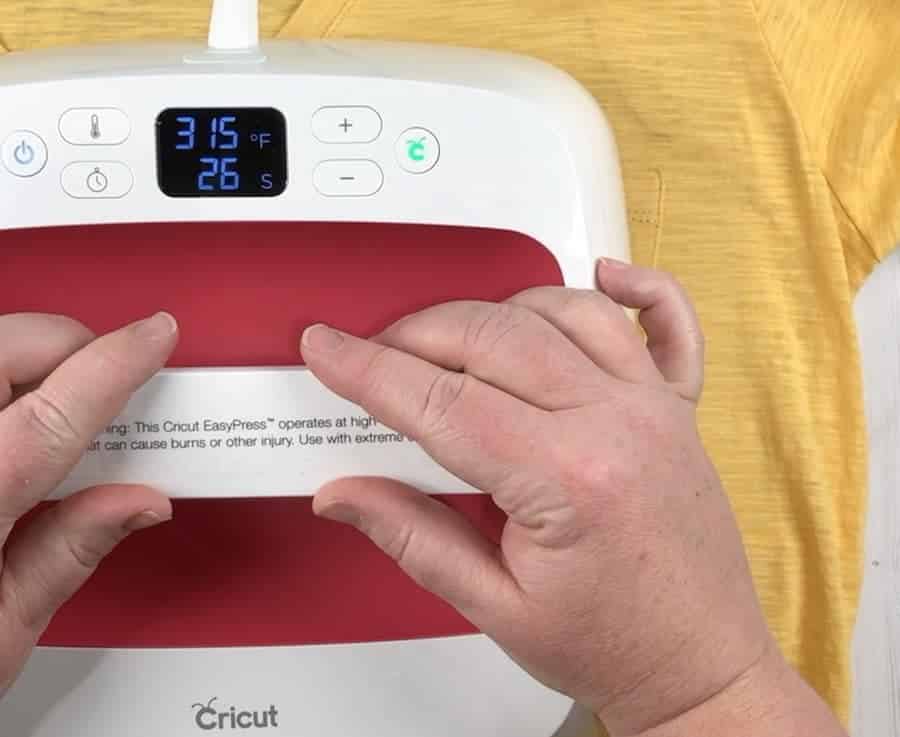
Cricut Easy Press
- Comes in multiple colors to fit your craft style
- Easy to use and set the correct temperature the first time.
- Easy to learn, simple to use. Lightweight, portable, easy to store, and compatible with most major brands of heat transfer vinyl (HTV).
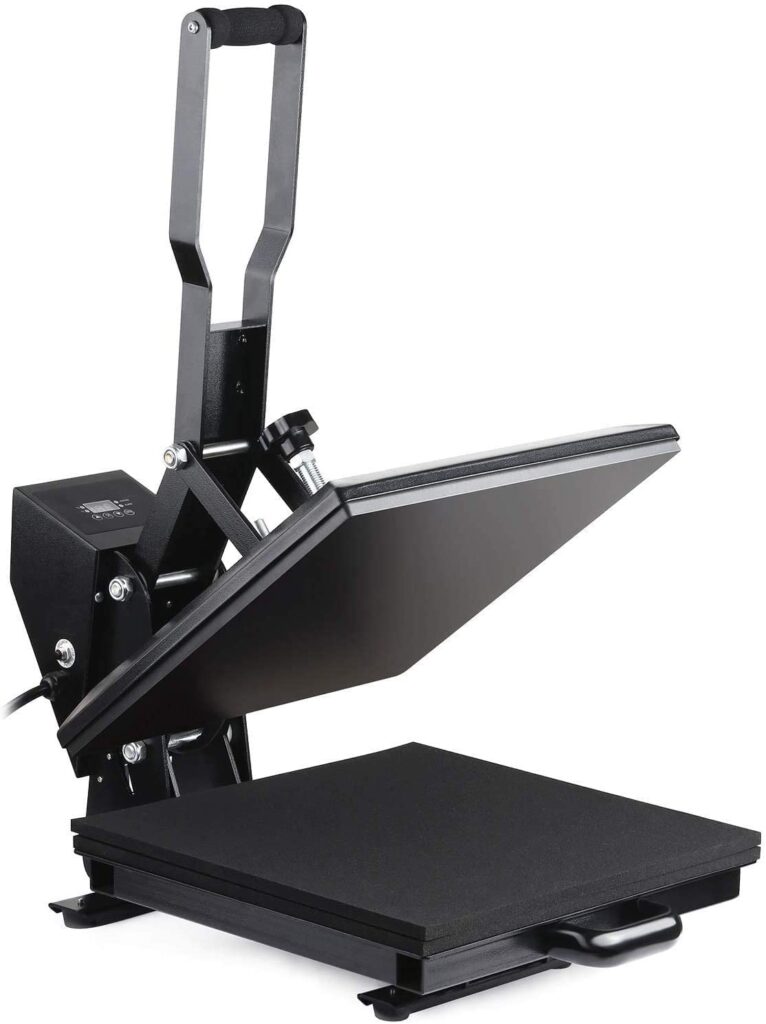
Table Top Heat Press
- Larger plate size (bigger projects)
- Professional grade
- Harder to store (takes up more space)
There will be different heat temperatures, times, and pressure that needs to be applied based on what you are creating. Different fabrics have different heats they can handle. Glitter vinyl might need more time than holographic vinyls.
The best way to determine this is to either read the directions on the vinyl or use the Cricut Heat Guide (here) if you no longer have the packaging.
Once you have pressed your design onto the blank or fabric you will remove the clear transfer paper that was attached to the iron on Cricut vinyl. This should just slip off your design and project easily once it has been heated. Sometimes you will need to pull it more like a sticker to get it off.
What to Do With Vinyl Scraps
It is best to store your heat transfer vinyl in a different area than you store your regular vinyl (full rolls, sheets, and scraps). I store each type of vinyl separately in my craft room by putting them in different cupboards with their corresponding tools. Easy Press, HTV, and heat pads are in one cupboard. Transfer tapes and regular vinyls are in a different cupboard.
The easiest way to tell your two vinyls apart is that regular vinyl will have a white backing that pulls off like a sticker. Heat transfer vinyl will have a clear transfer paper attached that doesn’t come off easily. Weeding tools are a must to get the transfer plastic and vinyl to separate from each other.
You will most likely end up with a lot of scraps. My rule of thumb is not to save anything under 2 x 3 inches. Just because most designs will be larger than that when I am cutting. Scraps that are in that smaller range are great for making letter stickers or small icons to use on paper and decor projects.
If you are wondering how to use up those scraps, you can check out this post about scraps and Snap Mat.