How To Address An Envelope With Your Cricut
We may earn a small commission for purchases made through affiliate links in this post. For more information go to our Privacy Policy.
Learn how to address an envelope with your Cricut! Yes, that handy machine really can do it all. If you gawk over professional-looking envelopes, you can now make them yourself right at home by addressing envelopes with Cricut.
One thing I see a lot of people wanting to learn about is how step up their mail-sending game. Whether you want to use these skills to send Christmas cards, wedding invitations, or just a little happy mail, I’m excited to share the process for how to write with Cricut. This way you can let your machine address envelopes for you! Cool, right?

Both the Cricut Maker and the Explore family of machines have pen slots, which is what you’ll need in order to address envelopes. But, you can also use your Cricut Joy for addressing envelopes (find out how down below).
Can You Address Envelopes With Cricut?
The answer is YES, you can address envelopes, and even write your letters with Cricut! It may seem like a bit of a lost art, but that’s part of what makes it so cool. People truly look forward to getting mail.
Do you address envelopes by hand anymore? A task that was once done regularly is now completed only infrequently. Many people pay bills online and email or call family and friends rather than writing hand letters or sending envelopes in the mail.
In fact, maybe the task is so unfamiliar that you’re even wondering “how do I write the address on an envelope?” There are several pieces of information you need to include when addressing an envelope – both for the return address as well as the recipient’s address:
- Full Name (first and last)
- Address (including any apartment numbers, etc)
- City
- State
- Zip Code
Note: Without the complete address on the envelope, your mail may not get delivered. One time I forgot to put a zip code on the recipient’s address and it never got delivered to them. I know this because it was returned to me a couple of months later.
P.S. Writing with a Cricut would NOT be my first choice. Finding a font that looks decent is time consuming. The Cricut is meant to cut the outline of images and it wants to “draw” the outline of images. Running paper through a printer is much more cost effective, time efficient, and easier process.
Supplies You’ll Need
For this project, you’ll need:
- Cricut Machine
- Design Space App
- Mat
- Envelope
- Pens or Markers
There are several pens and markers to choose from for Cricut machines, so here are a couple of tips to help make your choice a little easier.
- I think the standard 0.4 black pen works really well for any font.
- If you use gel pens, I suggest moving the envelope down to about the 1-inch line on the mat because the left roller can smear the gel writing before it dries.
Addressing Envelopes With Cricut Design Space
Even though you may not address envelopes often, there are sure to be occasions when you want to address them neatly (think: holidays, weddings or important celebrations, etc).
Here’s a fun hack: You can use your Cricut for that!
Today’s tutorial is going to cover addressing envelopes with Cricut Design Space. Then, I’ll share how to write with Cricut so that your machine will do it for you.
- Open the Design Space app and select a new canvas.
- Go to shapes and create a rectangle that’s the same size as your envelope and put it as your background. You can either drag your shape to the correct size or type in the length and width to create the exact size faster.
- Select your envelope’s layer and change the color to white.
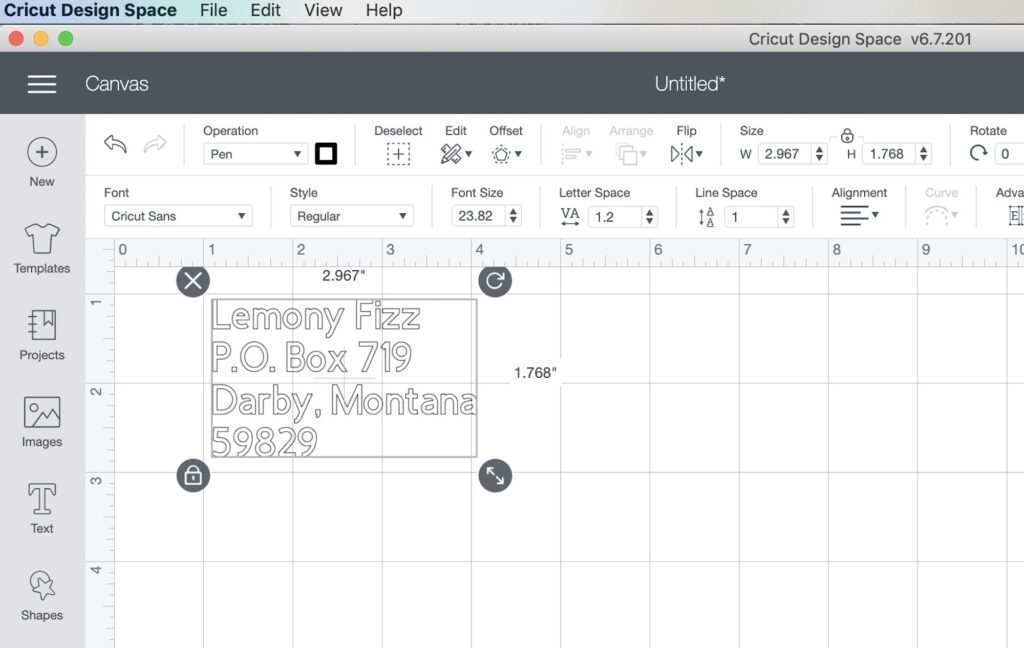
- Next, select the font that you want to use on your envelope.
Pro Tip: Since we aren’t cutting, not all fonts will work with writing. To find one that will use the filter and type, “write” to see the fonts that will work with writing. - Let’s begin by typing out the return address. Type your name and address, making sure to include the full address.
- We need to format the text because your text will be centered with the lines spaced pretty far apart when you first type it out.
- Click “edit” at the bottom and select line space. You may need to try different settings for your spacing to get it just right.
- Now it’s time to align the text to the left. Select “alignment” and “align-left.”
- Move your text box to the upper left corner of the envelope. Then resize your font by dragging the box until the size looks appropriate for the corner. Reposition the text box again if needed once the text is resized.
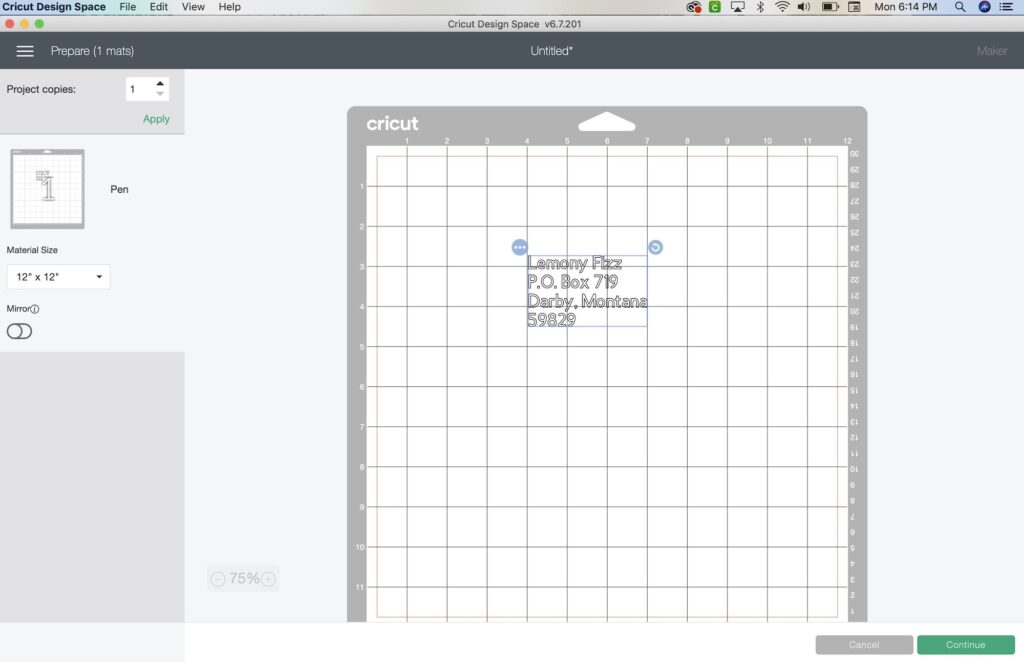
- Create a new text box and type in the name and full address of the person you are mailing the envelope to.
- The text will automatically be aligned to the left. Change the alignment to “center.” Then resize the text box and reposition it on the rectangle where the recipient’s address would appear.
- If you wanted to add a small image or graphic, you could add one from these images.
Note: If you’re printing more than one envelope (to send Christmas cards, for example), you’ll repeat this process for each address. However, it will be slightly faster because your template will already be set up. All you’ll need to do is copy and paste the new address where it goes and click, “make it.”
How To Address An Envelope With Your Cricut Maker Or Explore
Now your envelope is addressed in Design Space and ready to go to the Cricut machine for printing. Follow this process to print out your addressed envelope.
- Click “make it” in Design Space – the app will take you to a new screen.
- You’ll notice that your design is divided across two totally different mats.
- To get your envelope to print the way you want it to look, first delete the white rectangle. It was just there for placement reference.
- Select both text boxes (by clicking “select all” at the top) and click “actions.” Then select “attach.” Confued?Learn the difference between “weld” and “attach” here.
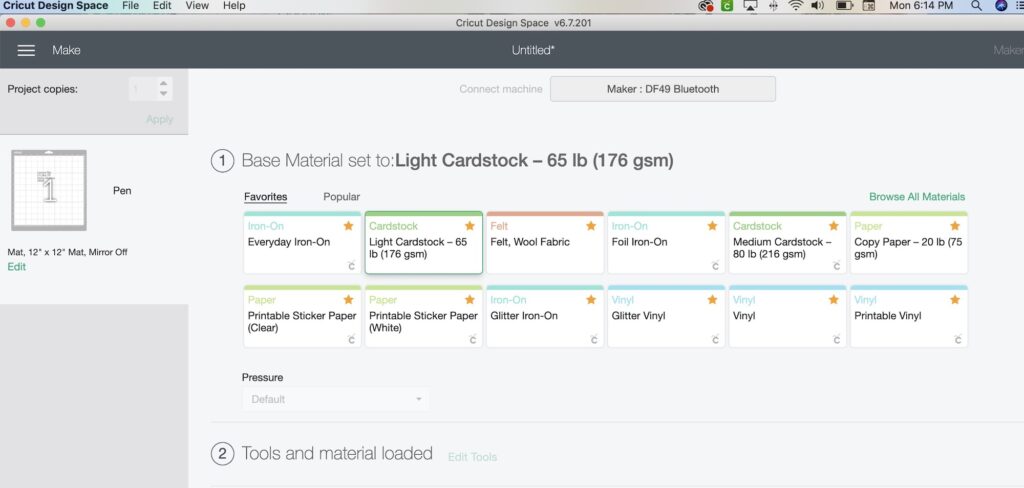
- In the layers panel, change the setting from “cut” to “write.” Then you’ll have the opportunity to choose the exact type of pen that you’re using. (your Cricut pen will have that information on the side)
- Click “make it” then select “replace.” Your mat screen will show that your text boxes are already formatted.
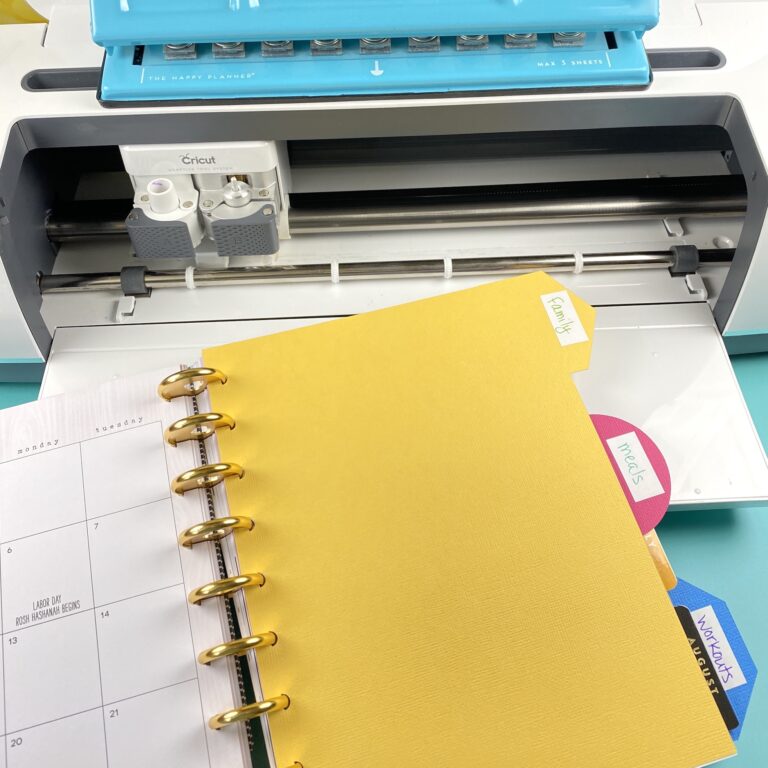
- Take your envelope and place it in the top left corner of your Cricut mat. Load your mat with the envelope on it into the machine. Press “continue” in Design Space.
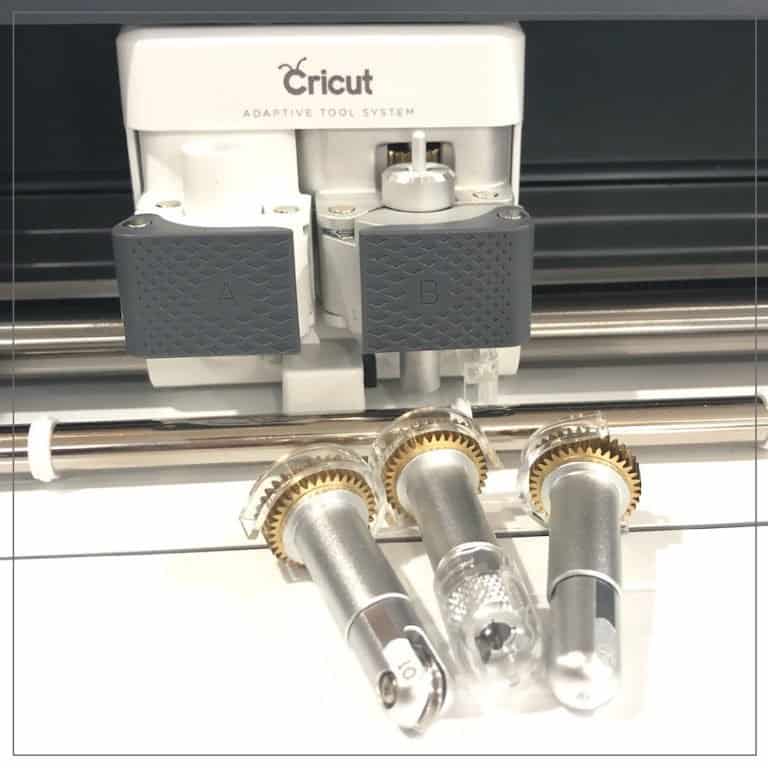
- Open your Cricut pen and put the lid on the top so you don’t lose it! Then, open Clamp A and find the triangle on the side of the pen and gently push the pen down into Clamp A until you hear the triangle snap into place.
- Press the flashing button on your Cricut machine and it will begin drawing.
- Once the drawing is complete, the unload button will begin flashing. Press that button and the machine will push the mat out toward you. Remove the mat and peel the envelope off of the mat.
Pro Tip: When you remove the mat, it works best if you turn the mat upside down and gently peel the envelope off toward the table. That will prevent your envelope from curling.
Can Cricut Joy Address Envelopes?
Yes, the Joy can also address envelopes, but there are a few minor differences to the process:
- Since the Joy mat is smaller, you will have to turn your envelope sideways.
- Add the envelope to the mat by inserting the back flap into the mat pocket to hold the envelope in place.
- When you insert the pen, you just set it in the clamp and close it. You do NOT push it down until you hear the click.
- Select “go” in the app.
That’s it! Once you learn how to address an envelope with your Cricut, you’ll start looking for excuses to keep using it. Snail mail is officially back in!