Valentine’s Day Gift: Money Box Tutorial
We may earn a small commission for purchases made through affiliate links in this post. For more information go to our Privacy Policy.
What type of Valentine’s Day gift do you give to teenagers? Or your sweetheart that doesn’t really like sweets? Money is always a great gift, but it isn’t always easy to dress it up and make it equally fun for you as the person doing the gift-giving.
Here’s some cash. Meh.
This adorable conversation heart box solves that. You will be giddy with joy while making the box. All those colors. Cute little candy hearts to glue together. The money roll. And the anticipation of them getting to unroll all those bills.
Valentine’s Day Gift Box Tutorial
Even though this looks like a complicated build, it is really just a couple of boxes nested inside each other. The hardest part is lining up your conversation hearts so they peek out of the window the best way (you will notice that mine is a little too far up in the window. no biggie).
Supplies:
- Cricut machine
- Blue Cricut cutting mat (light grip)
- Solid Core Cardstock (I use American Crafts)
- PVA Papercraft Glue
- a pen to roll the money around (preferably with a clip to tuck it under and hold it)
- Scotch Tape (or something that will hold the bills together but still come off easily)
- Valentine’s Money Gift Box SVG
(check the links at the bottom of the post to view all the craft supplies in my stash that I use regularly)
Getting Your Supplies Set Up
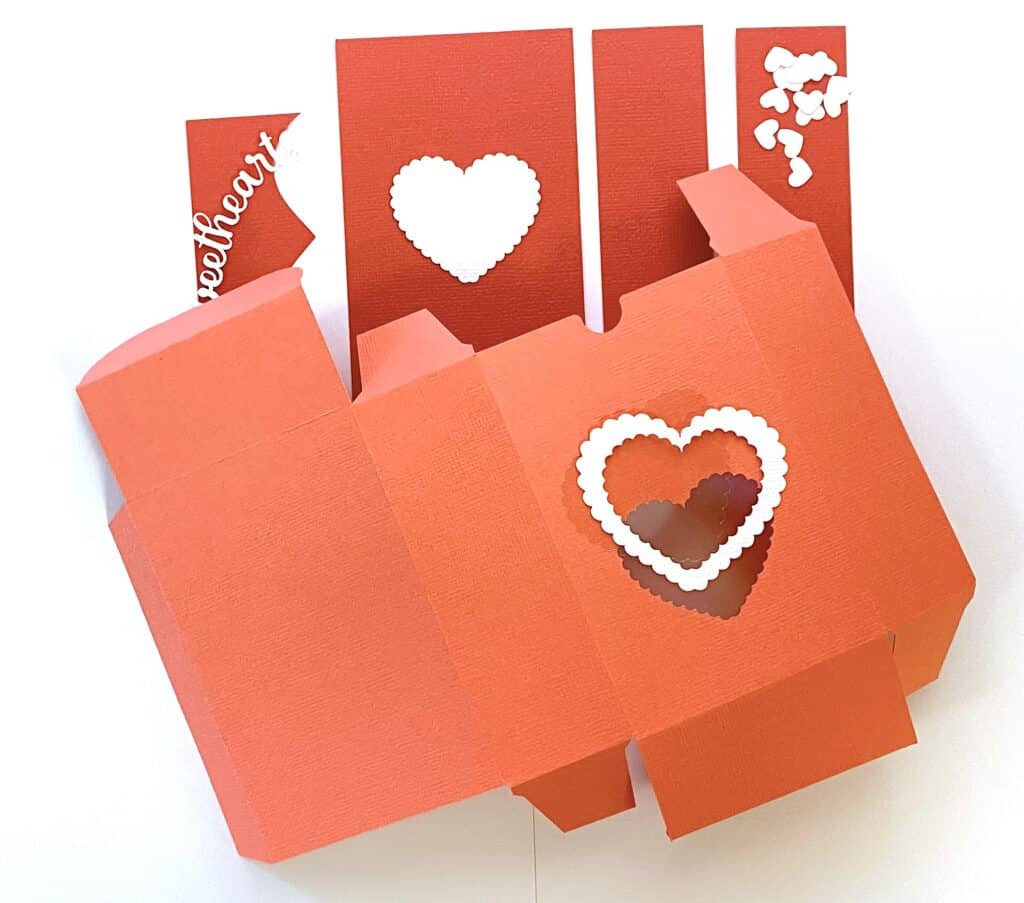
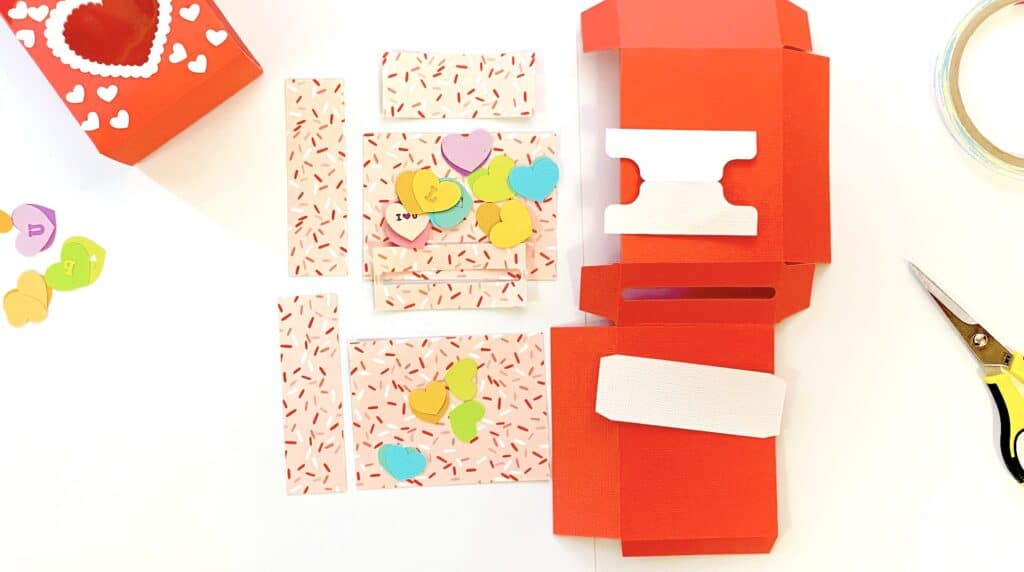
Once you have your pieces cut, you should have a pile similar to this. Pieces for both boxes, the panels that cover them, and the parts foor creating the money roll.
NOTE: Your “shelf” piece will look a little different. I changed the design in the middle of production 😉

Assembling the Money Gift Box
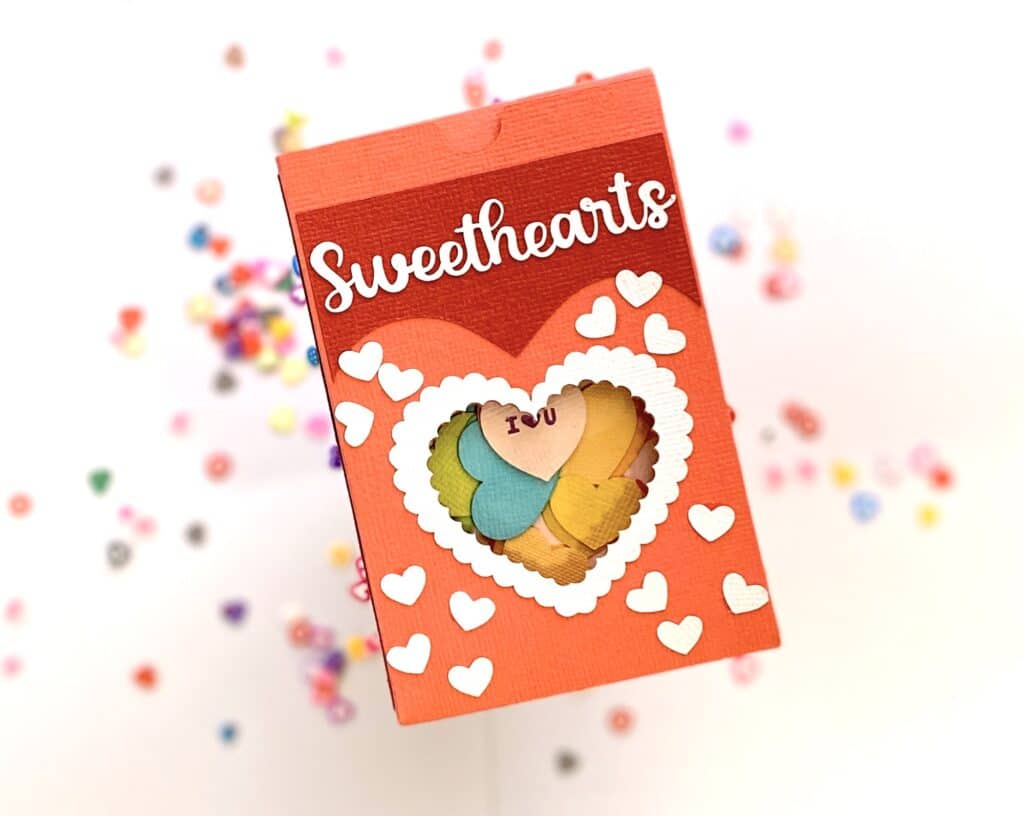
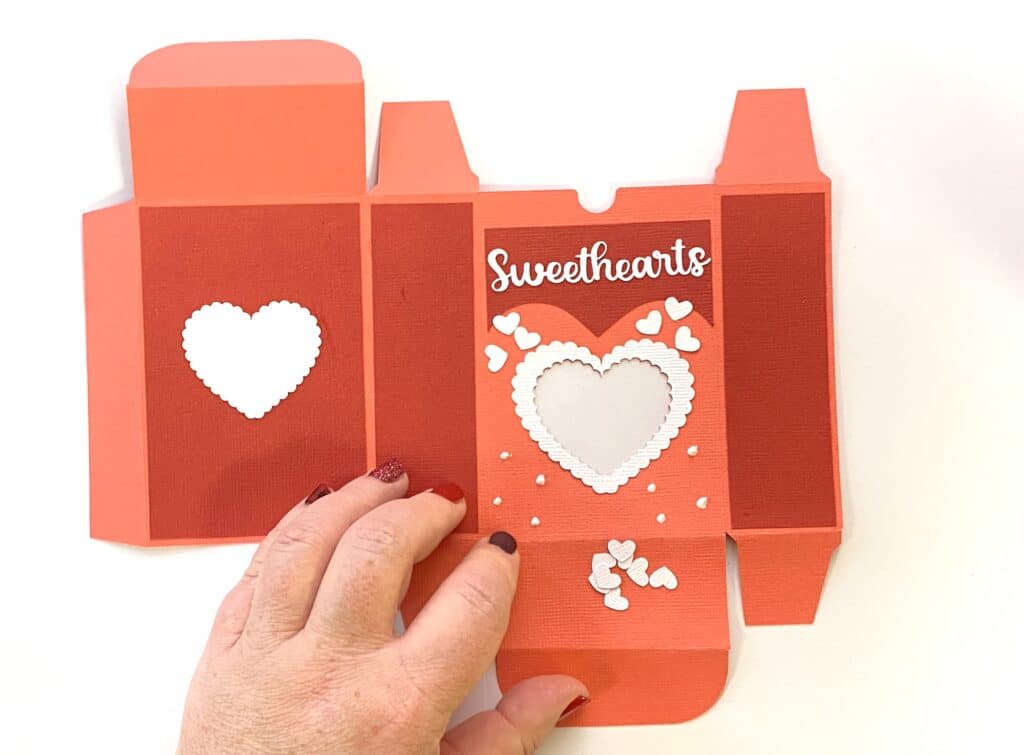
Start with the outside box. The pieces for that are the white heart frame, the Sweethearts title, paneling and a pile of little hearts.
Glue down the window acetate (if you have it…if not, the window can just stay open). Add the heart frame, the panels, the mini hearts, and the inside of the white heart on the back panel. Use this for your “to, from”. There are enough white hearts to put 3 in each top corner and 4 in each bottom corner.
Next, you will assemble the inside box.
Glue all the hearts together with the lighter color on top. This adds a 3-dimensional look to each heart, making it look more like candy hearts.
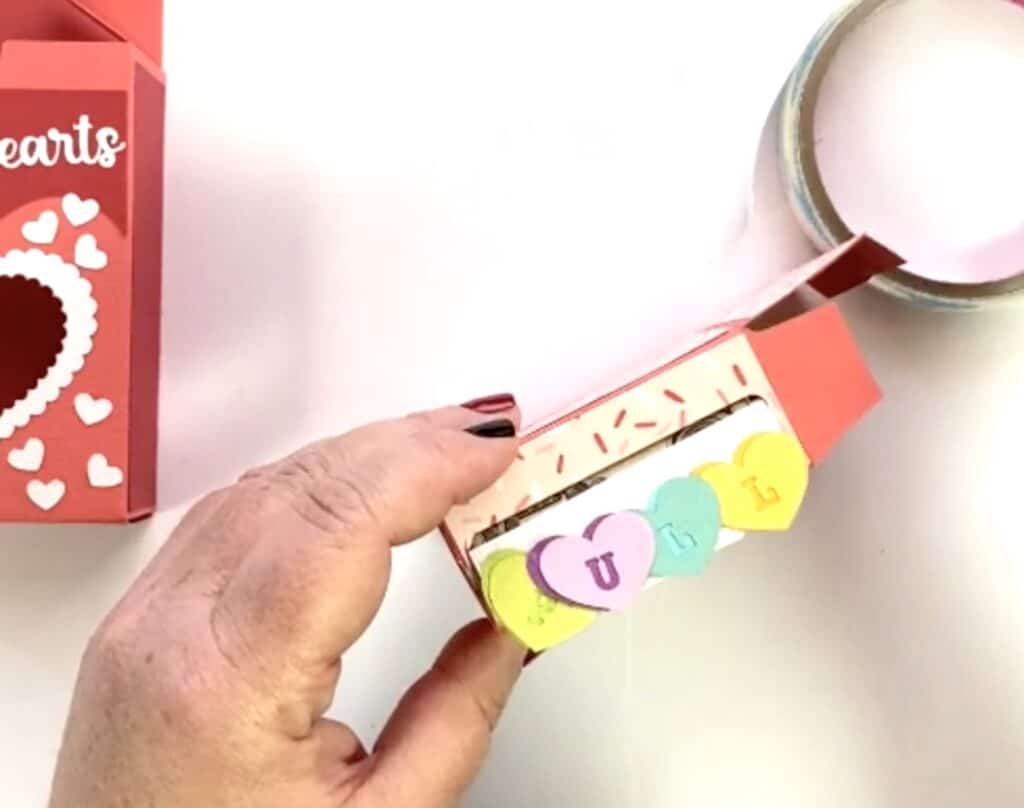
The white tab piece is for your money roll and the 4 hearts that spell “PULL”. Those can be set aside.
It might be easier to put the tab on the money AFTER you have put it through the slot. In the photo and video, I attached them before threading the money through. If your hearts go off the edge of the white tab even a little, they will slice into the edges of the money slot, just a little.
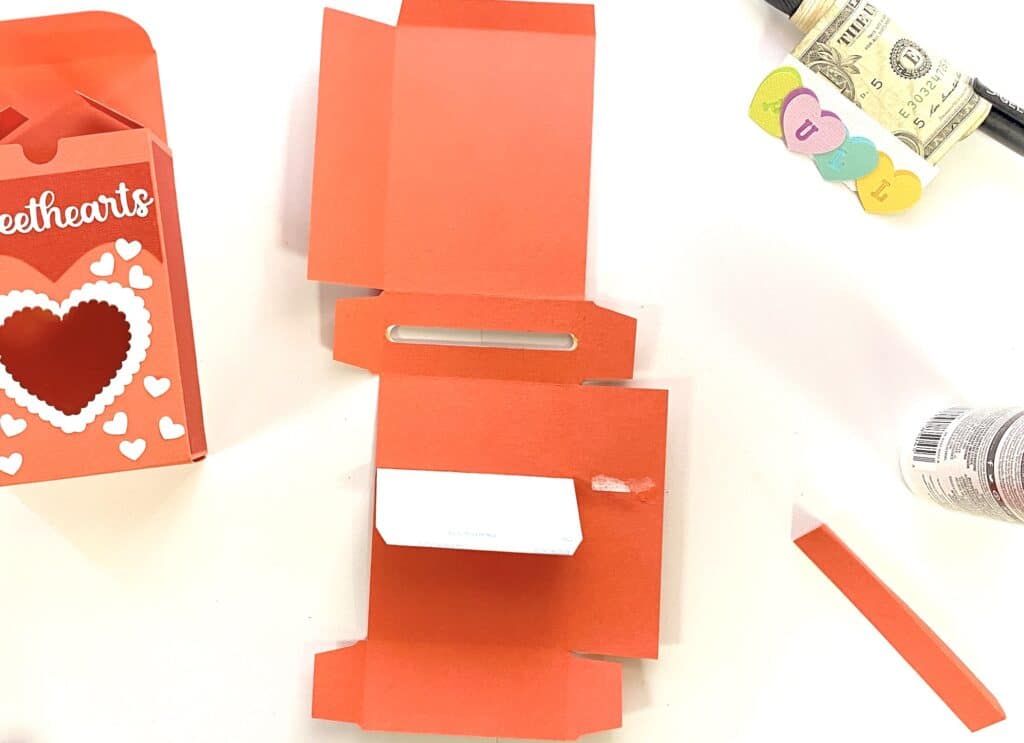
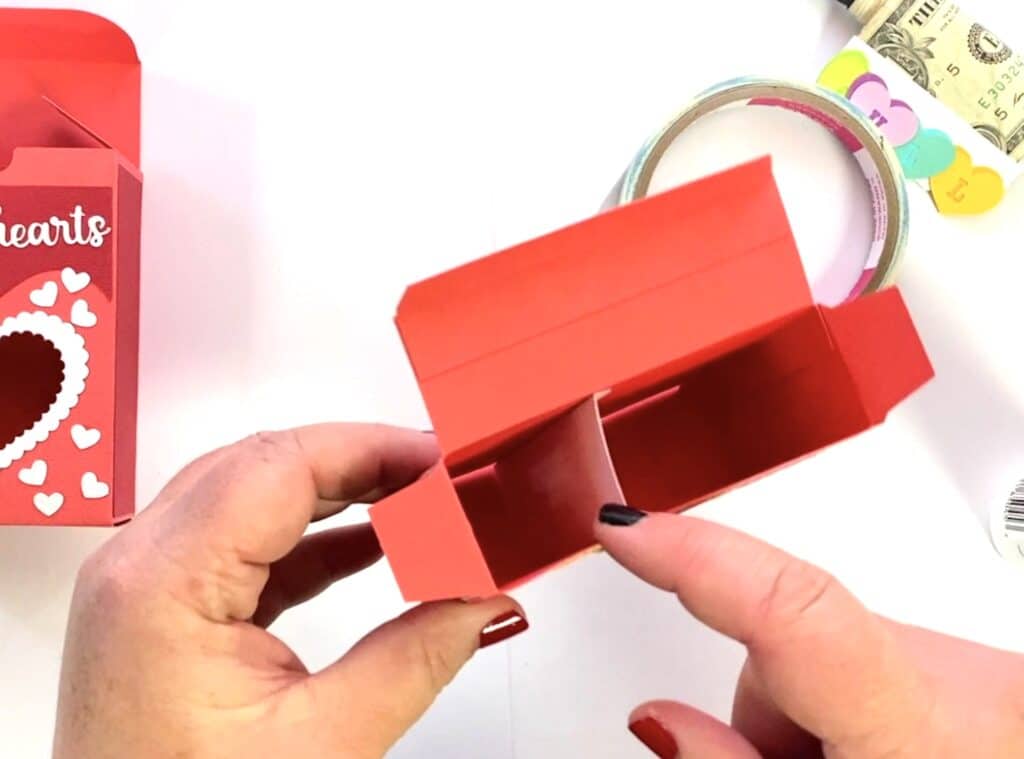
The white shelf piece should be attached to the front panel of the box. About 1.25 inches down. More or less is ok. It doesn’t need to be exact. It just needs to make a little compartment for the money to sit in, so the roll doesn’t come undone inside the box.
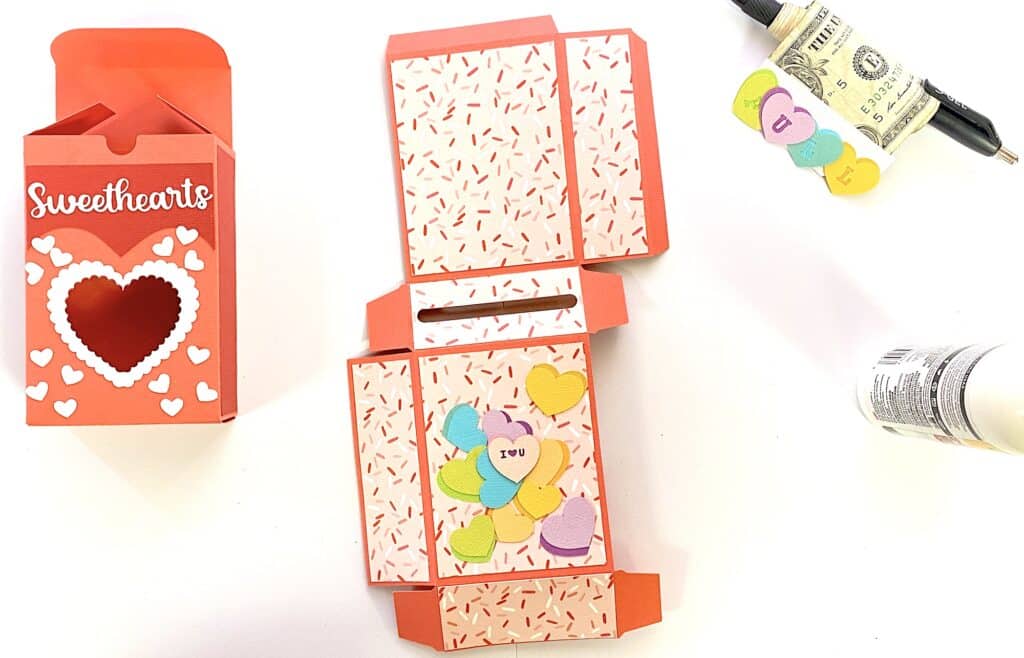
Glue on the pattern paper panels (I used the Carta Bella Paper – My Valentine Collection)
Add your conversation hearts to the front. Stacking them so they are in a pile and look like they are filling up the box when they show through the window of the other box. My “I Love You” heart is a little high when it is in the window.
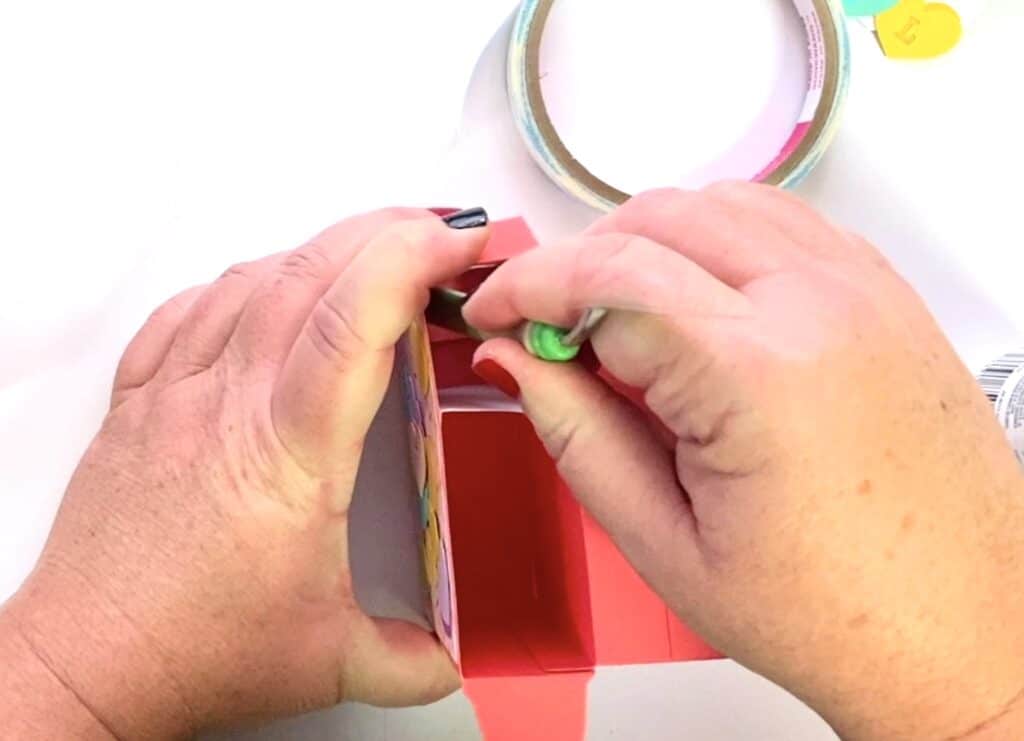
Glue the bottom tabs and one side of the box. Leave the other side of the box open so you can add the money gift. This side will just tuck in, that way the box is reusable.
When you are gluing the tabs on the edges of the boxes, it might be hard to reach in there and press your adhesive to make it more secure. Use a dowel, the end of one of your tools, or a pen too reach down in there and smooth your tabs.
Your money roll will go into the box into the smaller compartment. There is room to slip some candies or another small gift in the bottom compartment. Really add another element of surprise and fun that way.
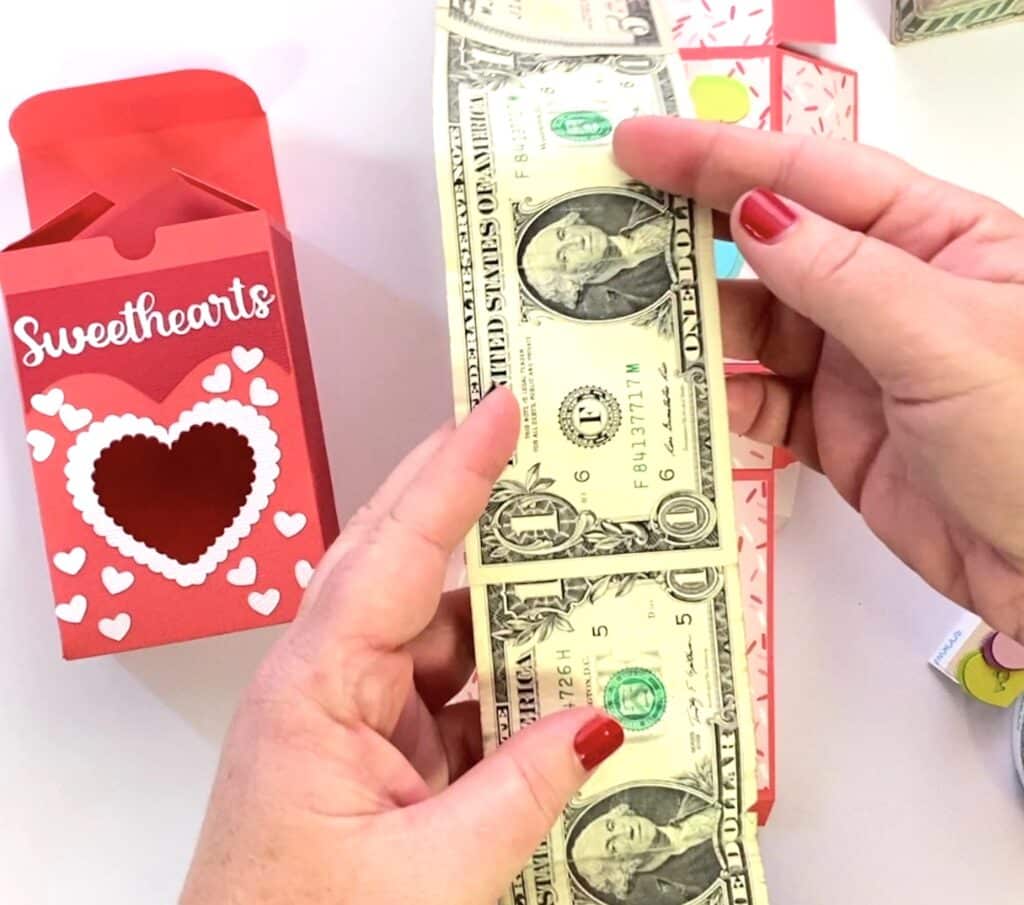
To attach the money, just tape the ends of each one to the next one in line. Be sure and use a tape that comes off easily (I am happy to report that I was able to get my extra sticky double sided tape off…but it was an exercise in patience and I wouldn’t recommend it!).
Mix up denominations so it is more of a surprise as it comes out. Keeps them guessing (and mathing…bwahahahahaa!!).
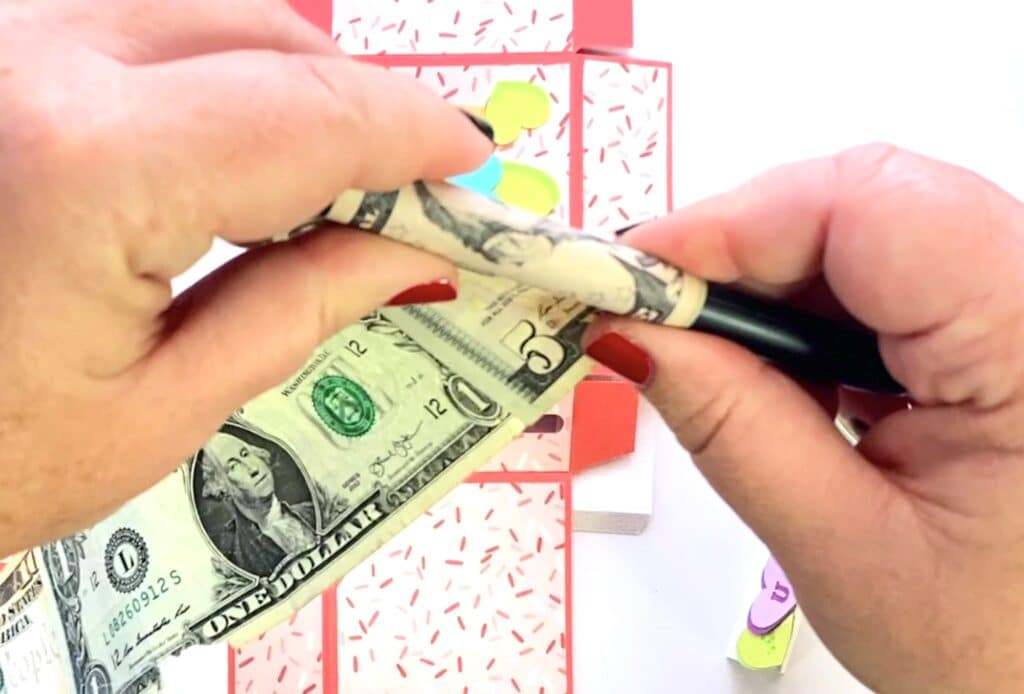
Once you have your long money train all assembled, start with the piece that you want to come out LAST. Wrap it around the end of a pen or pencil. You don’t have to wrap super duper tight. It needs to come back OFF the pen, and it will do a little bit of an “unroll” once you put it into the compartment of the box.
NOTE: I added the tabs before I put the money into the box. I was just so dang excited! Next time…I will wait to add the tab until I have slipped the money through the slot. I would recommend you do the same. Do as I say…not as I do, and all that jazz.
Once you have the money added to the box, and you have slipped the first bill through the slot, add the tab with the conversation hearts that say PULL.
That’s it. Voila.
How flippin’ addorable is this box?! It is definitely a conversation piece.