
A Free Pop-Up Birthday Slice Card SVG File
We may earn a small commission for purchases made through affiliate links in this post. For more information go to our Privacy Policy.
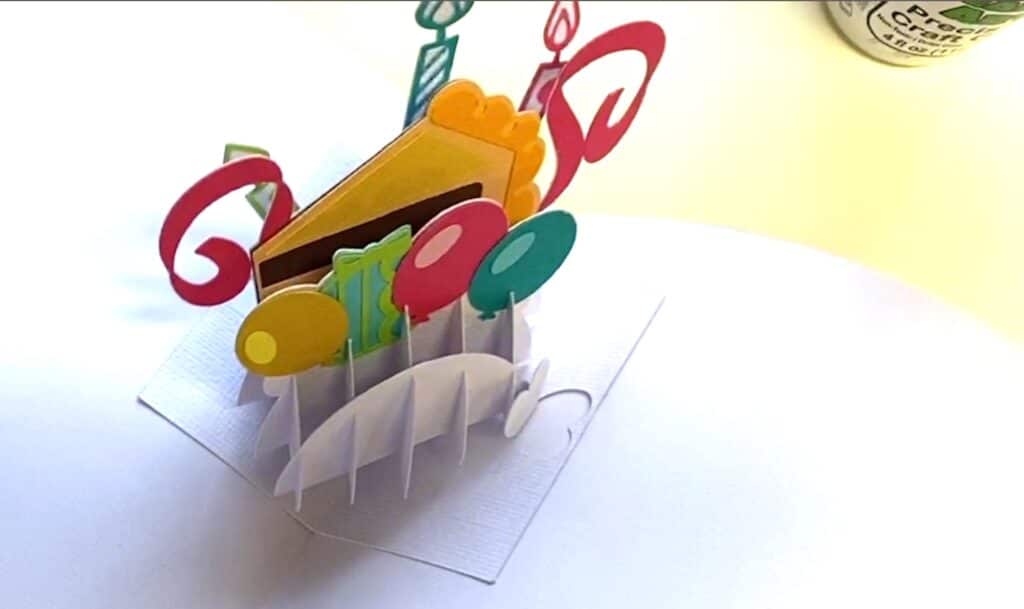
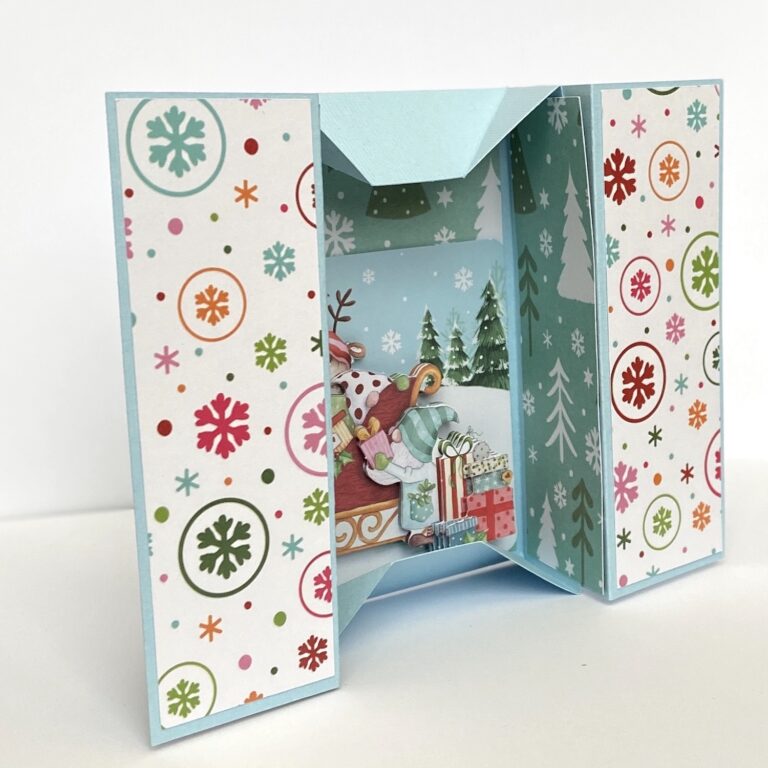
Say Happy birthday with a surprise flash of color in a card. Use your cardstock stash to make a quick and bright pop up birthday slice card.
This file is easy to cut and assemble.
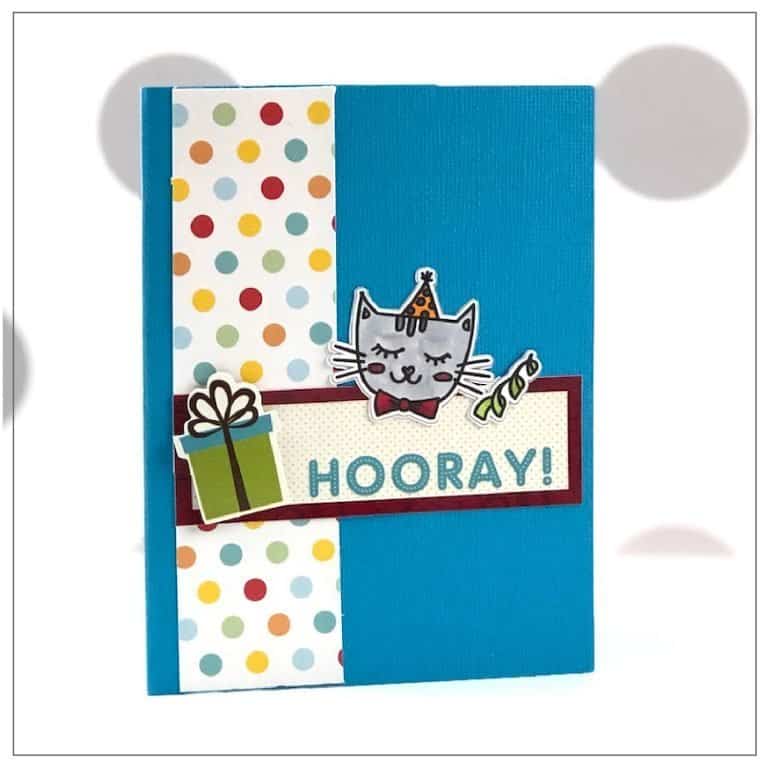
Use scrapbook papers and rub-ons or stamps to style your card even more. Cut the base in colored cardstock to fit a theme.
Add some glitter glue, sequins, or other bling to make it even more special.
The tabs help secure the slice paper pieces to your card base. This insert can be used in a 4 x 6 or 5 x 7 card.
Assembling a Slice Card
NOTE: The easiest way to assemble this card insert is to push the pieces over at an angle. This relieves the pressure on the cut lines and lets the pieces slip into place easily.
Supplies:
- Cricut machine
- Blue Cricut cutting mat (light grip)
- Solid Core Cardstock (I use American Crafts)
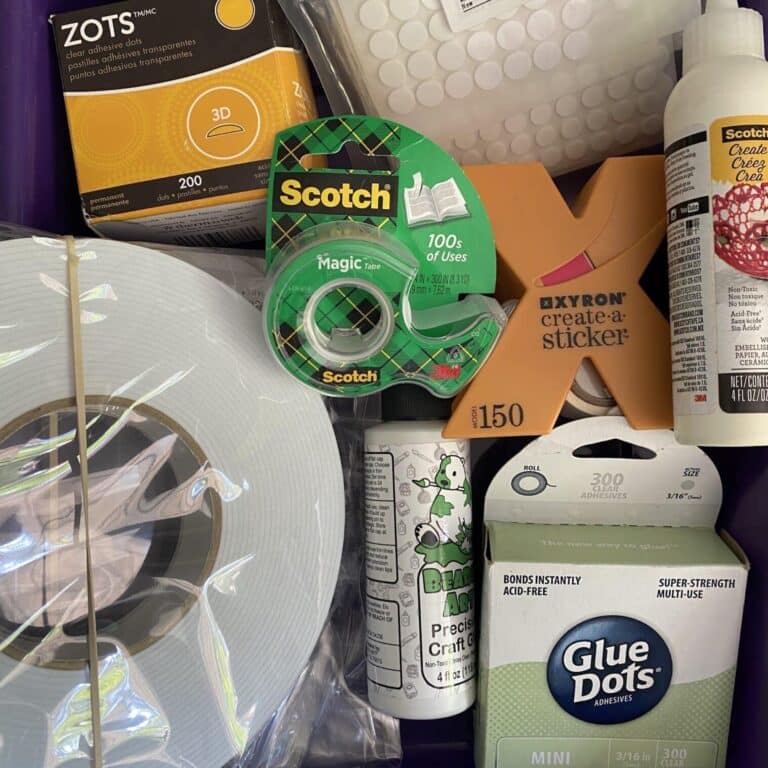
- Bearly Papercraft Glue
- Birthday Slice Card SVG
P.S. If you are already on my list, this design is also in the Free SVG library (and the password is in your emails).

Place all the colored elements on their outlines (each candle, balloon, etc has an outline on the white base it should be placed on.
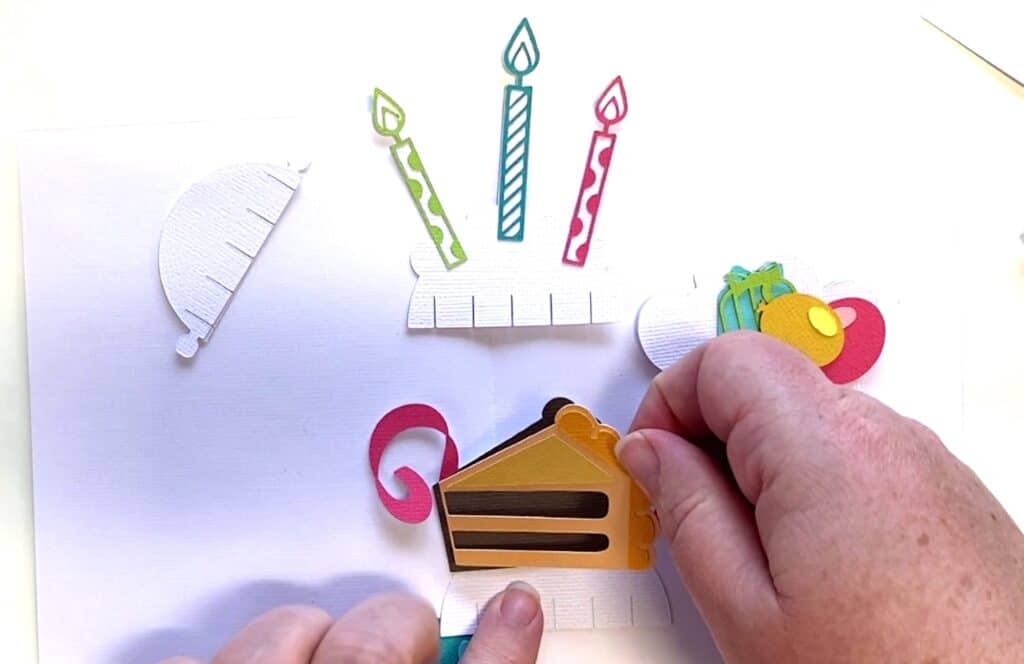
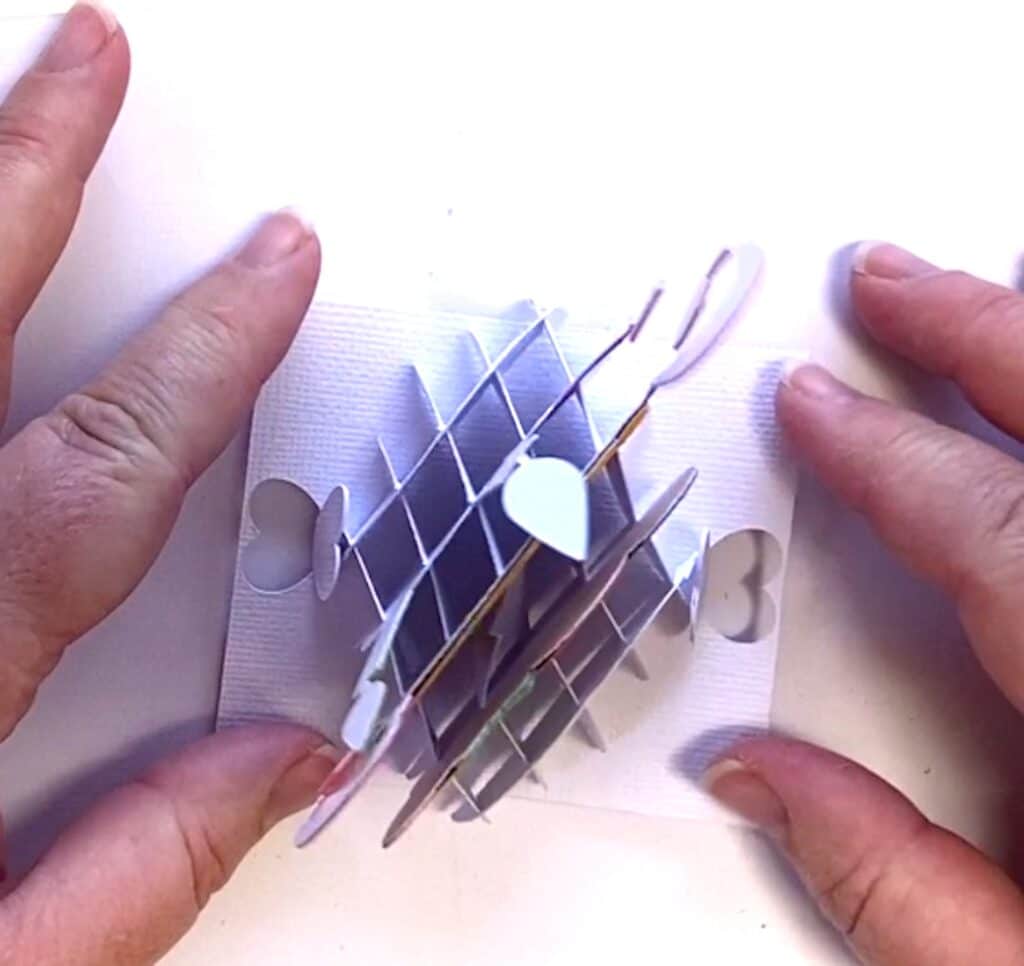
Assemble by putting each half circle in place by sliding it into the slot of the opposing circle piece (there are 5 top pieces (with the lines along the bottom flat edge and the elements at the top) and 5 bottom pieces (with the lines along the top curve of the circle).

The largest pieces are placed in the center. Work your way out from there with each of the smaller pieces. There are 4 pieces with tabs. Two for the top and two for the bottom. When you place those in last, the tabs should be meeting in the corner of the insert (only in two corners, on opposite sides of the card).
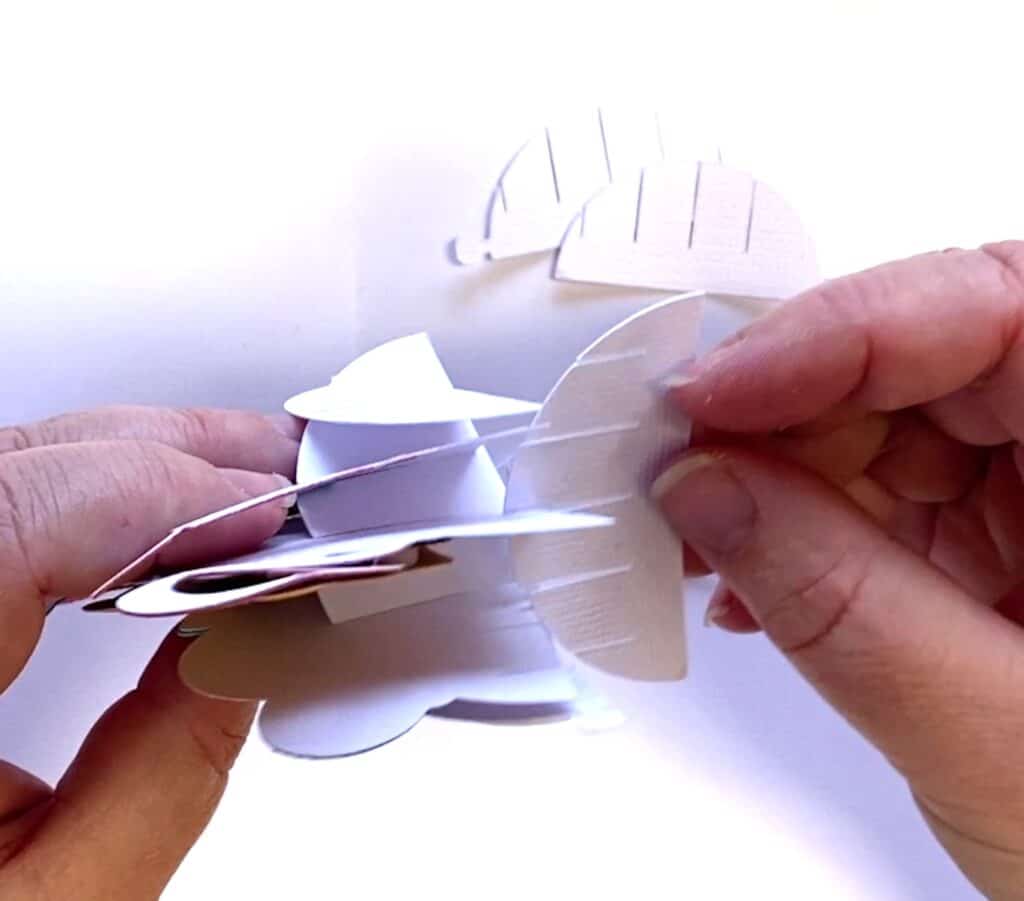
You will have to fiddle with the pieces to get them lined up and where they should be. As you get one piece in, most likely, another will slide out. Putting it flush on the table can help. Also, if you slant the pieces like the design should be when it is flat, that sometimes makes it easier to get things lined up.
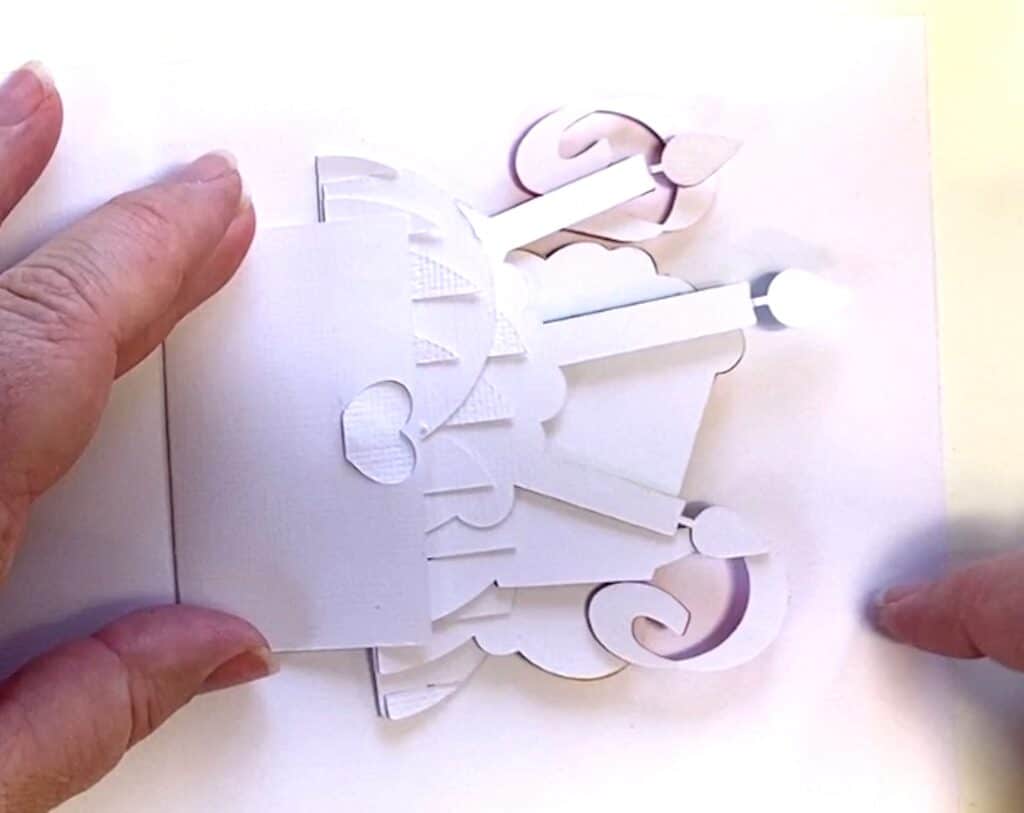
Place the end tabs into the heart tabs on the base paper with a score line.
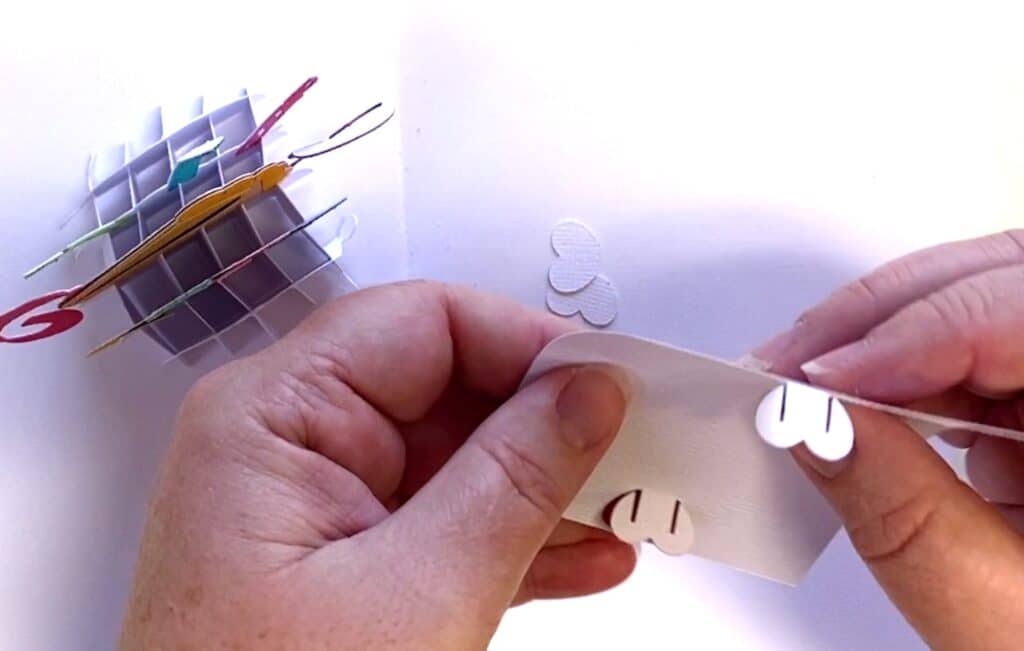
When you have it secured to the base and the tabs are inserted into the hearts, you can fold it and open it a few times to make sure all your pieces are working and nothing is catching. If you need to remove a panel and reposition an element, the piece should slip back in easier than during assembly.
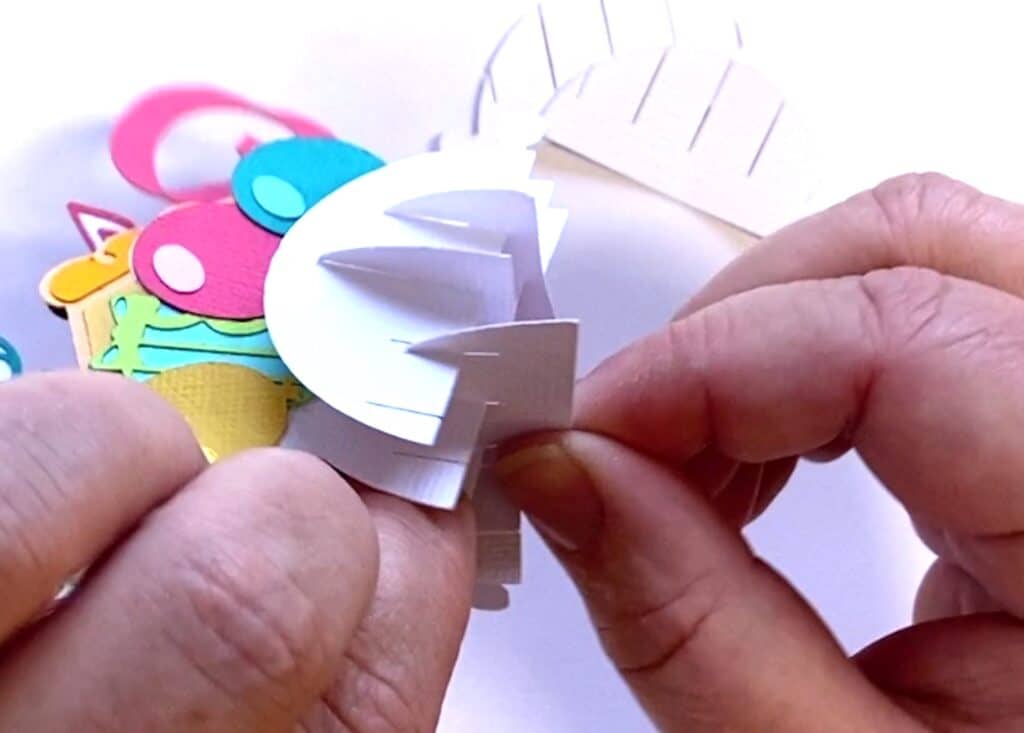
Squish it into more of a “diamond” shape and relieve the tension on the cut lines.
Line up the score line on the base piece (while the insert is folded) and then line that up with the score line of your card. Glue down one side, and then the other. Your birthday slice pop-up is ready to go!
I didn’t add sentiments or embellish the front of my card before adding the insert. If you plan to use rub-on stickers or anything that requires your card to lay perfectly flat, do this before you add the insert.
TIP: You can cut the base pieces from colored cardstock or a thicker pattern paper to add more “style and pizazz”. Mix it up and see how you can make it yours.


I am saving up for your design school at some point 🙂 Until then- do you ever take requests? I would love a really great sympathy/thinking of you type card for purchase 🙂
Hello Colleen,
I definitely take requests. I will work something up in the next few days (it was on my list…I’ll just bump it to the top).
Rhoda
I made this, and it was so much fun! The one thing I forgot to do (totally my fault!) was make sure I put this inside the card so the pretty part would be seen when the card was opened! Oh well, won’t be making that mistake again! Wonderful pattern, video, and instructions! Thank you so much for doing this!!!