
Eek! Scrapbook Cut File Overlay for Cute & Simple Halloween Layouts
We may earn a small commission for purchases made through affiliate links in this post. For more information go to our Privacy Policy.
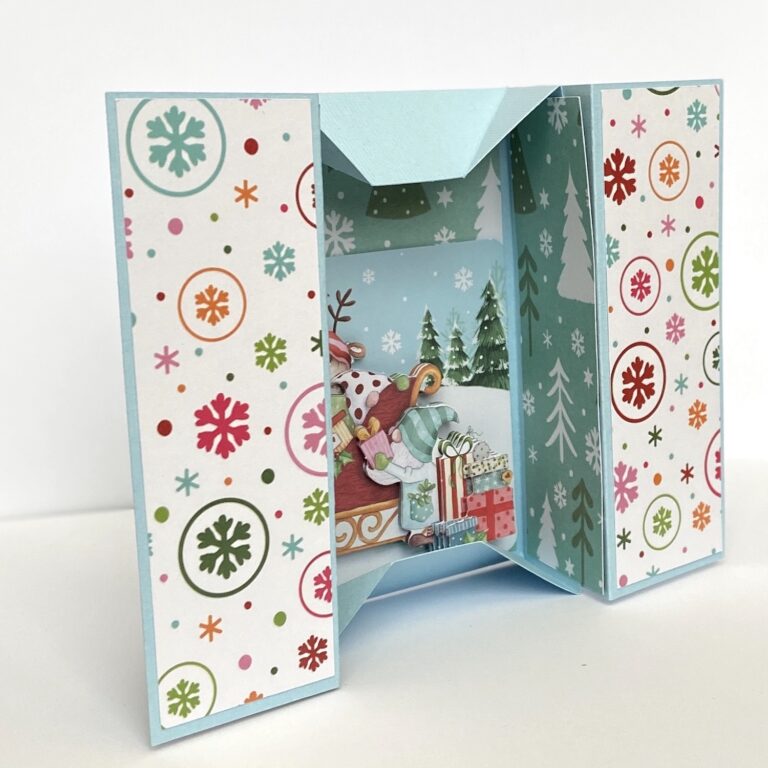
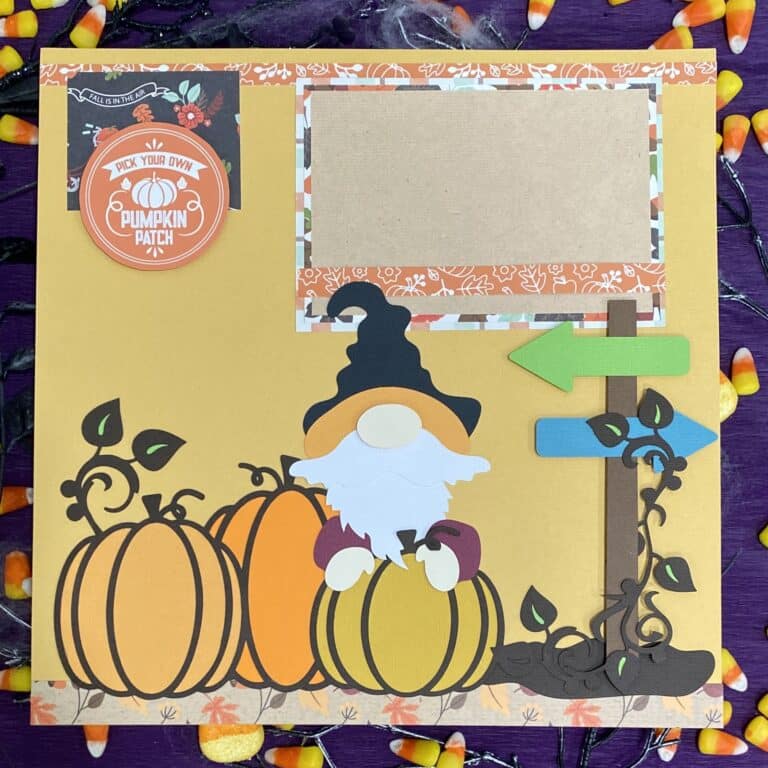
In this tutorial, we’ll be creating a captivating Halloween-themed scrapbook cut file overlay. This overlay is designed to enhance your scrapbook pages with a touch of spookiness and style. The best part? We’ve already designed the cutouts for you, making the process even more enjoyable and hassle-free.
Materials Needed for Scrapbook Cut File Overlay:
Before we dive into the tutorial, make sure you have the following materials ready:
- Eek! Scrapbook Overlay Cut File SVG
- Assorted colored papers: color backgrounds, cardstock, glitter vinyl, and patterned papers.
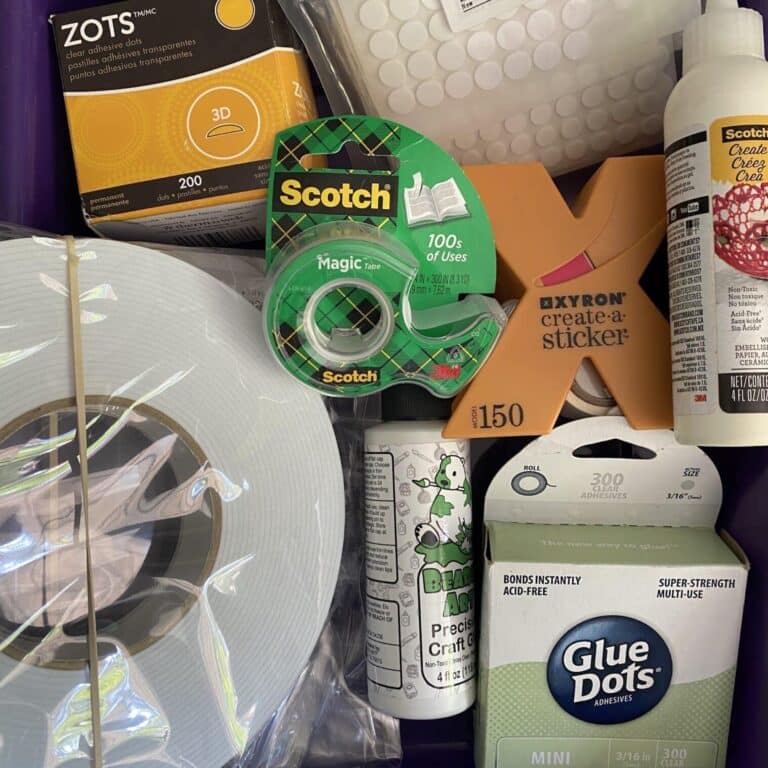
- High-quality scrapbooking glue.
- Pink and Main powder for making surfaces non-sticky (optional but necessary if you use vinyl for backing)
- a cutting machine (like Cricut or Silhouette)
- scissors
- paper trimmer.
- A double-sided adhesive tape runner (optional but recommended for efficiency)
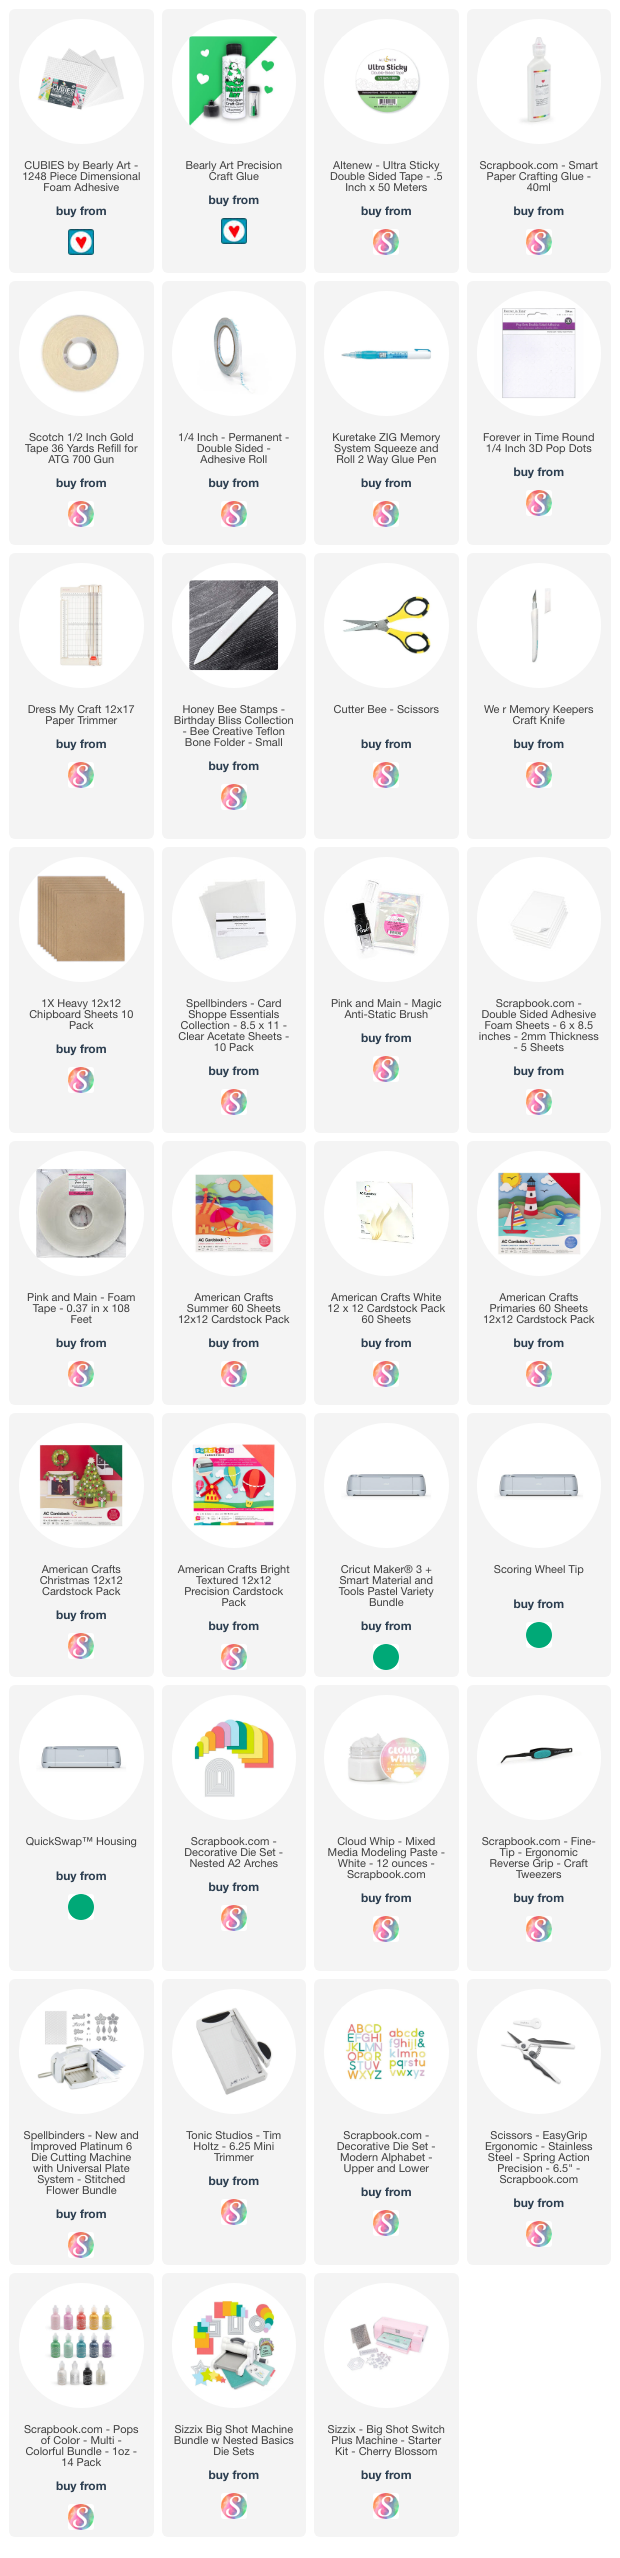
All the general supplies for scrapbooking and cardmaking that I use are listed below. Pattern papers and cardstocks are not specific. Use what you have (unless you were eyeballing that new paper release…).
NOTE: This file is part of the 2023 Halloween Craft Stash Challenge. If you are working on this project after the challenge is complete, you can still participate. The file is sold individually in the shop and it is also included in the Mega Halloween Bundle.

Step 1: Upload and Prepare SVG Cut Files
- Open your preferred design program.
- Import the provided cut files for the Halloween scrapbook overlay.
- Ensure you select the SVG file format to maintain compatibility.
Step 2: Customizing the Overlay
- Personalize the color scheme of the overlay to match your Halloween aesthetic.
- Make a note of which colors will be pattern paper and which will be solid cardstock.
- Cut out your overlay and elements
Step 3: Assembling the Overlay
- Place the cutouts onto the overlay, adhering them according to the intended design. Remember to work from the “front of the design (visually)” and work your way to the background elements.
- If some materials have adhesive properties, consider using Pink and Main powder to prevent sticking.
Step 4: Placement and Assembly on Scrapbook Page
- Select scrapbook paper (if it is a thicker type) or cardstock paper as your background page for your Halloween overlay.
- Cut your photo mat papers and place them on your background paper.
- Attach the overlay to the page using adhesive or glue, ensuring a firm attachment.
- Position the overlay strategically on the page, considering the layout and composition.
- Confirm that all cutouts are securely adhered to the scrapbook page.
Step 5: Final Touches and Page Decoration
- Enhance the overall aesthetic by adding complementary embellishments and elements.
- Elevate the spookiness factor with bling, stickers, or other glitter and glitz.
- Ensure that all decorative elements are securely attached for long-lasting results.
Don’t forget to share your creation with the rest of us in the Lemony Fizz Paper Crafters Facebook Group.
Paper Crafts 101: Types of Paper Crafts for Crafting Inspiration
Stick with Perfection: Exploring Scrapbooking Adhesives for Your Creative Projects
6 Achievable Layering Paper Tips for Eye-Catching Scrapbook Layouts
General Scrapbooking and Cardmaking Supplies that I Use


The spooky treats page is super adorable
I love the papers you used. My problem is usually that both sides are cute and then I have to choose 😳
Thanks for sharing👍
Cute papers! Great way to use what you have too!
Love this LO! Thank you for the cut-outs. They are very much appreciated. Also, thank you for the tips on using glitter vinyl. TFS!