
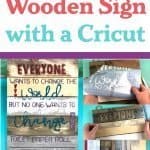
How to Make a DIY Wooden Sign with a Cricut and Stencils
We may earn a small commission for purchases made through affiliate links in this post. For more information go to our Privacy Policy.
Have you ever bought something from the craft store, like a wooden sign blank? Then wondered “What the heck am I going to do with this?”.
That’s where I was with this project. My daughter and I were looking around Michael’s with no real plan or intention. And the wooden signs were more than 50% off. So I had to buy one? Right?
And then it sat. Under the craft bench. All sad and lonely.
Just waiting for me to have an ingenious idea.
I decided to use my Cricut machine and the stencil material to make a quote to put on it.

How About a Bathroom Quote?
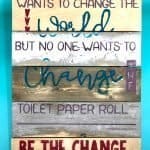
My family is notorious for using up all the toilet paper. And NEVER changing it. I don’t mean they occasionally forget. I mean they always forget. And they will text me from the toilet, asking me to bring them some!
A bathroom quote is where I decided to take this project. Besides. Bathroom humor is always fun.
After designing the quote and making a plan, I pulled out that pretty wooden sign and measured it.
I’m That Crafter
There are so many projects that I look at and think, “Oh! I love that. I can totally make that. It will be easy!!”.
Famous last words.
- Aggravating problem number one was the sign is about 20 inches long. That’s 8 inches longer than the Cricut cutting mat.
I adjusted my design to cut on two different mats so I could space the design out. I want to cover the majority of the space.
- Then aggravating problem number two happened. I’ve been cutting heat transfer vinyl for most of my projects lately. So I put the stencil material in upside down.
Oops.
There went about 14 inches of stencil material. I don’t even have the brain power to figure out if I could have mirrored the image and still done it that way or how I would have fixed it.
Try, Try, (Try?) Again
I just cut more material and tried again. Keep in mind…I’m trying to video this whole thing for a tutorial.
Now, I’m deleting all those videos and the cuss words that went with them and starting over.
Maybe I should keep some of them for future bloopers? Nah. I’m sure I will have plenty more!
How to Make Your Own Home Decor
Or you can follow along through this post to see how I created my wooden bathroom sign with a quote about toilet paper.
Supplies:
Blank Sign (you can grab them at Michael’s or here on Amazon)
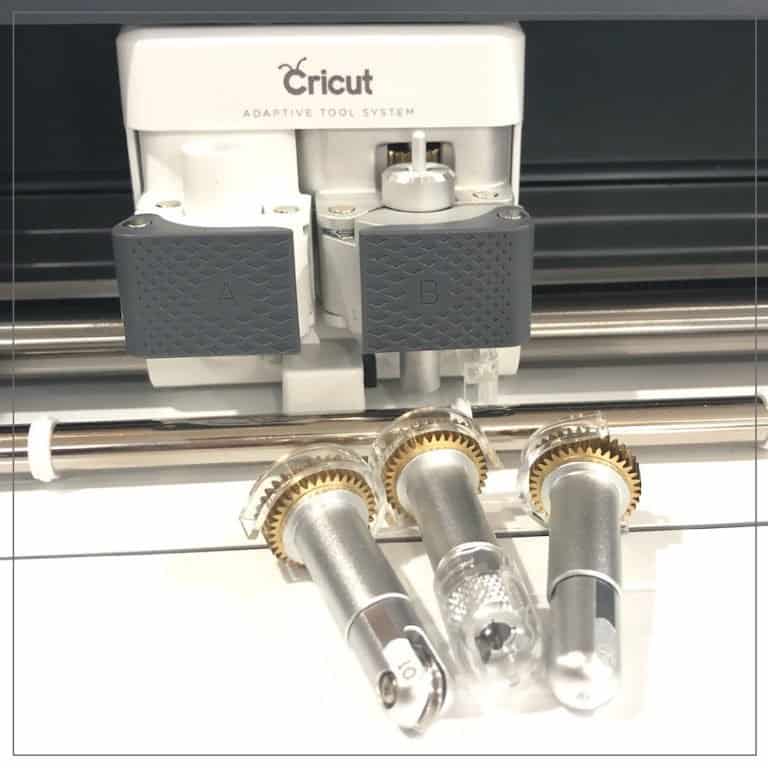
Cricut Cutting Machine
A Bathroom Quote (type in whatever you want in Design Space. Use this tutorial for script fonts!)
Cricut Weeding Tool (or whatever your preference is)
Acrylic or Latex Paint (I had a bunch of house paints leftover from various projects…so that’s what I used)
A Few Tips on Using Stencil to Paint
Let me just start off by saying that using the Cricut stencil material is cool. But, there has got to be a better way to get that stuff off the backing and on to your project!
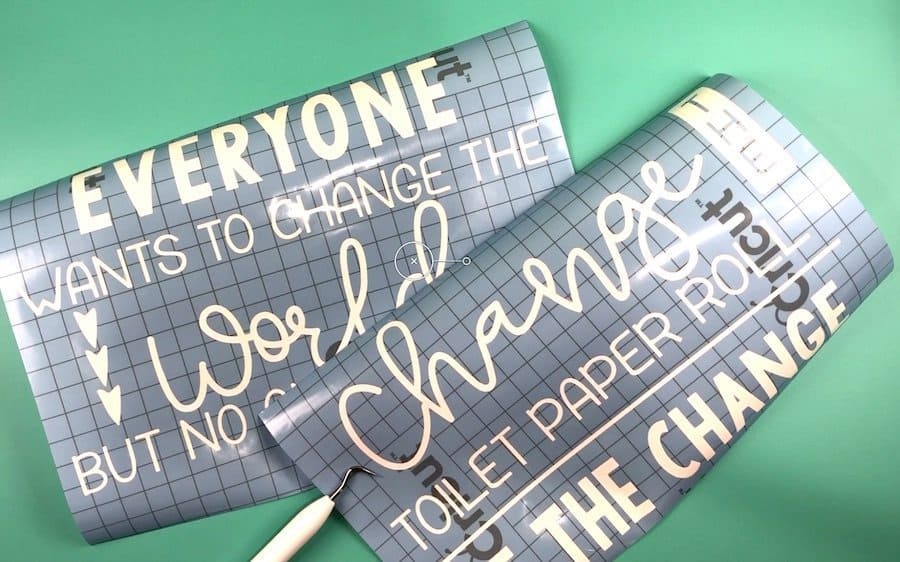
I started out with two sheets of the sticky stencil and I was just going to pull it off in stages as I stuck down the corner and edges. The plan was to work my way down through the middle and then the lower edge.
Nothing ever goes according to my plan though.
I got all tangled up in the stencil.
Then, I tried using transfer tape…but that was an even bigger mess. Eventually, I figured out that I could cut the quote into strips and just pull each one apart as I needed it. Easier. Not necessarily a piece of cake though.
I only figured that process out after completely ruining the second line of the quote and then having to start over.
In the process, I also cut off the top of one of the folk-hearts in the quote and a few letters were a little close to the edge of the stenciling so they wouldn’t work when it was time to paint.
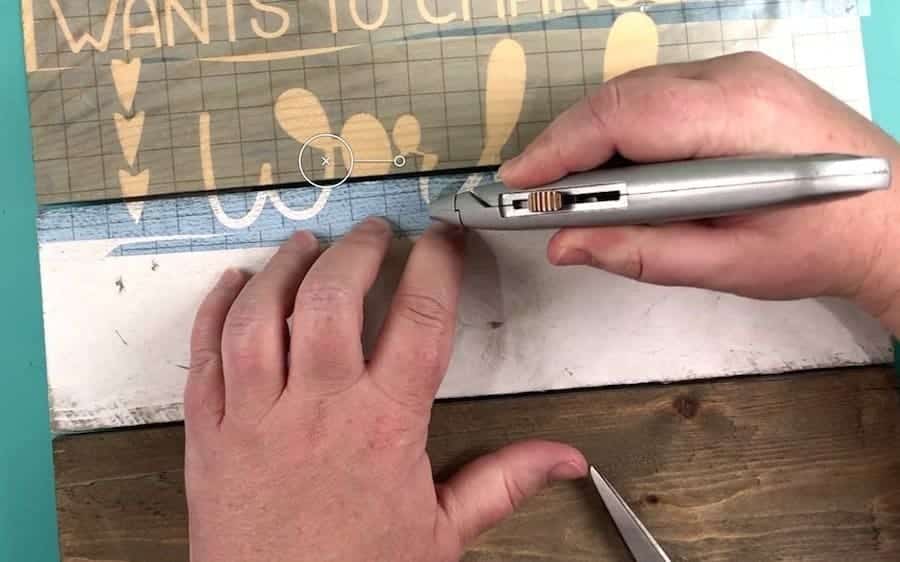
I remedied this by adding in another little strip of stencil material to cover any open spaces and then I trimmed them with a utility knife. I really need to find my X-acto knife. I think someone in the family probably took off with it. I haven’t seen it in a long time. Even after cleaning and organizing my entire craft room!
The Steps to Painting Your Quote
- Choose your quote.
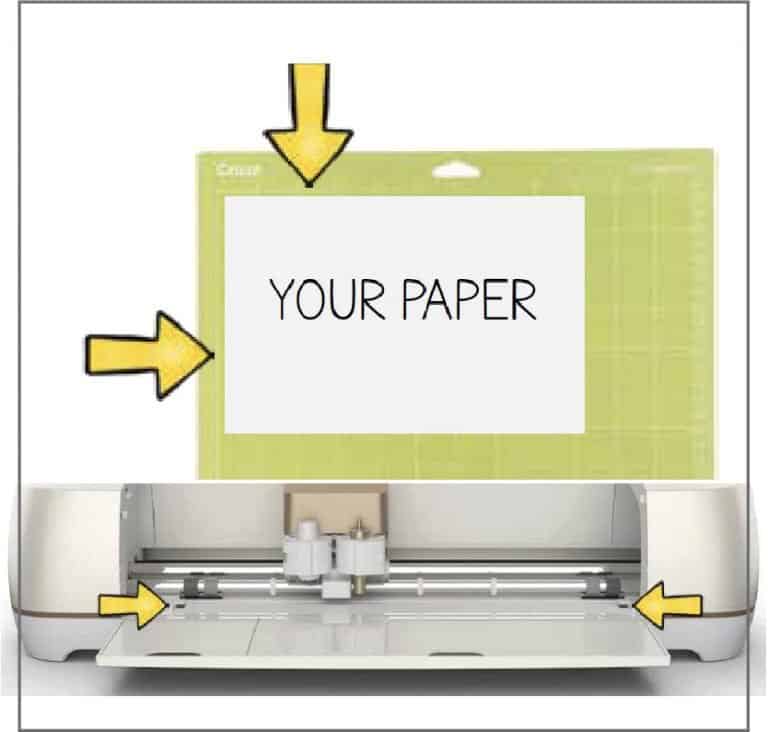
- Load your adhesive stencil material into your Cricut or Silhouette machine
- Press cut and wait for your machine to do its thing
- Weed the design and then cut it into strips if it’s a larger quote.
- Pull your stencil material away from the backing and press it onto your wooden sign
- Make sure all the edges are down and paint won’t be able to seep back under the plastic
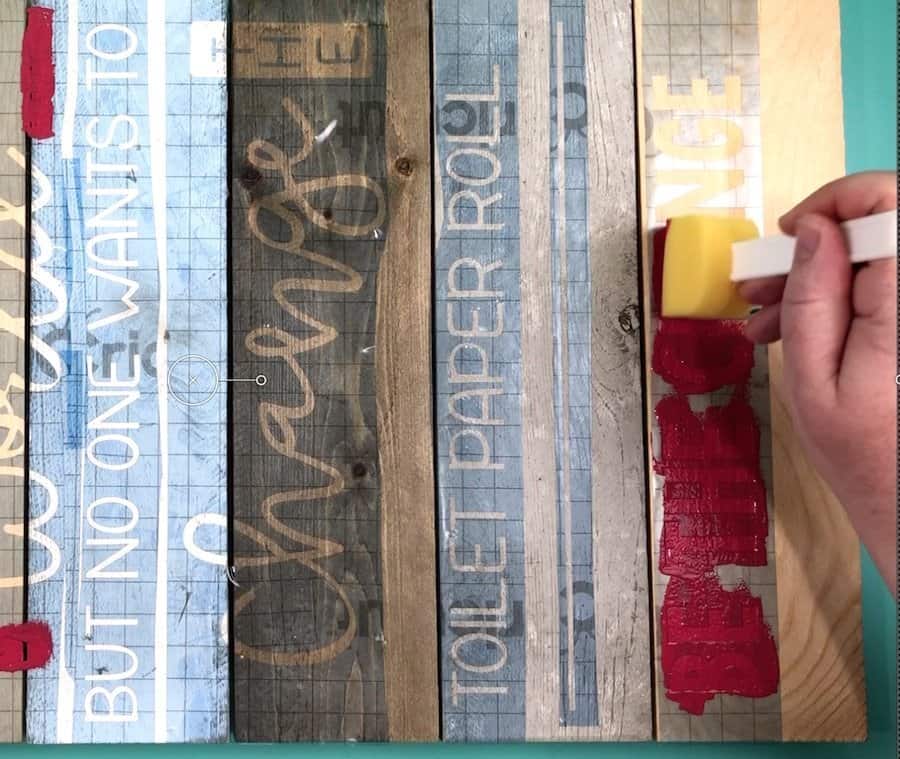
- Choose your paint colors and dab them over the stencil
- Wait for your paint to dry (this one is hard if you are impatient like me!)
- Remove the stencil material and hang up your newly made wooden sign!
If you want to make the same quote as I did in this post, you can get the cut files for it here in the member library.
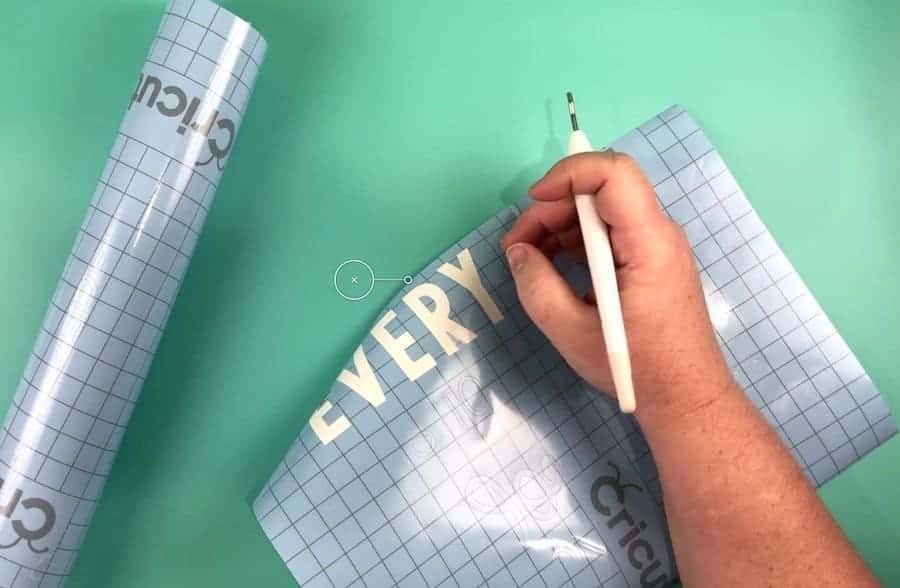
Once you have sent your design through your cutting machine, you will be removing the letters from the stencil. It’s the opposite of making heat transfer vinyl.
Remember: do not mirror the image and do not weed the background of your quote!
You want the blank spaces of the lettering to show wood through them so you can paint the quote onto the board. Don’t forget to keep the centers of letters like “o”, “R”, “B”, etc.
If you have a larger quote, cut it into lines. Or chunks by phrases. Whatever will make it easier for you to pull away from the backing and not get the adhesive stencil stuck to itself.
Watch out for the insides of letters like “C” or “G” as well a the letter “S” and “E”. They have parts that want to stay stuck to the backing and will not pull away as easily.
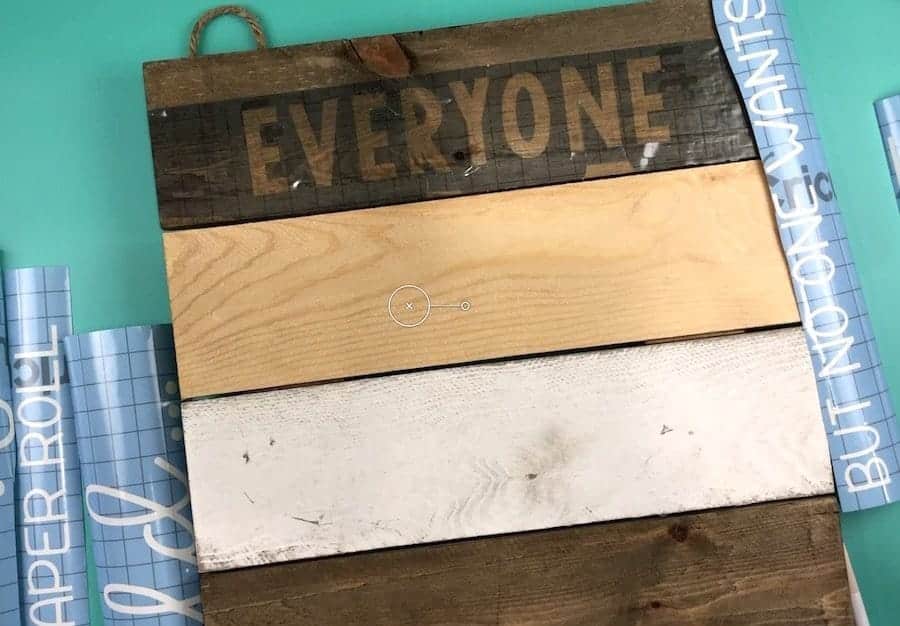
Place your stencils on your board as close to center as you can and try to watch your line spacing. Depending on the type of wooden sign you are using, this might be determined by wood slats or natural lines in the wood itself.
You need to RUB all the edges and letter parts down as best as you can. Use a burnishing tool or something to get a good tight seal.
Stencil and I have a love/hate relationship. I love to try and make something with stencil and paint. But I never get my edges down all the way and there are always a few letters that bleed under.
Pro Tip: Cover your stencils and design with Mod Podge first. It will fill in the cracks and places where your stencil didn’t seal. If it seeps under, it will be clear and you won’t see it. Then paint over the Mod Podge and stencil when it dries. You will get a crisper edge and finish!
Now for the fun part! Paint your quote using all one color or mix and match to complement your decor. I had colors left over from house projects so I used those to paint my bathroom sign.
Once your paint is dry, you can remove your stencil from the wood. You may need to use a utility knife or an X-acto knife to trim some edges of the paint if it was too thick or stuck to the wood in places.
You don’t want to pull it up off the wood! A rough wood won’t have this problem but a slicker surface might.
Remember earlier in this post when I said that stencils and I have a love/hate relationship? Well, it was solidified again with this project. My letters bled. I used a Dremel tool to do a little touch-up. That didn’t make me happy.
I went over the whole sign with a hand sander with a light grain pad. It gave it a rustic look and I can live with the few letters that are still a little distorted.
Sometimes a project looks better when you have to be even more creative and cover mistakes!
You are ready to hang your wooden sign quote. How fun was that?!

Thanks for the tutorial. Is this stencil reuseable?
The stencil would most likely not be reusable. It would depend on how well you could keep it from sticking to itself when you removed it and if the negative spaces for the lettering were still crisp and clean after using Mod Podge and paint.