Cricut Accessories: Cricut Engraving Tool & Embossing Tool
We may earn a small commission for purchases made through affiliate links in this post. For more information go to our Privacy Policy.
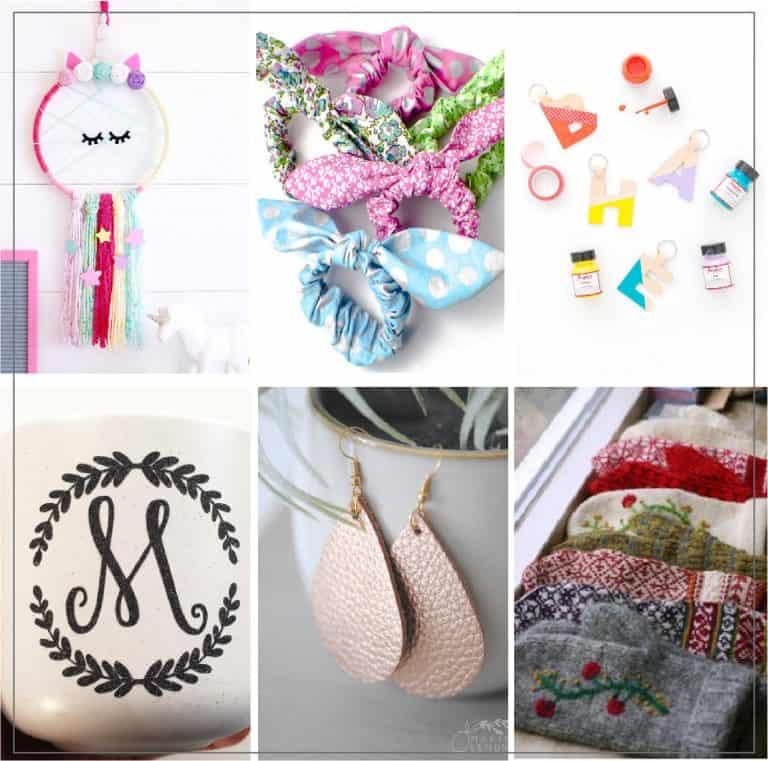
The Cricut engraving tool and the Cricut embossing tool are newer accessories to add to your Cricut collection. Expand the variety of what you can make with your Cricut machine and learn how to use these tools on a fun new project today!
A Cricut machine is an amazing device that can help turn your crafting dreams into reality. From making felt crafts to stencils to personalized shirts, mugs, and more – it may seem like it does it all. But, does a Cricut ALSO do engraving and embossing?
Well, maybe…if you have the right machine.
How To Engrave With A Cricut Maker
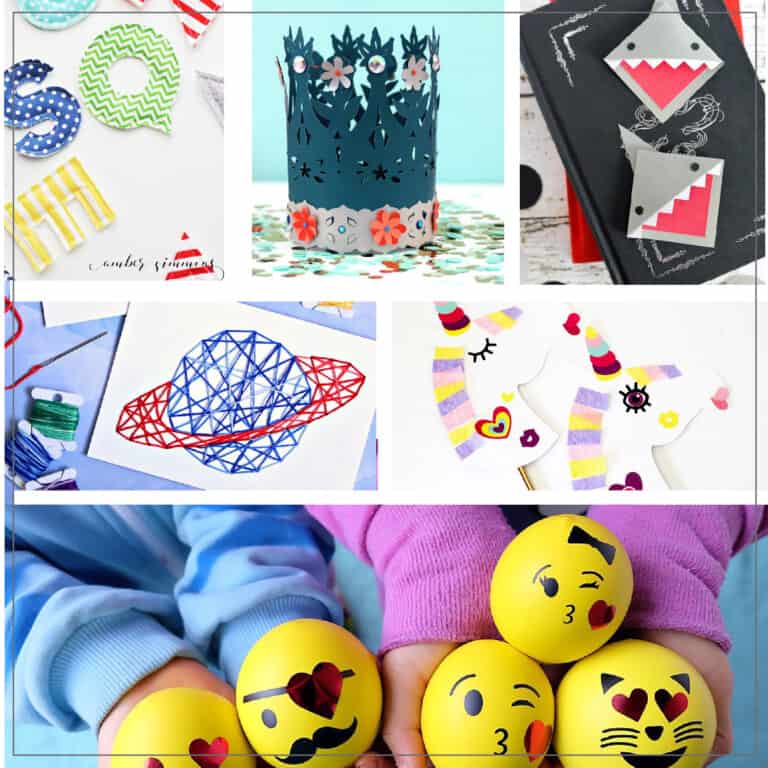
For anyone who loves crafting – either for fun or to sell your various projects – owning a Cricut machine is a MUST. It’s super simple to use (even kids can craft with it!) and it creates stunning, high-quality items almost effortlessly.
When it comes to the things you can do with your Cricut machine, the world of possibilities is (nearly) limitless! And yes, you can use your Cricut machine for engraving.
In the past, I’ve talked about the basic Cricut accessories that are good to have on hand for your everyday projects. Today, I’m adding to that list and showing you a couple of new tips that will allow you to start engraving and embossing with your Cricut.
The Cricut Engraving Tool
Cricut added a new tool not too long ago called the Cricut Engraving Tool. (aka, the Cricut Engraving Blade or Tip) This specialty tool is just one of the many that Cricut offers to increase the capabilities of the Cricut Maker.
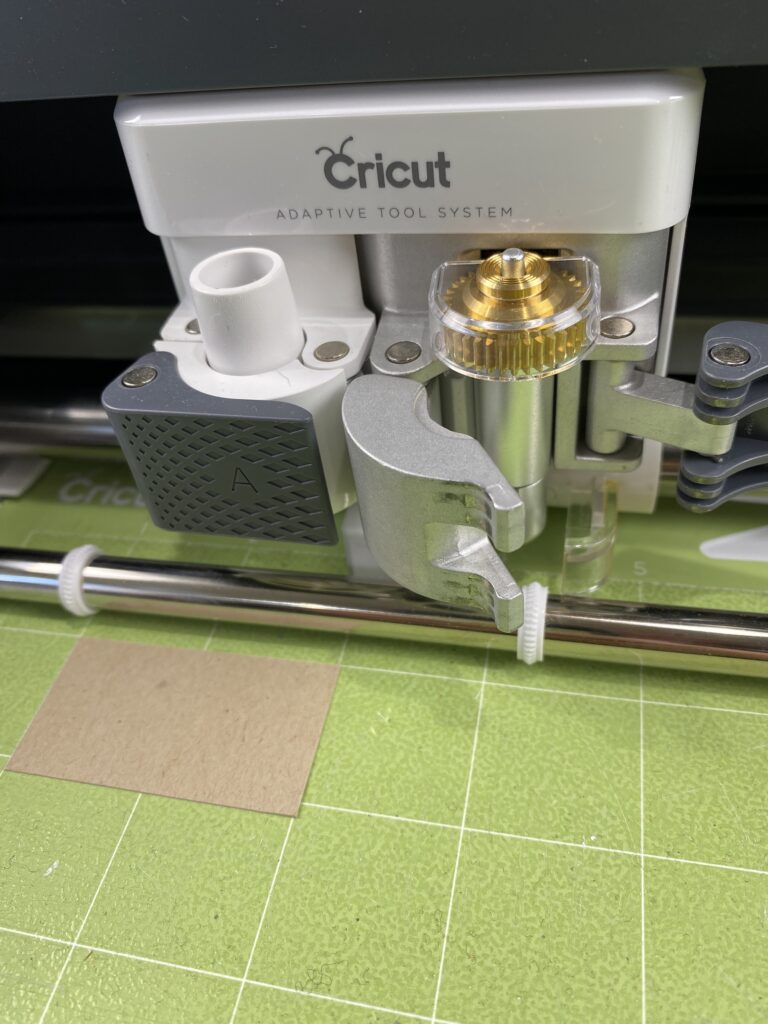
Note: As it currently stands, the Maker is the only Cricut machine that can engrave. That is because it’s the only Cricut device that can apply the amount of pressure needed, thanks to the Adaptive Tool System.
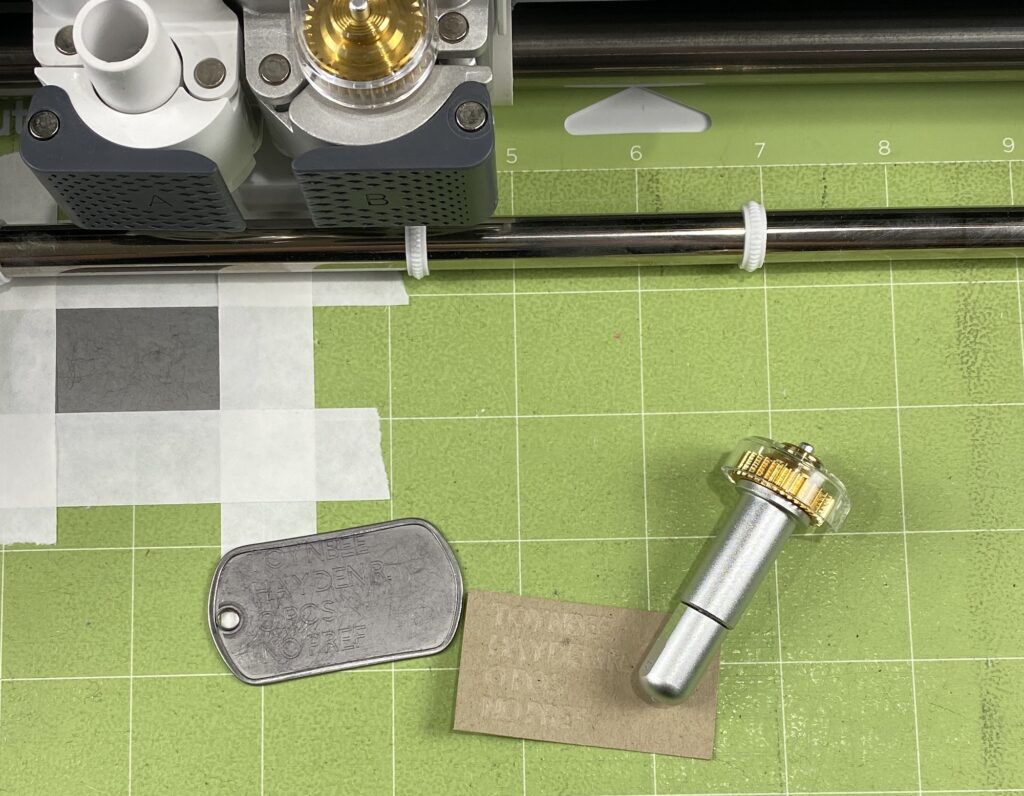
The engraving tip is part of the Cricut QuickSwap Tool System which allows you to change tips by (literally) just pushing a button. Notice the number 41 on the side? That’s to help you distinguish it from other QuickSwap tips.
Pro Tip: You cannot use the housing for your knife or rotary blades since they aren’t part of the QuickSwap Tool System.
NOTE: I’m not super impressed with the engraving tool. It might be that I need to work with some different fonts…but right now the Cricut will only engrave the outline of a font. If you want the inside filled, you will be messing with making “engrave lines” to fill in the font. It really isn’t my favorite feature of the Cricut Maker.
Materials You Can Engrave
With each new addition that Cricut provides for its machines, the Maker becomes even more fun! The engraving tool is designed with a sharp metal point that the machine uses to etch text or images into:
- Soft metals (aluminum, copper, etc.)
- Leather (faux, garment, tooling, and genuine)
- Paper (cardstock, watercolor paper, sparkle paper, etc.)
- Acrylic
- Plastics

The Maker can accommodate materials up to 11” wide and about ⅛” thick as long as they will fit under the roller bar. The engraving blade doesn’t cut deeply, so make sure to choose designs that will show up on your material.
Want to engrave glass? Currently, glass is NOT on the list of approved materials that the Maker can engrave. Although, if you want to etch glass, I do have a hack for you! Simply use your Cricut Maker to create a stencil then use glass etching cream to engrave in the glass.
Supplies You Need For Engraving
Make sure you have these supplies before you attempt your first engraving project:
- Cricut Maker
- Cricut engraving tool
- StrongGrip mat
- Painter’s tape
More Facts About Engraving With Cricut Maker
- You do not need to calibrate your Cricut Engraving Tool.
- You can use the Design Space app on your iOS or Android device and do not NEED to use your computer.
How To Engrave With Cricut Engraving Tool
The basic process for using the Cricut engraving tool is simple, but it may seem confusing at first for beginners. Follow these steps to engrave your project on your Cricut:
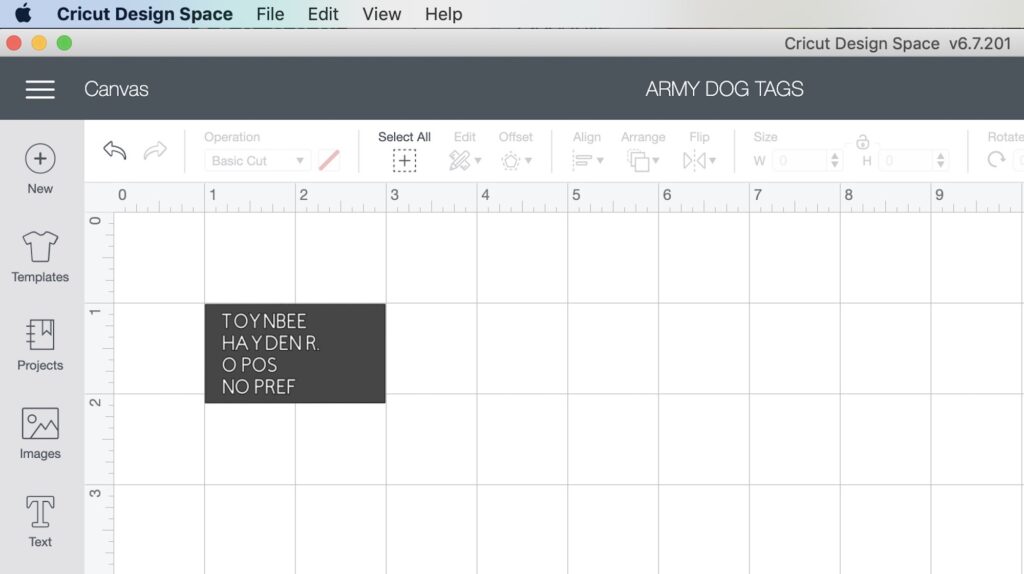
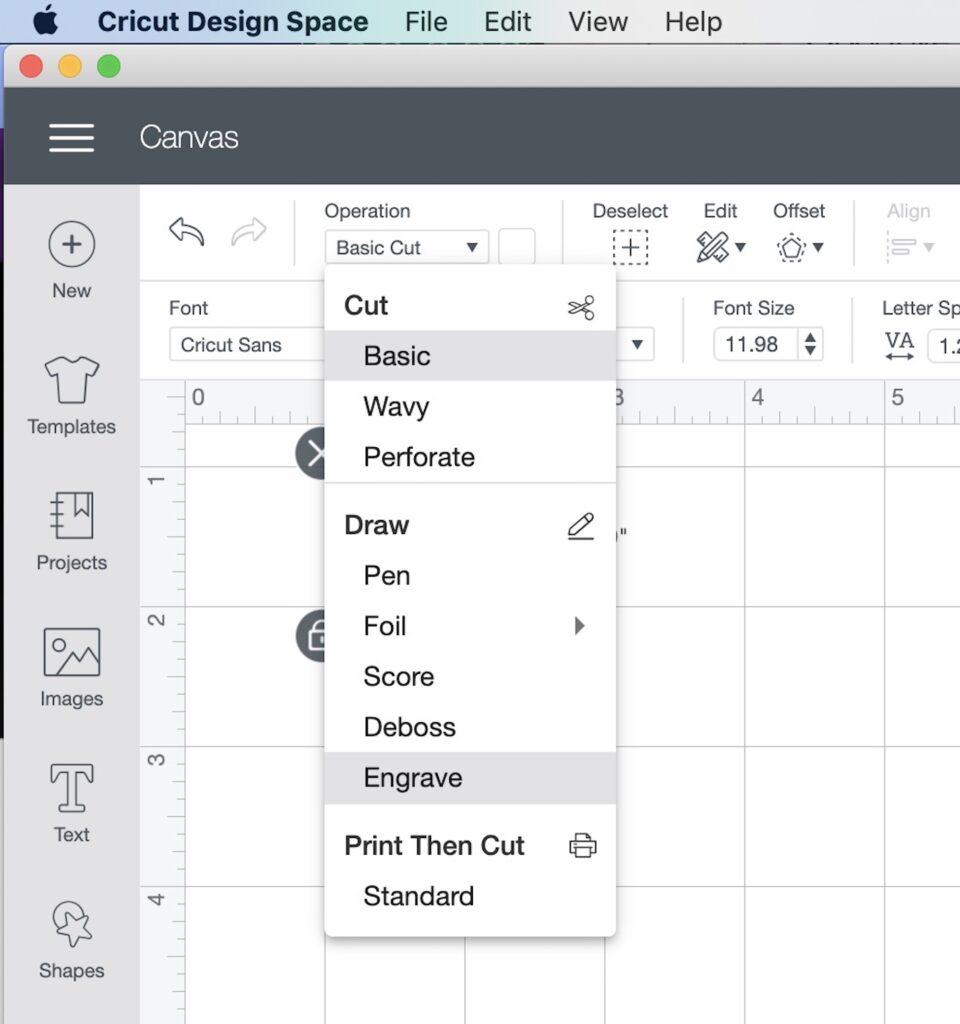
- Open Cricut Design Space and start a new canvas.
- Upload or insert your favorite image.
- Select your image and change the line setting from cutting lines to engrave lines in the drop-down menu.
- Change the size of your design to fit your material.
- Click the green “Make it” button at the top right of your screen.
- When the next screen comes up, edit the mat and adjust the location of the image if needed.
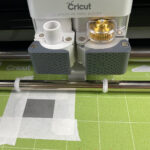
- Simply follow the instructions in Design Space and insert the Cricut engraving tool into the Cricut Maker’s “B” slot when directed.
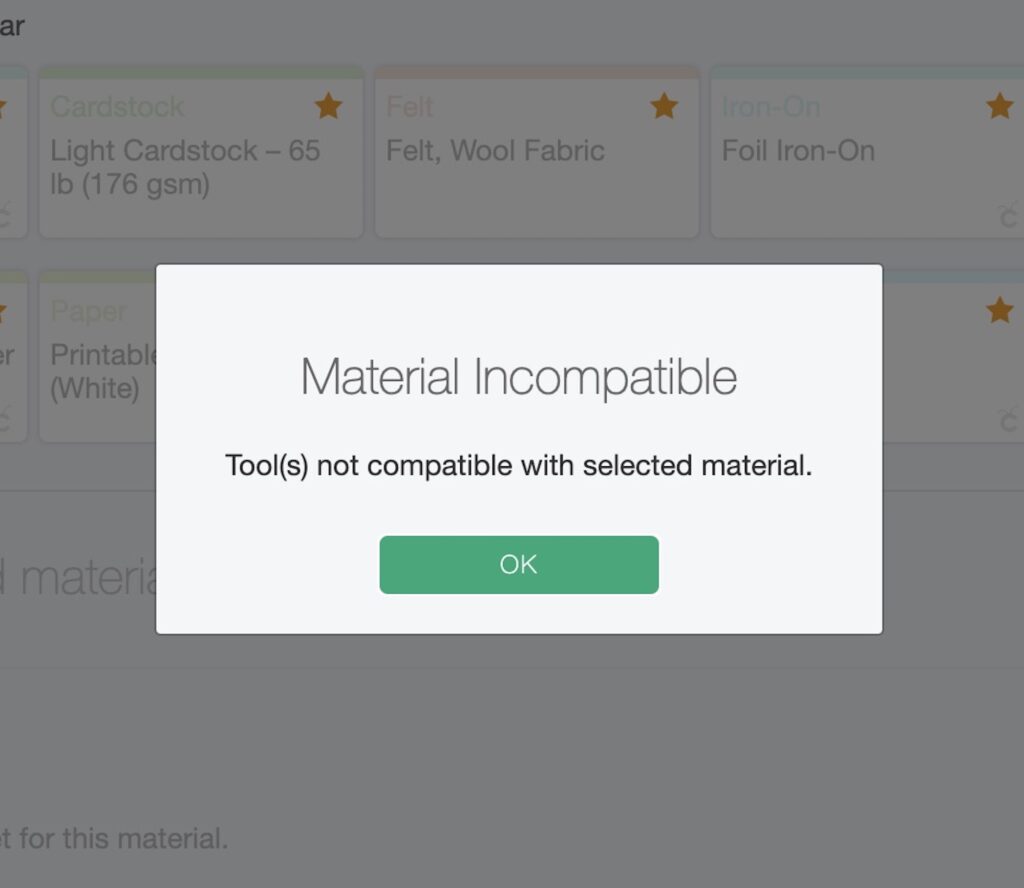
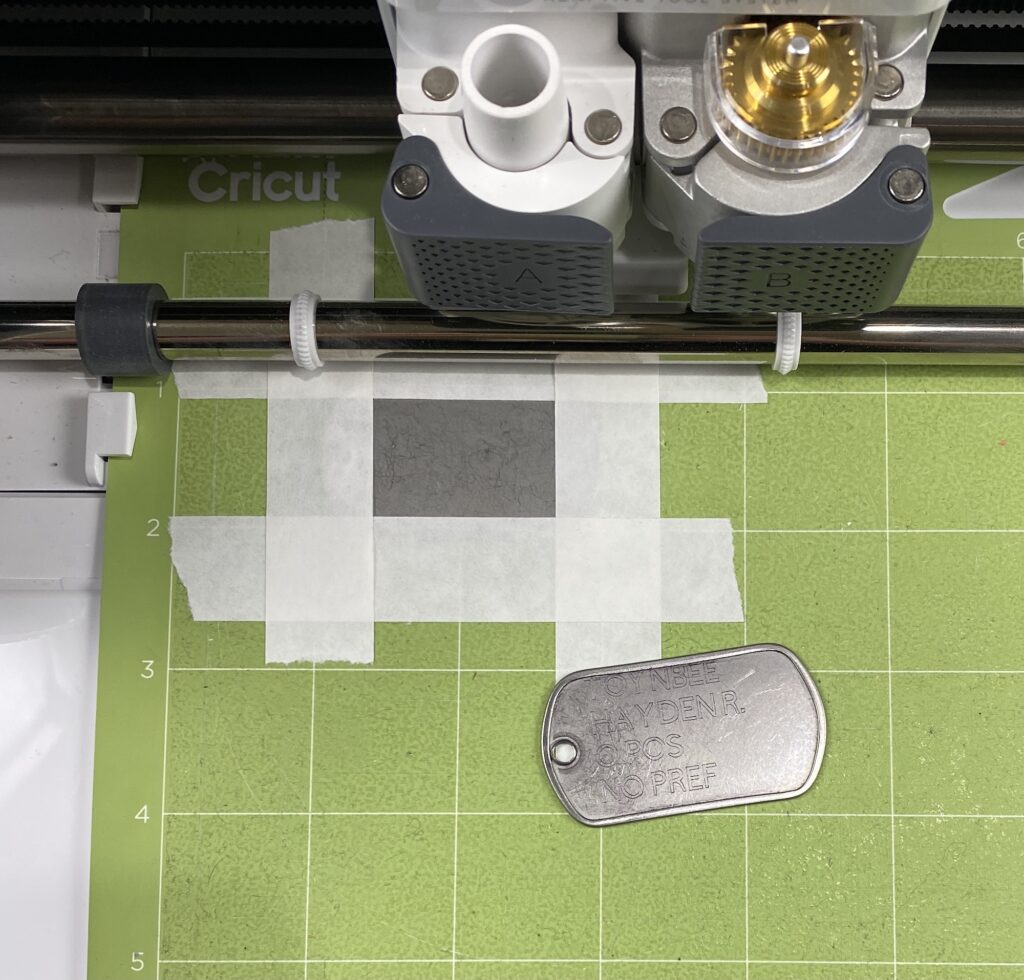
- Select your material in Design Space and put the item you want to engrave on the StrongGrip mat. Use painter’s tape to tape the edges of your item to the mat if needed.
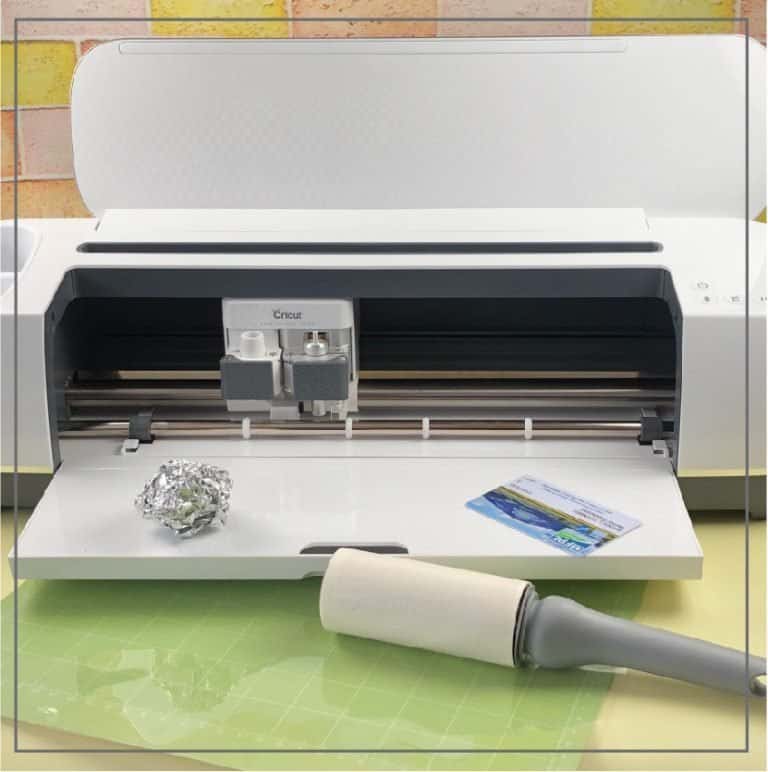
- Do a quick double-check and make sure there’s no loose or built-up dust around the machine. Then, begin cutting and let your machine do its magic.
There are just so many possible projects that you can make with the Cricut engraving tool! And you can unlock even more potential by adding the Cricut embossing tool to your arsenal.
How To Emboss With Cricut
Does the Cricut Maker emboss? Yes!
To do this, you’ll need to have the Cricut embossing tool. Like the engraving tip, this tip is also part of the Cricut QuickSwap Tool System. It has the number 21 on the side to distinguish it from other tips.
I need to distinguish between embossing and debossing in case you aren’t familiar with these terms. Embossing is when you create a raised image on a material. Debossing is the opposite: creating a depressed (or recessed) image on a material. Both methods add dimension and beauty to your paper designs.
Examples of times when you might want to use one of these techniques include:
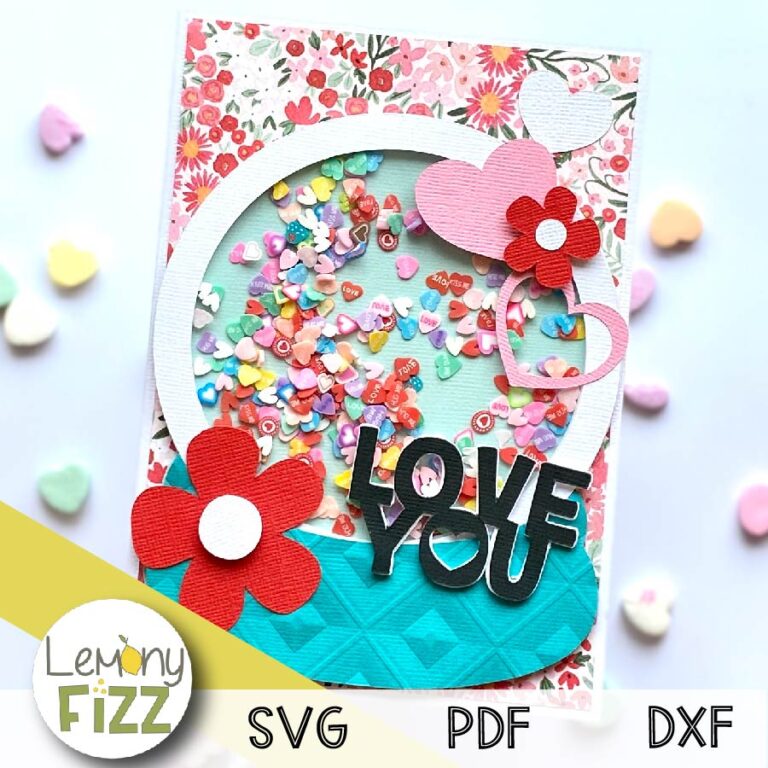
- Monogram stationery card
- Wedding invites
- Gift tags
- Logos
- Seals
- Decorative flourishes on items
NOTE: Because the Cricut Maker creates designs by the tools pushing down, the machine actually debosses images rather than embossing them.
Materials You Can Deboss
This technique creates a stunning effect, but it works better on some materials than others. I recommend using it on:
- Kraft board
- Foil cardstock
- Coated paper
- Shimmer paper
- Glitter paper
- Chipboard
- Acetate
- Basswood
- Leather
How To Use The Cricut Embossing Tool
Here’s the basic process for using your embossing tip to create a beautiful design:
- Open the Design Space app and choose the image file you want to deboss.
- The image will automatically be set to “cut” by default. Simply change the cut setting to a “deboss” setting. You’ll see the lines change to look extra thick which means there’s a debossed line on each side.
- You need to put your design on a square (or another shape) of material. If you click “make it” and go to the next screen, notice that the machine will cut the material shape and deboss the image.
Note: The screen may say that the machine will stop and the tool will spin. The time it spends spinning will take a few seconds and may seem like a long time! However, it’s okay and a normal part of the process. Just sit back and let your Cricut do its thing. 🙂
How To Emboss With Cricut
If you want an embossed design, you may find yourself asking “can I flip the material over to emboss?” It may only seem logical that you could simply deboss your design then flip it over and have an embossed design, right?
I have seen some people recommend doing this. Unfortunately, I haven’t had great success with it when I tried. The designs didn’t really show up on the other side of my material. Instead, if you want to emboss, I recommend following this method:
- Set up your design the same way you would set up to deboss an image in Design Space.
- When your Cricut machine is ready to deboss, it will ask you to put the deboss tool into the machine. Instead of doing this, you can insert an Emboss It pen and have your machine draw the design rather than debossing it.
- Go through the process again to get a second layer of ink on your design.
- Once the machine has drawn the pattern the second time, quickly push the pause button and remove the mat from your Cricut machine.
- Immediately cover your drawn design with embossing powder. Shake off the excess powder, leaving your covered embossed design.
- Use an embossing heat gun to heat up the embossing powder for a few seconds and seal it to your design.
- And you’re done!
Once you add the Cricut engraving tool and the Cricut embossing tool to your collection, you’ll open up an entirely new world of crafting possibilities! If you still have any questions about these tips, leave them in the comments and I’ll answer them for you!
More Cricut Inspiration
- Best Vinyl Cricut Projects To Make With Your Machine
- The Best Cricut Machine To Buy For Your Craft Projects
- Easy Beginner Cricut Projects With Your Cricut Maker
- Cricut Blades: Everything You Need To Know
- 13 Things You Need To Know About The Cricut Maker
- Why Cricut Cutting Mats Are The Secret Ingredient To Better Crafts