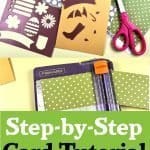
Make a Greeting Card with Cricut Stencil Designs
We may earn a small commission for purchases made through affiliate links in this post. For more information go to our Privacy Policy.
Are you looking for a quick way to make a greeting card? Friends and loved ones are always happy to get handmade cards.
This tutorial for a spring greeting card will be another great design to add to your collection.
For this quick and easy card, I used the extra pieces from a bullet journal stencil that I created. There was a pile of these spring themed pieces floating around on my craft bench. I figured, why not make a card!
Make a Greeting Card with Leftover Pieces

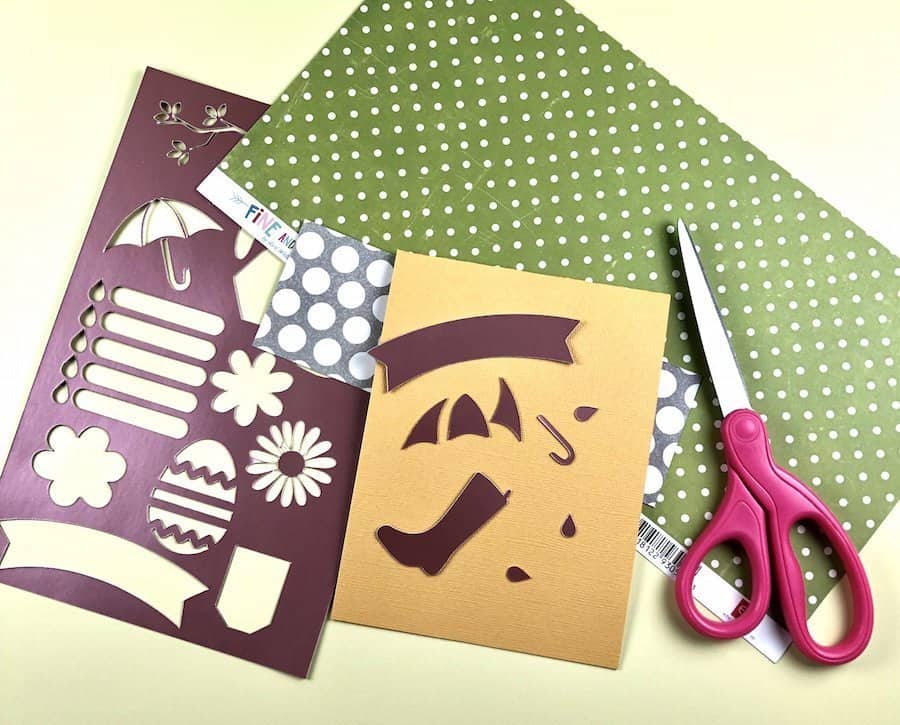
Supplies Needed:
Cardstock (I used this Bazzill cardstock)
Pattern scrapbook paper (any color in a spring theme that you have in the scrap pile is good)
Cricut Metallic cardstock (I used the pink color as a stencil for a bullet journal and then had leftover pieces)
Removable Hermafix Adhesive (or any other removable adhesive)
Printer or stamps for the phrase
Cat-eye chalk ink in charcoal (this is my most used and favorite ink)
The Steps to Making the Card
I had a piece of cardstock that was ready to be used as a card (it was 12 x 4.5 inches) and I folded it to have the seam be on the top. It opens like a tent from top to bottom instead of from side to side.
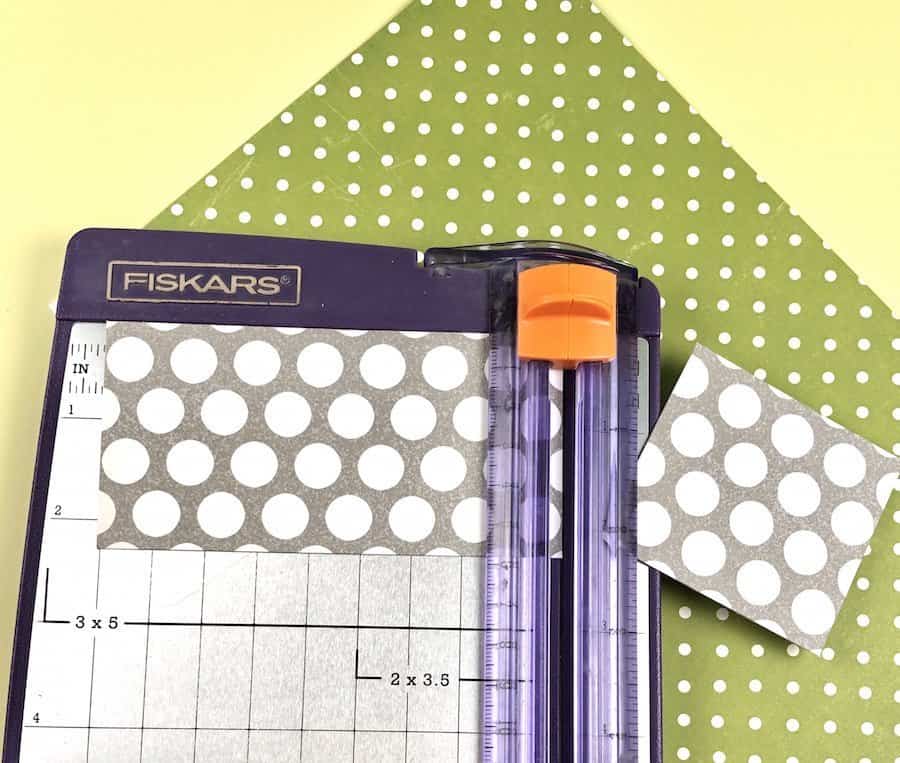
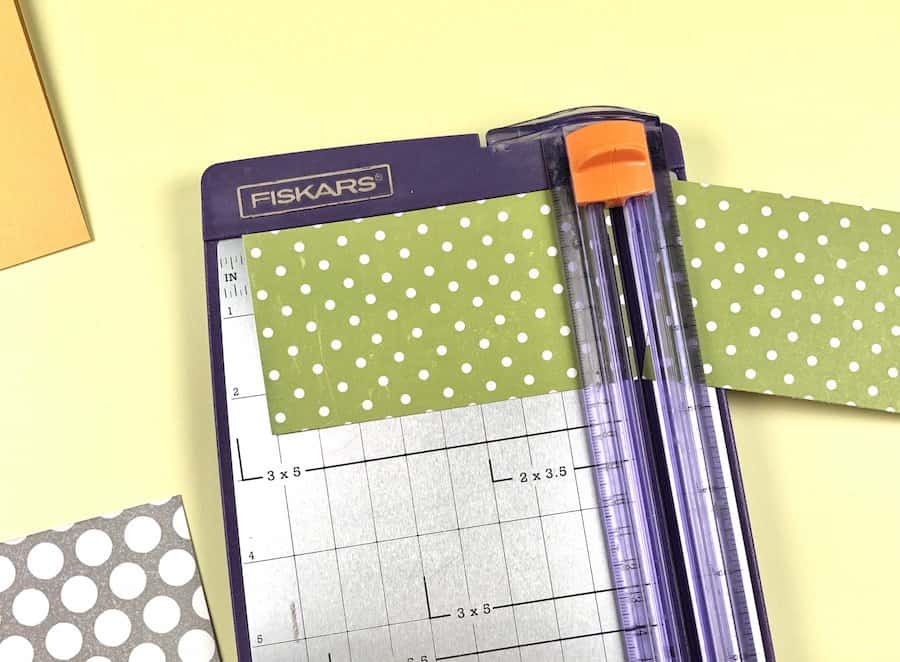
Trim your two pattern pieces to be about 2.25 inches by 4.5 inches (the width of your card base).
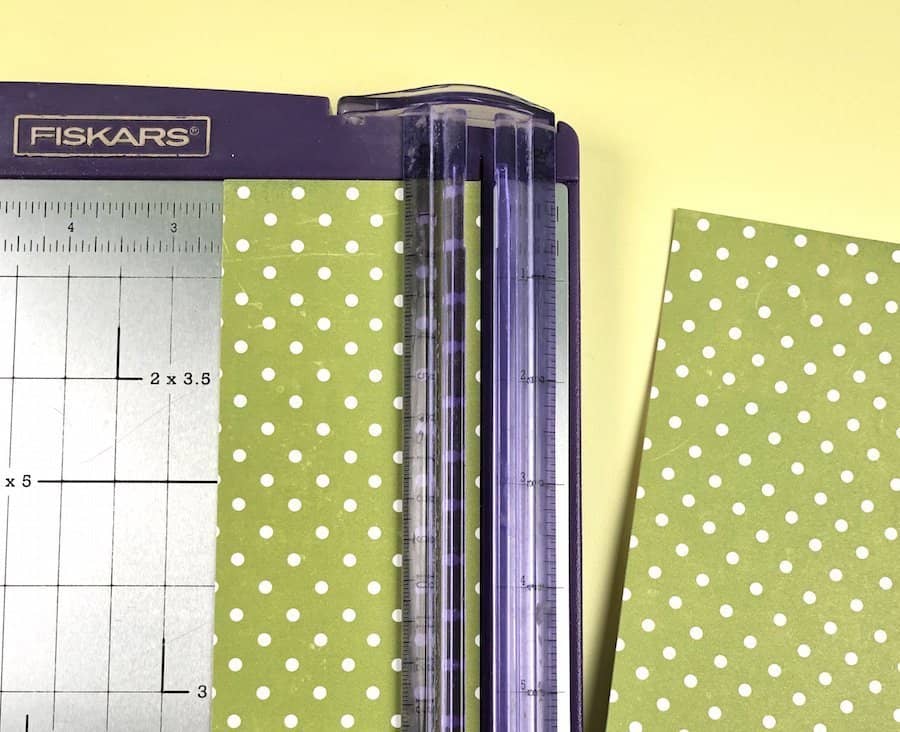
If your pattern paper is too long for your card or you are taking it off a full sheet of scrapbook paper, cut it first at 2.25 inches (to get the most out of your paper) and then trim that small strip down to 4.5.
You should have two pattern pieces ready to place on the card. One at the top and one on the bottom.
Hold the paper in your dominant hand. Pull to tear an edge of the pattern paper about a quarter of an inch in. You can ink this edge if you like a more shabby chic look.
Tear the edge on both pieces of pattern paper.

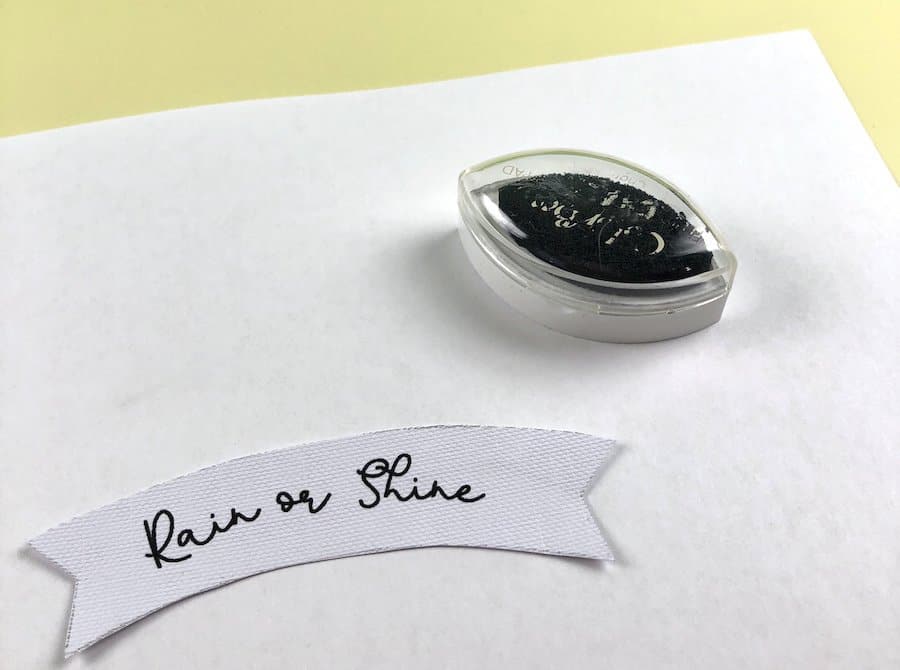
The phrase is up to you and your supplies. I chose to put “rain or shine” on my banner. I typed up the phrase and then printed it out on a piece of regular printer paper.
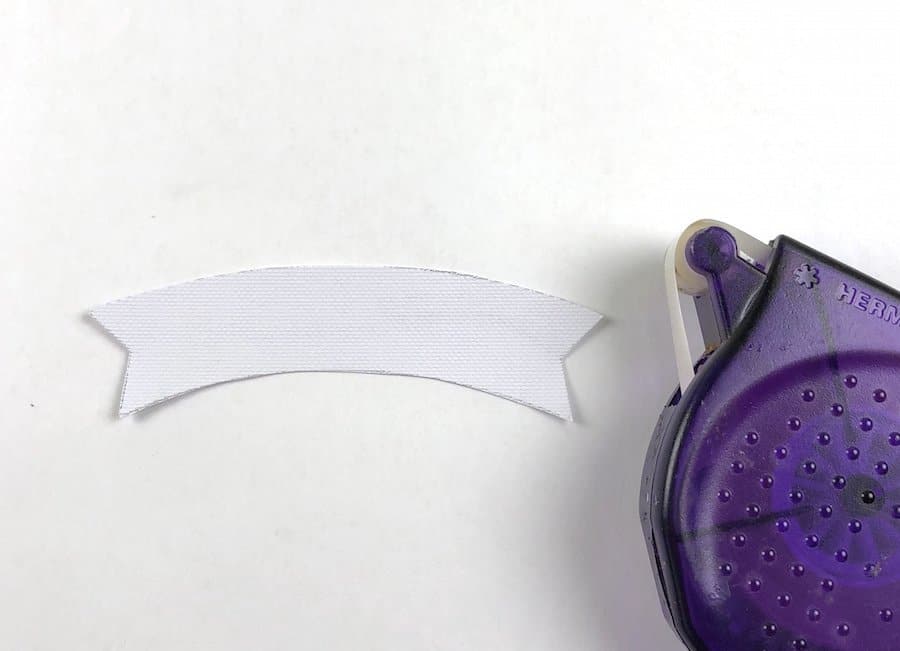
Next, run a strip of removable adhesive across the phrase and attach your banner. (Learn how to draw banners in this post.)
(The first time I printed the phrase on the metallic cardstock…but it was smearable. The second time I just printed it on white cardstock which looked better anyway.)

Once you have your phrase printed the first time and you have applied your banner, run it through your printer again. If you aren’t sure how your printer pulls the paper through the printer, experiment with that first. Figure out which way you need to put the paper in to have it print in the exact same place the 2nd time.
Ink the edges of your banner with your cat-eye chalk. Ink the edges of any other part of your card that you want inked at this point before we start adding the additional pieces.
Start gluing on the other elements to your card. I chose the rain boot, raindrops, and the umbrella from an SVG file for the Cricut or Silhouette.

Once you have all the pieces glued on, you are ready to write a sentiment on the inside or in my case, I give all my blank cards to my mother-in-law. She loves giving cards for any occasion as well as special occasions.
I usually create a pile of them and then take them to her to replenish her card stash.
Card Making Supplies
Basic supplies for card making.
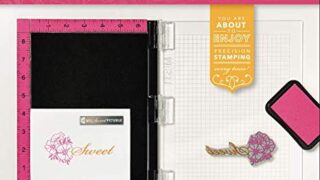
Misti Stamp Tool
You can also watch this video to see how to use a Misti to make stamping easier.
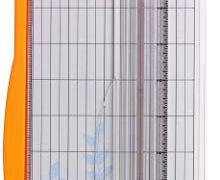
Fiskars Paper Trimmer
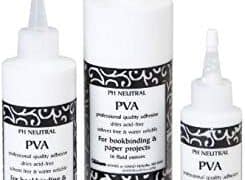
PH Neutral PVA Adhesive
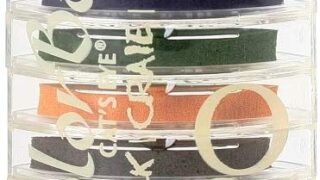
Fluid Chalk Cat’s Eye Ink Pads

White Blank Greeting Fold Over Cards