
Fun Winter Triple Tab Card with Your Cricut
We may earn a small commission for purchases made through affiliate links in this post. For more information go to our Privacy Policy.
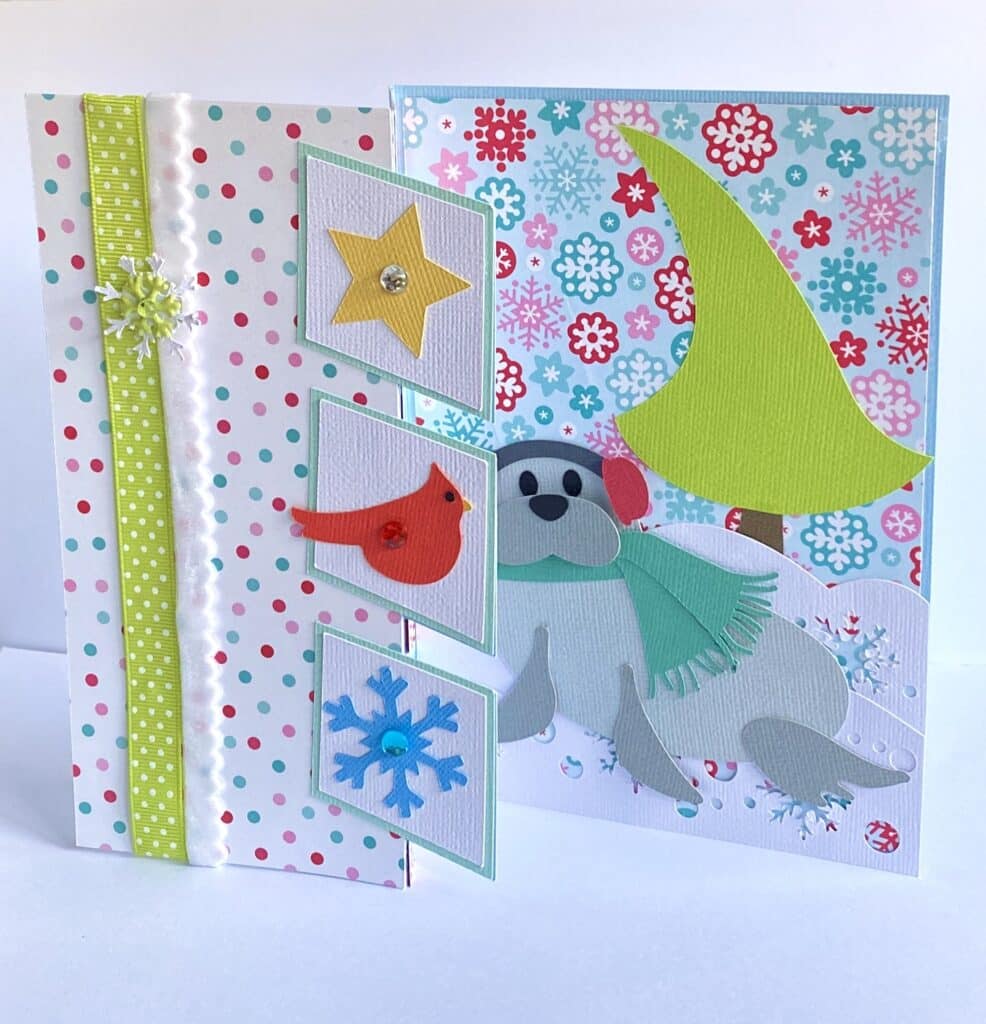
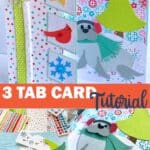
Creating a triple tab card is super easy with these SVG files. Each card design includes the cut template for a differently shaped 3-tab flip card. They are visually fun card that looks complicated but is really very simple.
Supplies you will need:
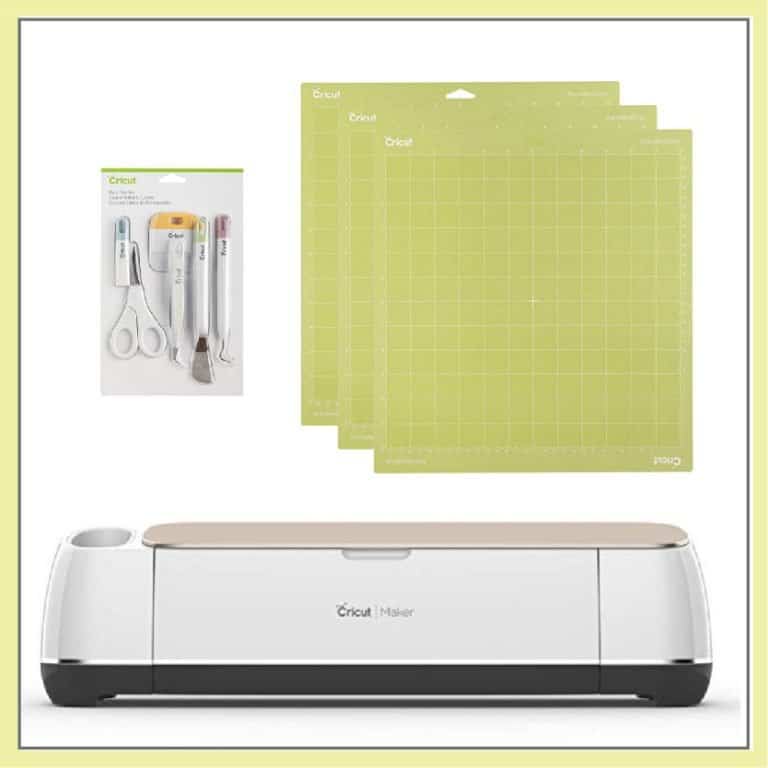
- Cricut machine
- Blue Cricut cutting mat (light grip)
- Solid Core Cardstock (I use American Crafts)
- PVA Papercraft Glue
- 3D foam adhesive dots
- favorite embellishments (glitter glue, bling stickers, ribbon, etc.) I used Doodlebug for this card
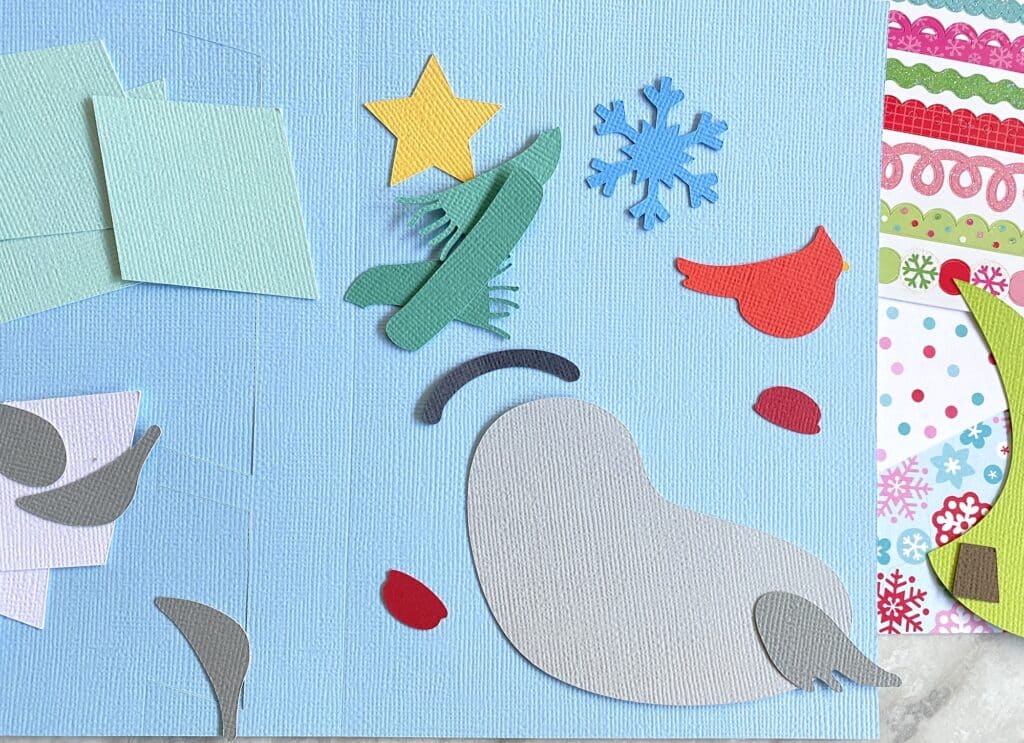
- Winter Seal 3 Tab Card

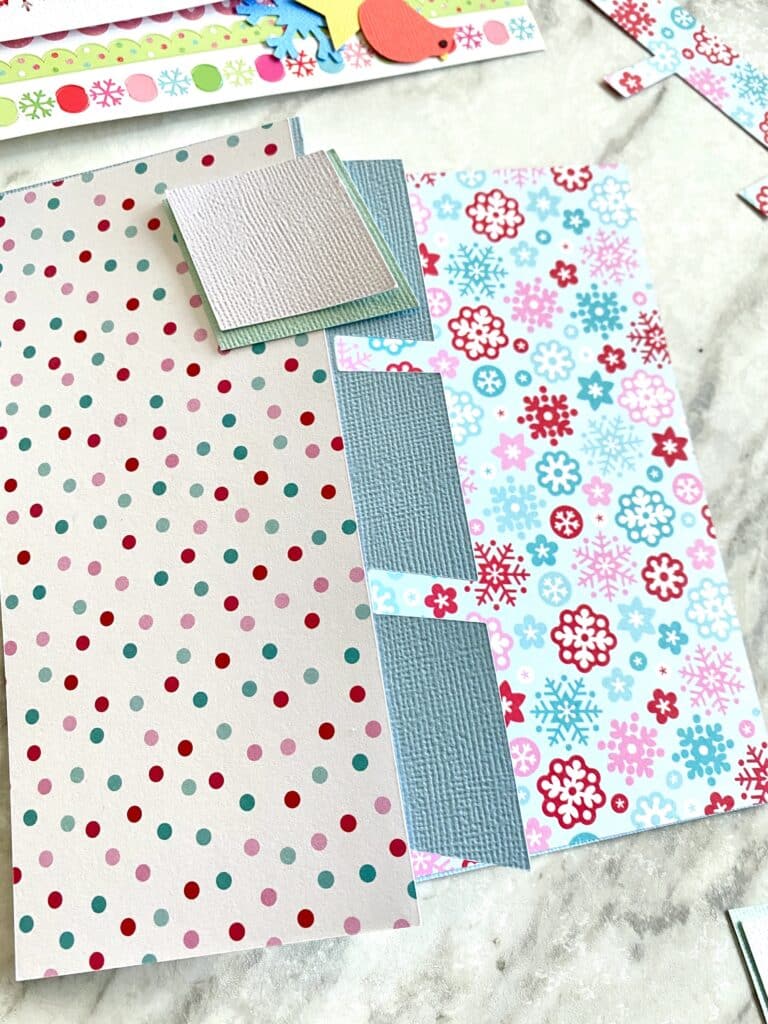
You can choose to use pattern paper on each panel of your card base or you can leave it plain. I chose two different pattern papers from the Winter Doodlebug collection.
NOTE: The bright pink shapes in the SVG file are for pattern paper. If you want multiple papers, change the color of one of them (I use crazy colors that don’t match my card scheme so I know they are patterned and not cardstock).
Assembling This Triple Tab Card
Once you have your elements cut out of cardstock, you are ready to put them all together. Decide which pieces you want to pop up with foam dots for dimension and which you will be gluing down.
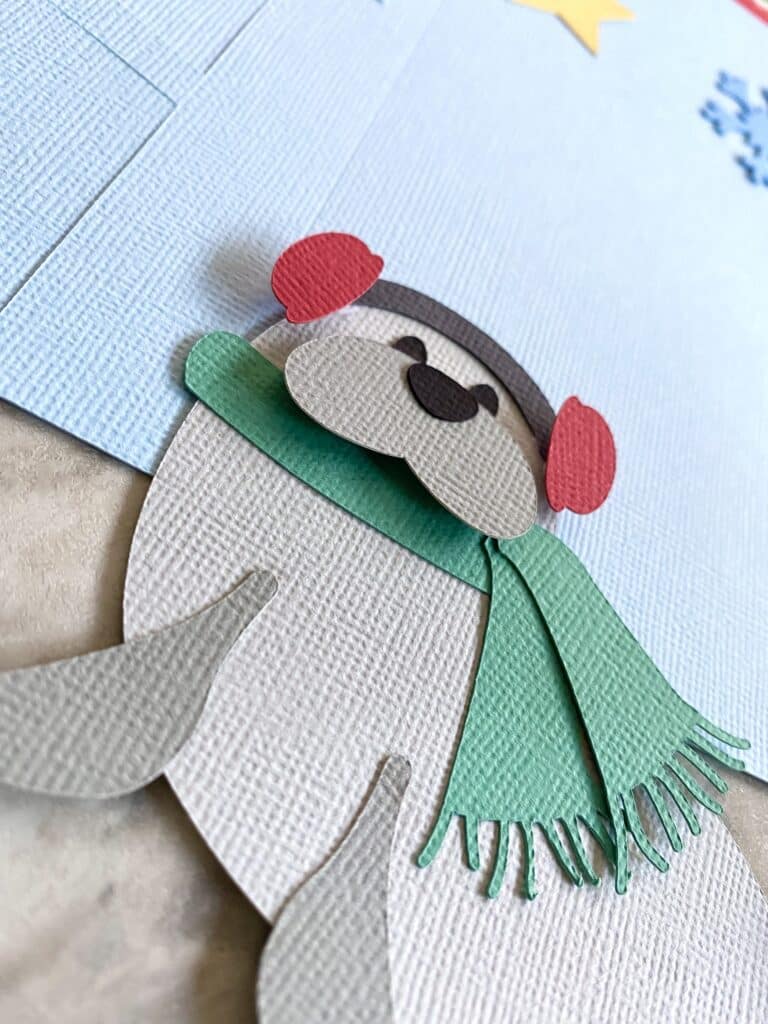
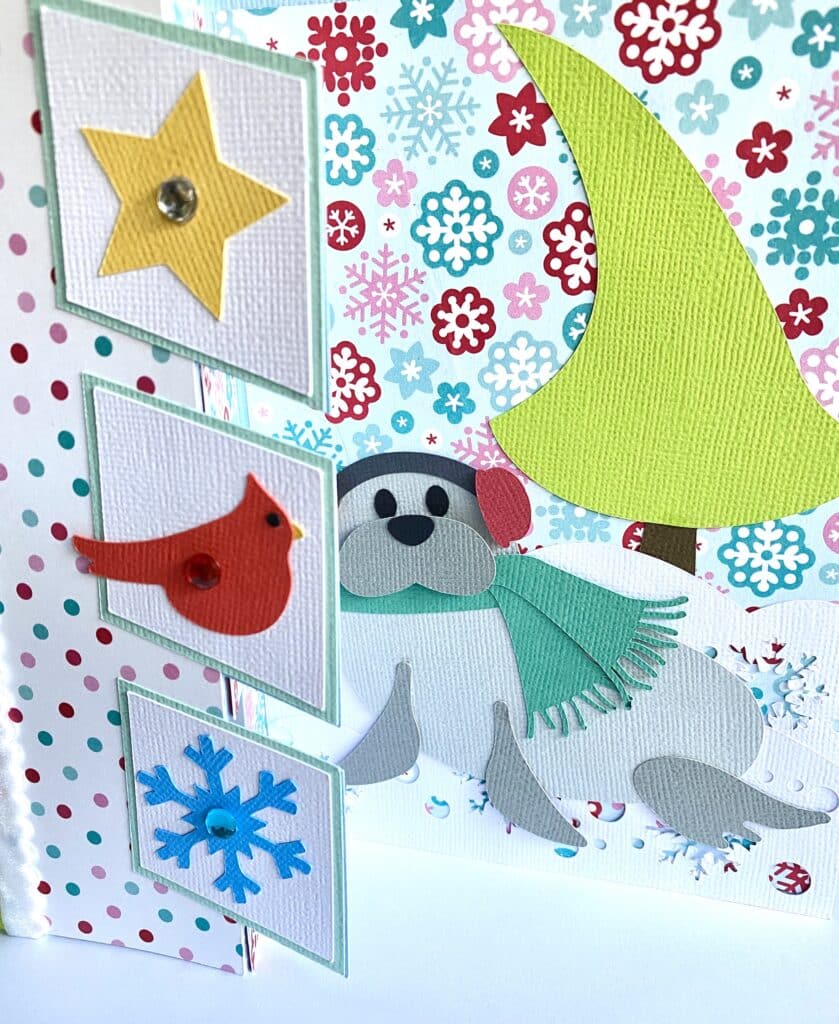
I like to pop dot the elements that would be closer to you if you were really looking at the object. In this case, the seal’s nose would be the closest part of his body to you if you were standing on the shore.
He would be in front of the tree, so if you want even more layered dimension, his whole body would be popped up in front of the tree.
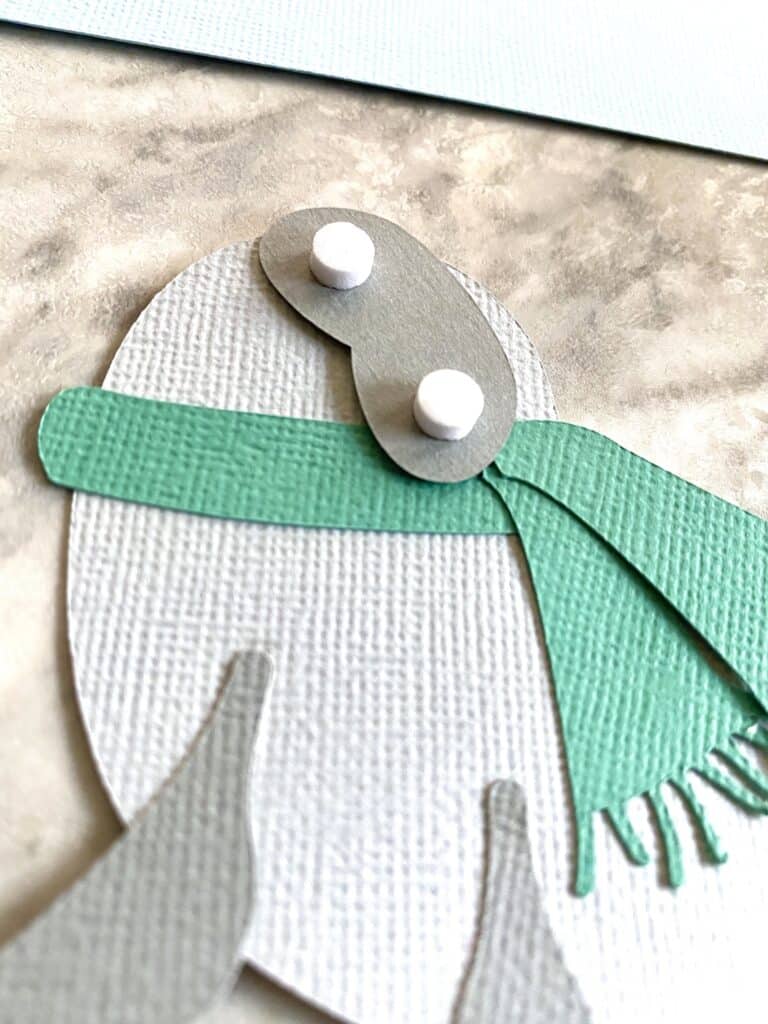
I also used smaller pop dots under his ear muffs. It gives the impression of his round head and his large muffs.
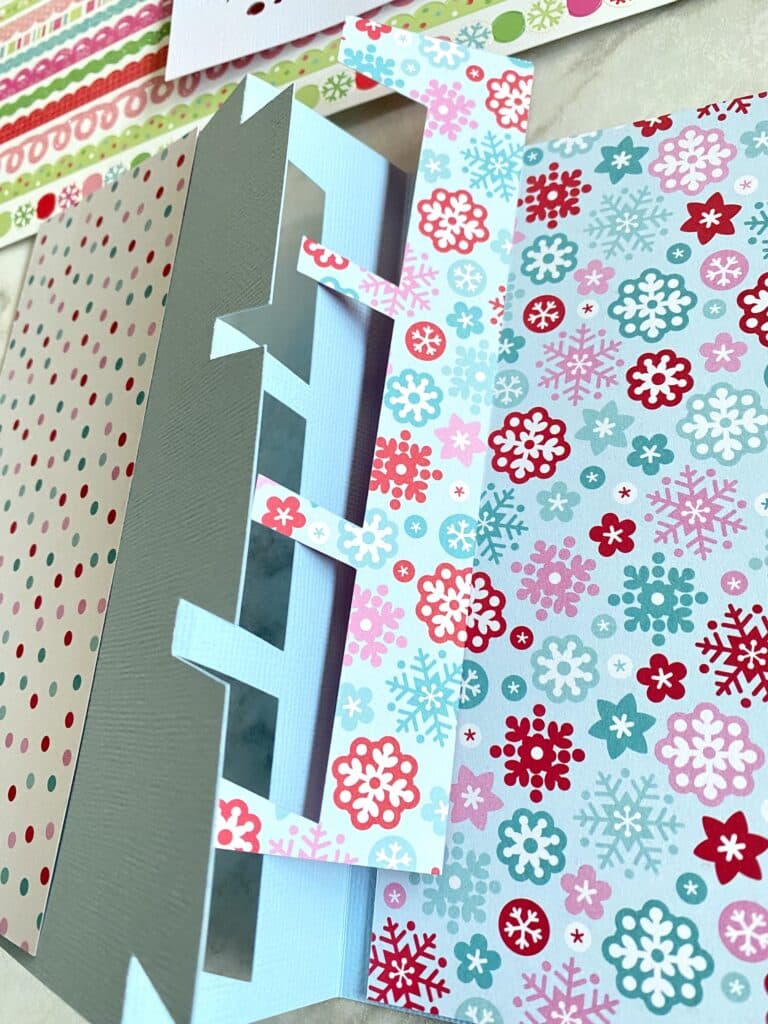
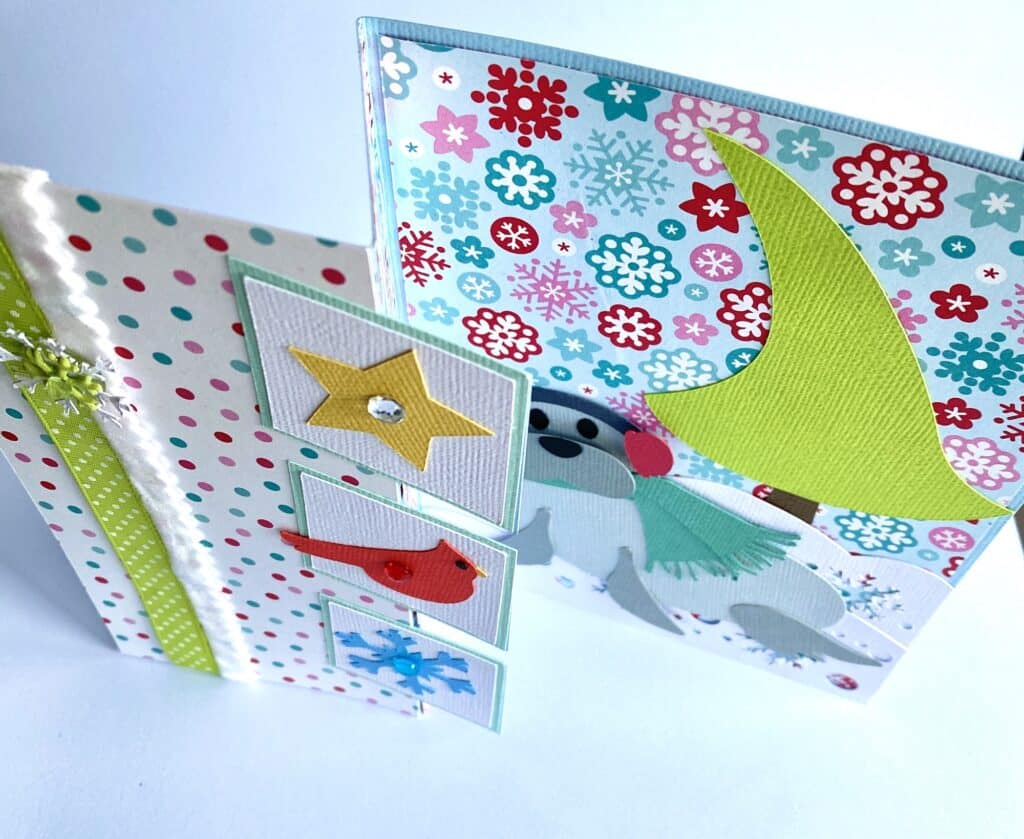
Once your elements are all put together, you are ready to start adding everything to your card base. The layers of pattern paper and cardstock will all come together to create a 3D visual effect.
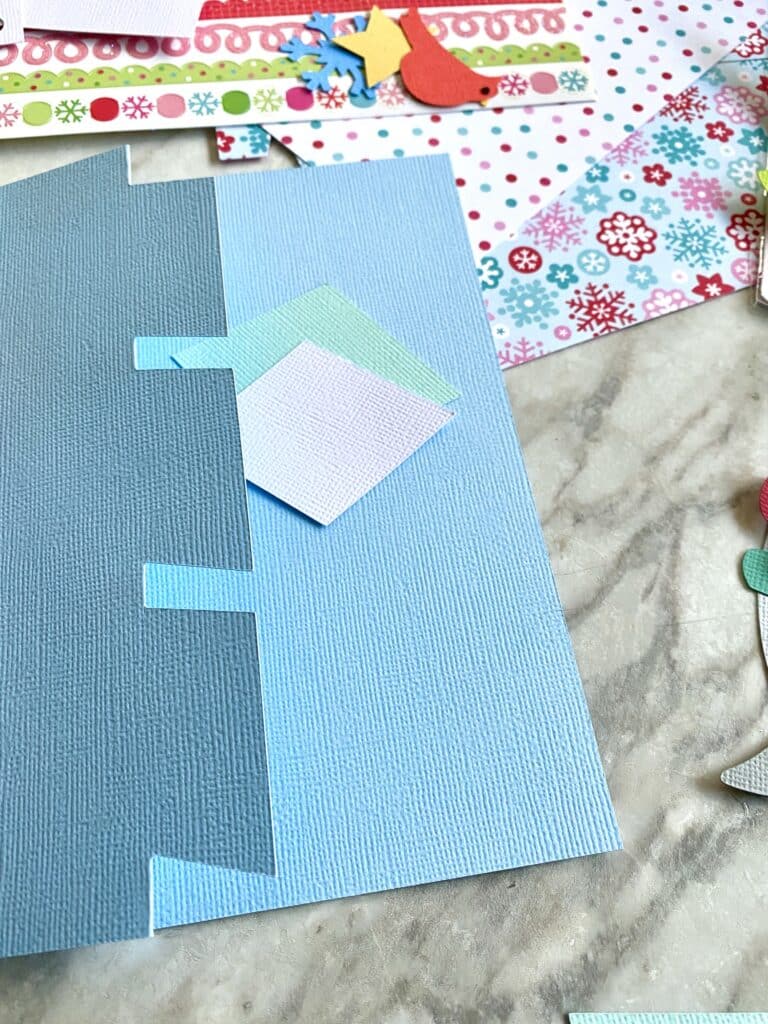
Glue on your pattern paper first. Then you will glue on the elements for the tabs. If you chose to cut any pattern papers for these you will layer accordingly.
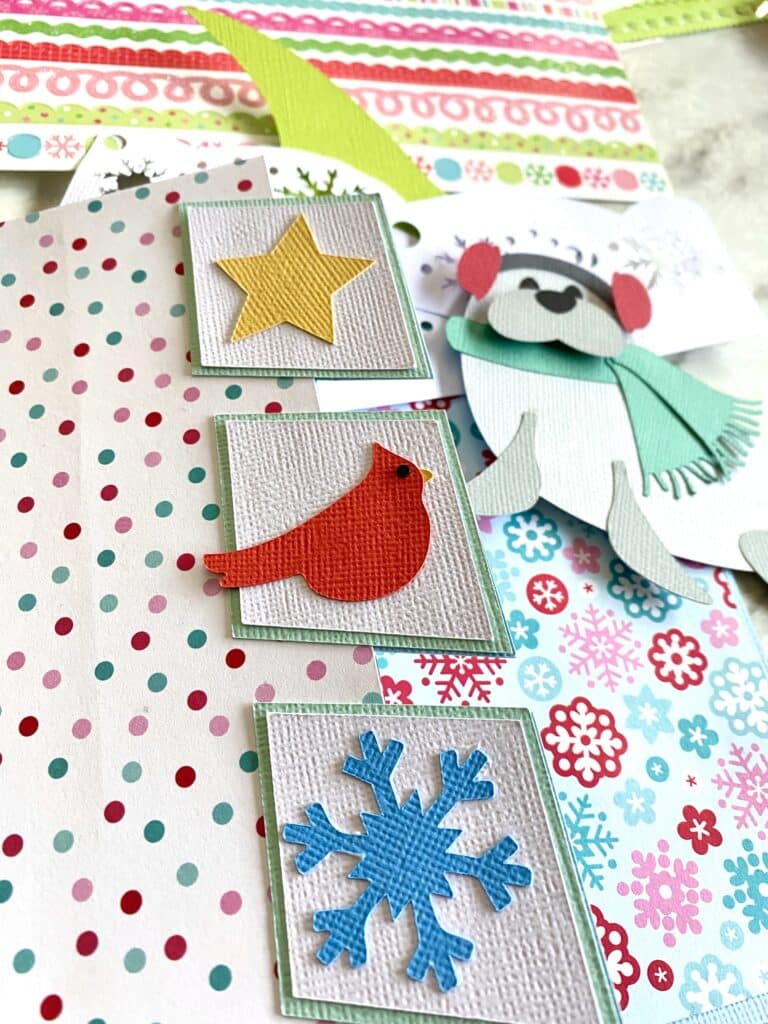
Add your elements and any extra embellishments to your 3 tabs. Glitter glue, brads, or rhinestones are great additions.
Glue down your background scene, last. I wait to do this so you don’t have to be pressing on your 3D design or getting glue all over it.

Finally, you can add sticker borders, ribbons, or other embellishments to the front of the card. Sentiments will also fit on the front and look really cute as well.
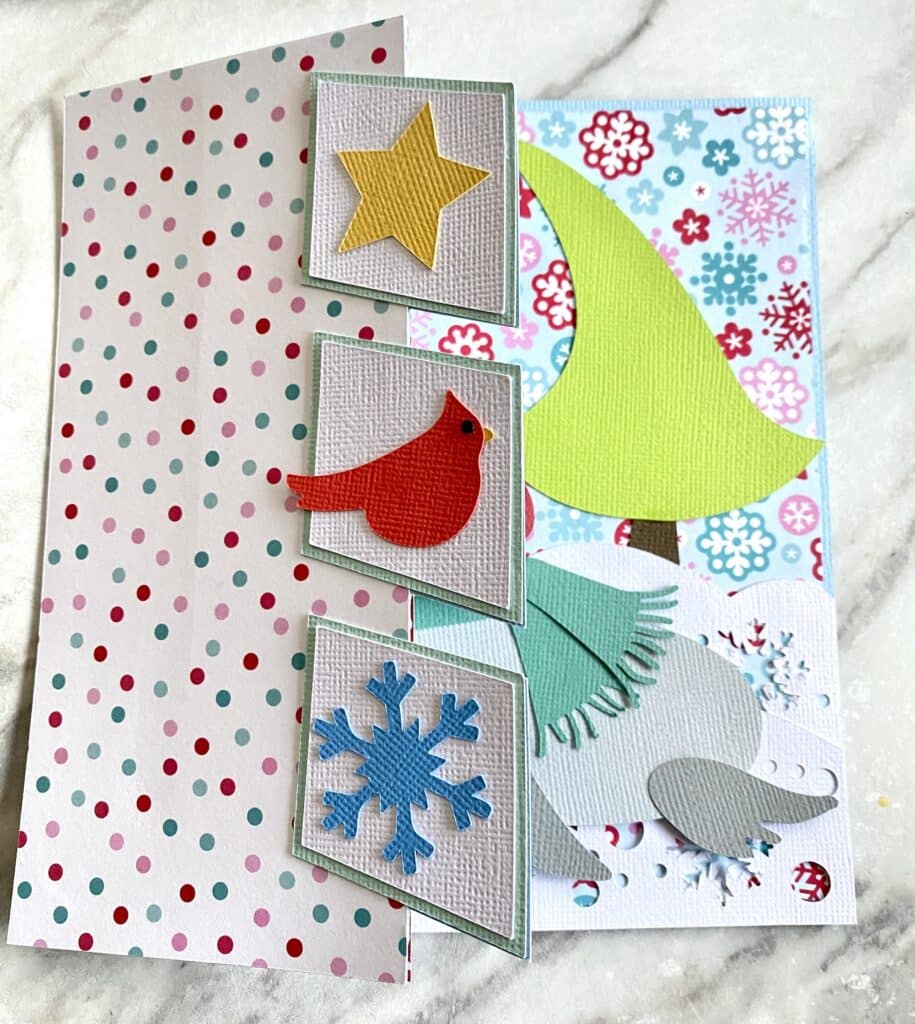
These cards stand up really well for display and are so much fun to stack on a shelf for a winter-themed scenery.
You can get the file for this card here (Winter Seal Card)
Loved making this card and want to make other 3 Tab Cards? You can get more here in the shop.


This cardinal card will be just what I need to send for the loss of a loved one. I’m really visual and can’t figure out how to put the card together because I can’t see the area that folds. Is there a video I can watch. Thank you for taking time to make crafting beautiful.
Adorable card!!