How to Make an Easy Waterfall Card from SVG File
We may earn a small commission for purchases made through affiliate links in this post. For more information go to our Privacy Policy.
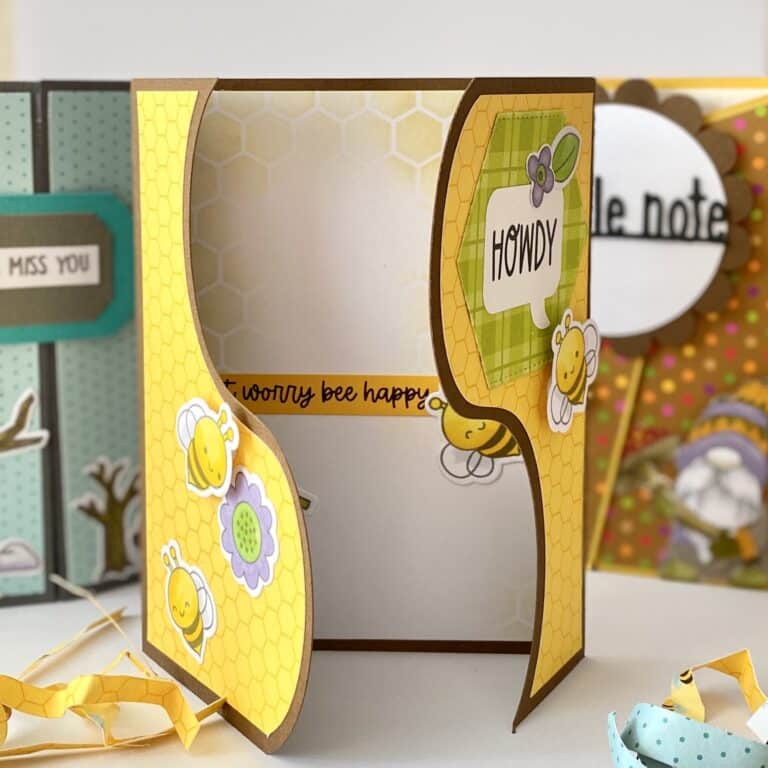
Paper is amazing. When you can make it interactive in a greeting card like this waterfall card, it becomes even more amazing.
The trick to making a DIY waterfall card is getting your score lines just right and securing the bottom card so your design isn’t slipping around when you pull the tab.
The “mechanism” that makes this card interactive is just a series of score lines that roll back and forth with paper tabs attached to them (aka the flaps with photos or quotes).
Making a DIY Waterfall Card
I have taken the measurement part out of the equation for you. All you need to do is decide how many pattern papers you want to use if you want to add photos or sentiments, and then cut out the papers. Assembly is easy and we will go over the main points together in this blog post. You can always watch the video on YouTube to see how I make the card as well.
There are two ways to make this card (bottom-pull and side-pull waterfall cards) and both will be shown below as well as on my YouTube channel.
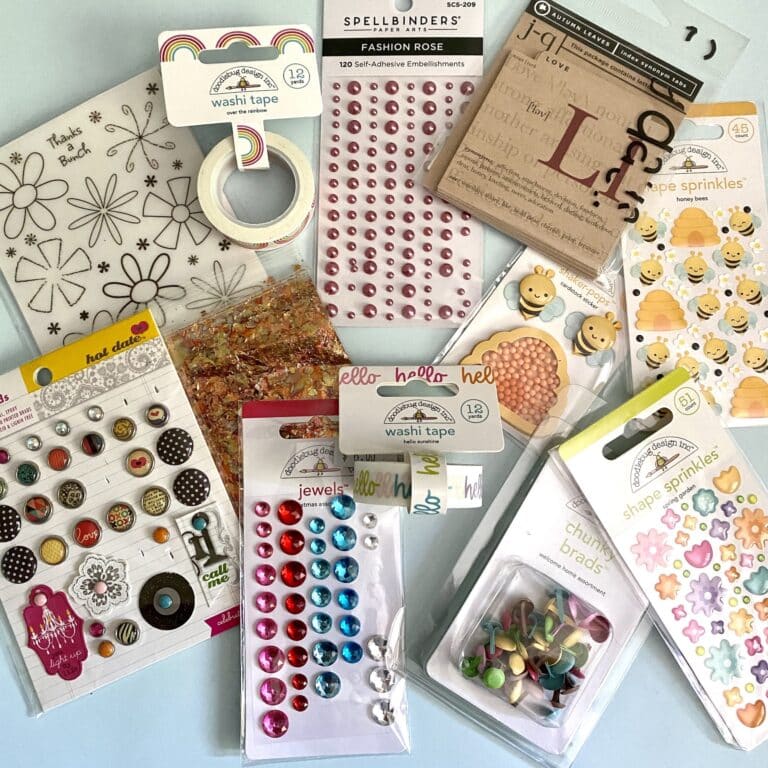
Supplies for Cardmaking
- Cricut machine
- Blue Cricut cutting mat (light grip)
- Solid Core Cardstock (I use American Crafts)
- Bearly Papercraft Glue
- XO Birthday Waterfall SVG
- Happy Birthday Side Pull Waterfall SVG
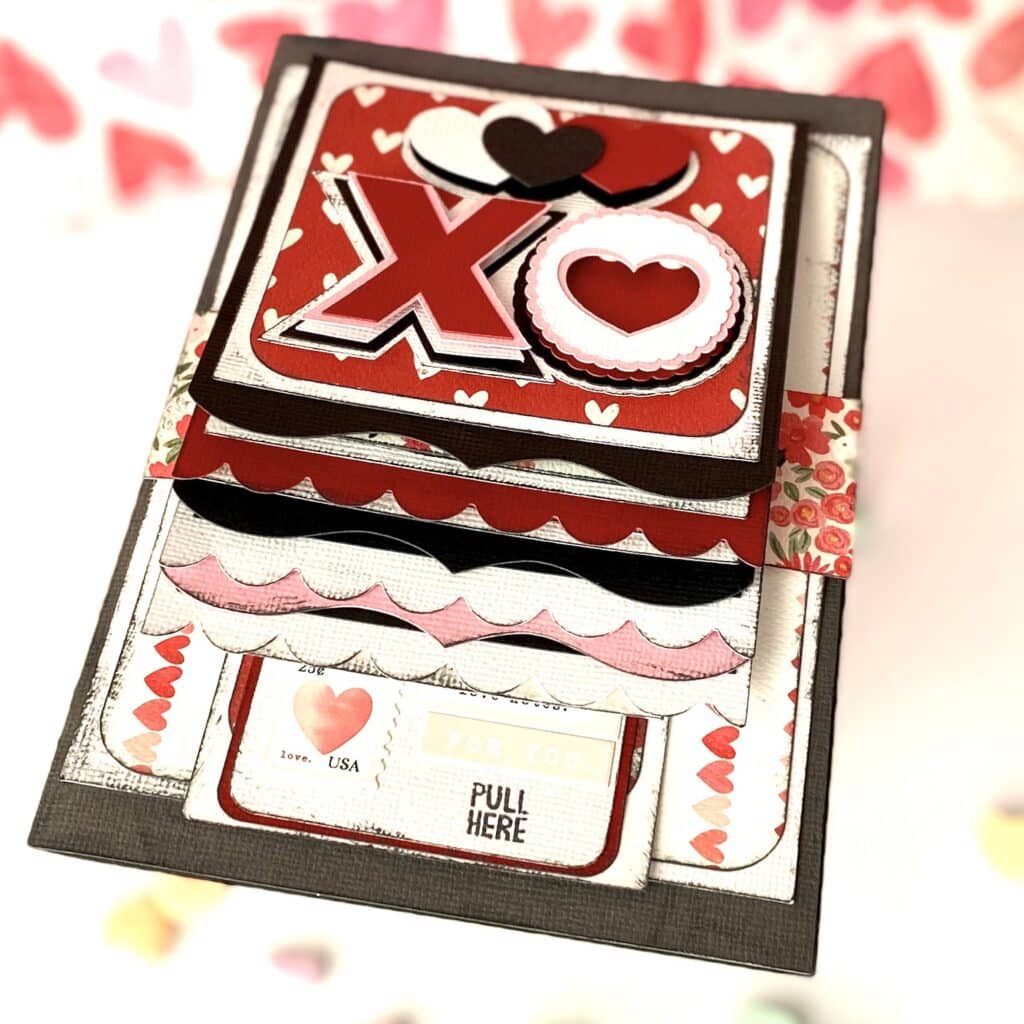
XO Love Card
The first card we make will be the traditional style. It has a pull tab on the bottom and all your flaps will flip upwards to show the next flap underneath.
First things first.
Download the SVG file. Get it unzipped. Then upload all the sections to your design program.
In the video, I show you how to do this for Cricut Design Space because that’s the program I work with.
Set up your file to make your cut easier. Change colors to represent your pattern papers. Mark your score lines. All that jazz.
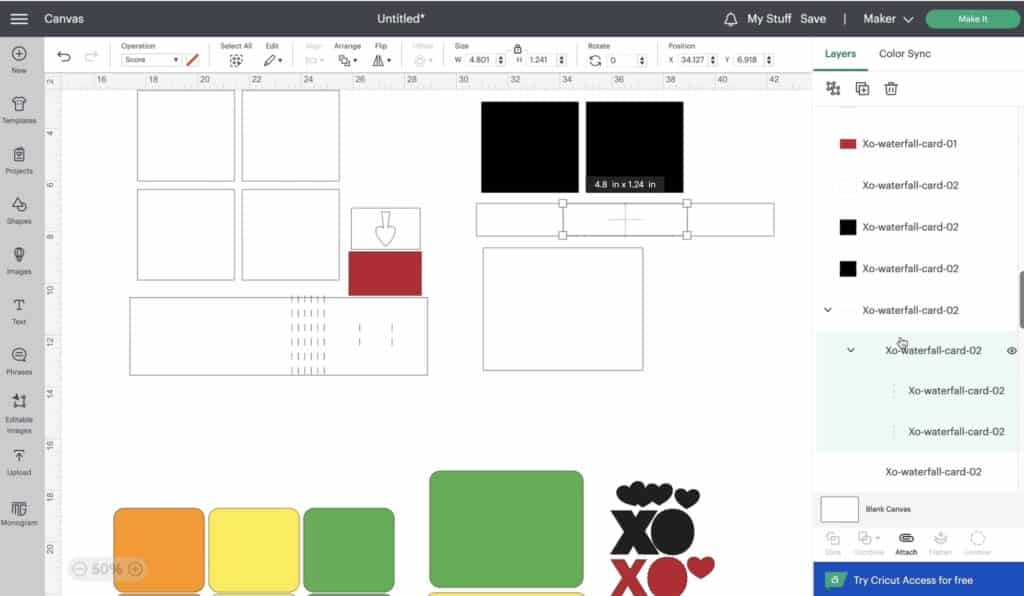
Once you have all your pieces cut and ready to go, we start the assembly process. I have pre-added my scor-tape on my mechanism pieces. I’ll show you this later in the tutorial.
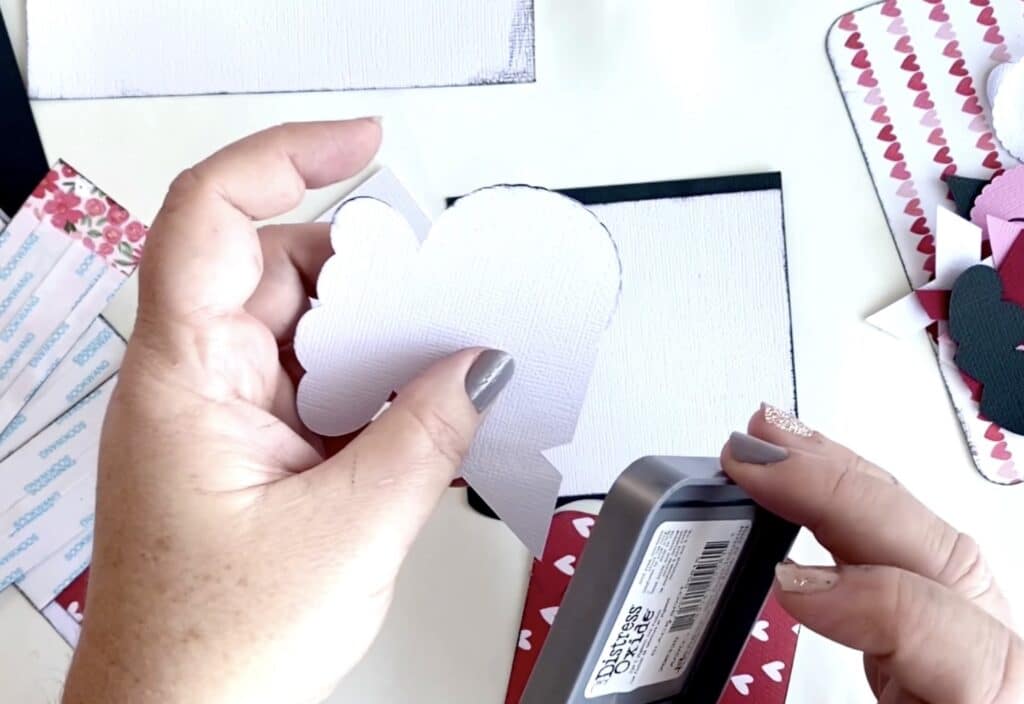
If you love more of that shabby chic look (I’m showing my paper crafting age with that reference), then you will want to ink all of your edges before you start gluing. I use Black Soot from the Ranger Ink Distress line when I want a black edge.
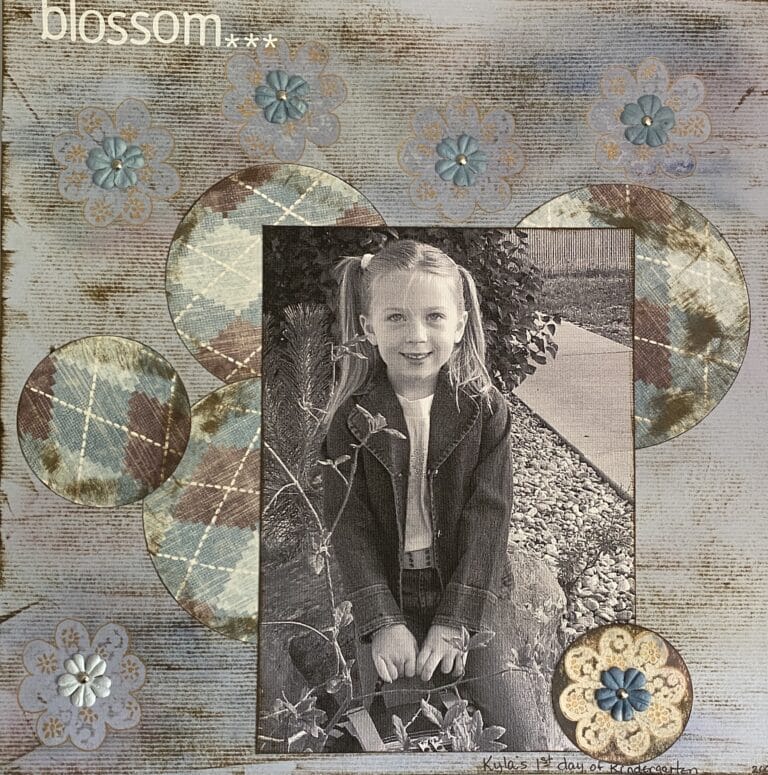
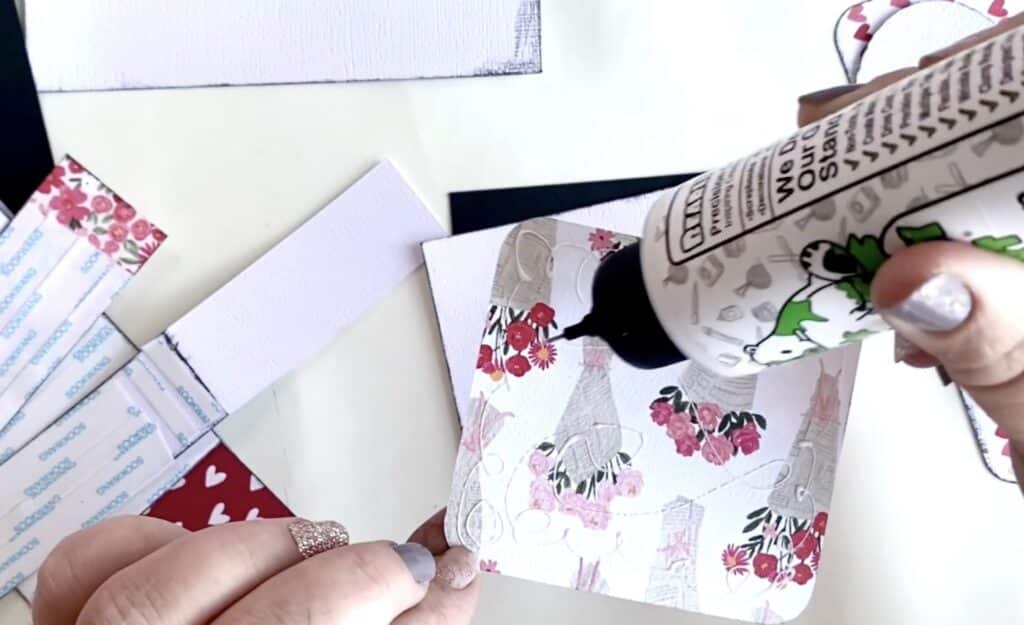
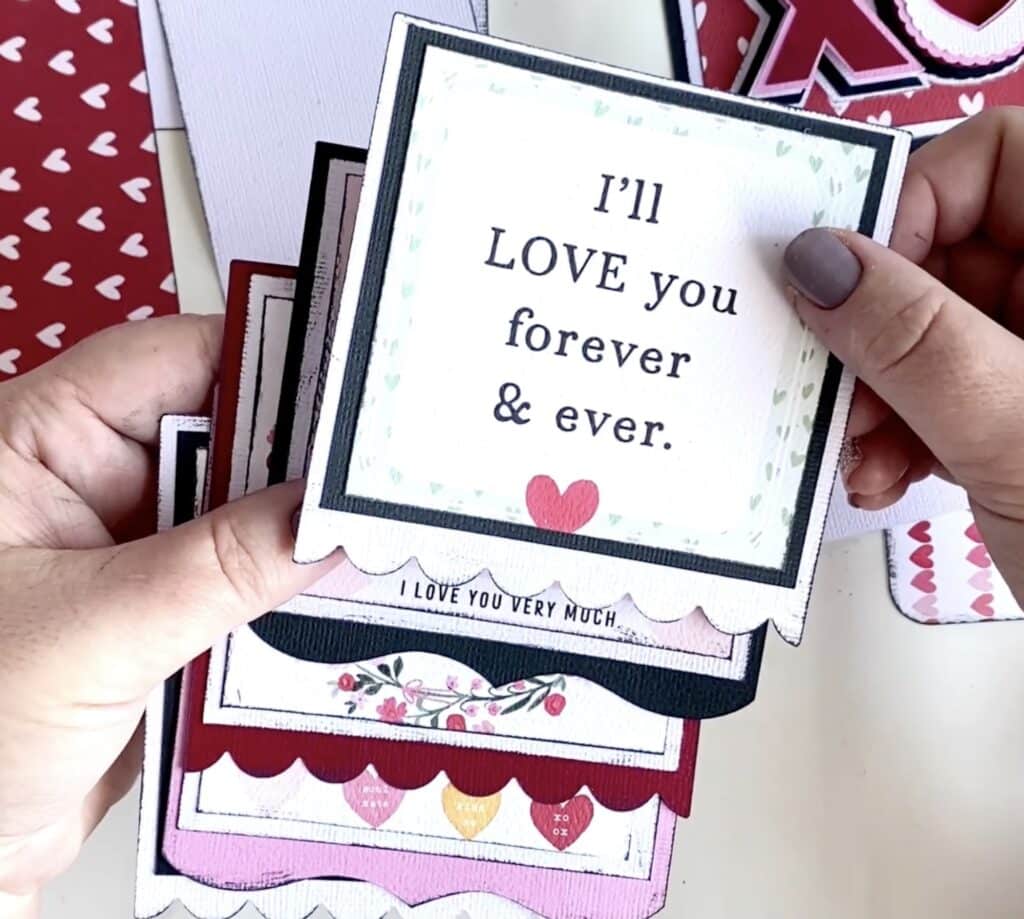
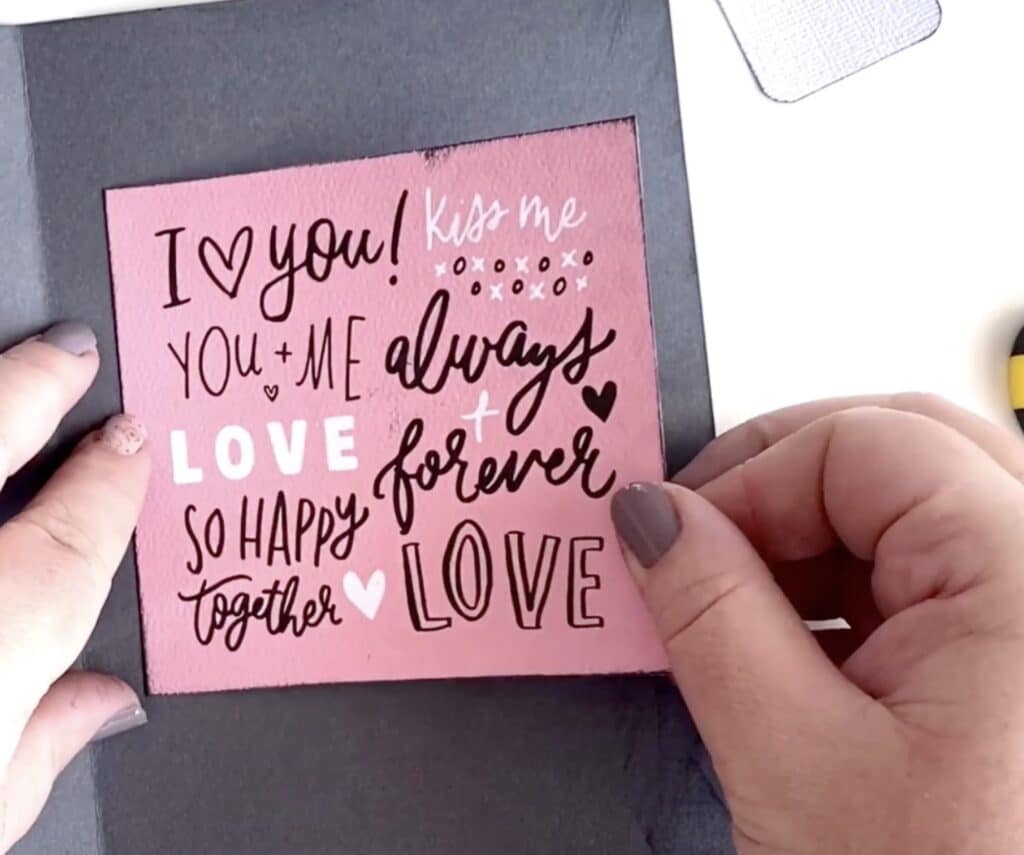
Next, glue all your pattern pieces to their white mat bases. I used sentiments from a sheet of 12 x 12 valentine’s paper for my focal points. You can also mat images on each flap if you want to personalize your card.
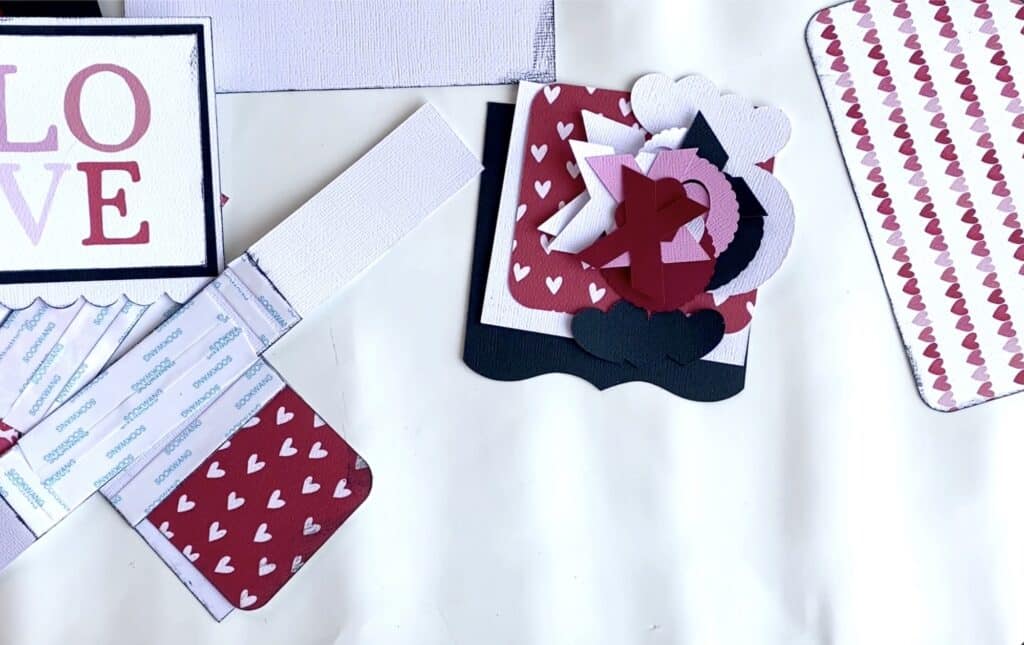
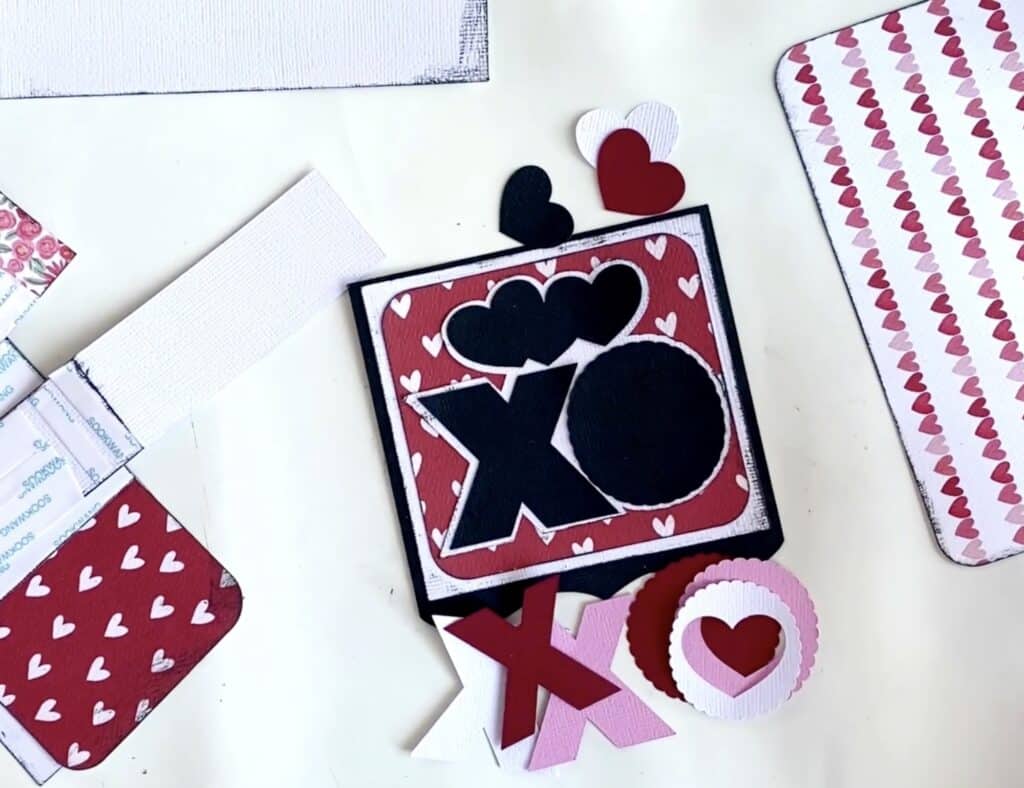
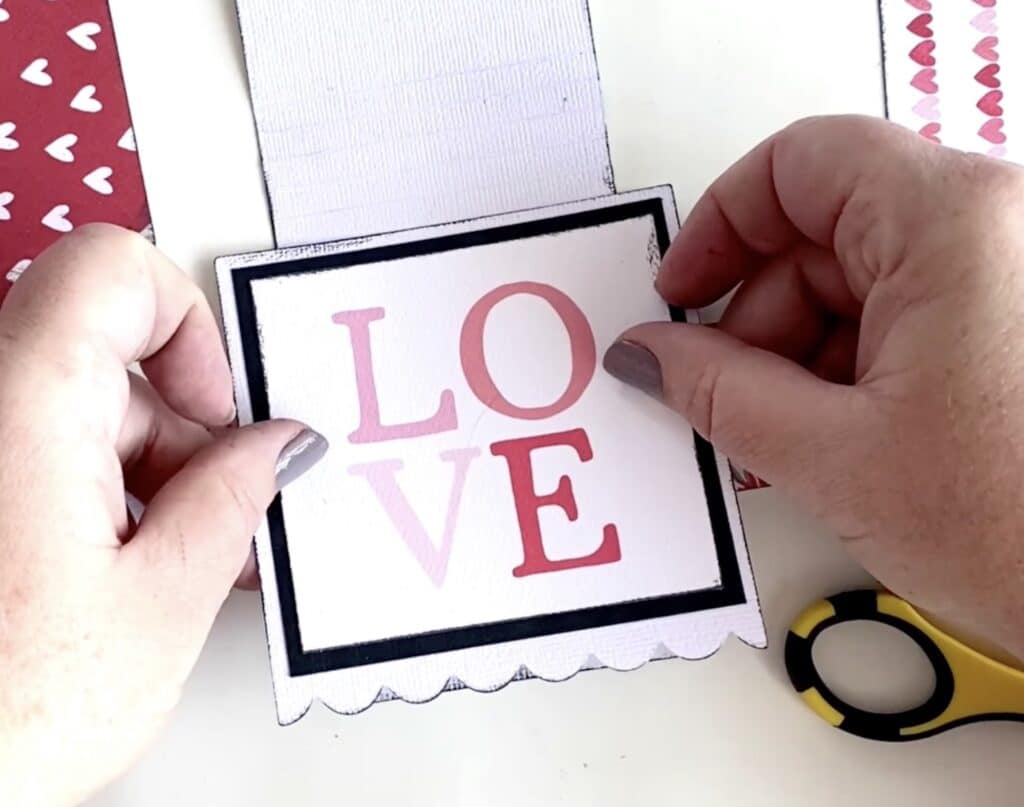
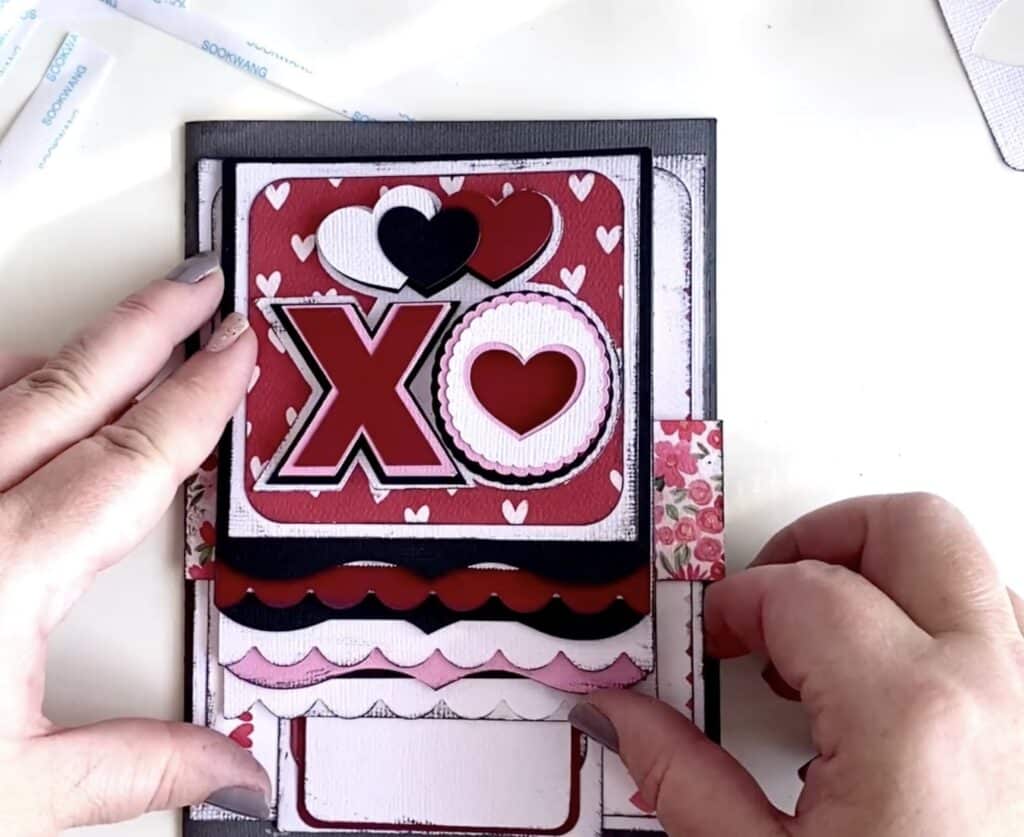
The cover of the card will be the XO pieces. You can add a little dimension by putting one layer of foam dots, but I wouldn’t make it much taller than that because it will interfere with the way the pieces transition.
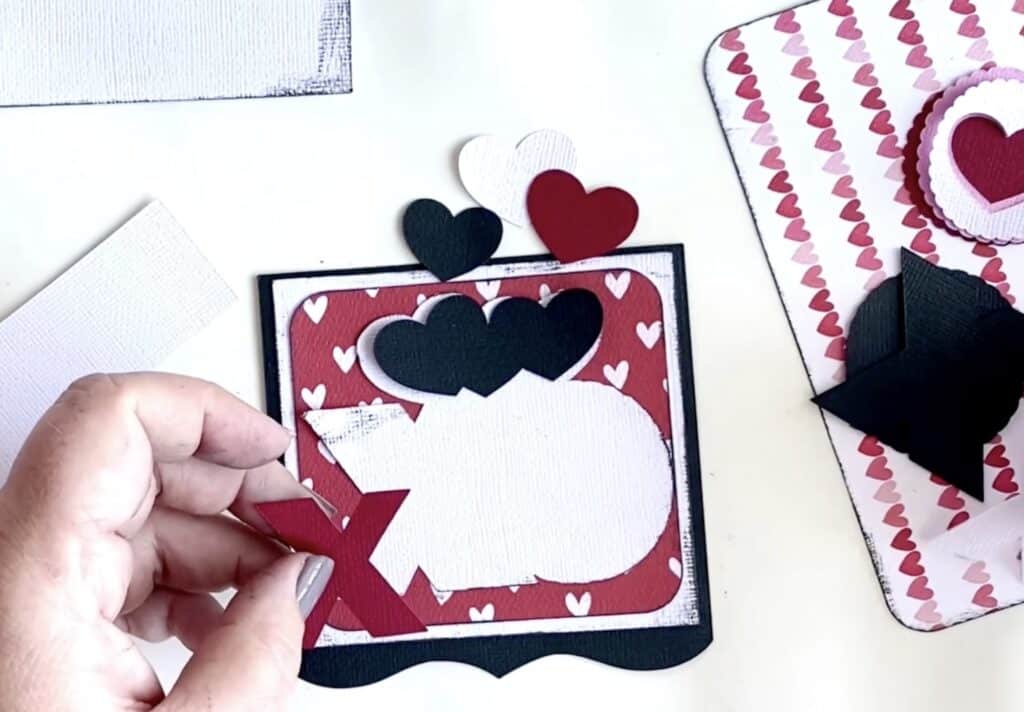
The order for the cover piece is the full white outline first, then the black pieces.
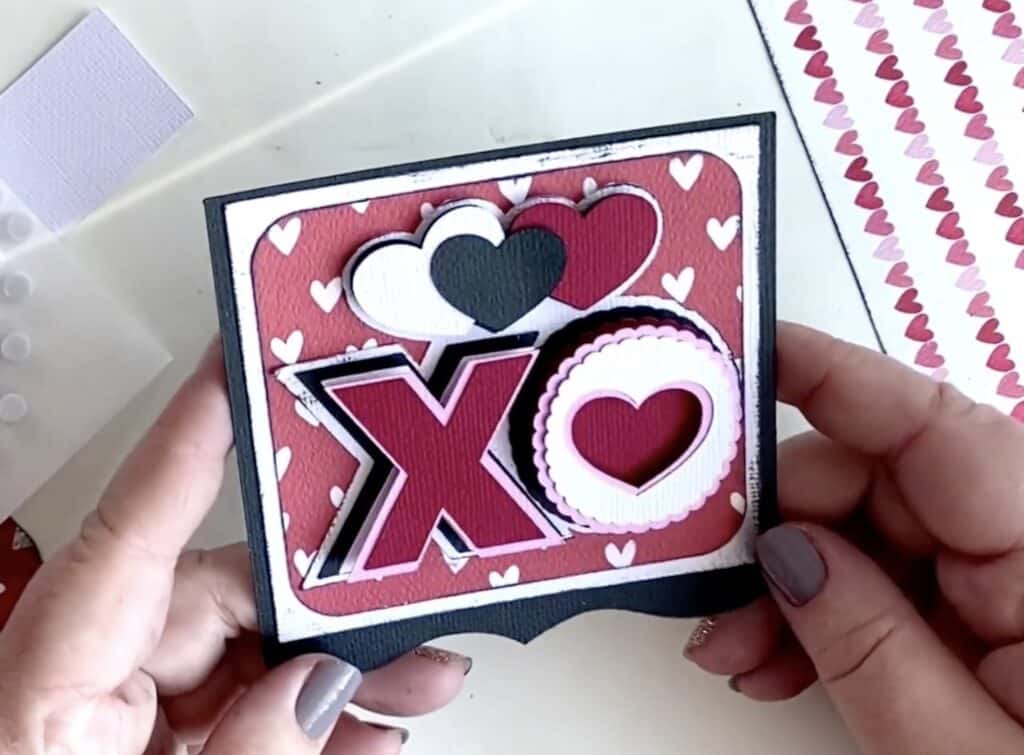
The X is stacked white, pink, red.
The O is stacked red, pink, white.
After you have completed the cover page with the XO design, you will want to fold your long strip of paper on the score lines. Fold them both directions so the fibers break apart and it rolls well when you push and pull your tab.
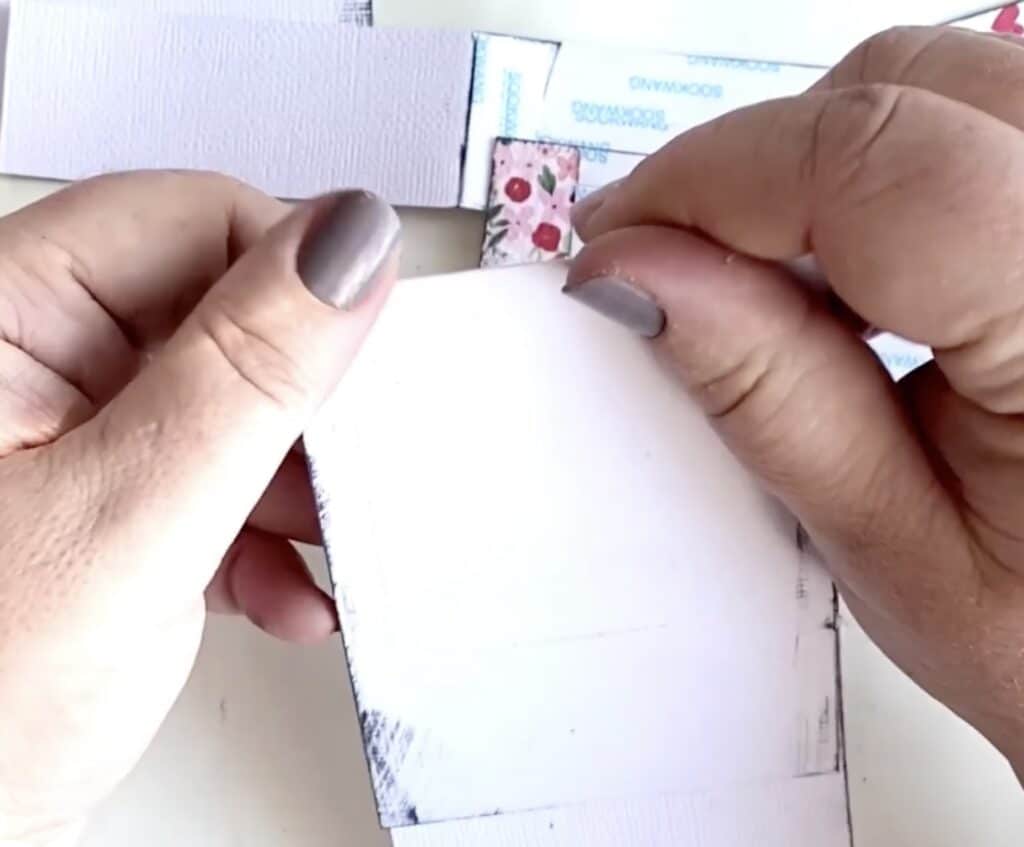
Add your adhesive to the shorter part of the tab strip. There are two small score lines to show you where to put the wrapping strip. If you are using liquid glue, add your adhesive only in this spot for now.
If you are using scor-tape, remove only the cover of that strip for now.
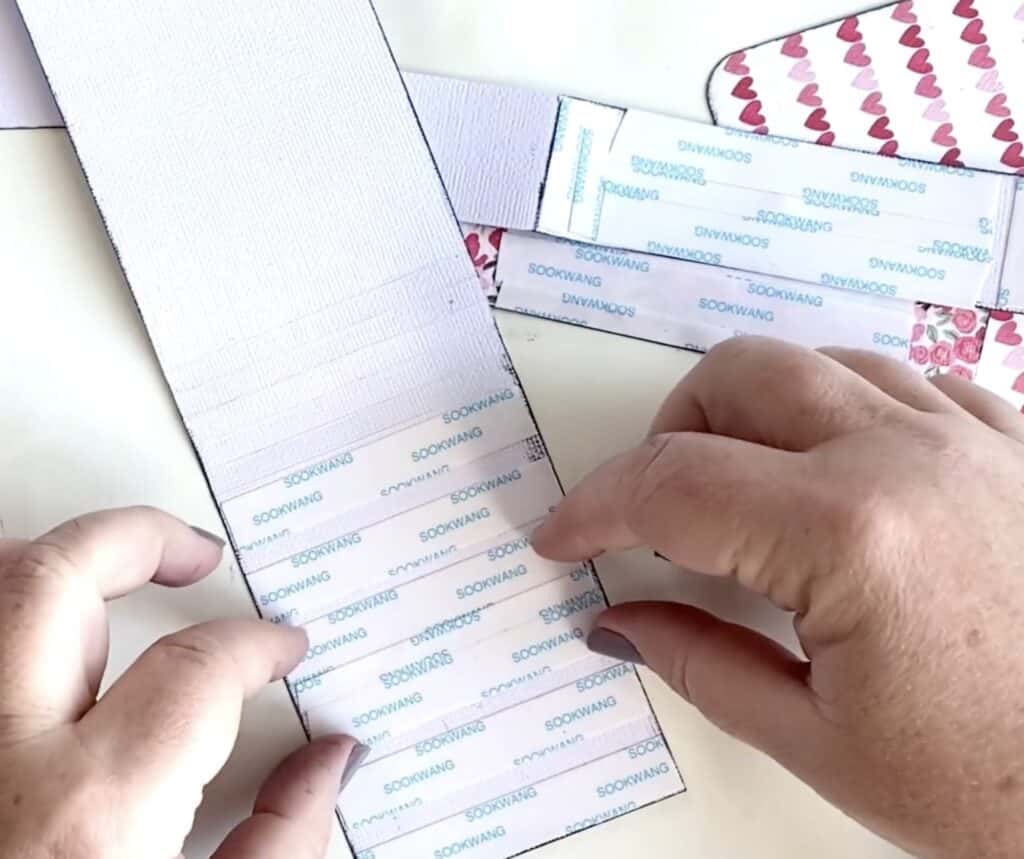
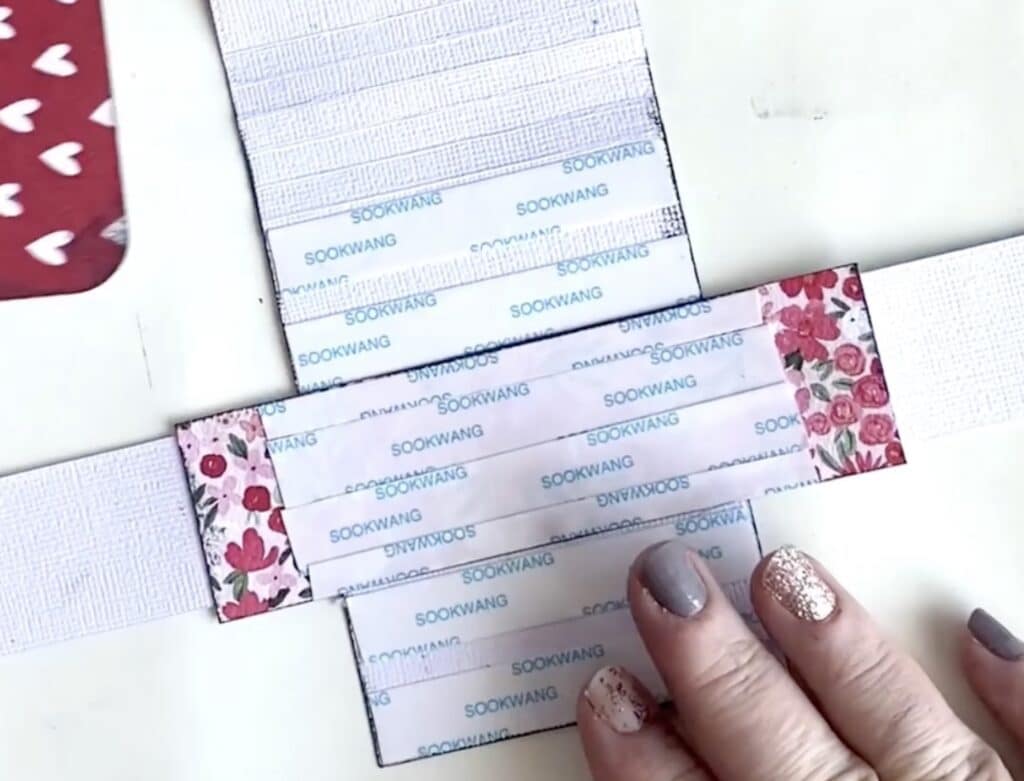
Center the wrapping strip as best you can and stick it down.
Then cover this with the small rectangle of pattern paper. If you are using tear tape or scor-tape, you will want to add some to the front of this pattern paper too. Only as wide as your flip card.
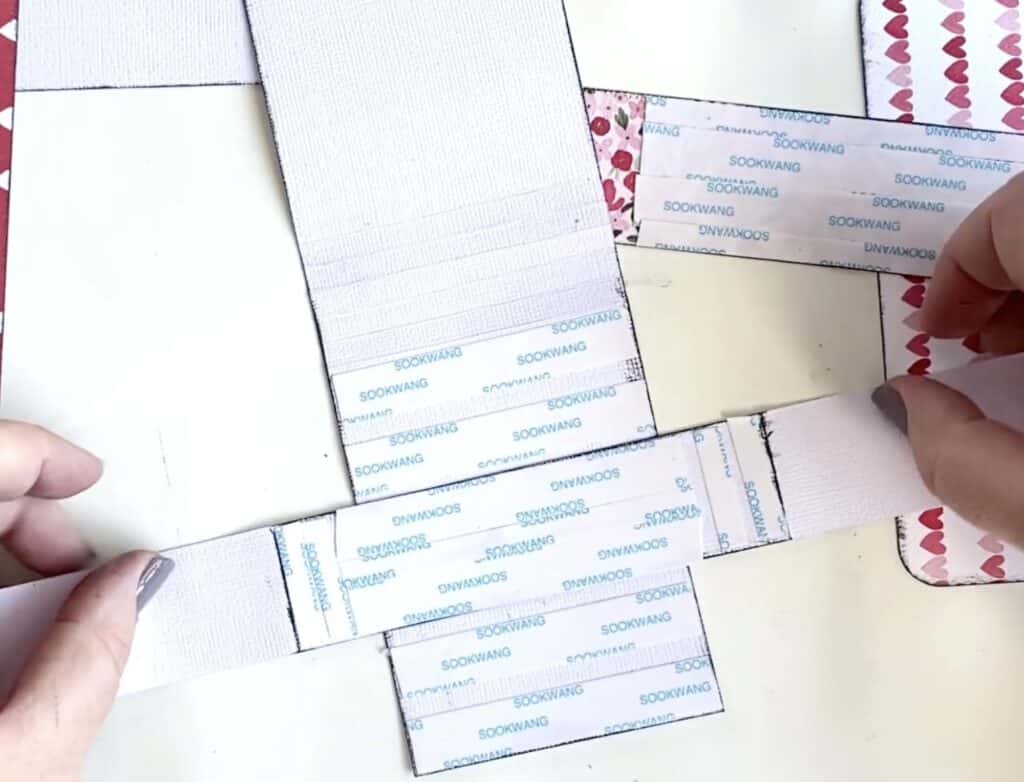
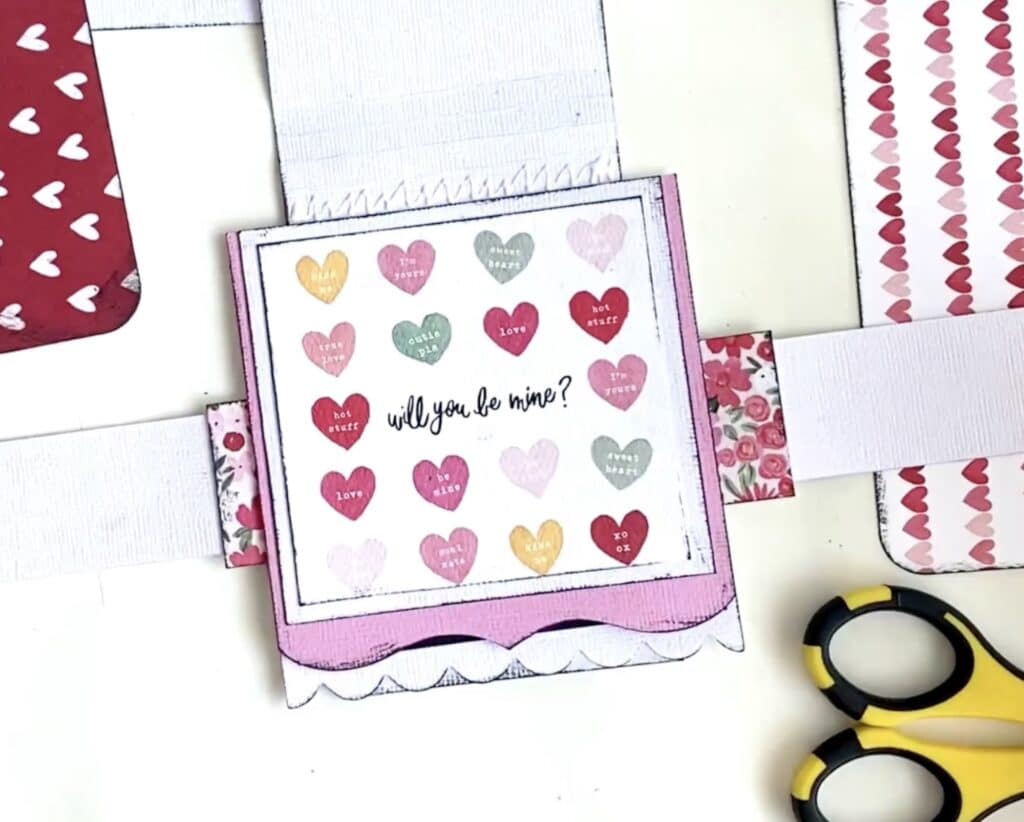
Put your flip cards in the order you want them to be seen (top, middle, bottom). Flip this stack over on your work space and start with the bottom card.
Put adhesive all over the bottom half of the pull tab strip. Add your bottom flip card.
Run a line of glue inside the next score line section (or if you have the 1/4 inch scor-tape you could put strips in each score line section. Attach the next card.
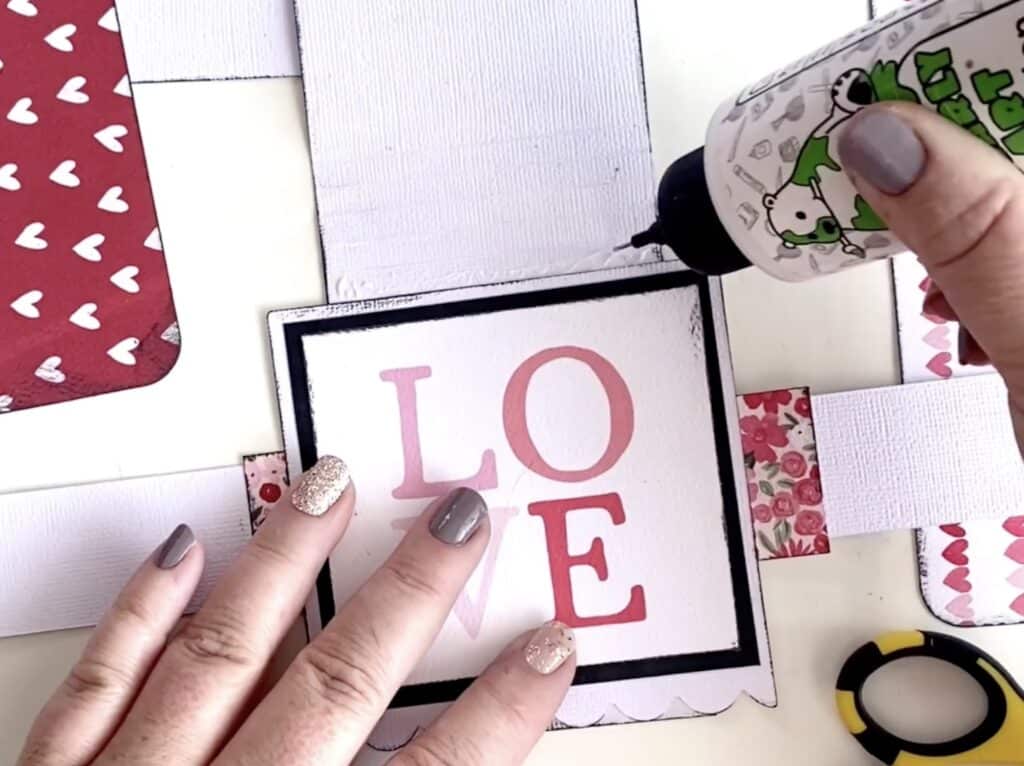
Repeat the gluing process for each card in each score line section.
Turn this stack of cards and the pull tab section over. Open it up so the longer side of the pull tab is laying on the workspace with the stack of cards and wrap around flap are upside down (like a top opening card).
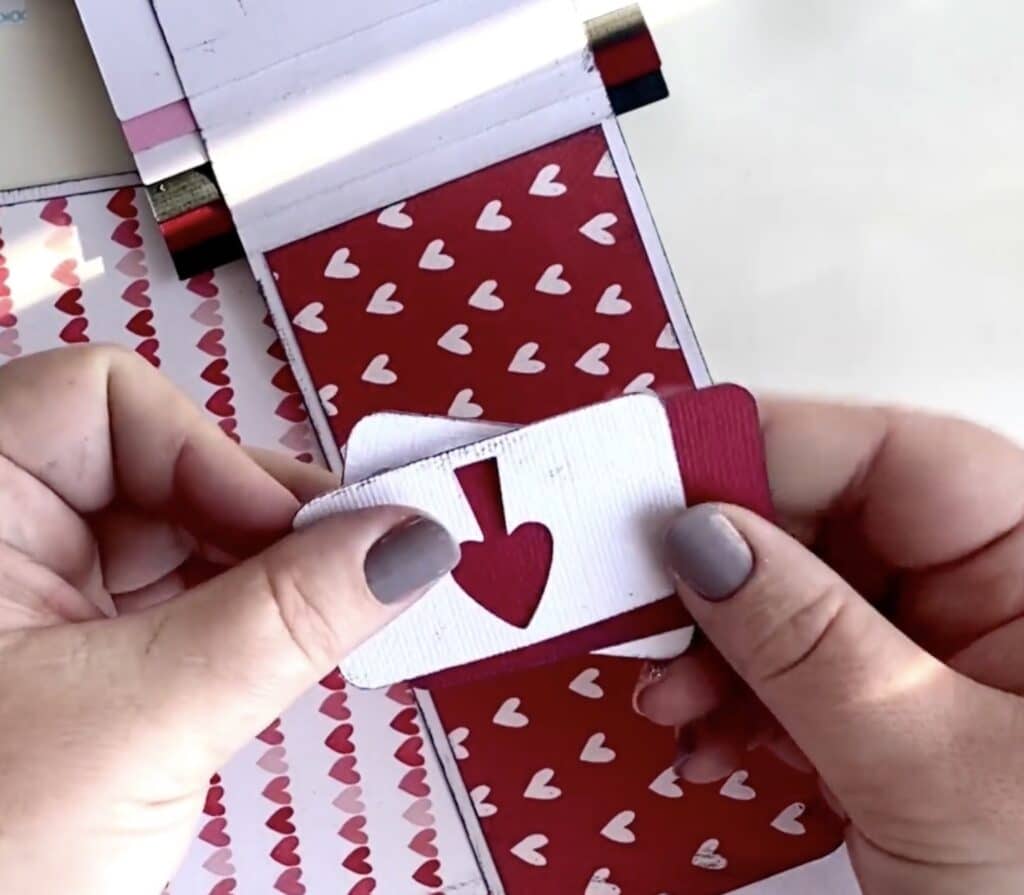
Glue the pattern paper that has one end with rounded corners down on the pull flap. Line it up along the score lines. Decide which style you like best for your pull tab. There is a cut out arrow included in the SVG file or you can use stickers or stamps on your front.
Set the waterfall stack aside.
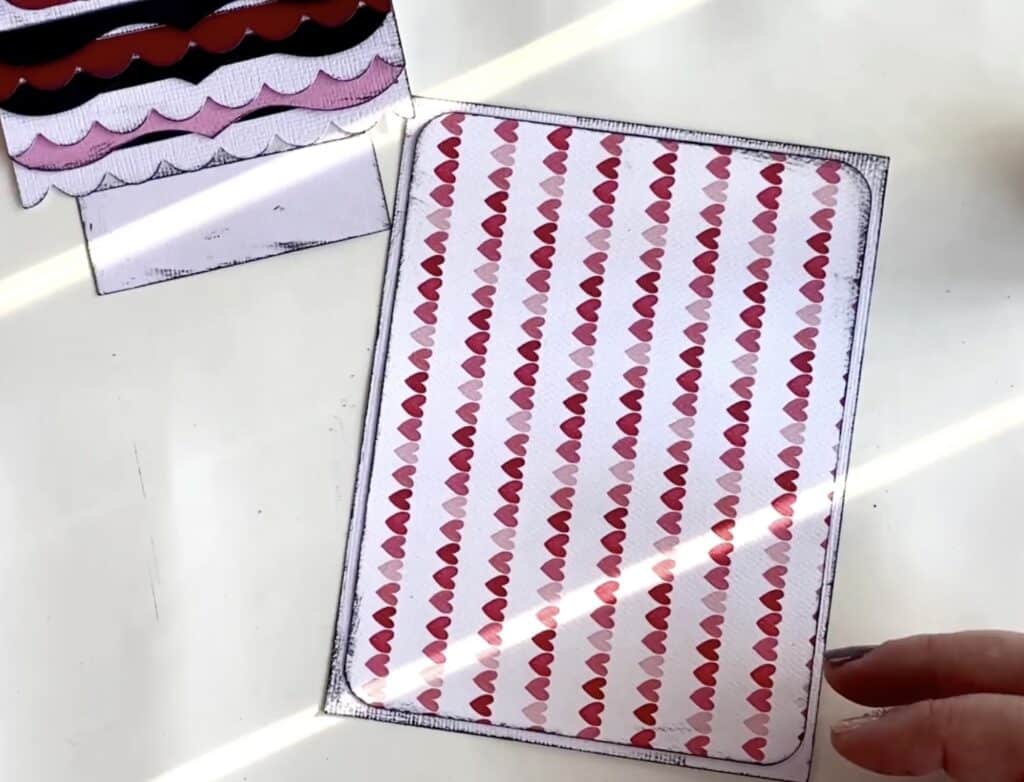
Put glue or adhesive on the large rectangle that has all four corners rounded. Glue this down on the last piece of rectangle cardstock (not your actual card front…unless you want less paper in the stack).

This is the piece we will attach the waterfall stack for some extra strength. Then this piece will be attached to our card front.
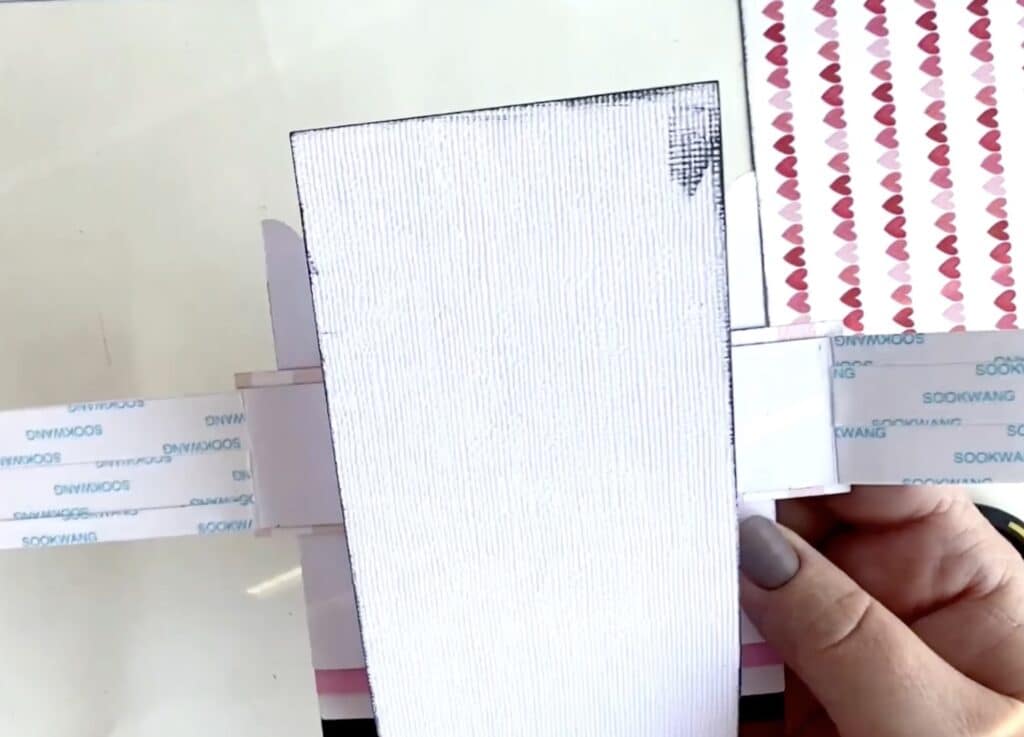
Wrap the flaps of the waterfall piece around the rectangle with pattern paper. The flaps of this wrapper are THE ONLY PART OF THE WATERFALL that you will glue down to pattern paper rectangle mat. They get glued on the back side and will hold your waterfall piece in place.
Glue the whole thing to the front of your card. Use strong adhesive. This thing is CHUNKY!
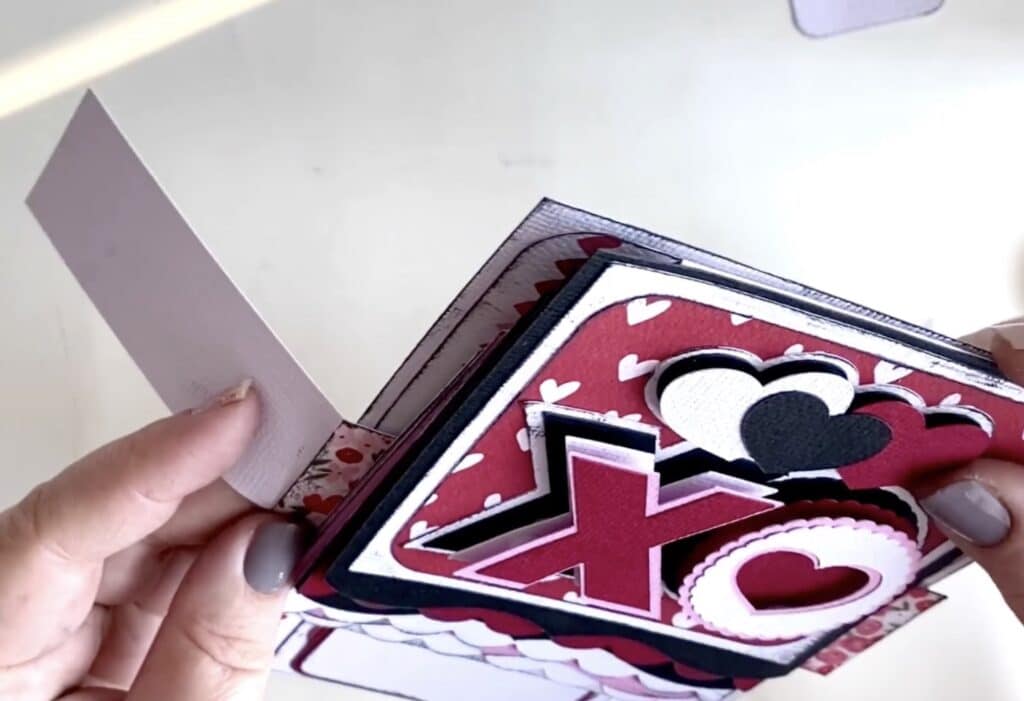
Add your sentiment to the inside of your card. This can be a cut out from pattern paper, a stamped sentiment, a printed sentiment, or a handwritten note.
Watch the tutorial for the top-stacking waterfall card. Keep reading to see how to assemble the side-flip stack.
Happy Birthday Side-Flip Card
The second version of this technique is a side-pull card. You pull a tab on the edge of the card and all the flaps open like the pages of a book. Very cool. You can see that post here.