
The Best Happy Planner Layout Ideas for 2024
We may earn a small commission for purchases made through affiliate links in this post. For more information go to our Privacy Policy.
Trying to figure out how to make a planner layout work for your schedule and be fun and creative at the same time can be hard.
All those Pinterest perfect layouts and video tutorials make it look easy. Like you just grab a sticker or two and you have a super cute set of planner pages.
I bought the sticker books (which are not cheap by the way!). And I have been struggling to use the vertical layout of my Happy Planner each week.
The boxes are too small for a to-do list each day and notes about where I need to be. Or there are days that I just really don’t need to write anything down. So how the heck do you use a weekly planner spread when it just doesn’t fit your life and style.
Change Your Happy Planner Weekly Spread
The more you look around for planner ideas, the more you wonder how the heck this is supposed to work.
Scrapbook papers, sticky notes, washi tape, the sticker packs. You can spend more time buying supplies or organizing all the planner accessories instead of actually setting up your planner and using it.
A few planner layout tips:
All the planner sticker books are designed to fit in a planning box. Or if they are bigger, they are designed to cover two spaces. This makes it easier to use a section for planning that takes up more space.

Boxes measure 1.5 in. by 2.5 inches (in the vertical layouts). The “remember to” or “notes” section on the side also measures 1.5 inches and it is two boxes high. This makes it 5 inches tall. (Get more planner sizing tips here.)
Using this information means you can cut any paper to create a fun decoration, cover a box for better writing space, or customize your layout.
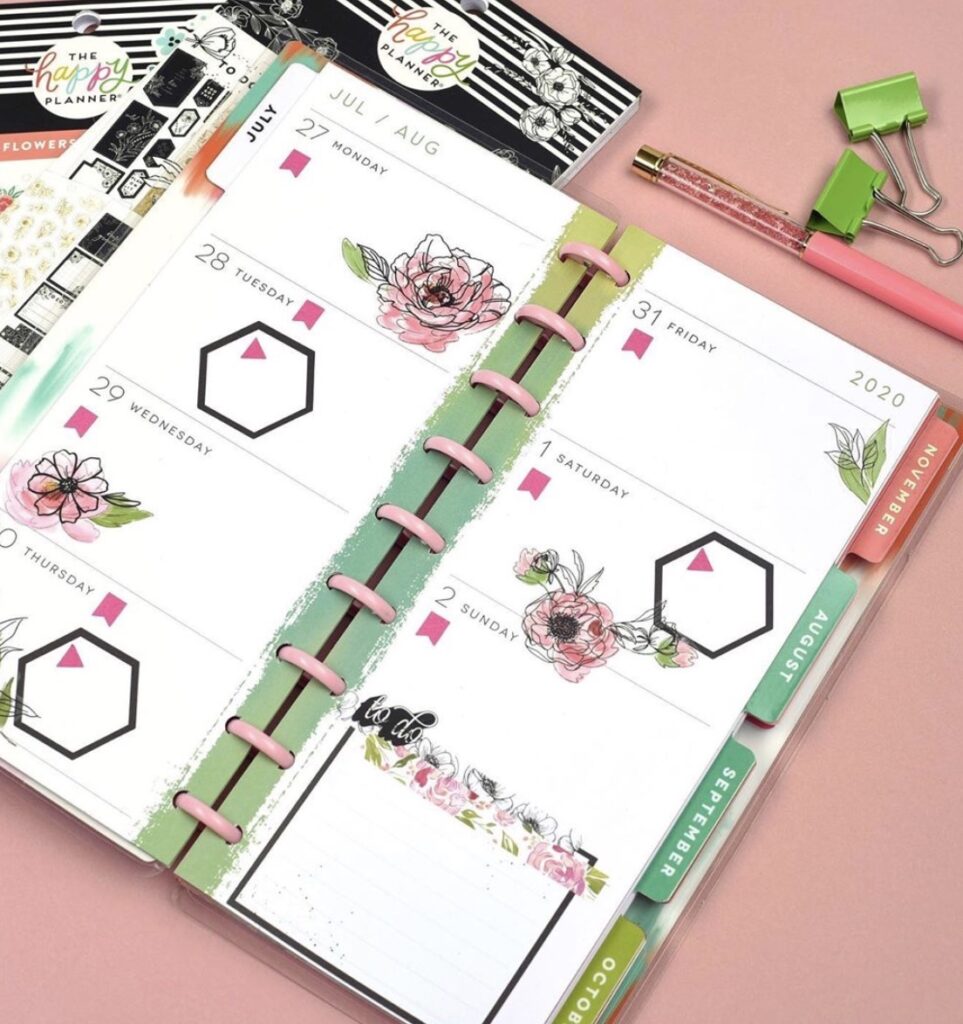
Blank Vertical Planner Pages
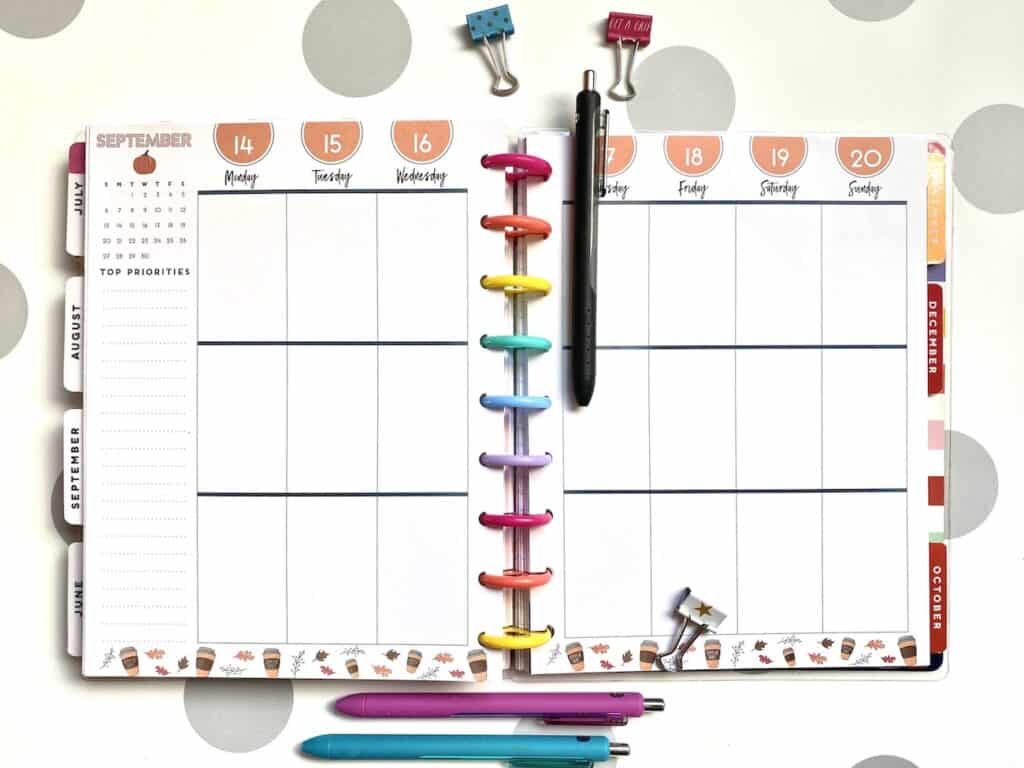
This is the Classic Happy Planner and the vertical layout for the planner pages. I love the size of this Happy Planner. I struggle with the layout of these pages and boxes.
There are more pages left blank in this planner than I care to admit.
Why?
Because I can’t fit my ideas and weekly process into those boxes. My brain just won’t wrap around it. I spend most of my time on the first two pages of the month. Squeezing in all my to-do lists, reminders, and notes.
Now, I have learned how to dress up these pages and I plan to test out this new layout for the next few weeks.
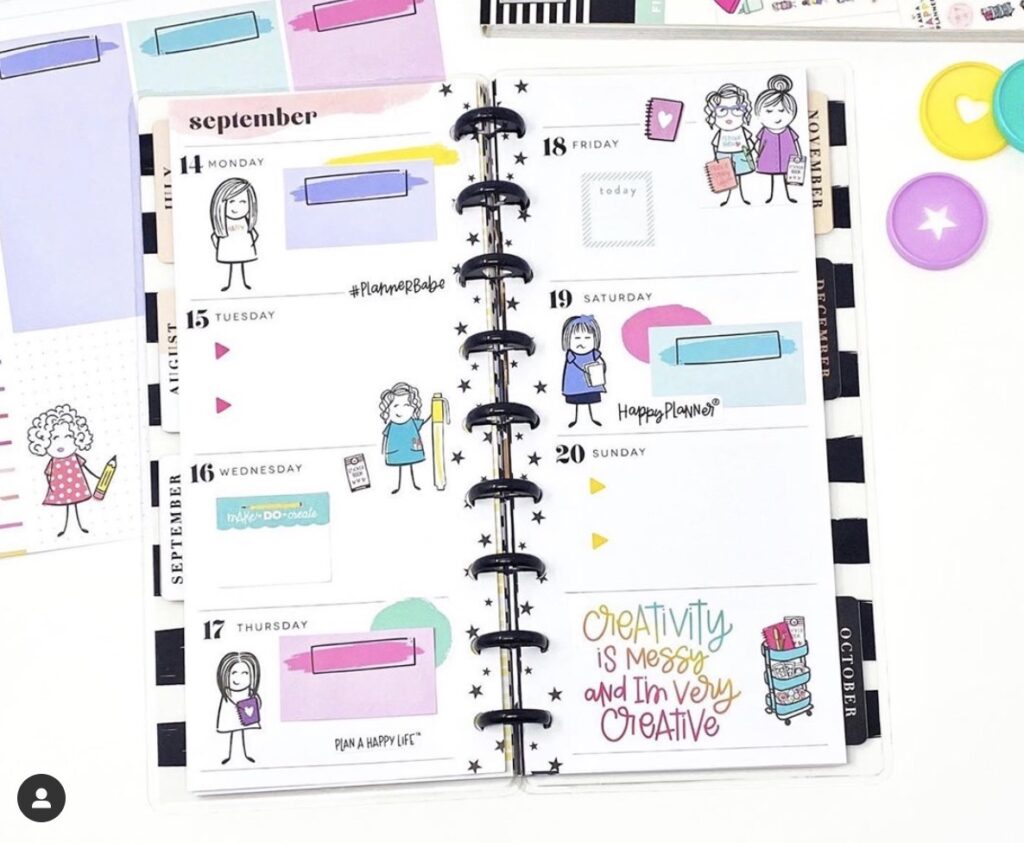
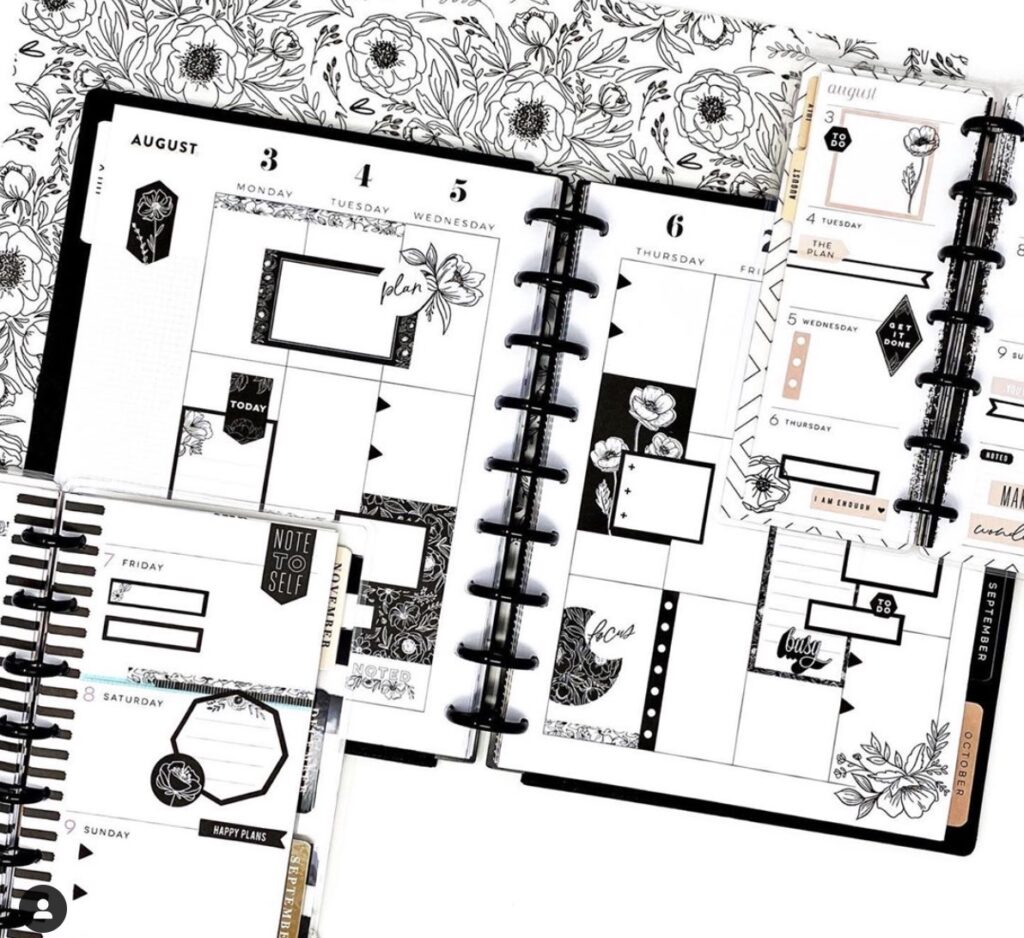
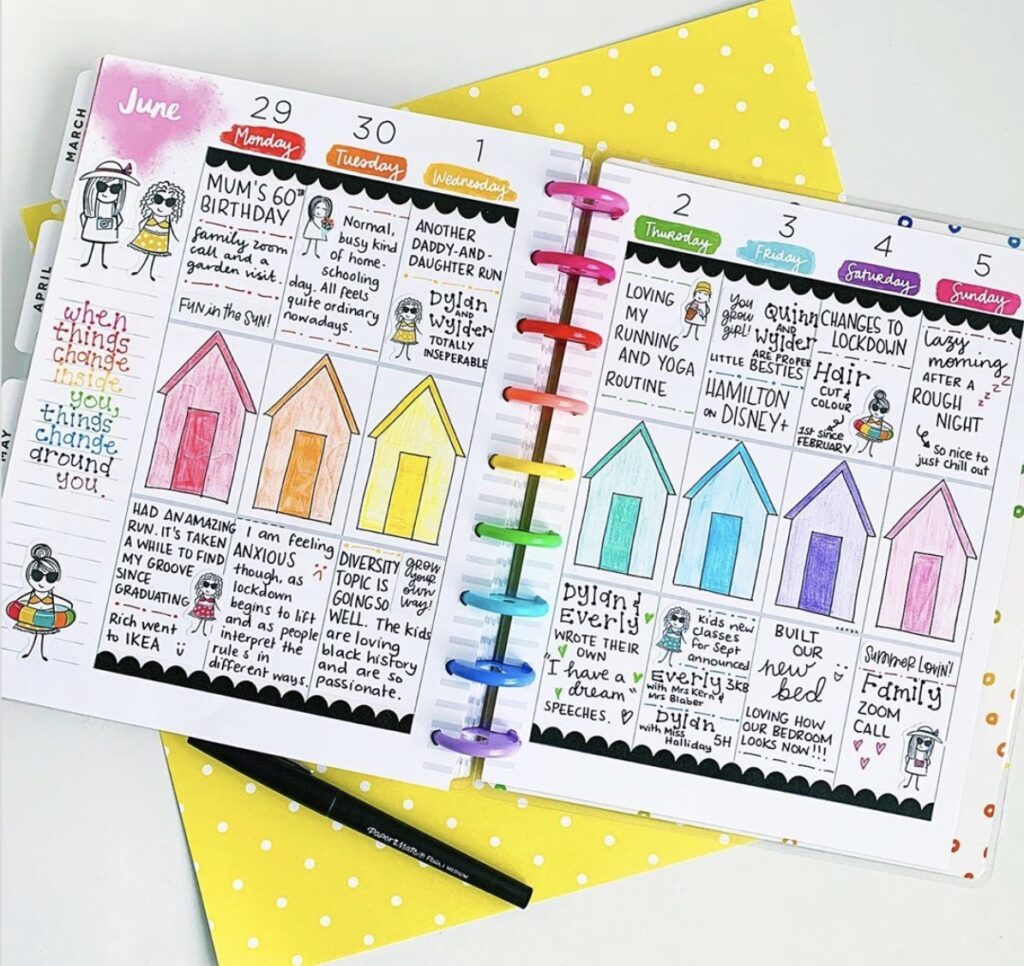
Happy Planner Sticker Packs (Use Them Up)
It is no secret. I complain about the cost of these sticker books all the time. And then, the colors get me. Or a design. I think…this time will be different. I’ll actually use them.
Up until now, I had no flipping clue what to do with them. Then it finally clicked. Cover the page.
Not like “sticker sneeze” all over it. But use the boxes to make a Happy planner layout that I will actually use.
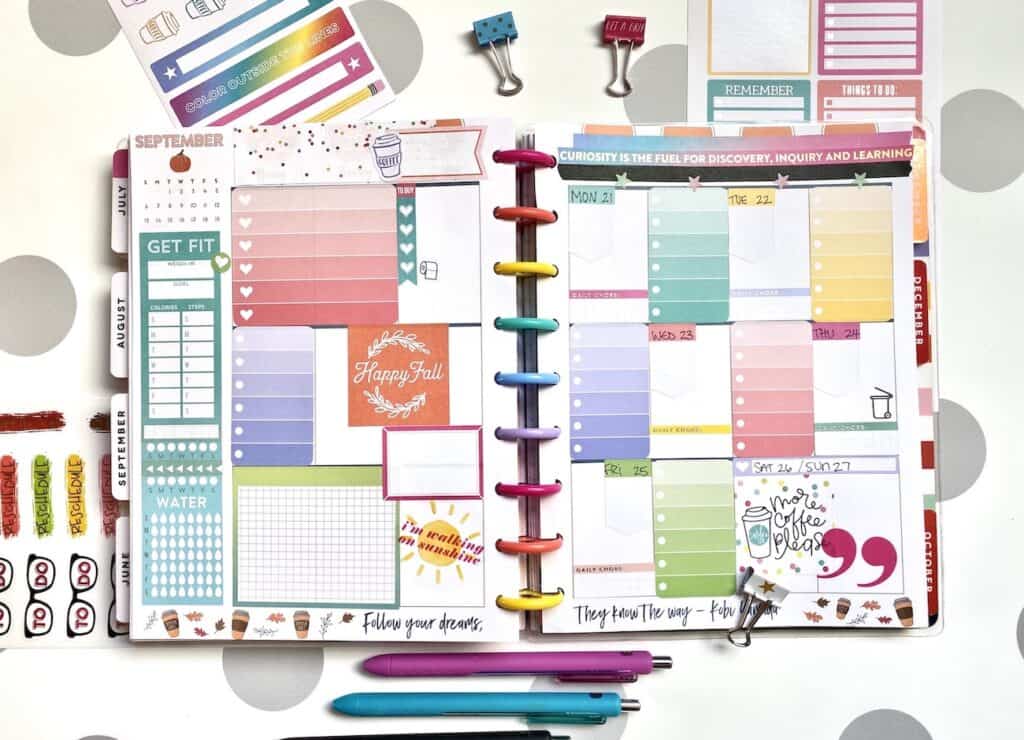
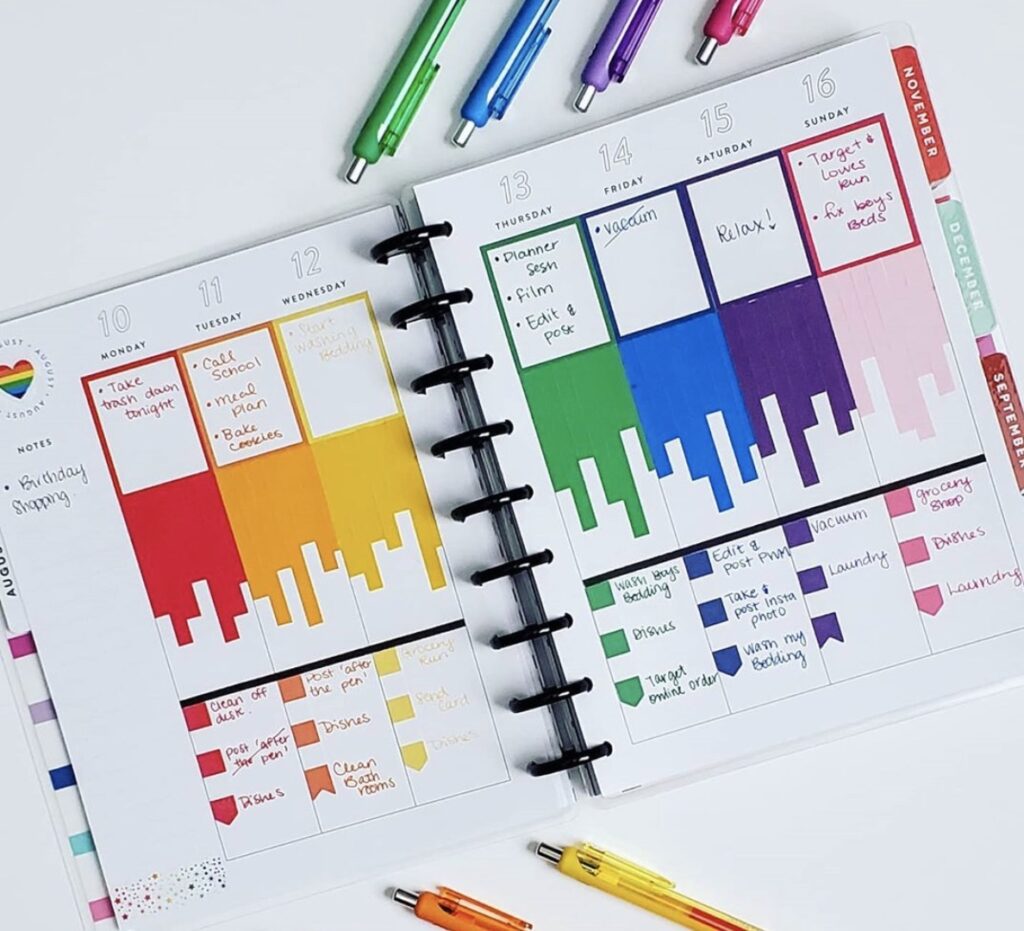
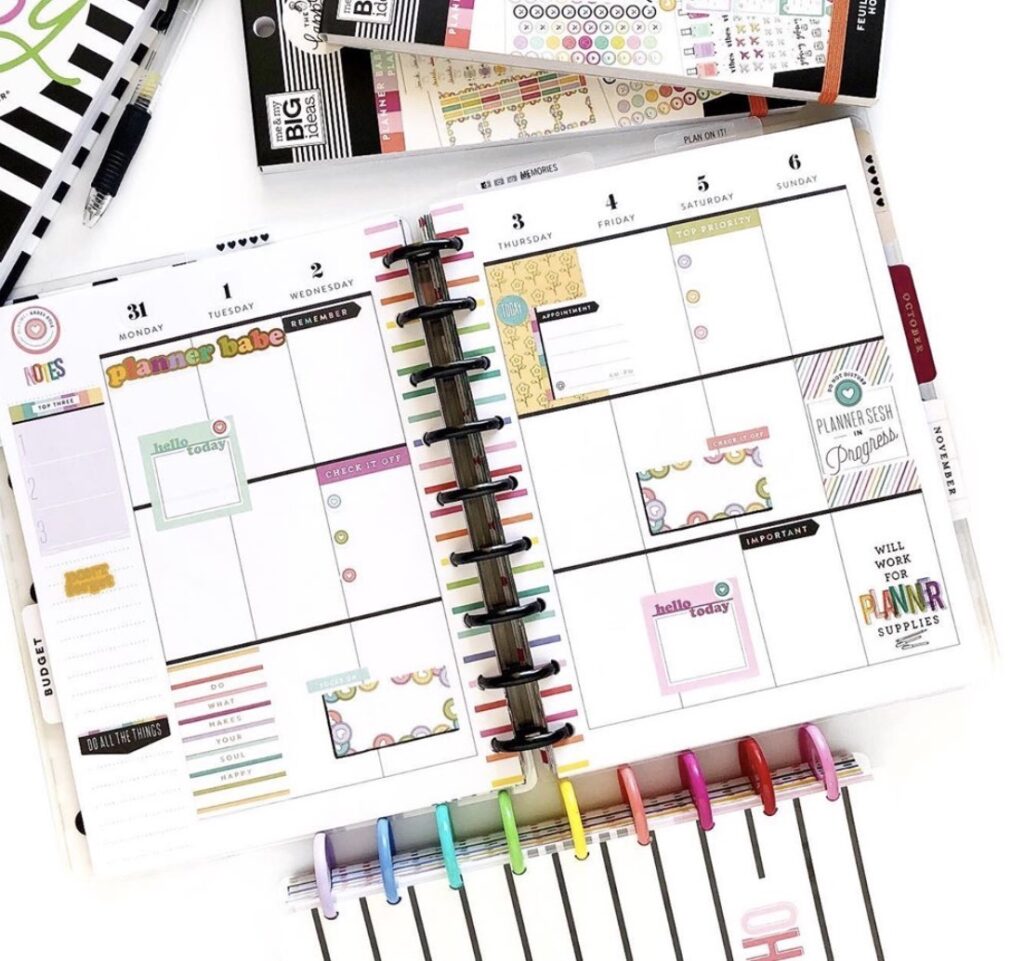
This planner page is “before the pen”. Let me just tell you that I am in LOVE. And you will see this general layout idea on the next few planner ideas. Just with different supplies.
These are all stickers out of the Teacher Sticker Book and the Productivity Sticker Book. Nothing else. Just stickers.
Now that I have figured out how to make this system work for me…I may have to go buy some more stickers *wink, wink*.
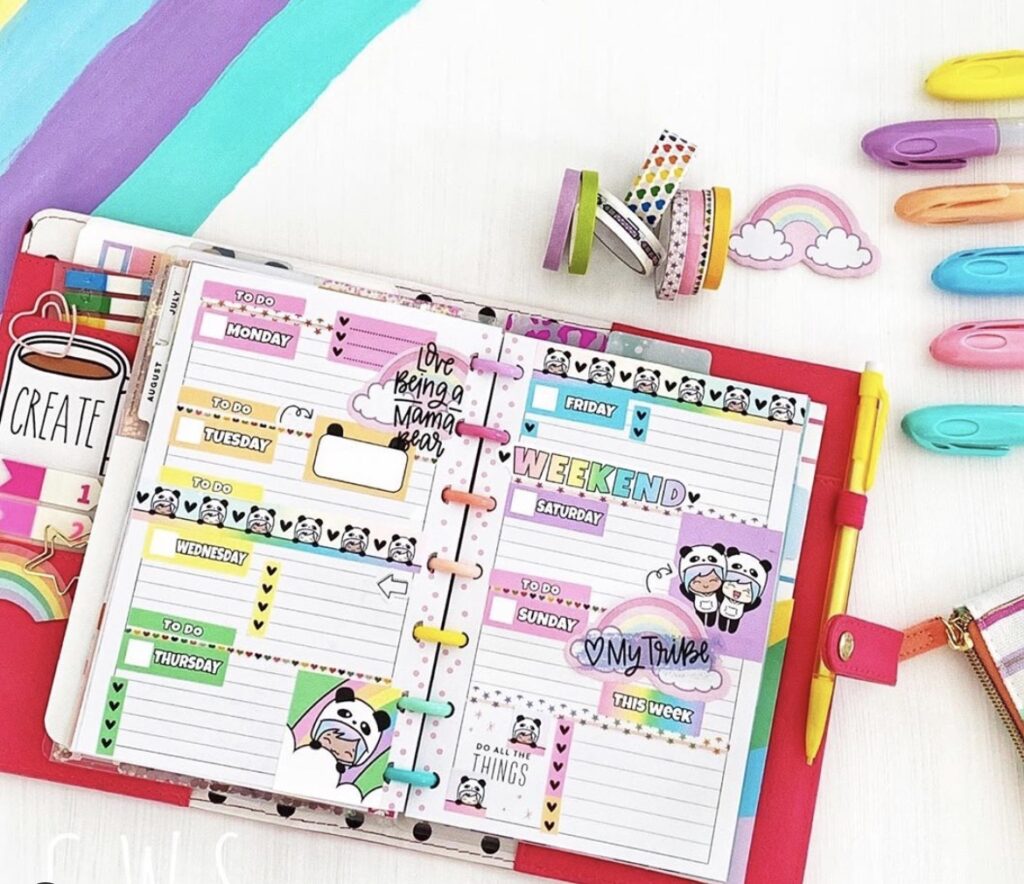
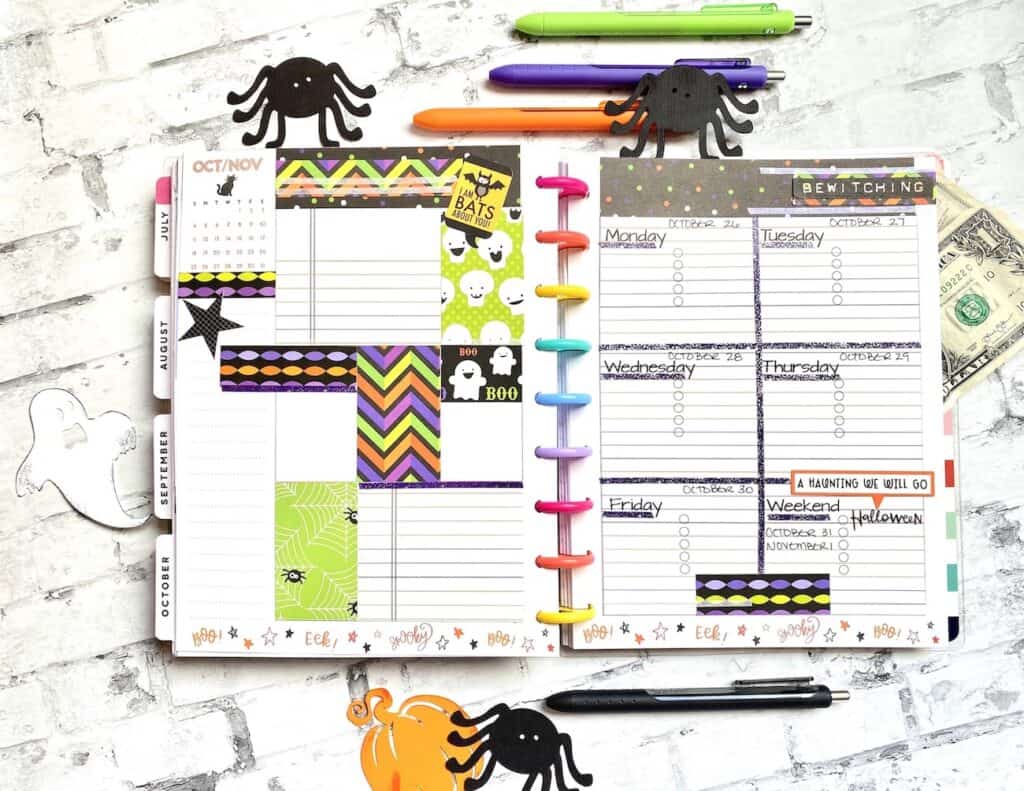
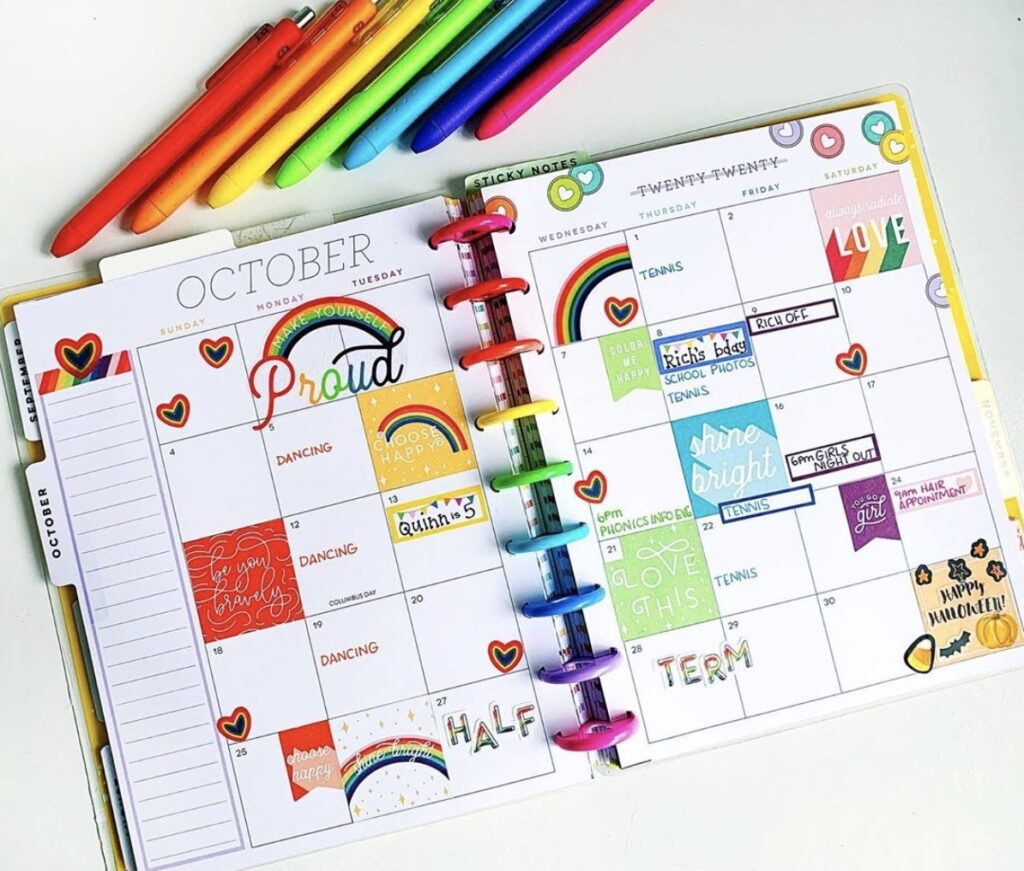
Washi Tape in Your Happy Planner
The next majorly under-used craft supply in my stash is Washi tape. I love the colors and patterns. It is pre-sticky scrapbook paper or adhesive ribbon on a roll. Who wouldn’t love it.
Until it is time to use it in your planner. And you stare at the pile or rainbow colors and wonder “what the heck?”.
Well. You can use it to cover the dates on the top of your vertical planner layout. Make it sparkle. Or black it out so you can add other stickers over the top. It is lightweight, doesn’t wrinkle like glued paper, and the glitter ones are to die for!
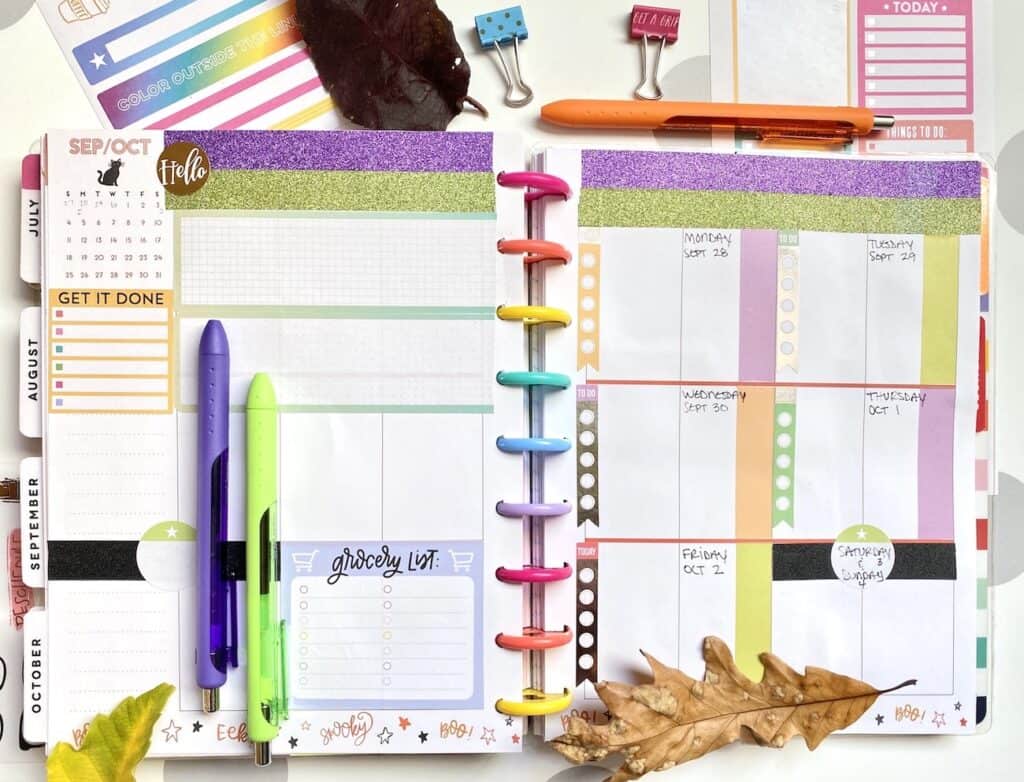
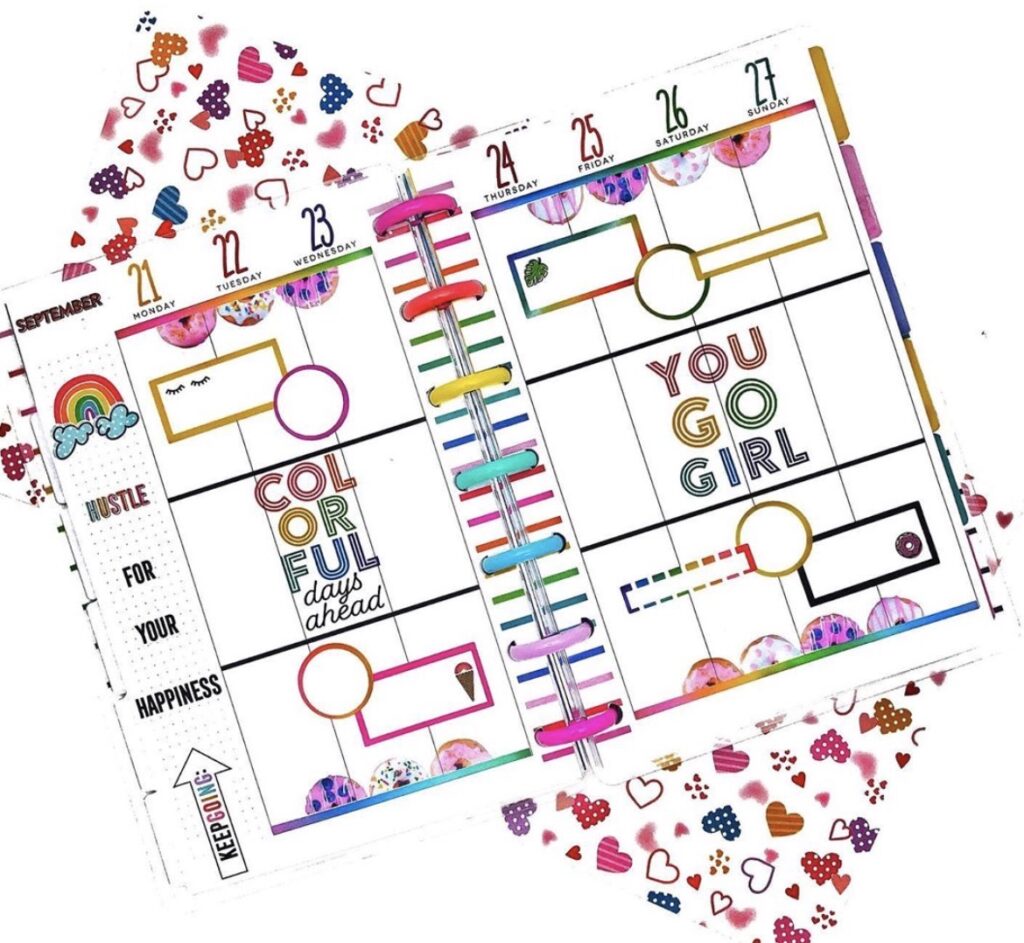
This planner spread idea is a little mix of Washi tapes and a few stickers from the productivity sticker book. It worked perfectly to cover the vertical page layout and make this weekly spread more user friendly.
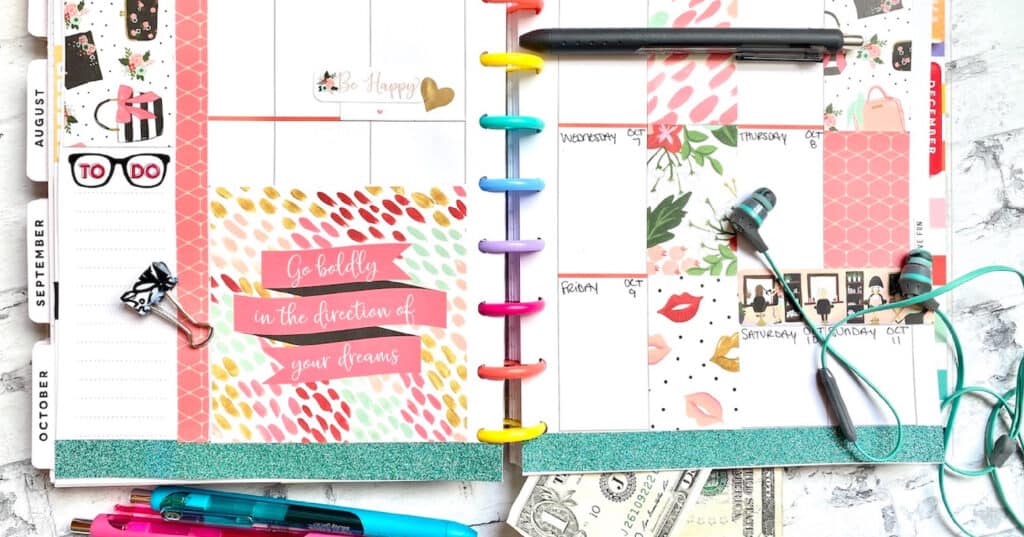
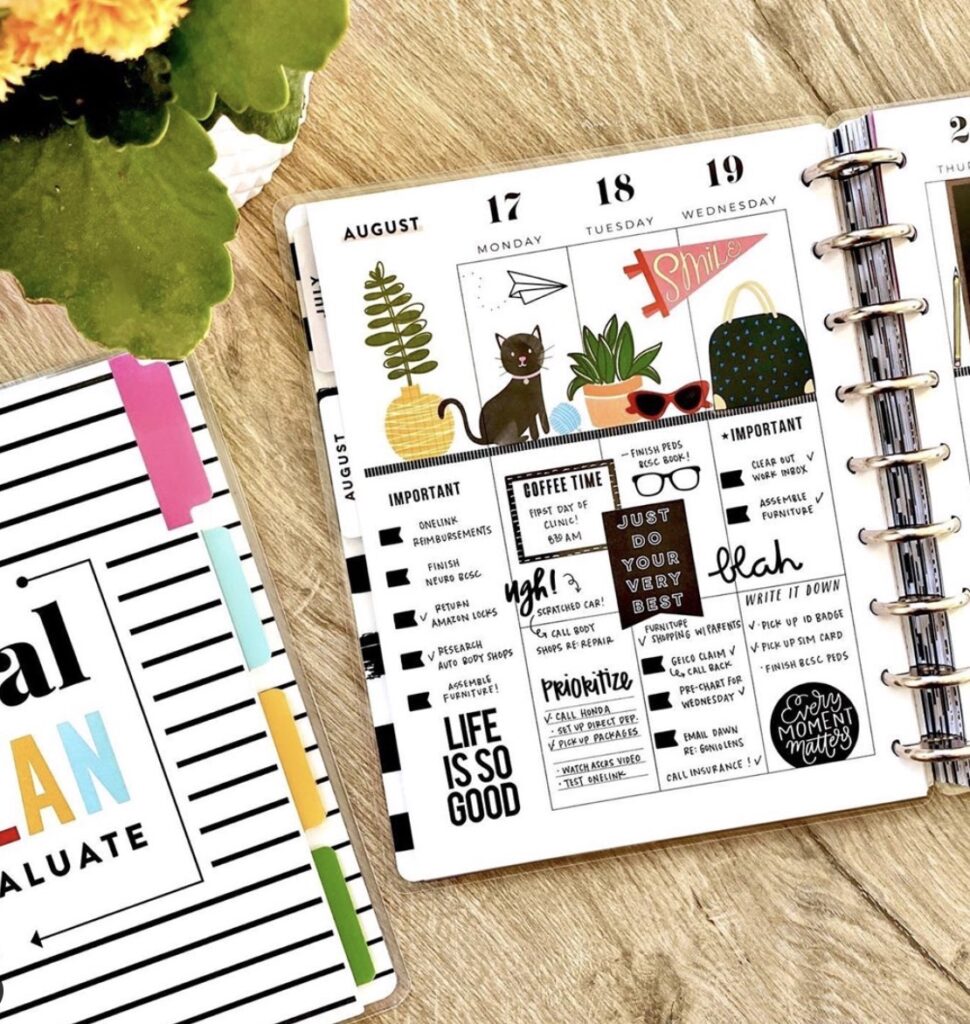
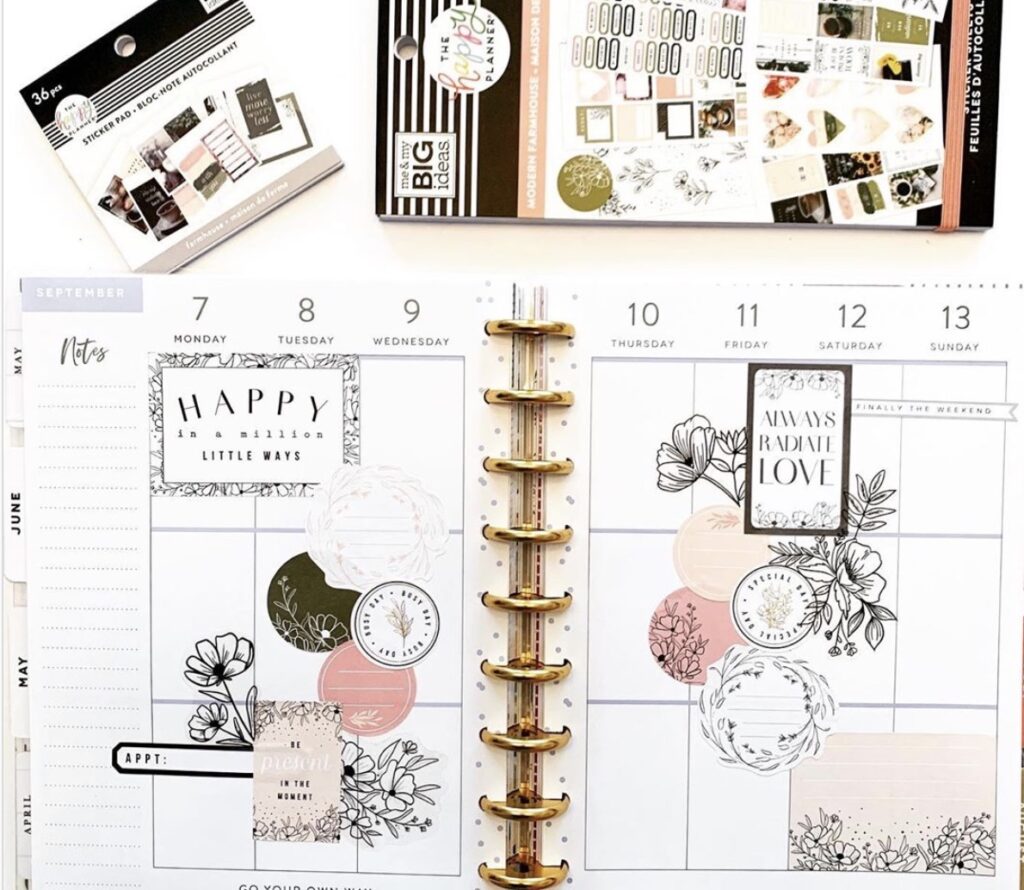
Using Scrapbook Paper in Your Happy Planner
My first true love is scrapbooking. And I have the paper stash to prove it.
But what is a girl to do with all those scrapbooking scraps.
Enter the Happy Planner and customized pages. You can totally make a DIY planner page out of scrapbook paper. And they are gorgeous. Easy to make. Fit any theme. The list goes on.
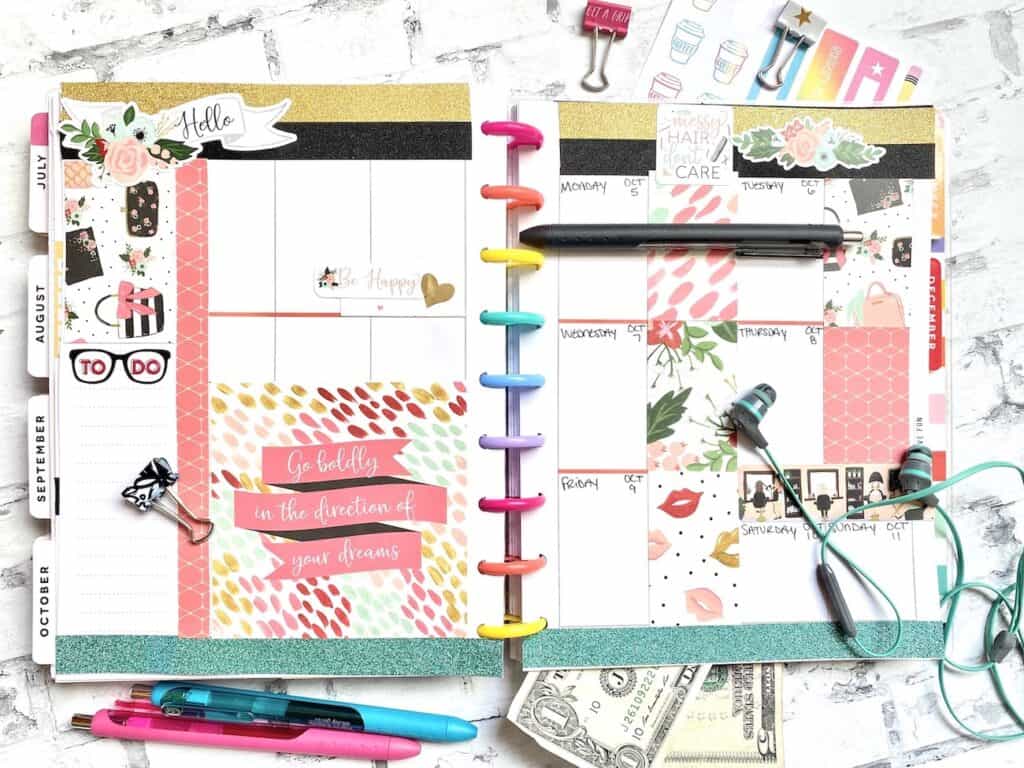
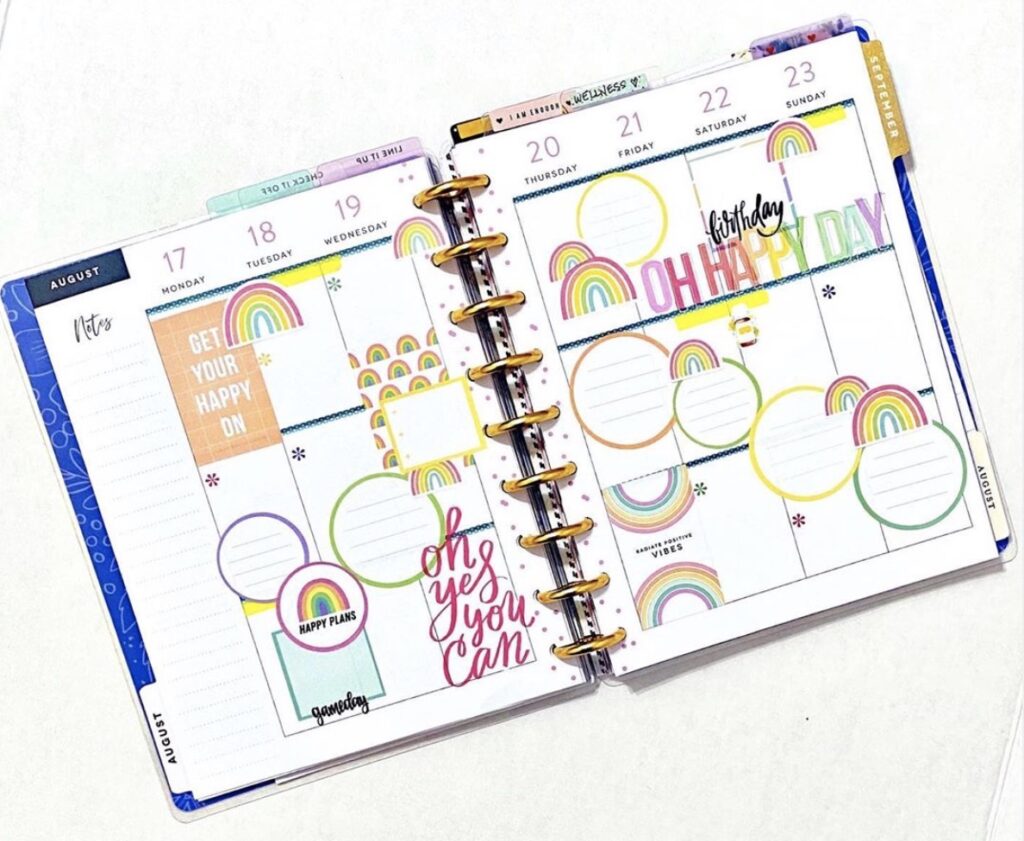
I made this Happy Planner layout using the Salon Paper Kit from Echo Park. The paper pack came with stickers as well as double sided papers.
I cut up the scrapbook papers to cover boxes, used a quote from the collection, and then decorated with a few stickers.
(There is Washi tape on the top…but I couldn’t resist those glitter tapes…)
I’m excited to do a planner dashboard with this paper and the stickers from Elle P Studio. Seriously. It is going to be amazing.
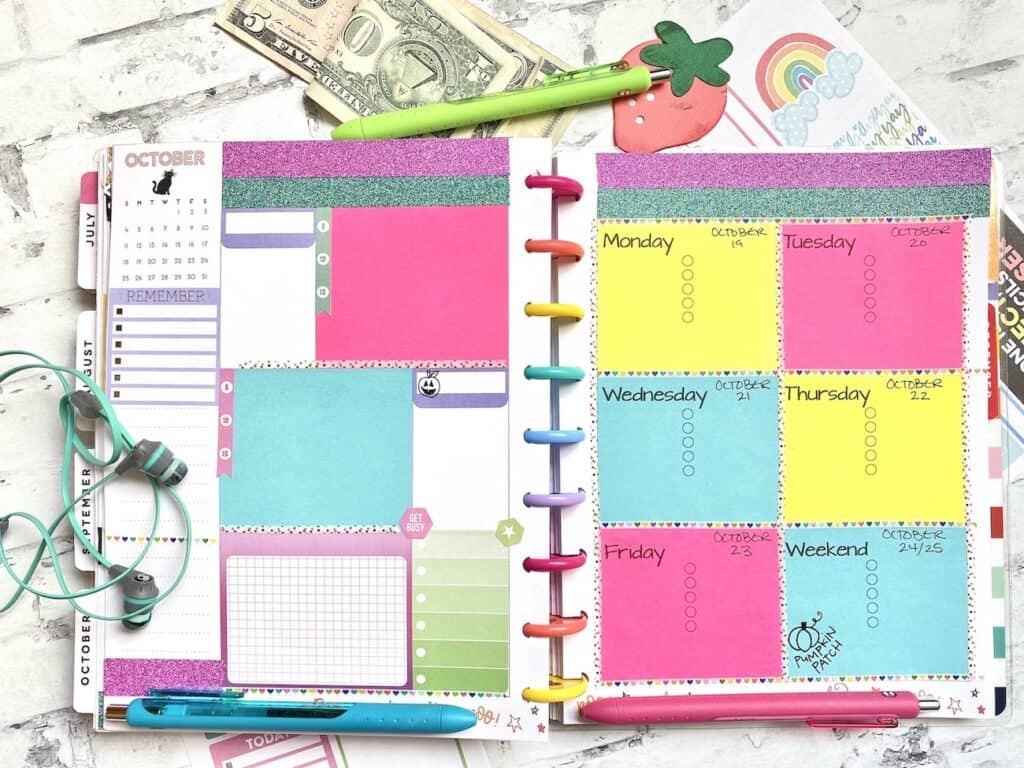
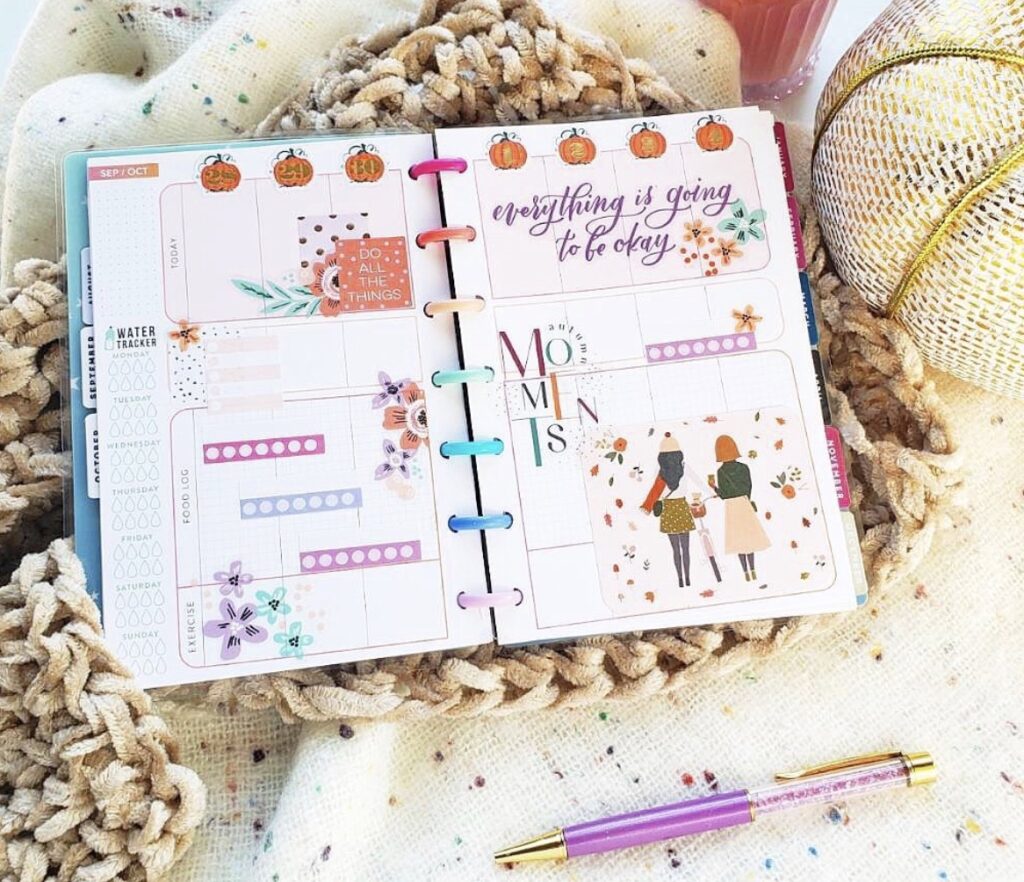
Post-it Notes for Planner Pages
I didn’t know this until I started fiddling around with all the different sticky notes that I have. But there is a post it that perfectly covers two boxes in the Happy Planner vertical layout.
It is a 3 inch by 2.5 inch sticky note. I’m not sure where I found it…but if you have them on hand, they work perfectly in your planner.
If you can’t find this size (or have a stack of the other 3 x 3 Post-it notes like these) you are still good to go.

I made this Post-it Note printable for planner pages that you can print out the days of the week as well as some “to-do” dots for checklists.
Cut them along the dotted line after printing on them and they perfectly cover 2 boxes on the planner page.
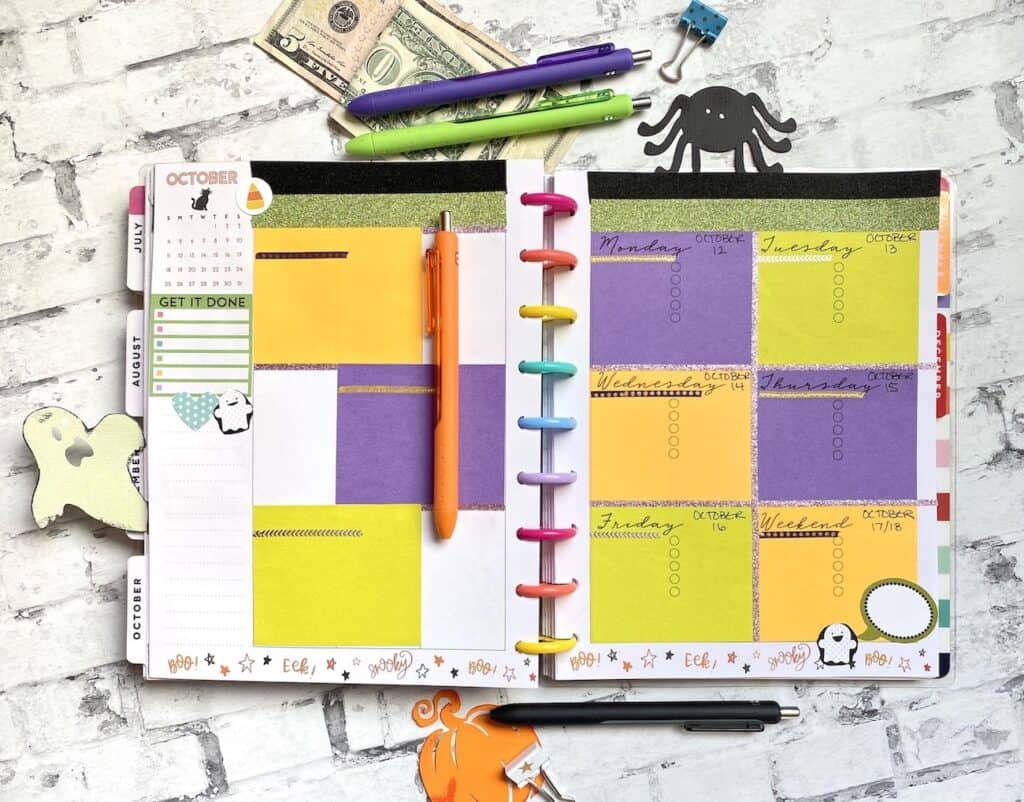
I used a few planner stickers on this page and also a few Halloween scrapbook stickers. The top is covered with Washi tape as well as the underlining for each day of the week and the notes on the left-hand side.
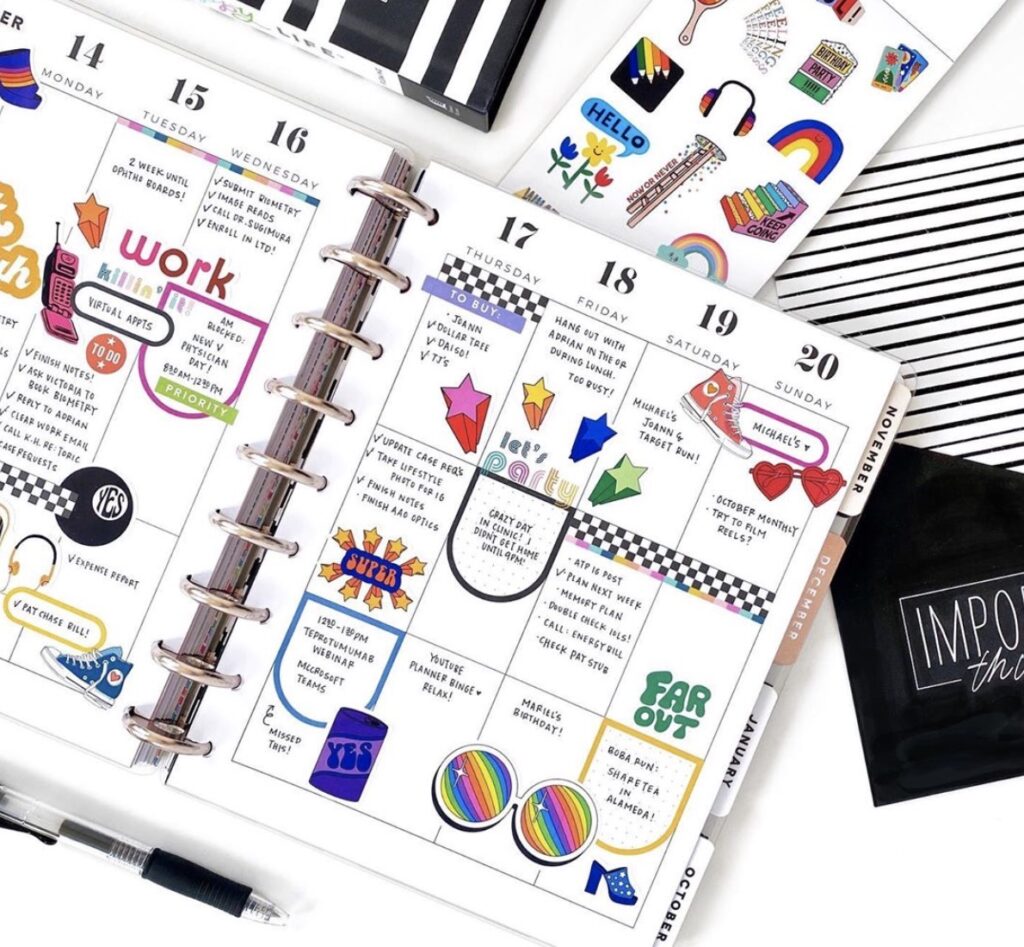
The second layout that I made using sticky notes is more of a blend of Post-its and the productivity stickers from the Happy Planner stickerbook.
If you have a decent supply of sticky notes and stickers…you could cover most of your planner pages with this technique.
It is bright. Not too busy. And still 100% user friendly.
Decorating Your Planner Pages for a Holiday
After spending some time playing with all the different ways to redesign a planner page so it works for my planning style, I will say that I really love the scrapbook version.
Stickers and Post-its are a close 2nd.
But all those Halloween papers are really speaking to me. I could probably create an entire DIY Planner with just Halloween supplies. Seriously.
And I would be sooooo happy about it.
I don’t wish time away. But I am so excited to put pen to paper on this planner layout.
What appeals to me most about being able to change up your planner design is all those unused pages.
They were dated and set for a specific time. Don’t feel guilty about not using them. Cover the dates to turn them into undated planner pages and then use them later. Fill in the date when you get around to using that set of pages. Your planner, your way.
Planner Inspiration


These are awesome and terrific too. how freeing to see all these ideas!
Thank you Thank you Thank you awesome information for a newbie planer. You will definitely be my reference source yes
Thank you for these lovely stickers!
Yeah, it looks like you are a dashboard planner kind of person. I think it’s interesting that everyone has their own layout that their brain and life works best with! I love the vertical layout. I put my weekly to-dos by categories in the first row (draw lines to make each section as big or small as I need) – a section for each of my jobs (two), and then a “personal” list. I put my meal plan and exercise schedule on the side panel. In the middle row I put my daily to-dos, prioritizing from the weekly to dos, and in the last row I put my schedule, color-coded by type of appointment which alerts my brain to help me remember. Each day I designate to a particular thing (one part-time job, another job, personal day), and this helps me to know what to prioritze each day. This works well for me since I have a varied schedule and many different things I do in my life.
This is my first year buying a happy planner (I like mini, since it fits more easily in my bag). I love the light weight and colorful designs. However, I had ordered a mini vertical for pickup at Joann’s only to arrive at the store, and they didn’t’ have any so the order was canceled! Instead, I got a dashboard, and I will have to do the opposite – find a way to make a dashboard planner work for a vertical brain!
Morning Joy,
That sucks that they didn’t have the mini in vertical that you wanted. It is amazing how we adapt to a system and then our brains just do not want to adjust to a new format. I stare at the vertical and can’t figure out how to make it work. Even though…I really want to. My frankenplanner for 2022 will be a mix of dashboard and just notepaper. I think that gives me more freedom to add some artistic and bullet journal elements which will make me happy.
You have a ton of things to keep track of, but it sounds like you have nailed your system!
Rhoda