
Stunning Star Wreath Scrapbook Overlay and Tutorial
We may earn a small commission for purchases made through affiliate links in this post. For more information go to our Privacy Policy.
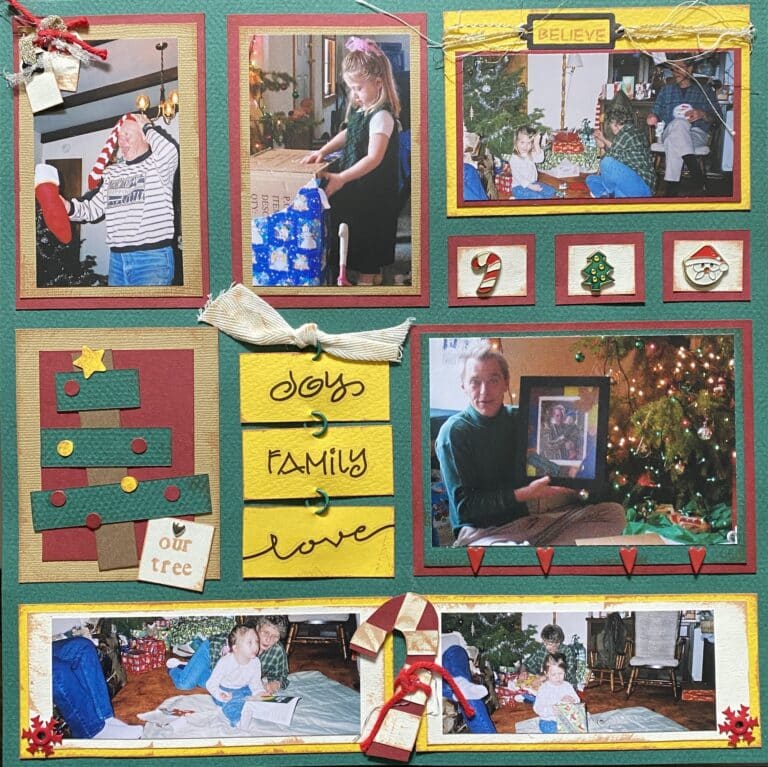
The elements of this star wreath scrapbook overlay are perfect for some Halloween sparkle. It is also a great general design that you can use with other themes and other colors. It will make a great “staple” in your scrapbook overlay collection.
Supplies Needed for Star Wreath Scrapbook Overlay:
- Star Wreath Scrapbook Overlay SVG cut file
- Cutting machine (e.g., Cricut, Silhouette)
- Cardstock (background and coordinating colors)
- Pattern Paper scraps
- Glue or adhesive tape runner
- Old labels or embellishments (optional)
- Rub-ons or stickers (optional)
- Embellishments (e.g., pearls, glitter) for decoration
- Weeding tool or any pointed object
- Photos to be added later
All the general supplies for scrapbooking and cardmaking that I use are listed below. Pattern papers and cardstocks are not specific. Use what you have (unless you were eyeballing that new paper release…).
NOTE: This file is part of the 2023 Halloween Craft Stash Challenge. If you are working on this project after the challenge is complete, you can still participate. The file is sold individually in the shop and it is also included in the Mega Halloween Bundle.

Step 1: Uploading and Preparing the Design:
- Open your preferred cutting software (e.g., Design Space of Silhouette Studio).
- Click on the “Upload” button and select the “Star Wreath” file that is compatible with your design software from your bundle.
- Import the pre-made Stars as well into the canvas.
Step 2: Arranging and Choosing Colors:
- Decide how many different pattern papers you will want to use (or colors). Assign a cut color to each pattern paper.
- Change the color of your stars accordingly. If you want 3 stars cut from a specific paper, then change 3 of the star elements to that representing color.
Step 3: Cutting and Preparing the Elements:
- Pick a color for the wreath (e.g., purple) and adjust its size as desired.
- Load your cutting machine with the appropriate cardstock colors.
- Cut out both the Stars and the wreath according to your design.
Step 4: Adding the Stars:
- Begin adhering the stars onto the layout based on their color-coded groups.
- Start with the larger stars, spacing them evenly around the wreath.
- Apply glue to the edges of each star and carefully stick them down.
- Maintain the random pattern paper arrangement within each color group.
- Address overlapping stars by adhering the front star before the second background star (there are only 3 spots this happens on the wreath).
- If desired, sprinkle some glitter or add unique elements to selected Stars.
Step 5: Assembling the Layout:
- Choose your photo mount sizes, such as 2.5″ x 2.5″ for the middle mount and 2.75″ x 2.75″ for the base.
- Determine where you want your photo mounts on the scrapbook layout.
- Glue down your wreath on the background (leaving places where you might overlay on a photo mount.
- Attach the photo mounts onto the background cardstock.
Step 6: Finalizing the Layout:
- Consider using old labels or other embellishments for added interest.
- Position the labels strategically, keeping in mind space for future photo placement.
- Optionally, embellish the layout further with more details or accents.
Don’t forget to share your creation with the rest of us in the Lemony Fizz Paper Crafters Facebook Group.
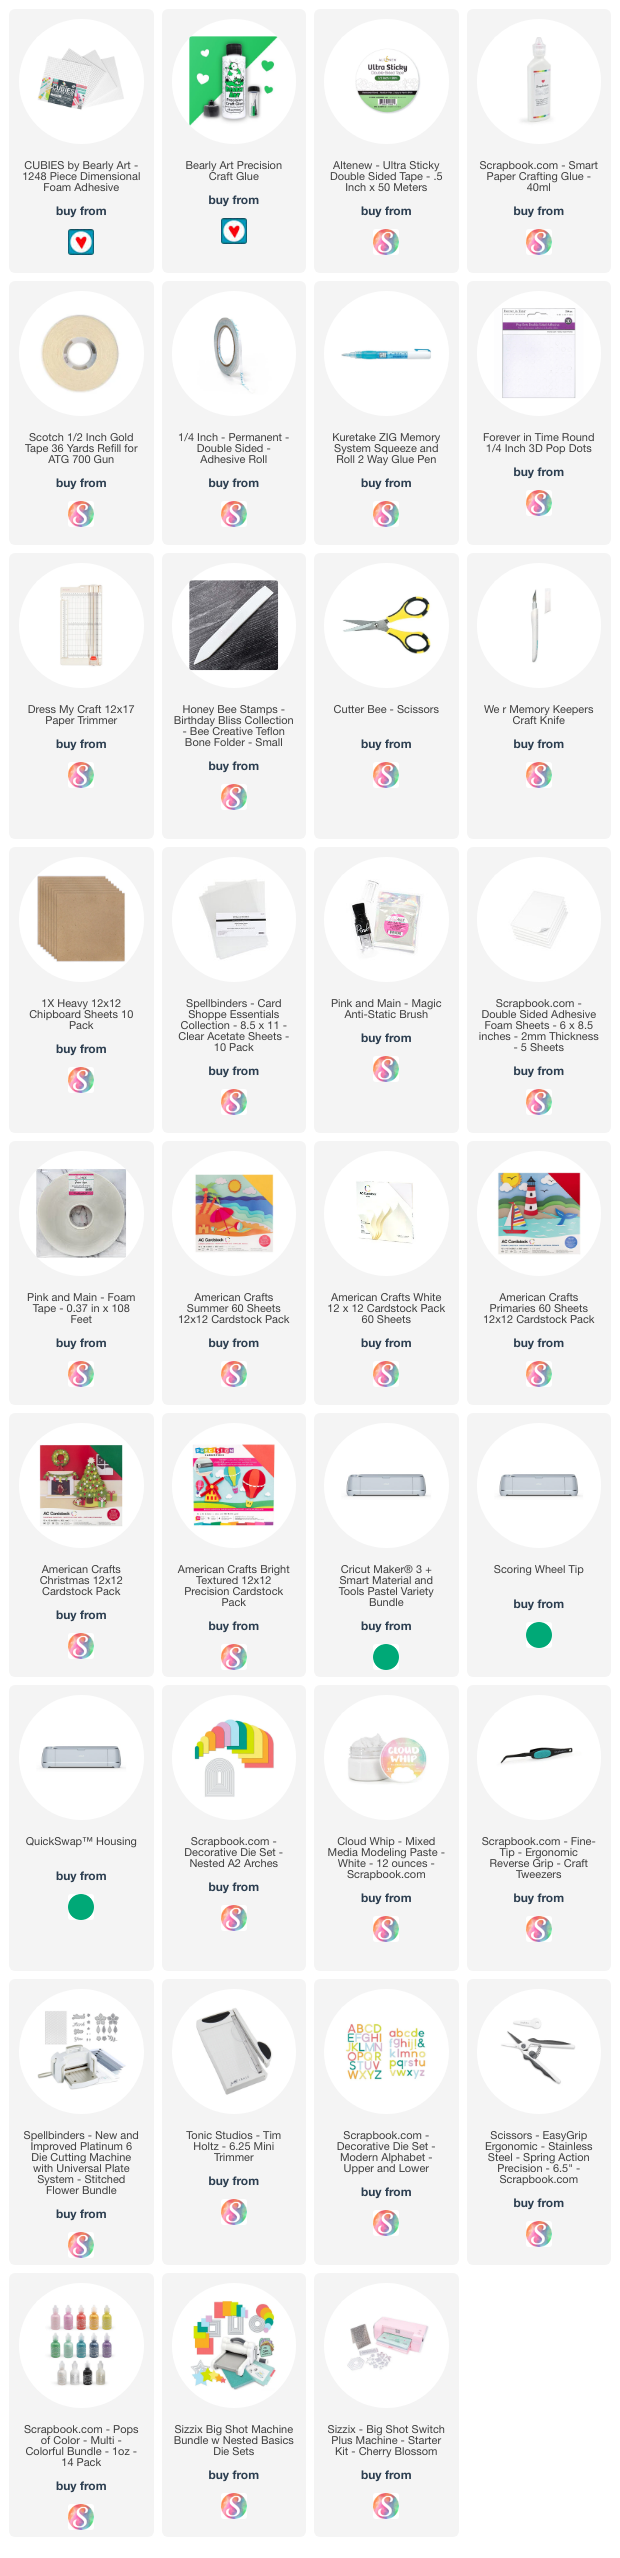
General Scrapbooking and Cardmaking Supplies that I Use


I like the wreath design with the stars, can be used for several occasions. I also like that you use what you have, I am going to find my rubb-ons(?) and use them! Thanks 👍
This is a wonderful SB overlay! I can see using this for all kinds of events, not just Halloween. This would be great for a card, too, but maybe without the photo mats. TYFS!