
12 Steps to Use this Free Sunflower SVG to Create a Beautiful Scrapbook Page
We may earn a small commission for purchases made through affiliate links in this post. For more information go to our Privacy Policy.
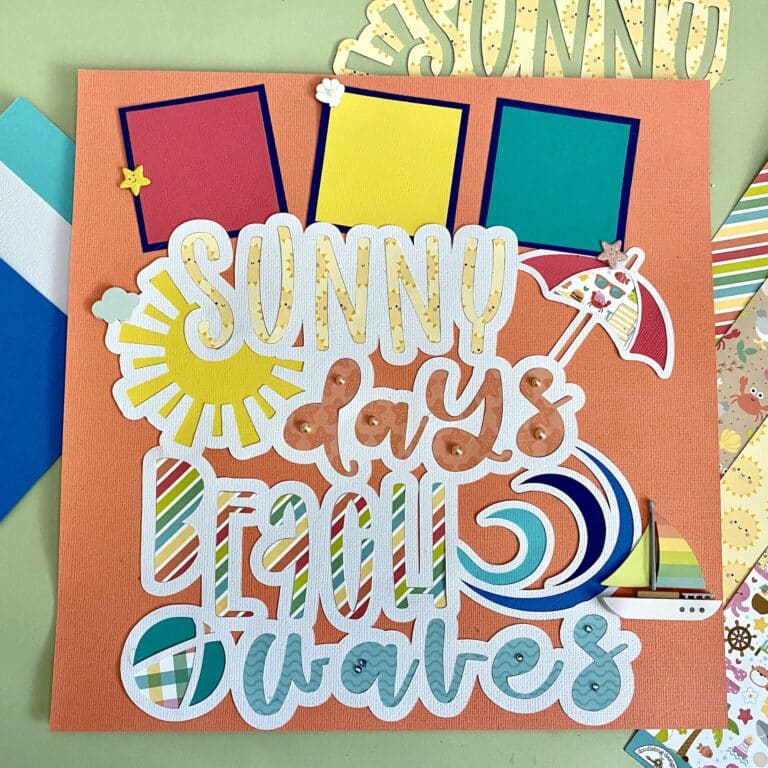
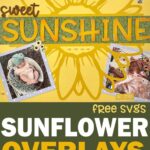
If you’re looking to create a vibrant and dimensional scrapbook layout with a sunflower theme, this free sunflower svg and tutorial is for you. Follow these simple steps to craft a stunning page that captures the essence of sunny days and adds a touch of creativity to your memories.
Materials Needed:
- Sunflower SVG file (with space for text, there are two versions in the download file)
- Cutting machine (Cricut, Silhouette, etc.)
- Cardstock in various colors (yellow, green, orange, white)
- Adhesive (glue, double-sided tape)
- Ink or distress oxide (optional)
- Die-cut machine (optional)
- Embellishments (stickers, sequins, etc.)
- Scrapbooking paper (patterned paper of your choice)
- Scissors or cutting tools
- Plastic tool for manipulating small embellishments
Instructions for Using Sunflower SVG:
- Prepare Your Sunflower SVG:
- Choose an SVG file of a sunflower with space for text. Ensure the file format is SVG.
- Upload the SVG file to your cutting machine’s design software (e.g., Cricut Design Space).
- Resize and Customize:
- Open the uploaded SVG file and resize it to your desired dimensions.
- If the SVG has multiple layers, choose the version with space for text in the middle.
- Add the text “sunshine” to the sunflower image. Adjust the size and font to your preference.
- Font and Color Selection:
- Change the font of the text to your liking. You can choose a font from your system’s fonts library.
- If desired, modify the colors of the elements. Use the color sync feature to ensure consistency.
- Layering for Dimension:
- Prepare to create dimensional letters by cutting the word “sunshine” multiple times from white cardstock.
- Consider using a die-cut machine for a clean and precise cut.
- Adding Dimension and Color:
- If desired, ink the edges of the cardstock letters using distress oxide or ink of your choice to add depth and dimension.
- Layer the white letters together to create a thicker, dimensional effect (it’s your very own thickers).
- Prepare Your Background:
- Choose a background patterned paper that complements the sunflower theme.
- Cut the paper to the desired size for your layout. I used a strip that was 2 inches x 12 inches.
- Placing the Sunflower and Letters:
- Attach the sunflower image and the dimensional word “sunshine” onto your layout’s background.
- Experiment with placement to achieve a balanced and visually appealing arrangement.
- Photo Placement:
- Print and cut your chosen photos to the desired sizes.
- Mat the photos with coordinating cardstock or pattern paper to create borders.
- Embellishing the Layout:
- Add stickers, sequins, or other embellishments that enhance the sunflower theme.
- Consider using embellishments that complement the colors and overall vibe of your layout.
- Finishing Touches:
- Trim any overhanging edges of photos or papers to ensure a clean and polished look.
- Double-check the overall placement and alignment of all elements.
- Finalizing the Layout:
- If you’re satisfied with the arrangement, securely adhere all elements in place.
- Review your layout to ensure everything is balanced and visually pleasing.
- Personal Touches:
- Feel free to add journaling, quotes, or additional details that personalize your scrapbook layout.
A Sweet Sunshine Page Using a Free Sunflower SVG

By following these steps, you’ll create a beautifully layered and dimensional sunflower-themed scrapbook layout that perfectly captures your memories. Let your creativity shine as you bring together colors, textures, and designs to craft a page that will be cherished for years to come.
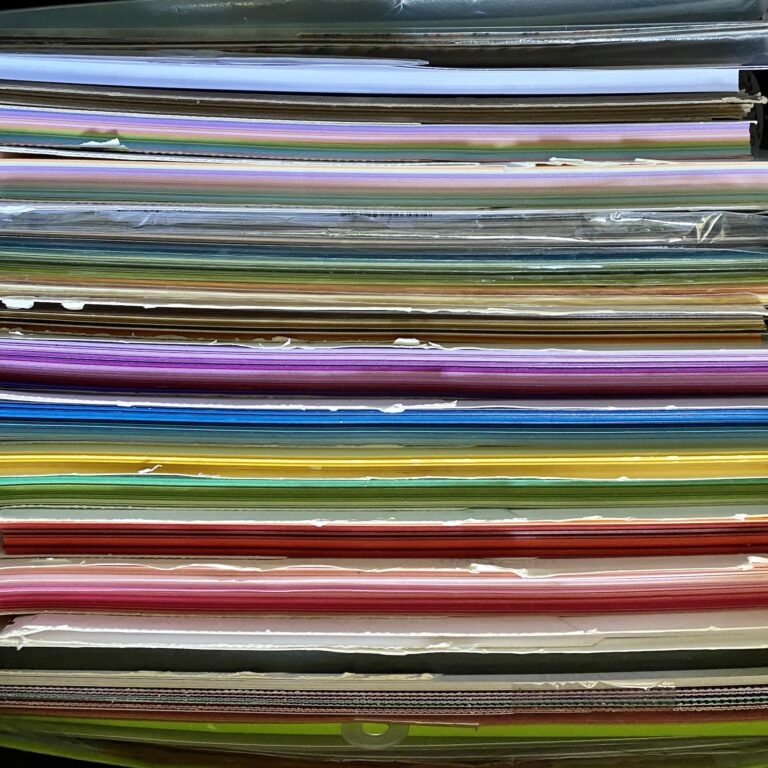
What is Cardstock Paper?
Card stock paper is a heavyweight and sturdy type of paper that’s often used for various crafting and creative projects. It’s thicker and more durable than regular paper, making it perfect for things like making greeting cards, scrapbooking, invitations, and even some light printing.
Its extra thickness gives your projects a professional and substantial feel. So, whether you’re into DIY crafts or planning a special event, card stock paper is your go-to for adding a touch of quality to your creations.
What is Pattern Paper?
Pattern paper is thinner than cardstock (usually) and it adorned with all sorts of delightful designs, colors, and patterns. This saves you time and materials. Instead of having to paint or stamp patterns for backgrounds you can just cut a beautiful piece of paper down to size.
Whether you’re putting together a scrapbook page, designing handmade cards, or working on any crafty project, pattern paper adds a dash of personality and flair. It’s basically a shortcut to making your creations pop with style without having to start from scratch.
I love this layout! It feels very fresh and summery. I’m looking forward to making my own layout. TYFS!
Love the sunflower theme.
This is so cute. Can’t wait to make it!
Cute
Can’t wait to use this!
Your scrapbook page is so sweet. Thank you for sharing.
I love sunflowers 🌻
I love this layout! This is such a versatile design that would make a lovely series of pages incorporating portions of the sunflower in each page.
This is great i have the perfect pics of my youngest niece and she even wearing sunflower stuff but then I got sad cause my cutting machine broke i was trying to see if I can just take those pictures out and put mine in then print it but 😪