Free 3D Layered Christmas Stocking Papercraft
We may earn a small commission for purchases made through affiliate links in this post. For more information go to our Privacy Policy.
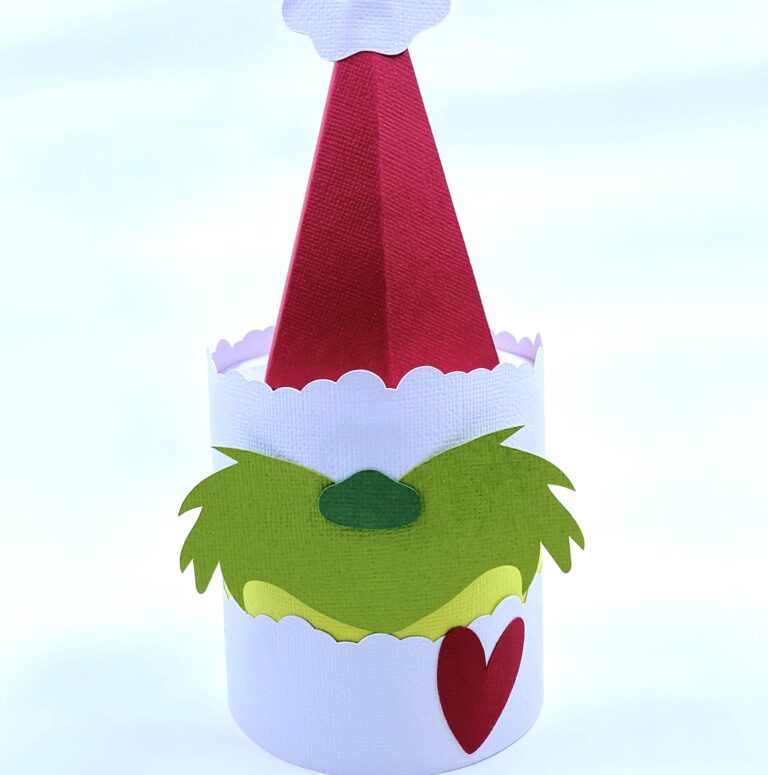
Create fun layered paper Christmas stockings to hang on a banner, across the mantle, or to put on the cover of Christmas gift cards.
This free 3D layered Christmas stocking can be customized with different colors of paper. Add pieces of ribbon, or put other fun layered characters in the stocking.
How to Make a Layered Paper Christmas Stocking
Here’s how to make your very own DIY Christmas Stocking using a Cricut machine.
Supplies you will need to create this 3D Layered Christmas Stocking:
- Cricut machine
- Blue Cricut cutting mat (light grip)
- Solid Core Cardstock (I use American Crafts)
- PVA Papercraft Glue
- 3D foam adhesive dots
- Stocking SVG File
1. Download the free file & unzip the downloaded folder
You will need to put your first name and email in the form above (after you confirm your information, you will be sent a download link). If you are unsure how to unzip a compressed file or need a refresher, read this post.
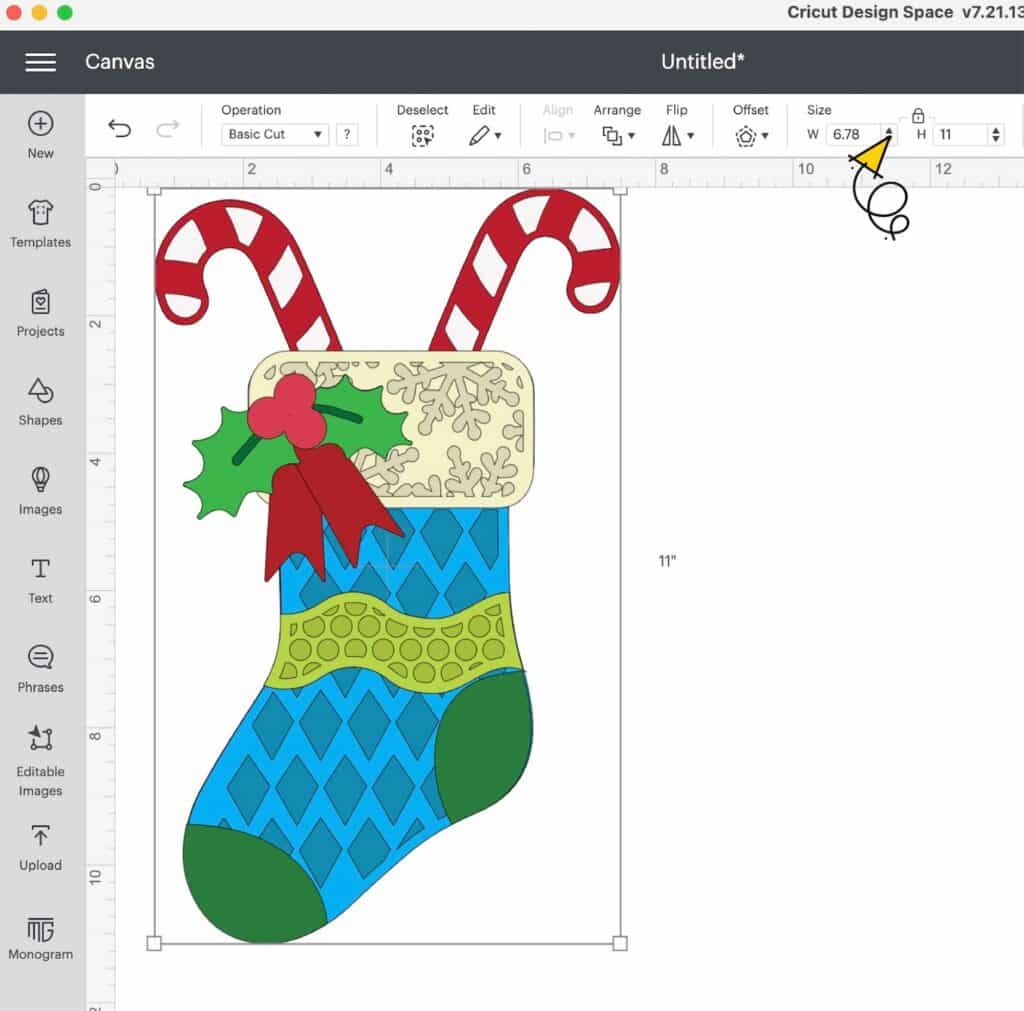
2. Upload the SVG file to Cricut Design Space (or whichever program you use for your cutting machine). After you have uploaded the SVG file, the design will show in your “Recently Uploaded Images”. Click on the image so there is a green bounding box around it.

3. Click “Add to Canvas” to put the SVG upload into your Project Canvas.
4. Resize if you want. The stocking file will come approximately 11 inches tall. Make sure you lock your ratio button before you change the size. I wouldn’t recommend going less than 6 inches unless you want to remove the detailed cut layers. They will be too intricate to go smaller than that.
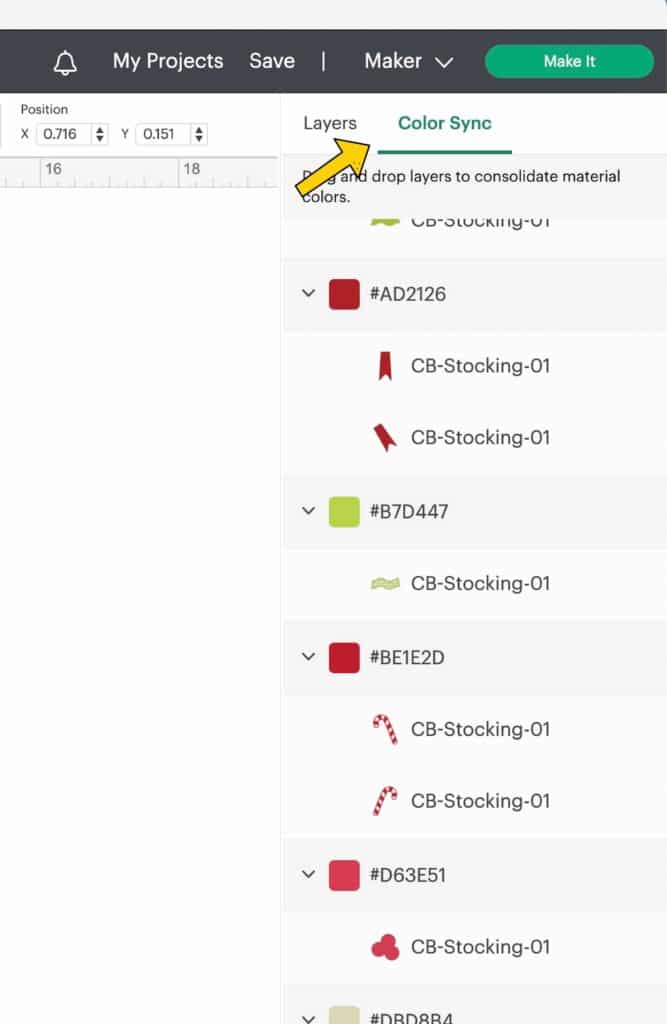
5. Color Sync your layers: If you want to use fewer mats and color options, you can drag and drop color layers to combine them. Click the tab “Color Sync” by layers in the top right panel of Design Space. Drag color sets to combine them (sometimes a file was designed to have all the same color, but Cricut Design Space will adjust the tint just a tad…in this stocking, the berries of the holly are very similar to the candy cane. You can combine these and only have to load that one red cutting mat).
NOTE:
The base shape layer of the cut file is designed in black or dark grey. You do NOT have to cut the base in this color. It will not be seen if you are attaching your art to something else. Use up a color that you have a lot of or that you don’t ever use and want to get rid of.
6. Cut out your pieces.
Putting Your Papercraft Stocking Together
Organize all your paper layers. Remove any cut pieces that didn’t pop off when you removed your cardstock from the Cricut mat.
Glue down the main part of the stocking and the top part of the stocking (the colors that show through the 3D cut layer) onto the base layer.
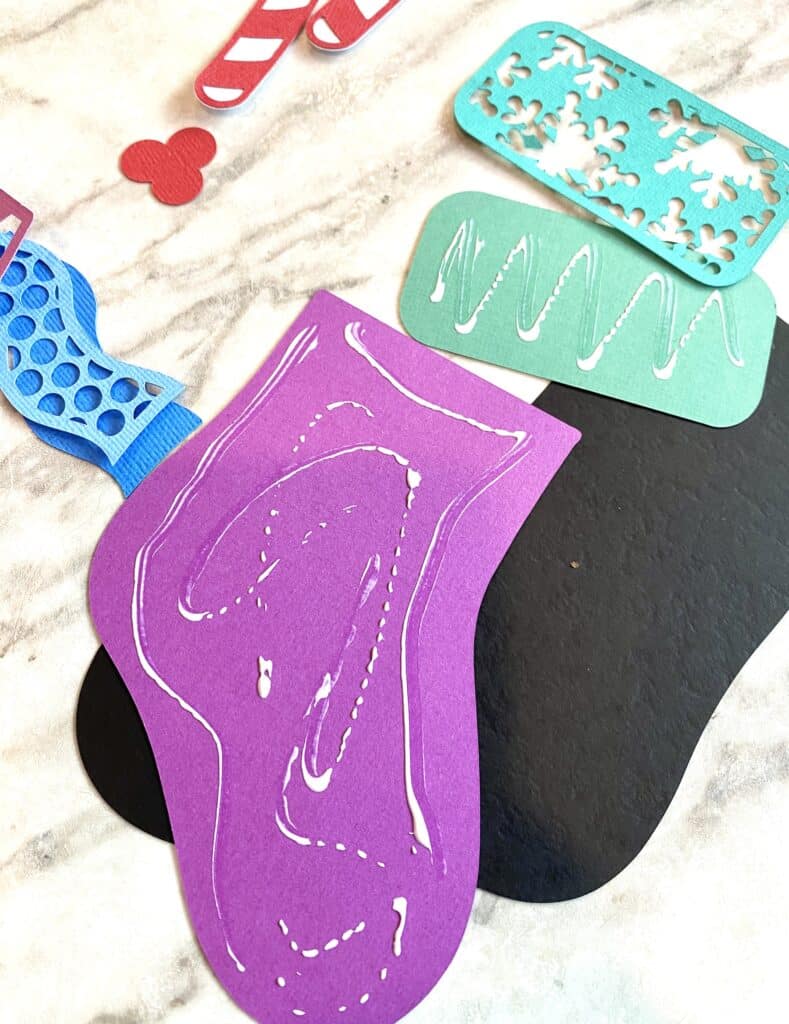
Next, you will glue down the layer with the cut design. You could pop dot this layer if you want more dimension. If not, the next layer will have foam dots to add that 3D layer.
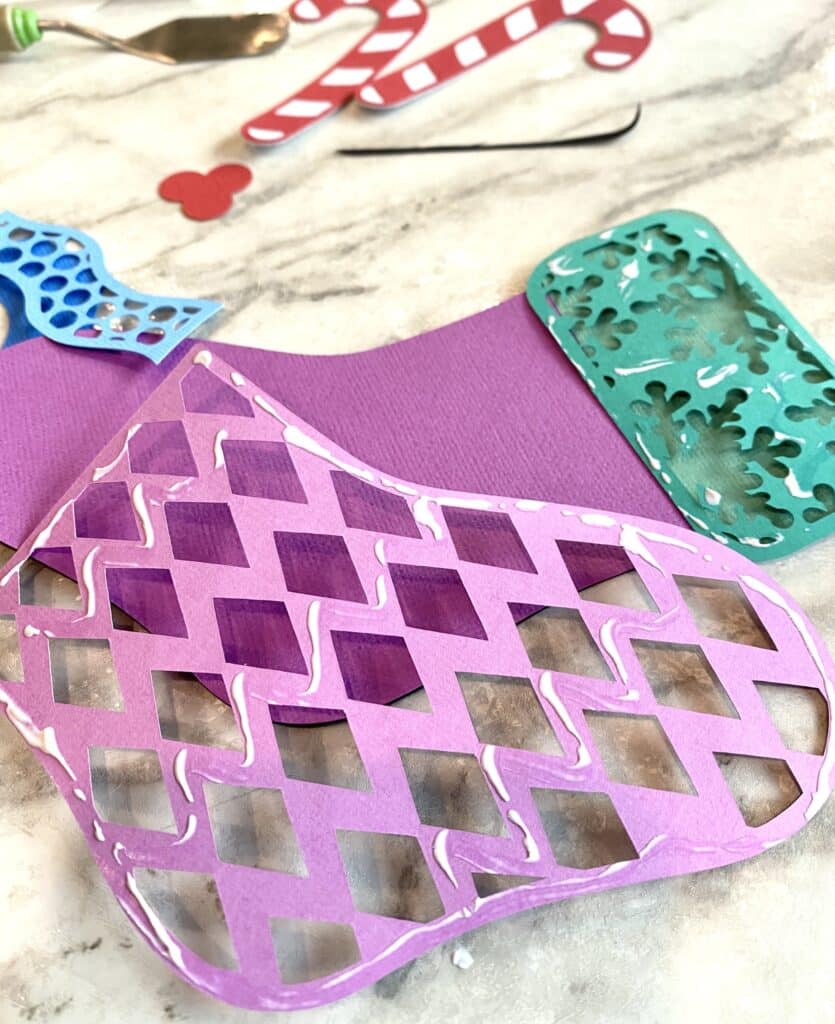
Make sure you get a good amount of adhesive on the outside edges and then you can space it across the center.
Are you ready to add some 3D oomph?
The stocking toe and heel as well as the band of design across the stocking can all be lifted with foam dots.
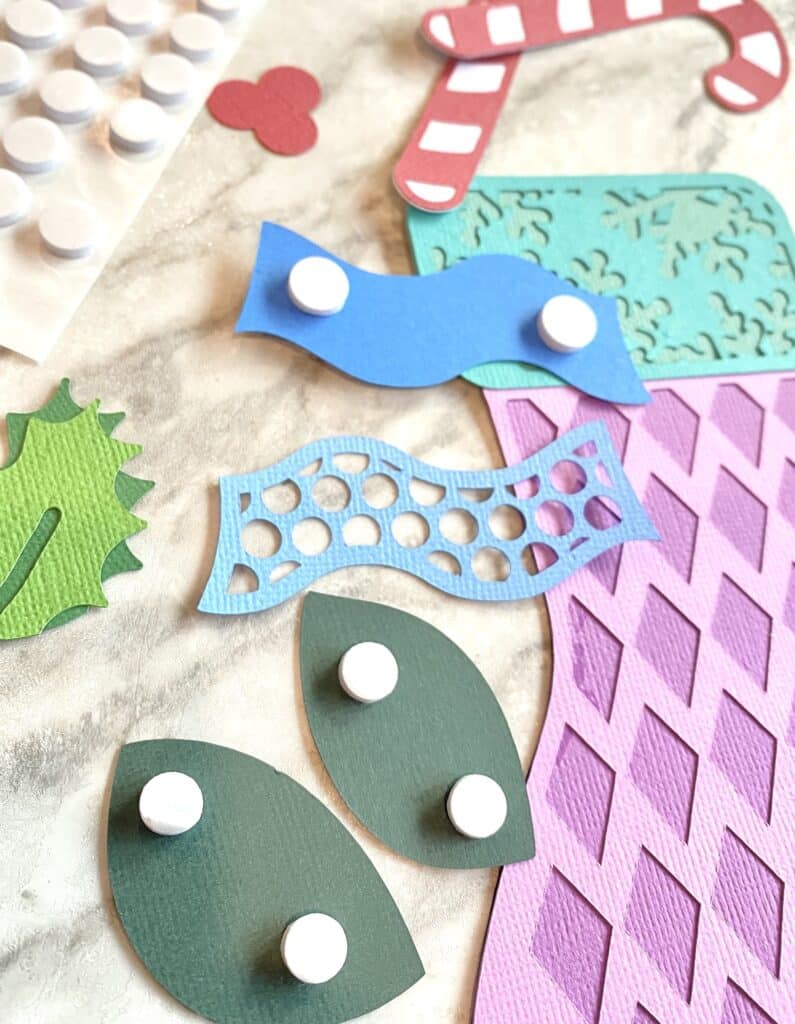
The last thing to get 3D dots is the mistletoe leaves and berries. Add these wherever you want on the stocking. Place the candy canes behind the stocking. Add real ones for even more dimension. Or put a fun paper Christmas character behind there.