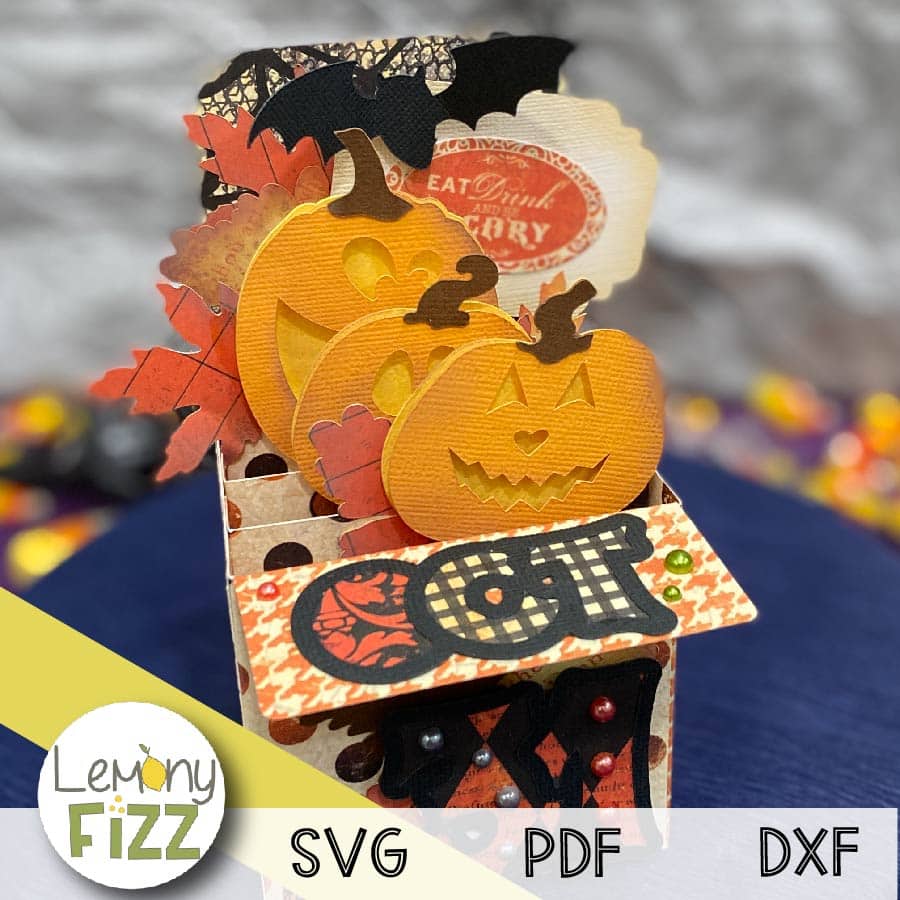
Oct. 31 Box Card with Jack-o-Lanterns for Halloween
We may earn a small commission for purchases made through affiliate links in this post. For more information go to our Privacy Policy.
Are you ready to dive into a fun and festive paper crafting project? In this tutorial, we’ll guide you through the steps to create a unique and eye-catching grungy Halloween box card using patterned paper and a few crafting supplies. Get your creative juices flowing and let’s get started!
Materials Needed:
- Oct. 31 Box Card SVG
- Cutting machine (e.g., Cricut)
- Halloween patterned paper (at least 6×6 inches)
- Solid cardstock for card panels
- Glue or double-sided tape
- Foam adhesive dots
- Distress ink pads in orange and brown shades
- Embellishments (optional, e.g., pearls, bling)
All the general supplies for scrapbooking and cardmaking that I use are listed below. Pattern papers and cardstocks are not specific. Use what you have (unless you were eyeballing that new paper release…).
NOTE: This file is part of the 2023 Halloween Craft Stash Challenge. If you are working on this project after the challenge is complete, you can still participate. The file is sold individually in the shop and it is also included in the Mega Halloween Bundle.
Step-by-Step Box Card Instructions:
Step 1: Prepare Your Materials
- Download the Oct. 31 Box Card template
- Unzip the folder.
Step 2: Upload and Prepare the Files
- Open your cutting machine software (such as Cricut Design Space or Silhouette Studio).
- Upload the Oct. 31 box card files that work best for your machine
- Separate the different panels, patterned papers, and other elements.
- Mark your score lines and attach them to their panels.
Step 3: Cut and Assemble the Patterned Papers
- After cutting your panels, elements, and pattern papers, fold your score lines.
- Assemble each panel with the elements you cut as well as any additional embellishments you wish to use (dig into that stash!).
Step 4: Prepare the Jack-o-Lantern Elements
- Apply distress ink to the edges of your elements using an ink blending tool or a soft brush. Use a combination of orange and brown shades to achieve that grungy and aged look. (if you want to)
- Use dimensional adhesives such as foam dots or 3D dots to give your pumpkins a little depth.
Step 5: Embellishments
- Glue on your leaves and jack-o-lanterns to create a stacked pumpkin patch effect.
- Add your tag and bat to the back panel.
Step 6: Assemble the Box Card Panels
- Start with the back panel and place it with the side that has a “B” facing up.
- Attach panel 3 by aligning the edges and the top and gluing the right panel (upside down).
- Repeat with panels 2, and 1.
Step 7: Gluing the Card Together
- Fold each of the panels to the left (so the front is now facing up).
- Apply adhesive along the outer edges of the tabs on the left-hand panels 1, 2, and 3.
- Attach the front panel by lining up the bottom edges and the score line with the left-hand edge. Press down to secure your adhesive.
- Apply adhesive to each of the front and back panel tabs, tuck them in, and then secure them.
Step 8: Final Touches and Display
- Check that all panels are securely attached and the box card stands up properly.
- If desired, add extra glitter accents or gel pen details to enhance the design.
- Display your Witch Feet Box Card as a charming Halloween decoration or use it to send spooky greetings to friends and family.
Don’t forget to share your creation with the rest of us in the Lemony Fizz Paper Crafters Facebook Group.
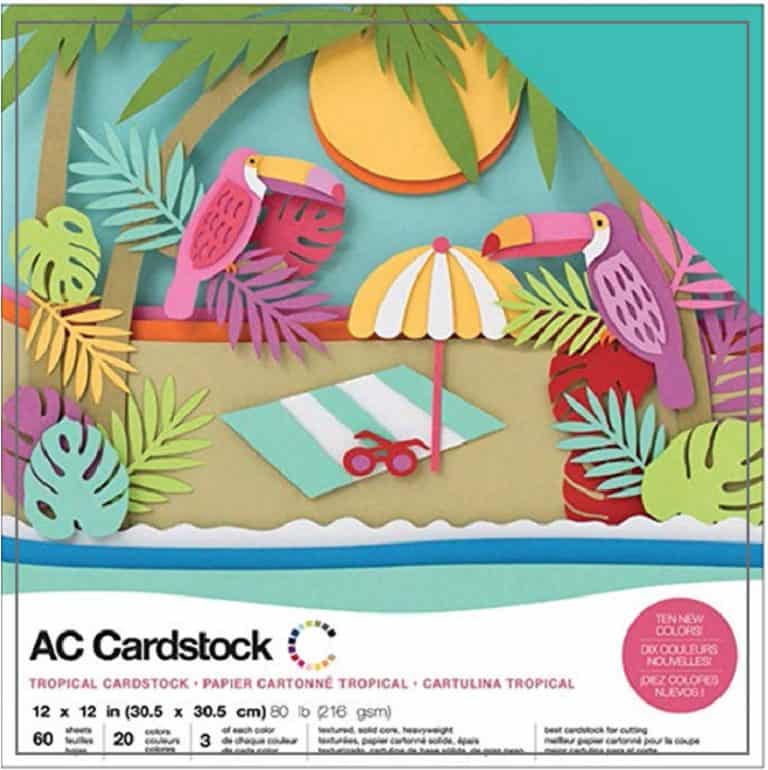
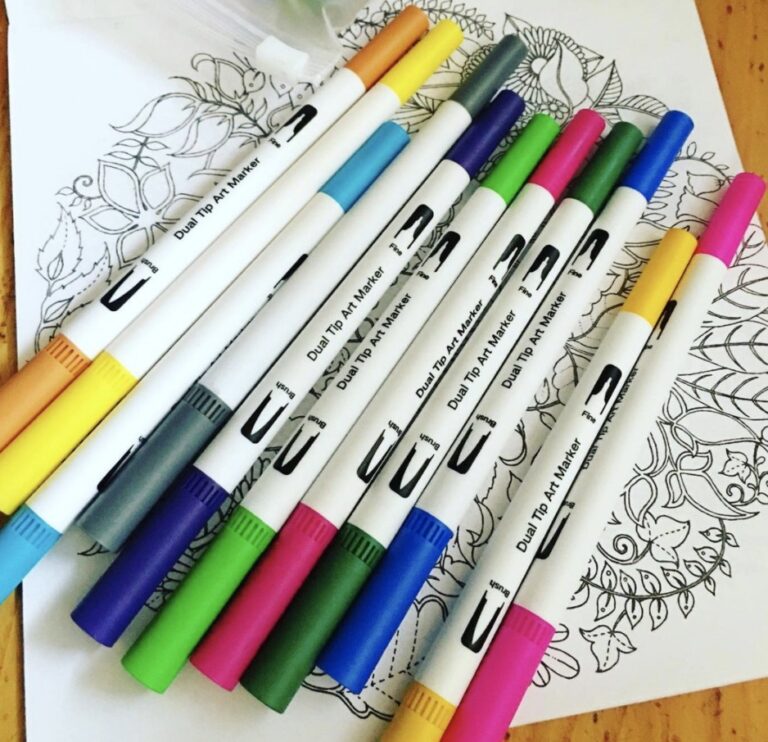
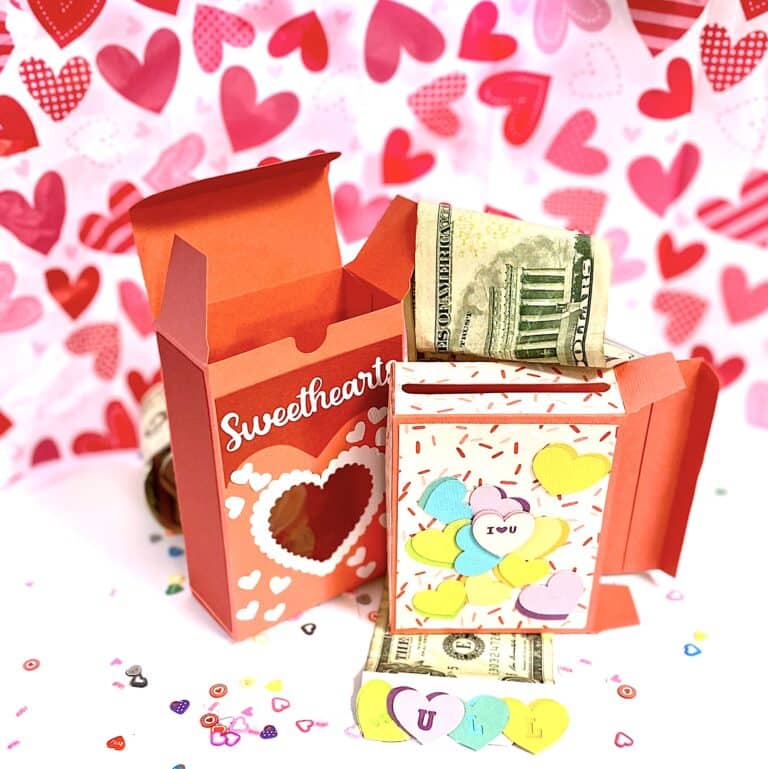
General Scrapbooking and Cardmaking Supplies that I Use


Once again, your project is adorable! Your instructions are great too. I have really enjoyed all of the projects you have posted! I love the sneak peeks of your cat too, in your videos! Too funny! I’ll be making this box today for sure!
Thank you so much for sharing all of your wonderful ideas (and I especially love that they are not overly complicated – so even I can do it!)
Many Blessings Rhoda!
Thank you so much for joining me, Cynthia. And for your sweet comments and support.
I’m excited to see your box card today. Be sure and share it in the Facebook Group (or just send me an email if you don’t want to post it).
Hugs,
Rhoda
Very cute card…Thank You for sharing.
Superbe, merci pour le partage
I love box cards, and your pumpkins are just adorable! Thank you so much for all your tutorials, videos and designs. It is an amazing bundle! How time flies and today is the last day.
Again, thank you 👍🎃👻
Cutest pumpkins in the patch! You presented 13 days of crafty fun. Thanks.
Thank you for the great projects and files!