Free Rainbow SVG Box Card File and Tutorial
We may earn a small commission for purchases made through affiliate links in this post. For more information go to our Privacy Policy.
“You Are My Sunshine” has always been one of my favorite songs. This free rainbow box card SVG with the sentiment “you are my sunshine” will bring a smile to your heart.
Follow the tutorial below to get your rainbow SVG. Then cut and create your own rainbow box card.
Putting the Rainbow Box Card Together
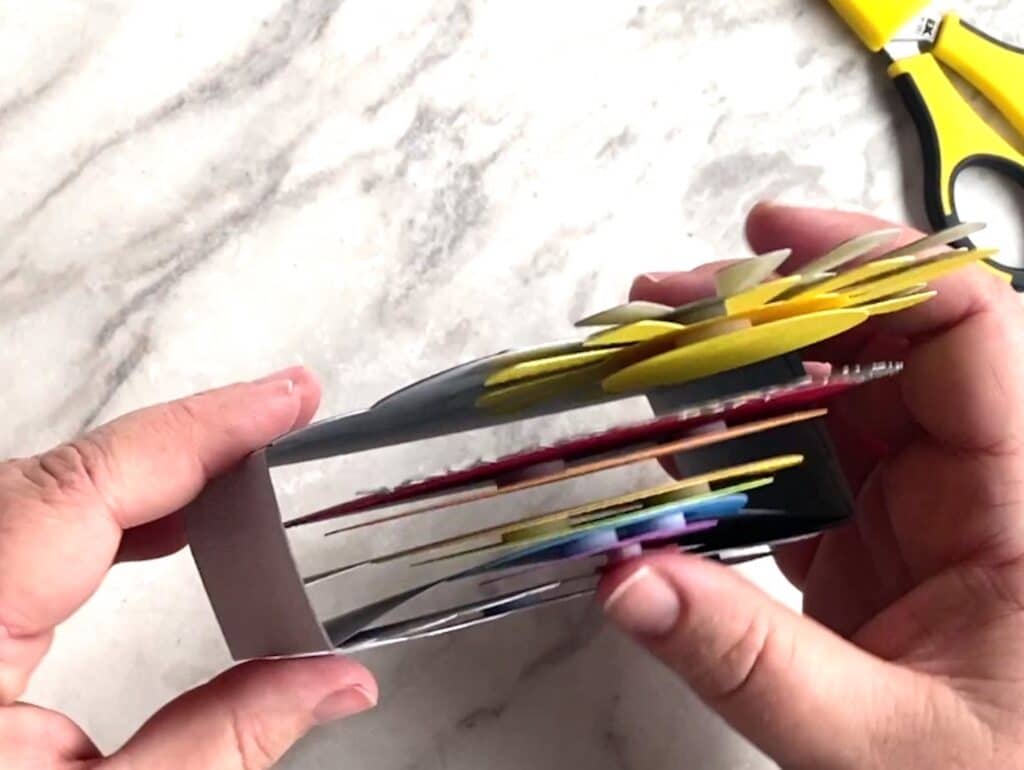
Making box cards can seem a little daunting. My first few were a practice in patience (well…maybe more frustration). I would always create the box with the front and back panels first and then try and line up the inside panels while they were all glued and messy. Not pretty!
Now, I have a method that works beautifully each and every time. You can read through the tutorial below or watch the assembly video on YouTube.
Be sure and check the shop for more fun box cards. They are a great way to create a 3D paper project with very little assembly or tricky techniques.
Setting Up the File in Design Space
Once you have downloaded your “you are my sunshine” rainbow file, you can upload it to your design software. I use a Cricut so my upload is in Design Space.

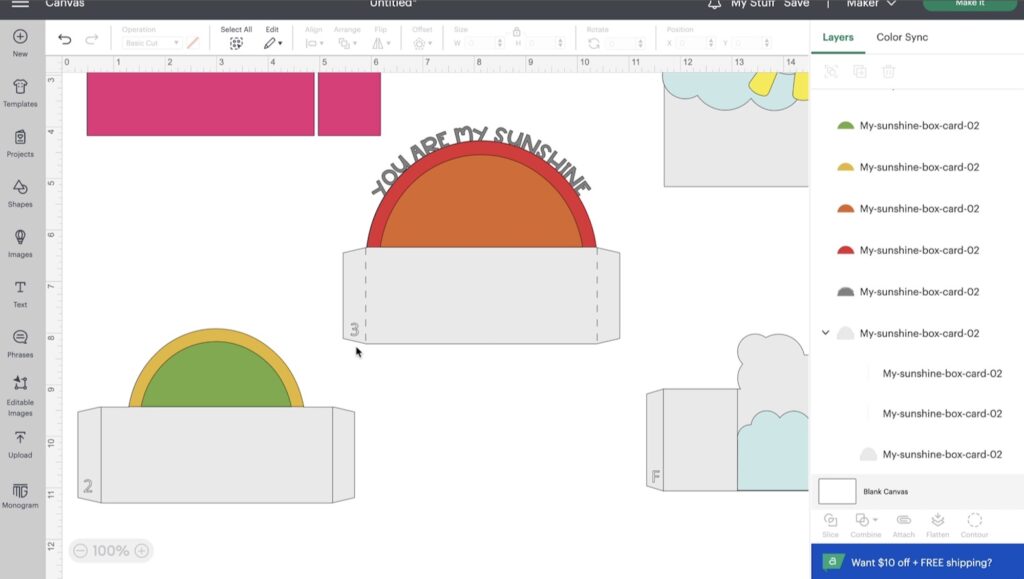
Set your score lines on each of the panels. Then cut out your shapes and panels.
After you have cut all your shapes and panels from the papers your chose, sort them out so each panel has their respective rainbow color pieces. ROY-G-BIV (in this case…no I). Guess I could have made the heart pink. You can definitely change your file to make the heart pink and get the full rainbow effect.
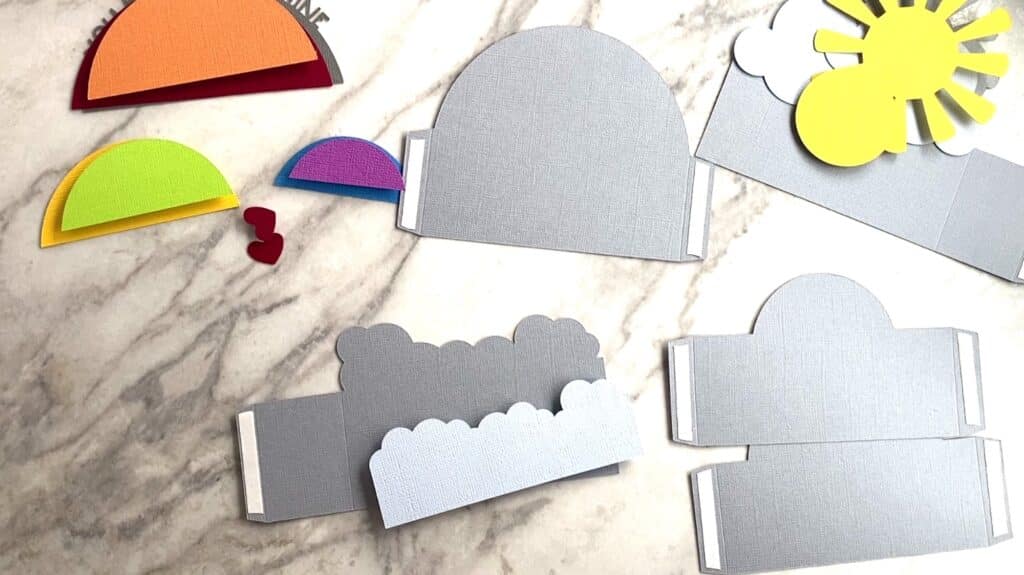
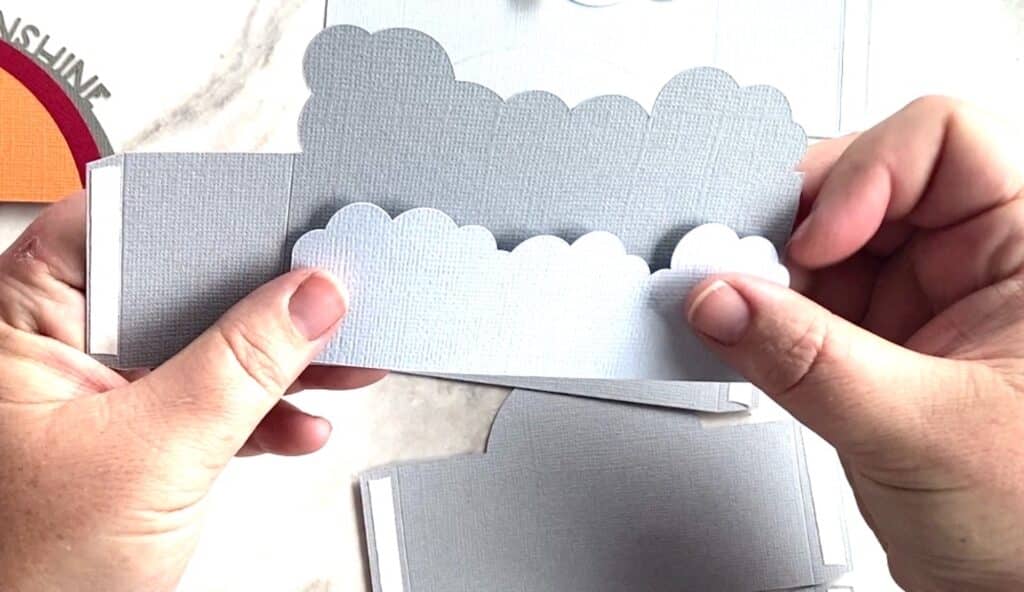
Decide which pieces you want to add dimension to by adding foam dots or 3D glue dots. I chose to pop up the clouds on the front and the front color of each panel.
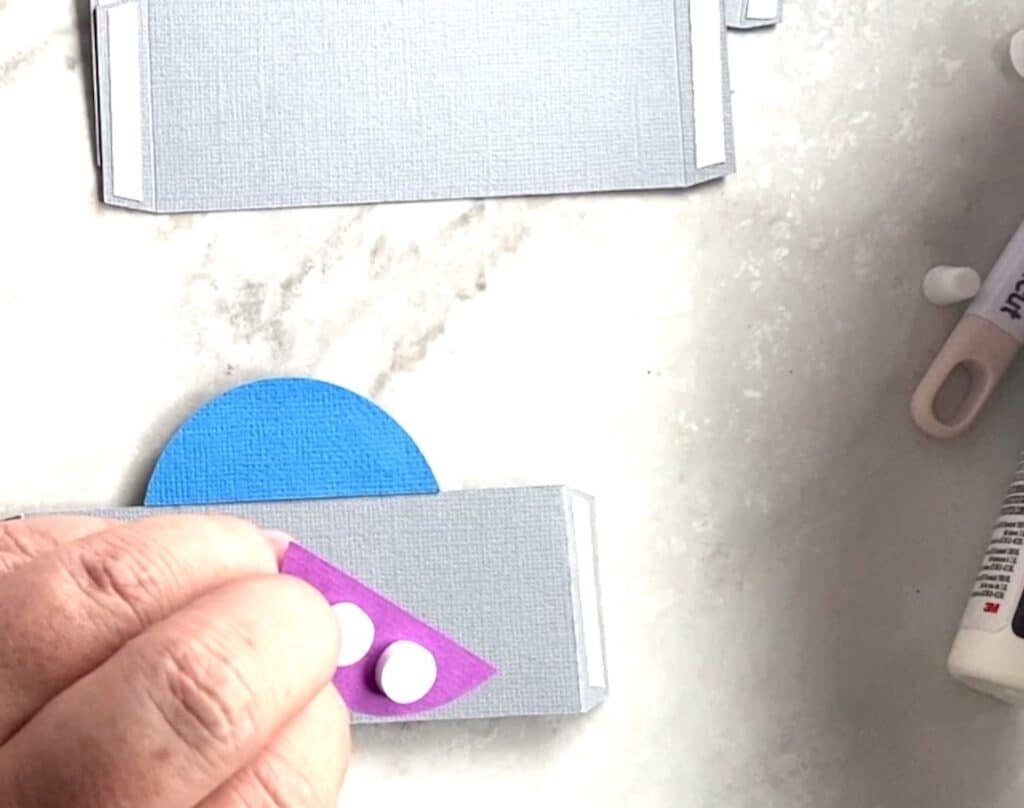
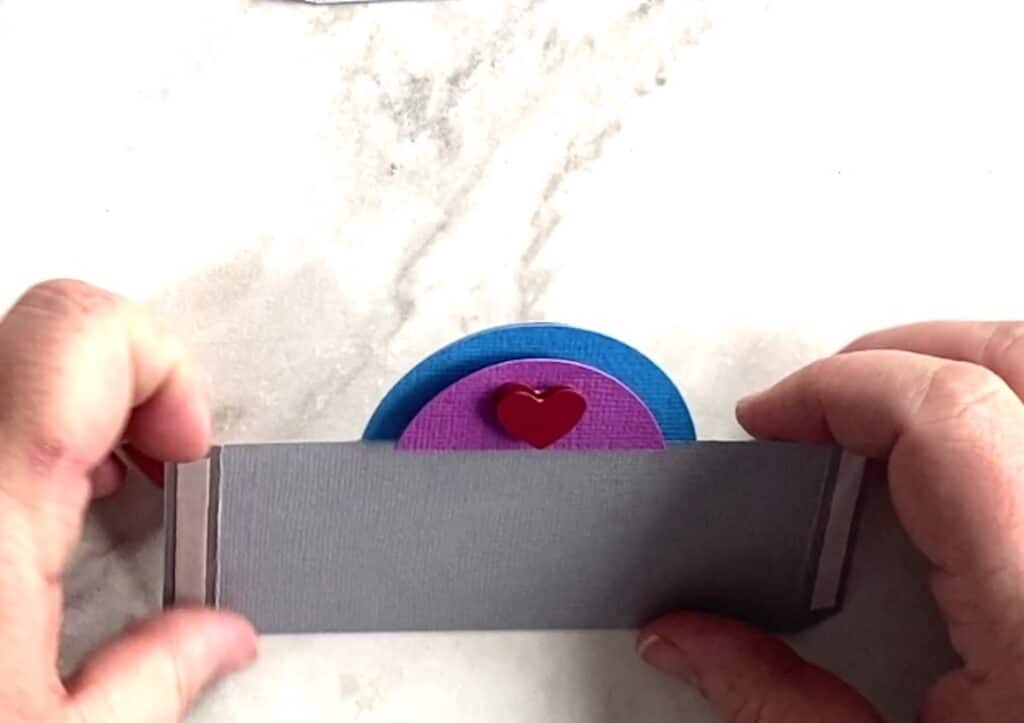
Glue the blue half-circle to panel 1. Then foam dot or glue the purple onto that.
I also had an “oopsies” with my red color so I ended up cutting the heart two times. This made it so I could add some 3D effect to it as well with a smaller foam dot.
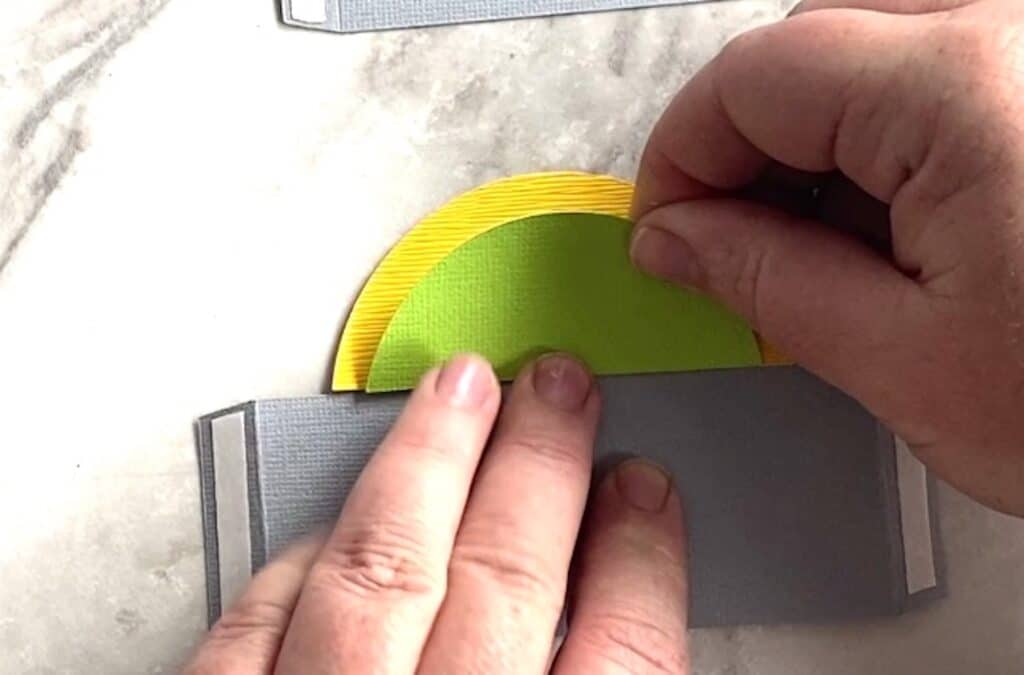
Each background piece is glued to the panel. Yellow is glued onto panel 2.
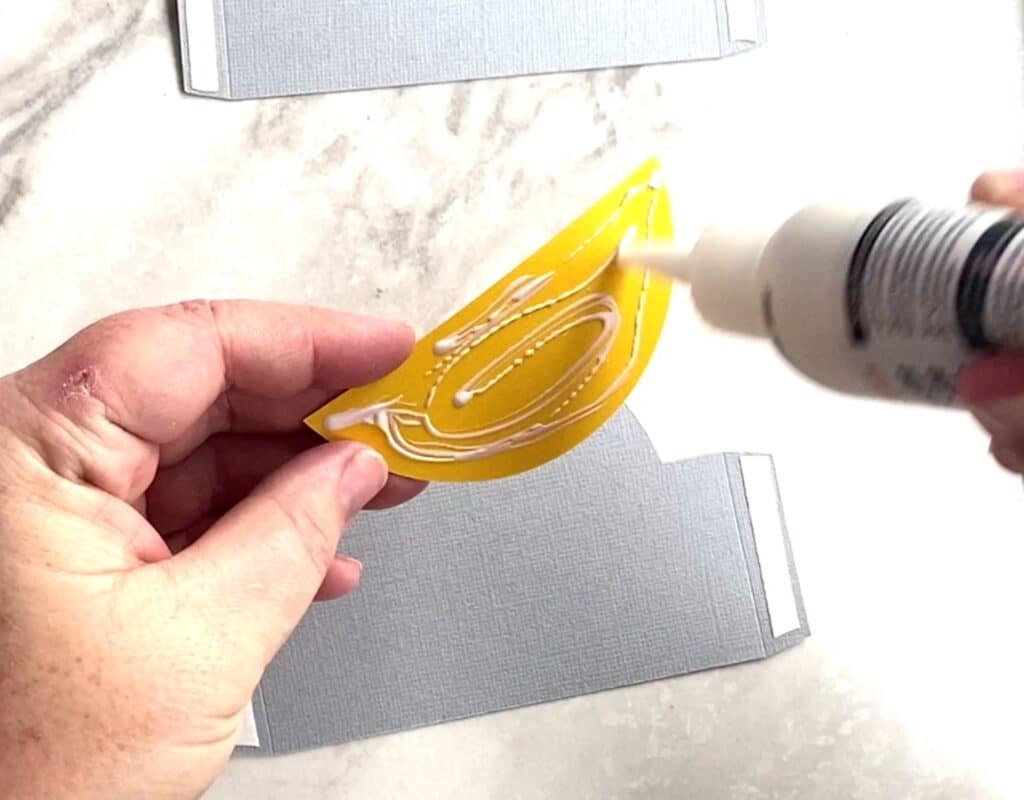
The next piece can be glued or foam dotted to add dimension if you wish. That’s entirely up to you.
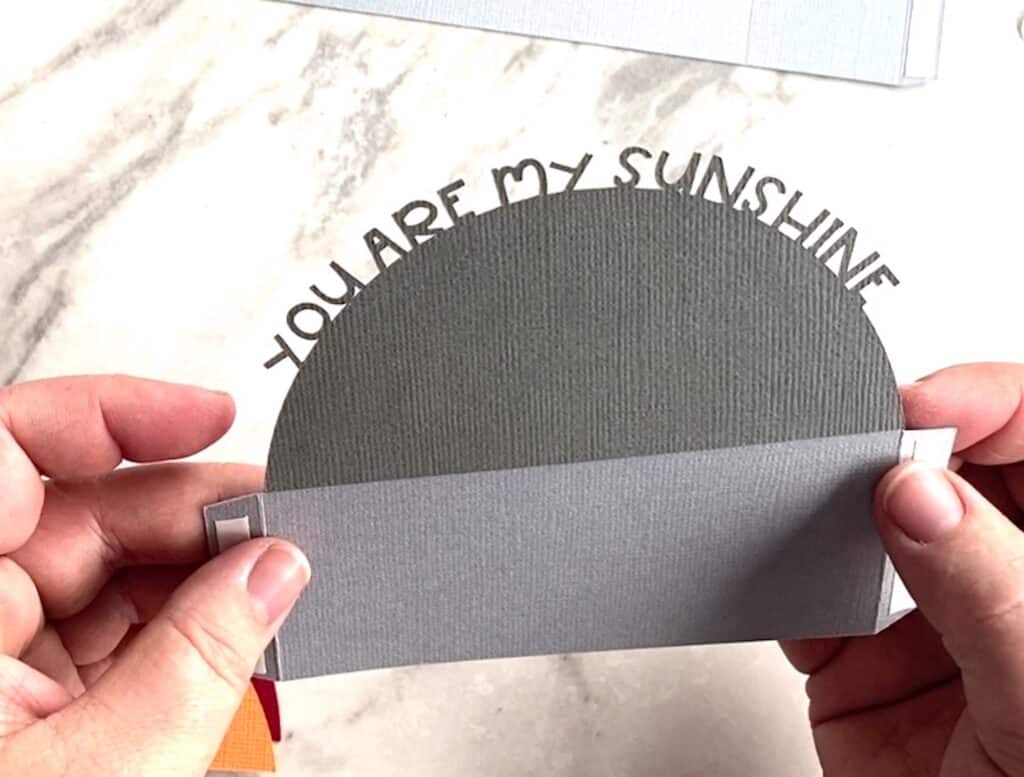
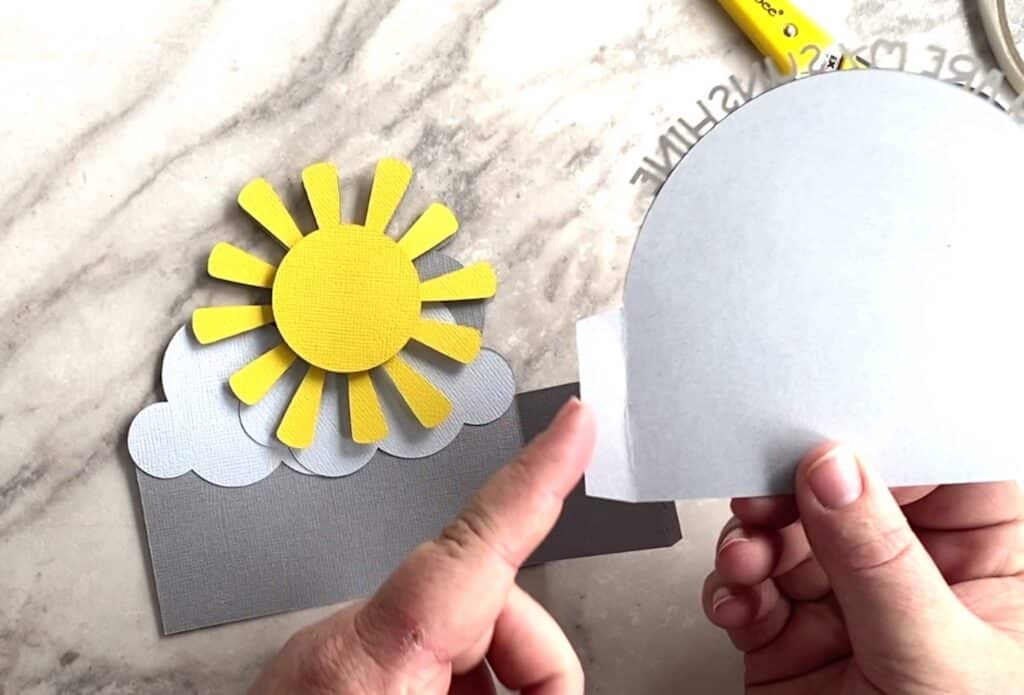
The piece with text is glued to panel 3 (the back panel).
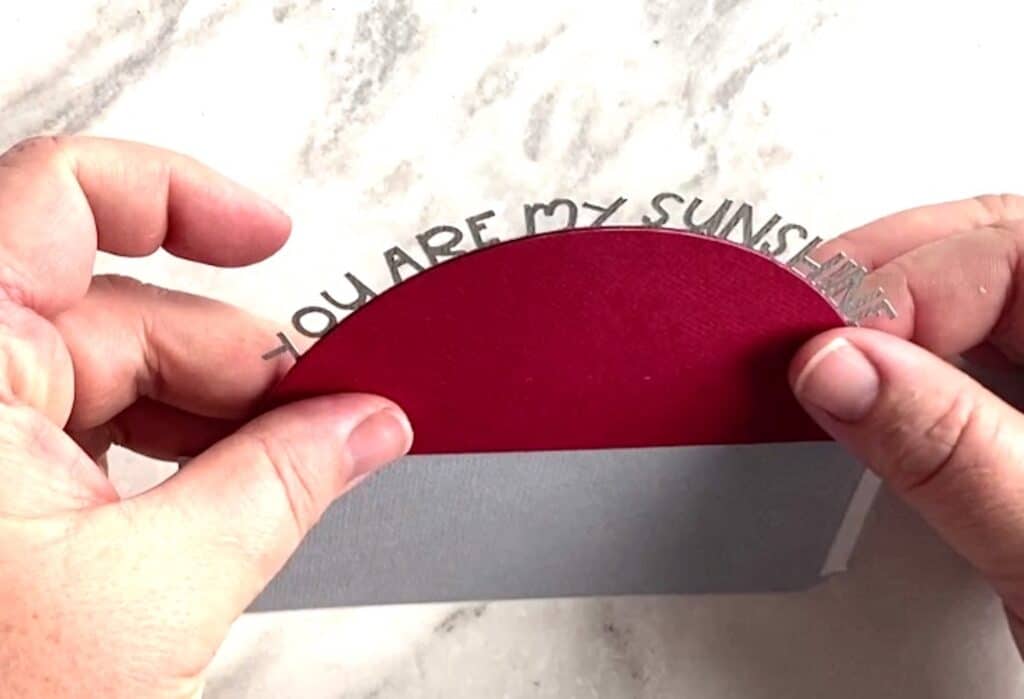
Glue the red half-circle onto the front of the panel with words. Line up the edges of each circle.
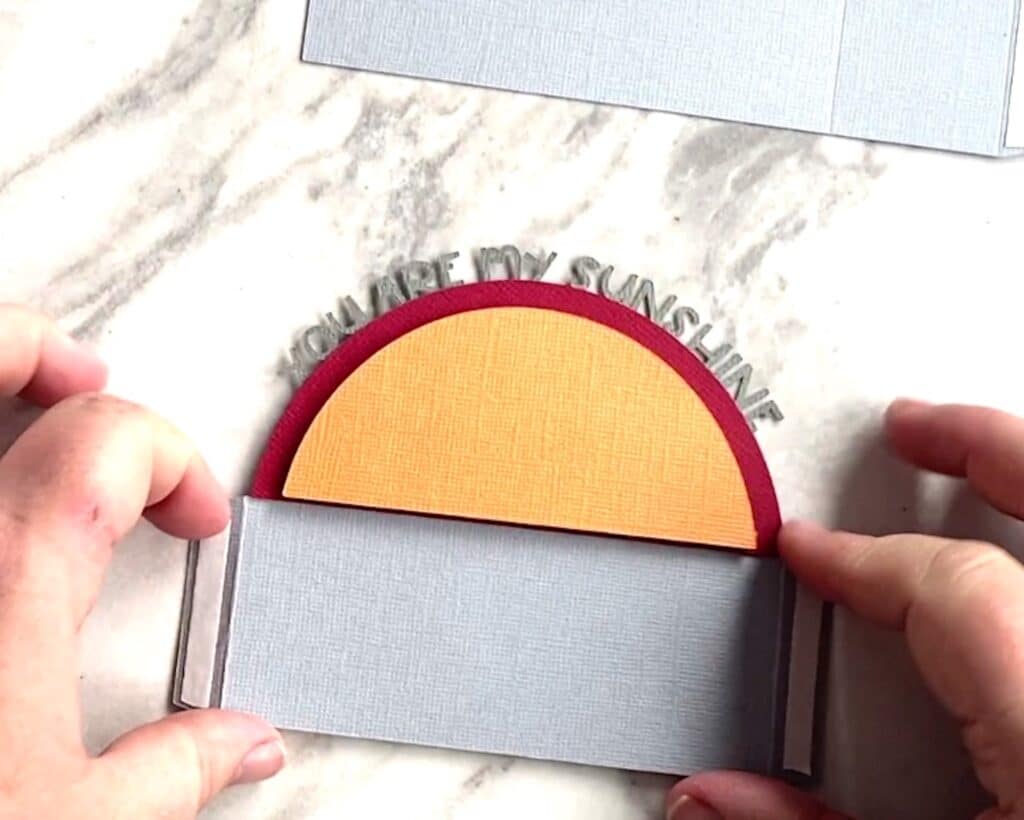
Add the orange piece to the front of the red on panel 3.
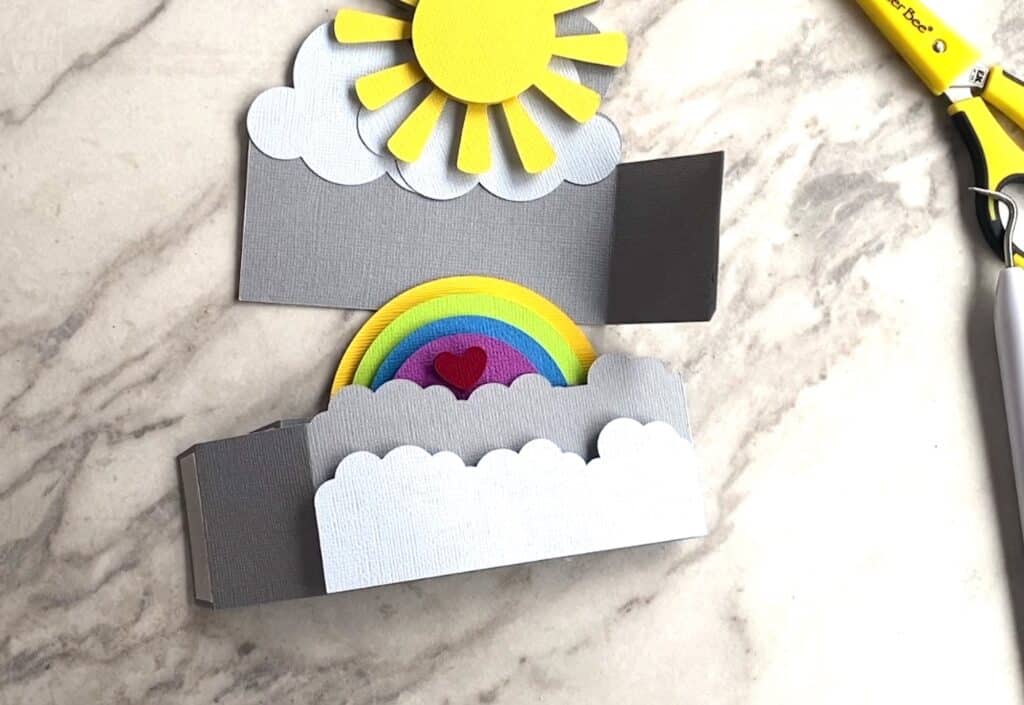
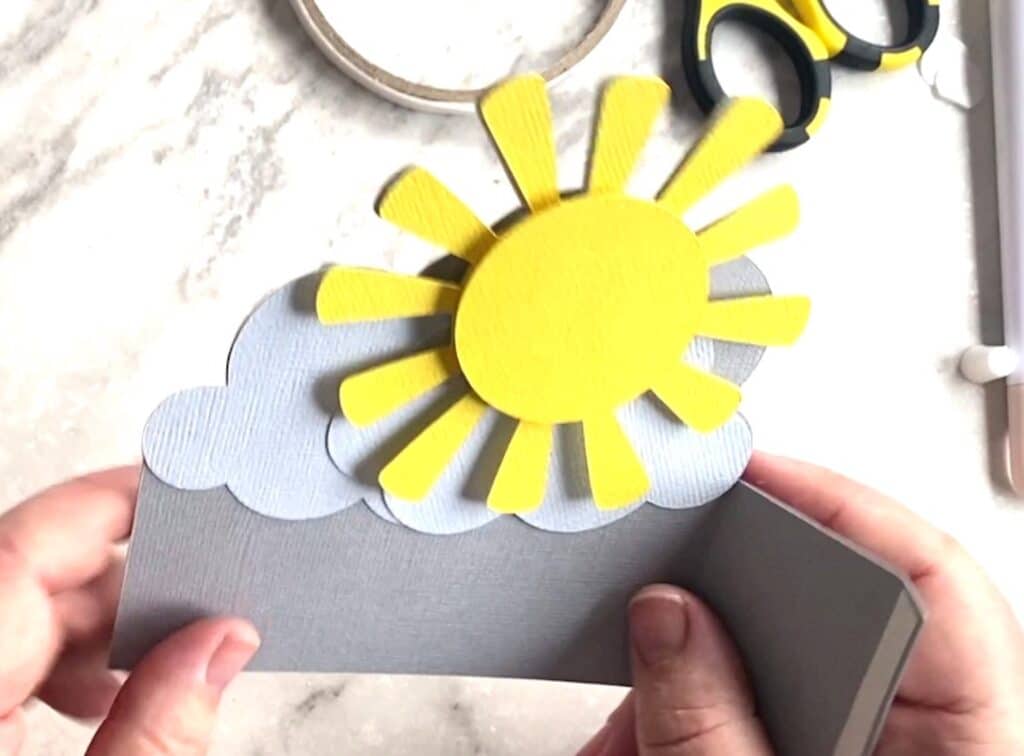
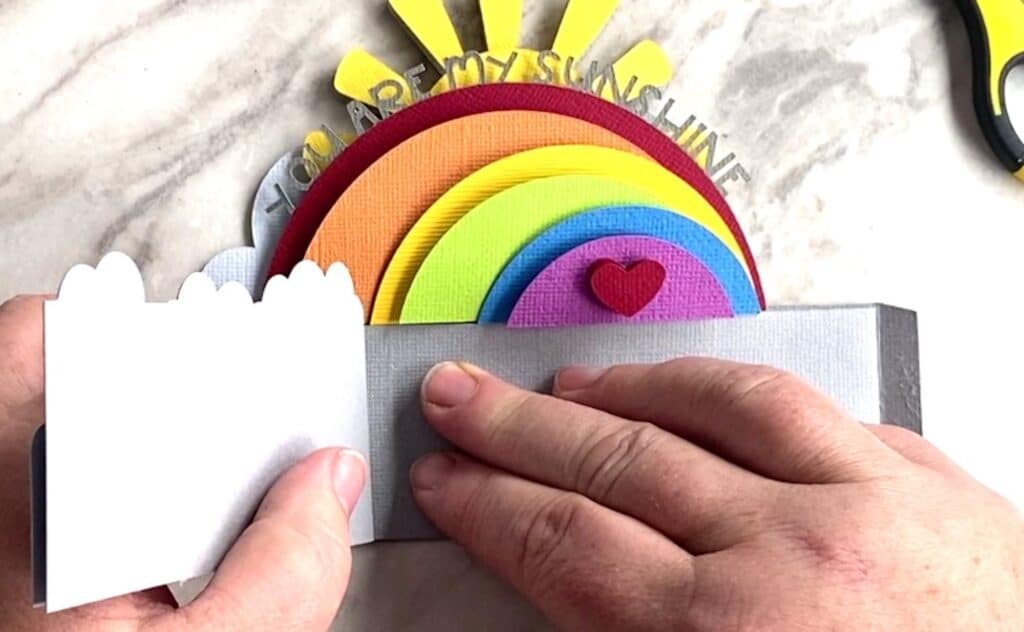
The back panel will have the cloud pieces and sunshine. Glue down the clouds and then add foam dots if you want a 3D look for your sunshine.
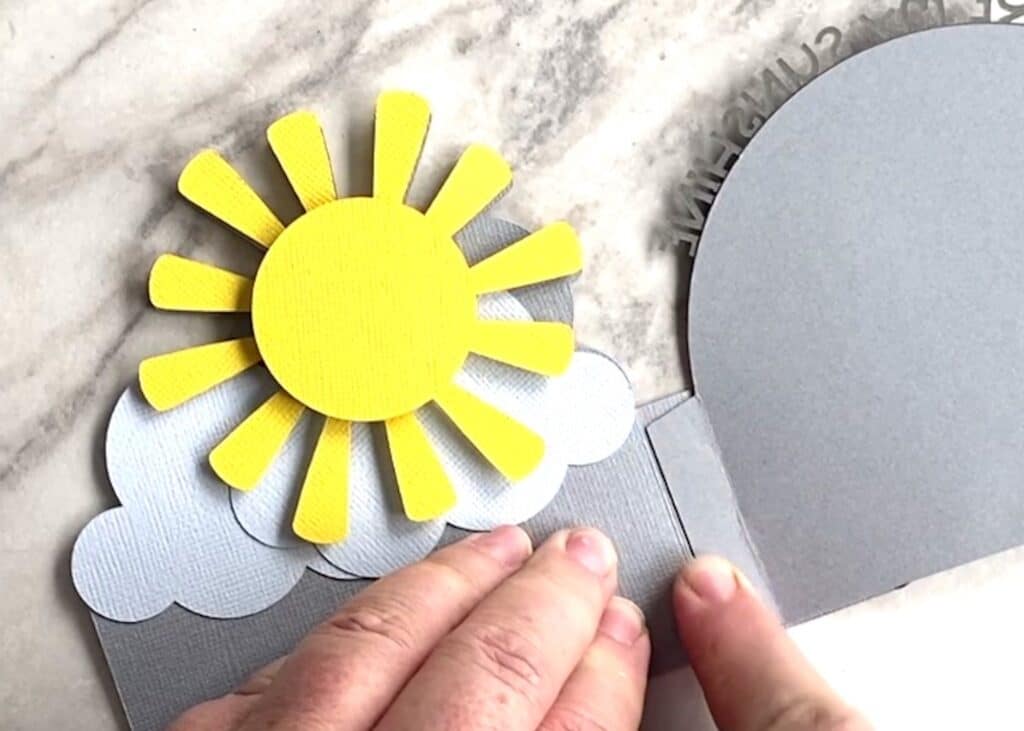
When you have all the elements glued to your panels, you will start with panel 3 and add adhesive to the right-hand flap. Then, flip the piece over and line up your score lines with the first score line on the left of the back panel.
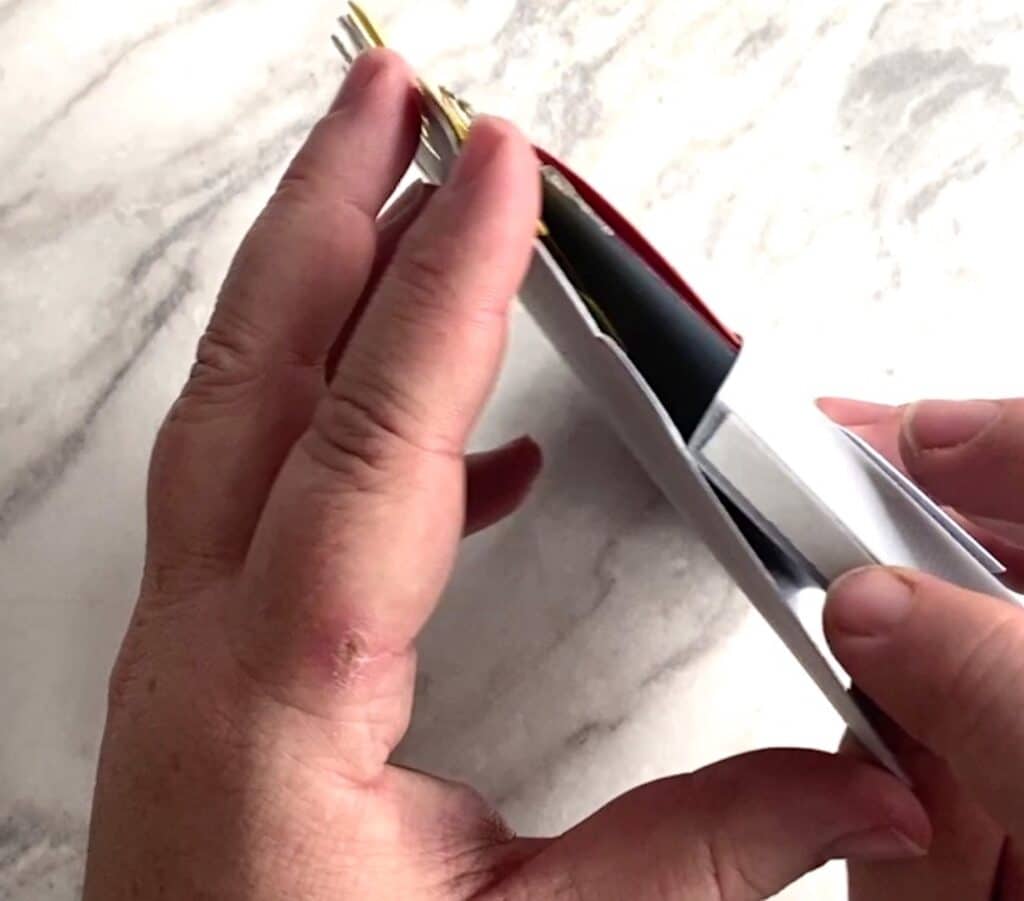
Repeat this process with each of the panels. When you flip them over to show the right side up, all your left-hand panels should be lined up with the numbers 3, 2, 1 showing. Add your double-sided tape to these panels or your liquid adhesive.
Line your front panel up on the left-hand side as well as top and bottom. Press firmly to stick all 3 panels to the tab on the left of your front panel.
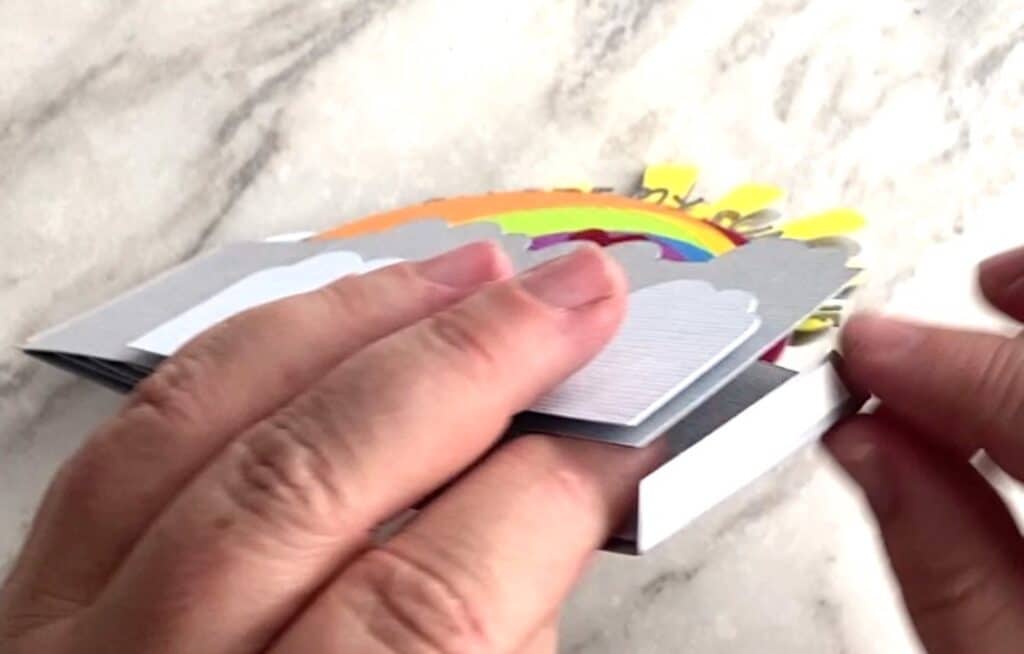
Now you can use adhesive to attach the front and back panel tabs to each other.
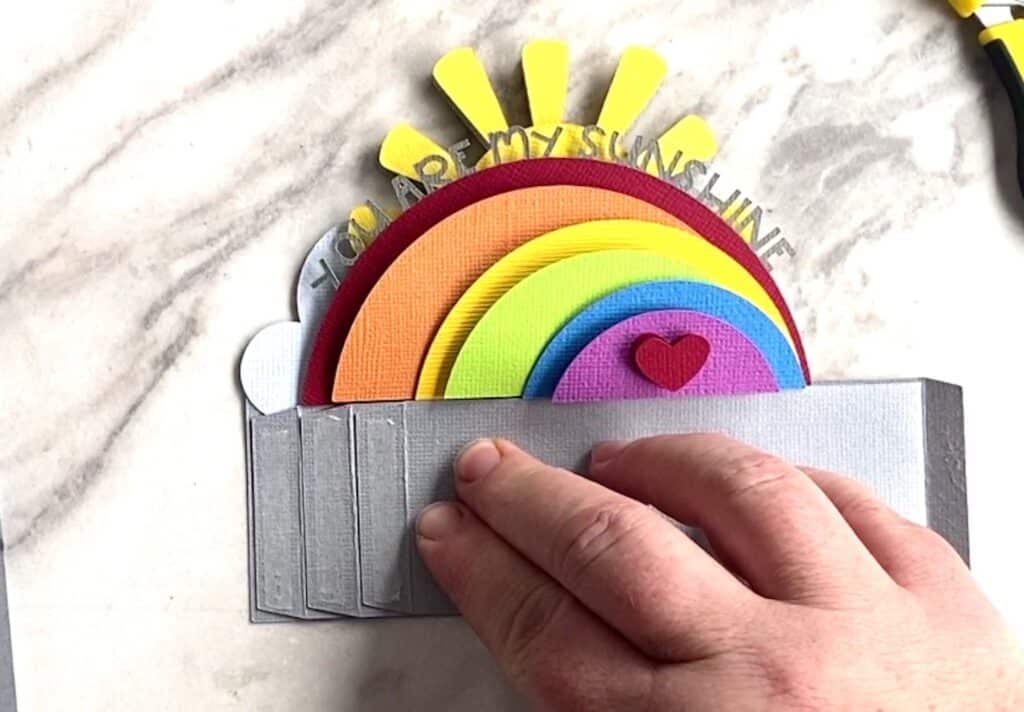
There you have it. A quick and easy box card that is super bright and cheery.
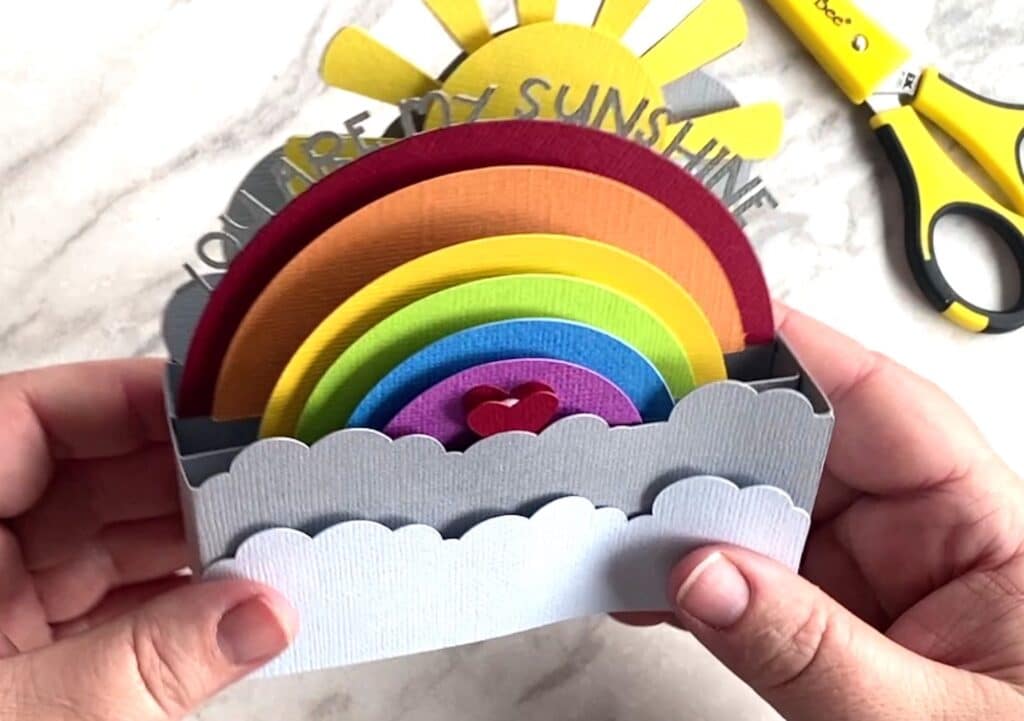
Each layer adds dimension and a fun view of your rainbow and sunshine.
If you liked assembling this rainbow box card, there are many more box cards in the shop. Be sure and check them out.