How to Make a Scrapbook: Easy Guide for Beginners
We may earn a small commission for purchases made through affiliate links in this post. For more information go to our Privacy Policy.
The process of making a scrapbook may seem overwhelming at first. It really is as simple as breaking it down into the essential steps. I’ve got tips and tricks to help you create a masterpiece of your own and conquer the steps of how to make a scrapbook.
To get started, you will need some basic supplies, such as a scrapbook or album, adhesive, scissors, and an assortment of embellishments and pattern papers.
This article will provide inspiration and insights on how to choose the right materials and design your scrapbook pages, with helpful suggestions for maximizing both visual appeal and the preservation of your treasured memories.
As you start this scrapbooking journey, remember that the most important aspect is to have fun and express yourself through your layouts. Each page you create will bring life to your personal story, allowing you to relive your cherished memories and share them with family and friends for generations to come.
There really is nothing better than picking up an album and reliving key moments of your history as well as your creative journey. You will be surprised at your progression over the years.

Choosing a Theme and Purpose
When creating a DIY scrapbook, selecting a theme and purpose is an essential step in the process. This helps you to focus on specific memories and stories, providing a sense of cohesion and direction throughout your album.
In this section, we will discuss finding the right theme for your scrapbook and how this relates to the memories and events you want to capture.
NOTE: If you don’t have a theme or enough photos to create a full album for a specific theme, it is okay! You can mix and match anything you want in an album. It does NOT need to be chronological, themed, color coordinated, or have any rhyme or reason. A theme is optional.
Memories and Stories
A scrapbook often serves as a visual representation of the memories and stories you cherish. Consider the types of moments you want to include, whether it’s your child’s first day at school, a memorable vacation, or a simple day spent with friends or family.
Thinking about the memories you want to highlight can help you choose a theme that best reflects the emotions, colors, and style of your scrapbook.
Some popular themes for a scrapbook include:
- Travel and vacation adventures
- Family moments and milestones
- Holidays and celebrations
- School years and achievements
- An album for each child
- Your favorite memories

Events and Occasions
Scrapbooks can also be created to commemorate specific events or occasions in your life. These events often come with a predefined theme, making it easier to design your album.
For example, a wedding scrapbook might have a romantic theme, utilizing soft colors and elegant embellishments to evoke the ambiance of the special day. Similarly, a birthday scrapbook would have a more playful and celebratory theme, incorporating bright colors and fun elements.
Here are some popular events and occasions to consider for your scrapbook album:
- Weddings and anniversaries
- Birthdays and parties
- Graduations and academic achievements
- Family vacations and trips
- Holiday celebrations
Remember to select memorabilia that aligns with your chosen theme and purpose, including photographs, tickets, drawings, and other tangible memories that will bring your stories and events to life.
By focusing on a theme and purpose, you’ll create an album that is visually appealing, organized, and cherished for years to come.
Gathering Materials and Supplies
Finding Materials
When starting a scrapbooking project, the first step is to gather all the necessary materials and supplies. Begin by collecting photos and mementos that you’d like to showcase in your scrapbook.
High-quality, acid-free paper is essential for preserving your memories, so look for lignin-free and acid-free scrapbooking paper at your local craft store or your favorite online scrapbooking store.
In addition to paper, you’ll require an album to house your scrapbook pages. Albums are available in various sizes, with 12-inch by 12-inch standard albums being popular. Also, consider pocket albums with 6-inch by 8-inch pages for smaller projects.
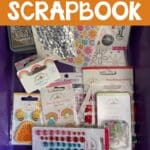
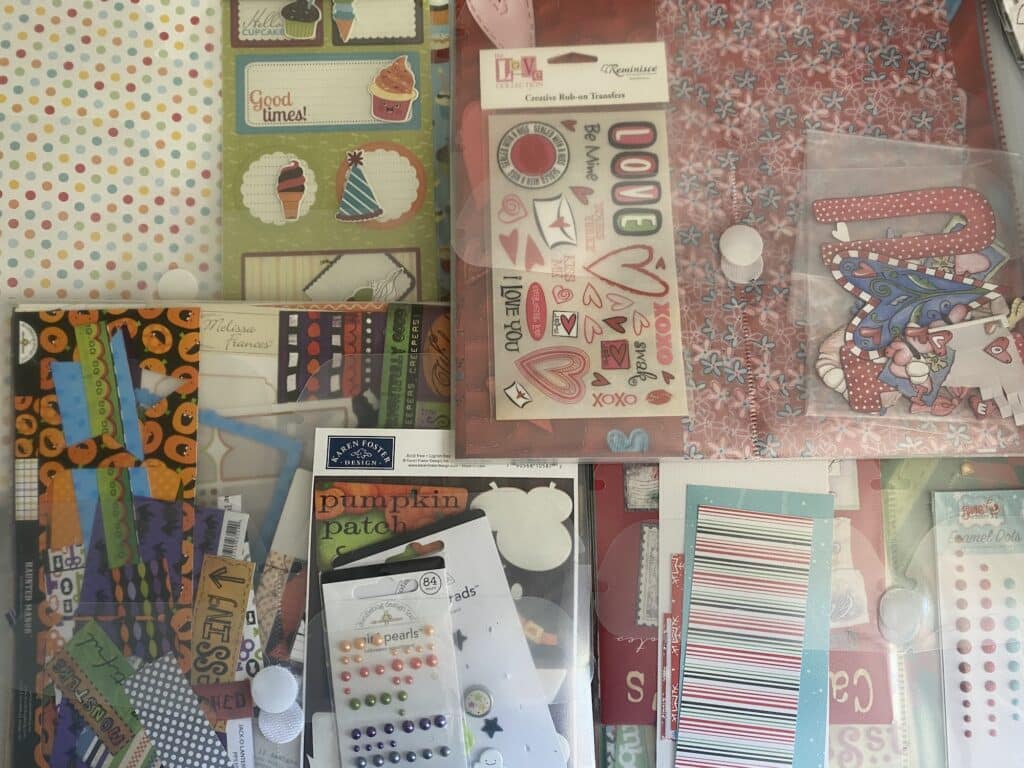
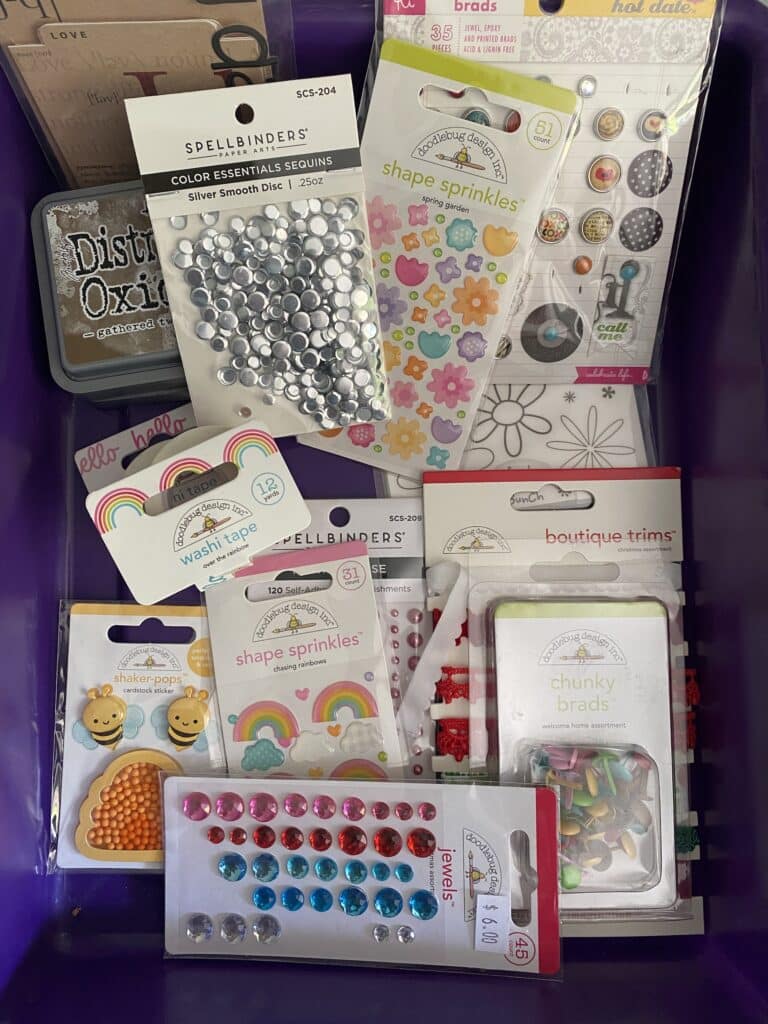
Also, gather an array of embellishments to enhance your scrapbook pages, such as:
- Stickers
- Washi tape
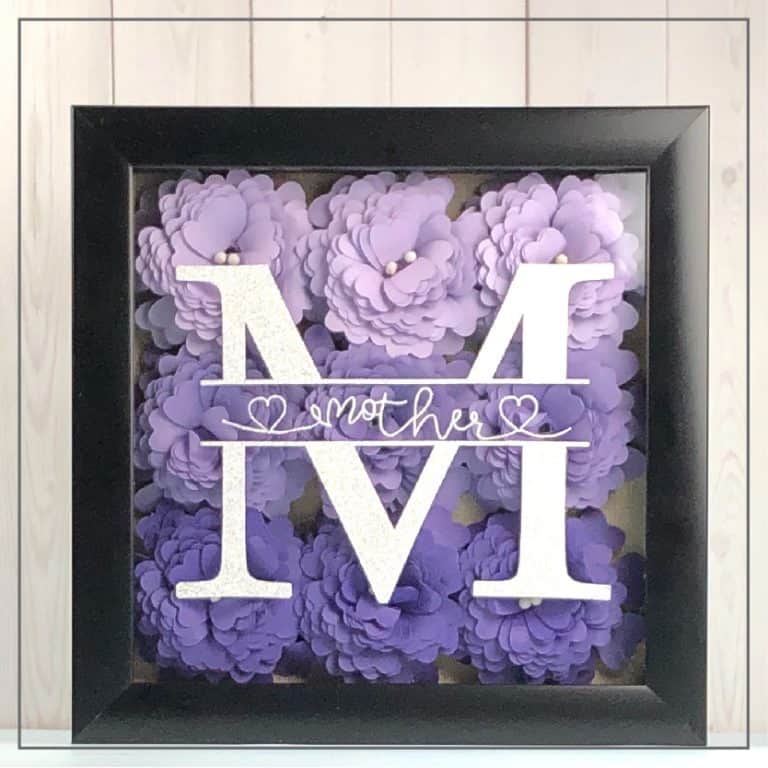
- Paper flowers
- Patterned paper
- Cardstock
Organizing Your Workspace
Once you have collected your materials, designate a special area for scrapbooking. A clean, organized workspace is crucial for a smooth crafting experience. Set aside an area with enough space for your albums, photos, paper, and other supplies.
If you don’t have enough space for a designated space, you can put your supplies in a storage tote and use a counter or the kitchen table.
Just put all your things back in the tote when you are finished for the day. I’ve scrapbooked in the smallest spaces, including the table of my 26-foot camper. If you want to be creative, you can make any space work.
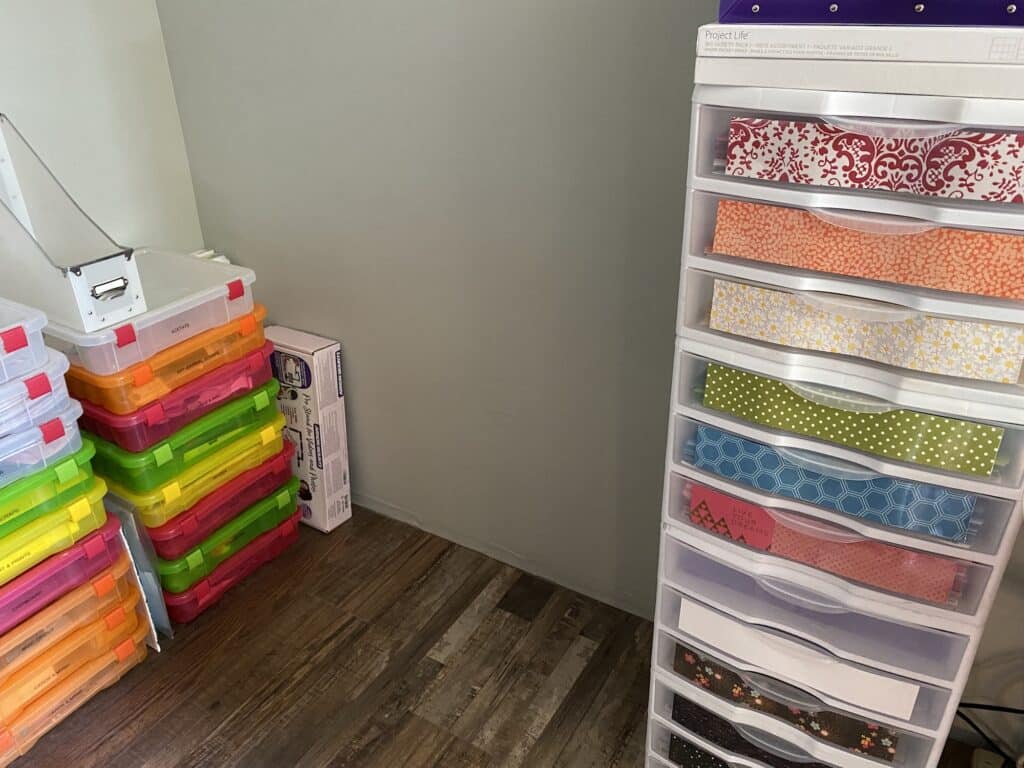
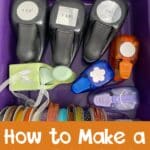
Having a designated space means you can (and should) invest in storage solutions such as folders, envelopes, and containers to keep your materials tidy and within easy reach. Organize your supplies in a system that works for you—for example:
- separating embellishments by color, theme, or material.
- storing coordinating papers and embellishments together
- holiday themes
- by brand
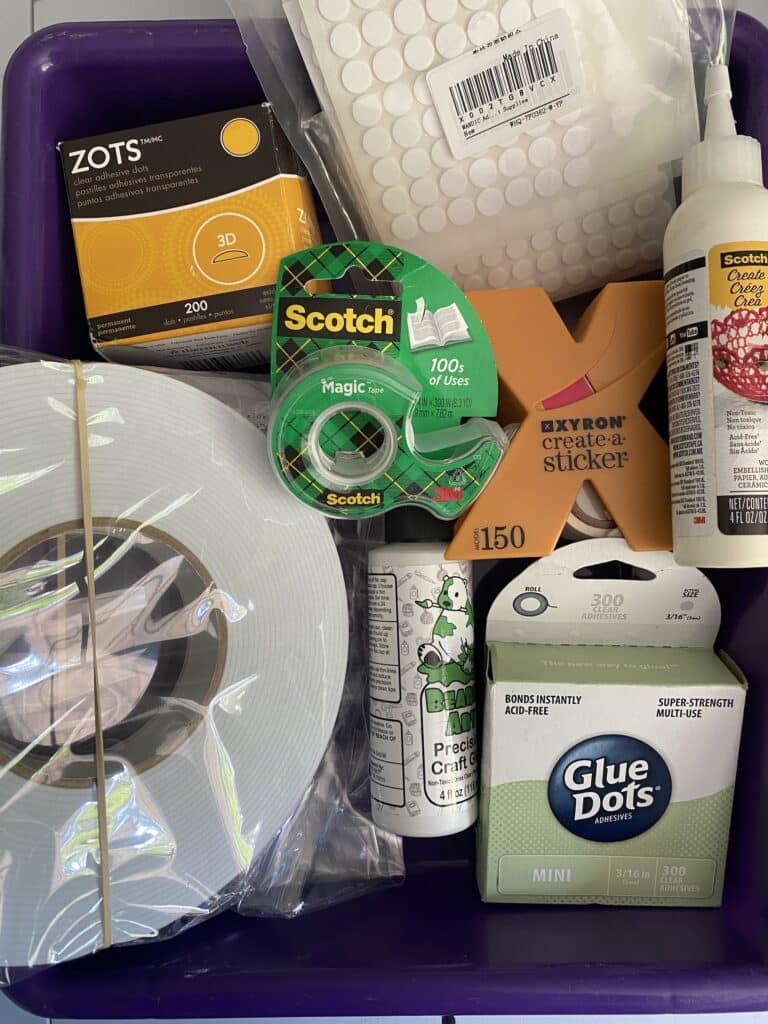
Additionally, gather tools like scissors, adhesives, and a paper trimmer to aid in constructing your scrapbook pages.
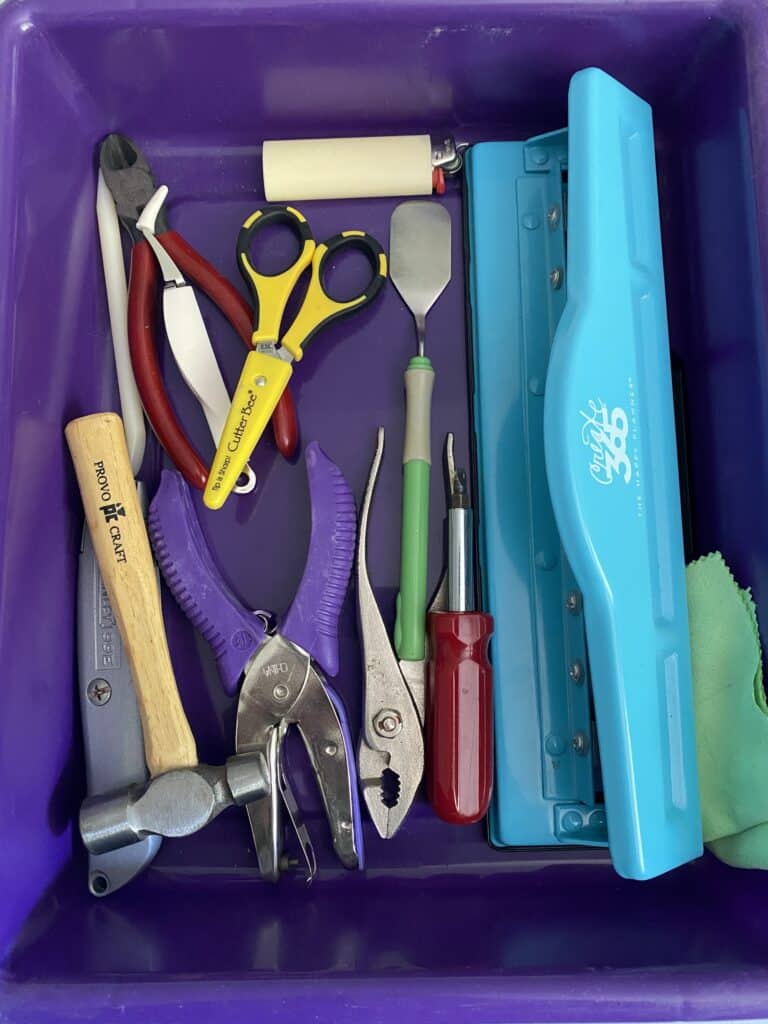
Opt for acid-free adhesives and waterproof pens to prevent any potential damage to your photos and memories.
Lastly, ensure that your workspace is well-lit and comfortable, as scrapbooking can be a time-consuming endeavor—creating the perfect environment will make the process more enjoyable and efficient!
Creating Your Scrapbook Layout
Starting with the Background
When beginning your scrapbook layout, the first step is to choose the right background. There are various types of patterned papers available, so you should choose one that complements the theme of your scrapbook.
For a two-page 12 x 12 layout, I always start with two pieces of matching cardstock in a color that matches or compliments my photos and pattern papers.
Attach your selected background paper to the page using a glue stick or double-sided tape. This will provide a visually appealing base for your design.
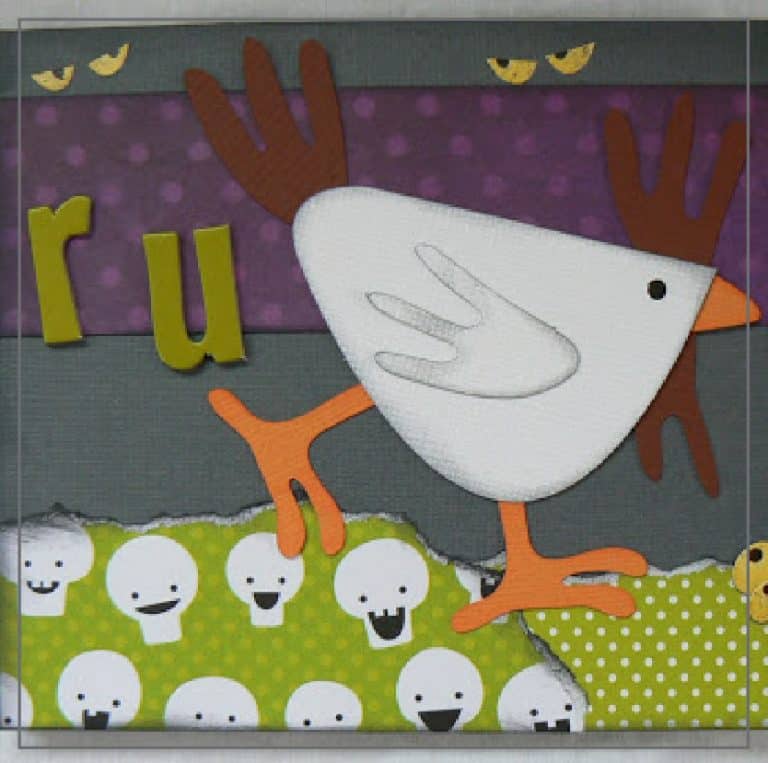
These pieces are usually strips or borders. The pattern paper is usually an accent piece on the page.
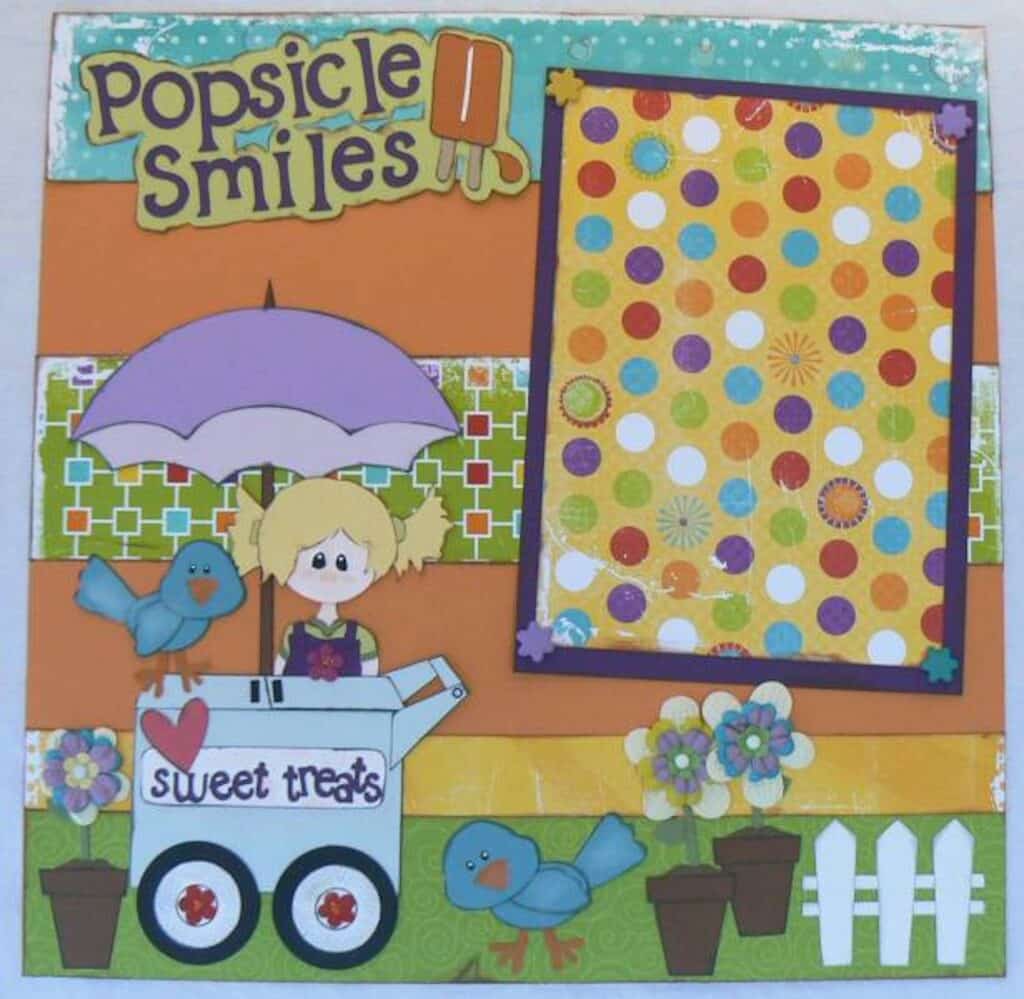
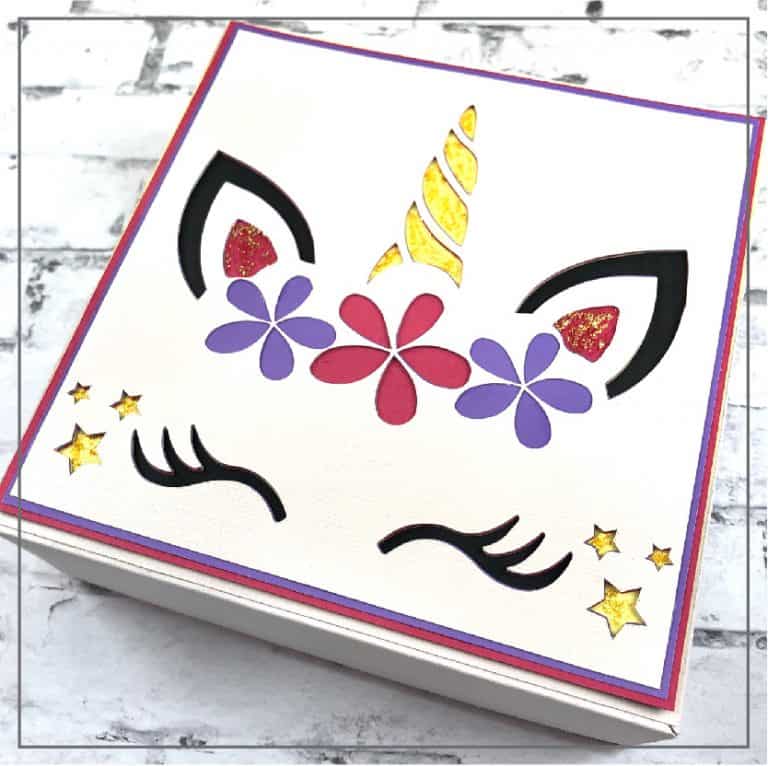
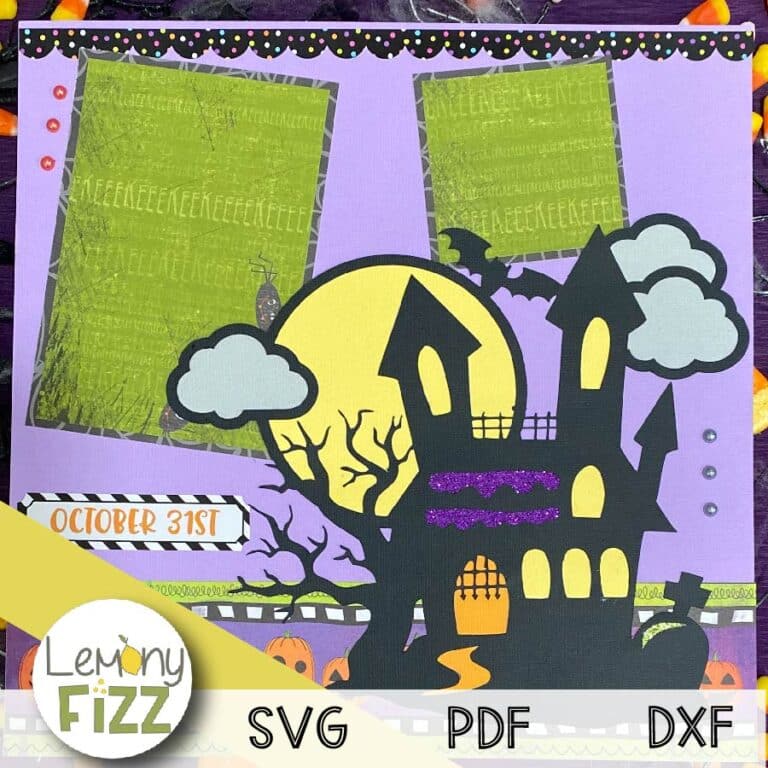
NOTE: You can get the Cricut file to create the birds and sweet treats in the shop.
Designing the Page
The next step is to organize your layout and decide on the elements that you want to include. You can be creative and use various designs such as:
- Photos: Crop and adjust the size of your images to create a focal point on the page.
- Tickets stubs: Incorporate mementos from events or trips you’ve attended, such as ticket stubs or wristbands.
- Flowers: Add dried flowers or paper flowers to enhance the page’s visual appeal.
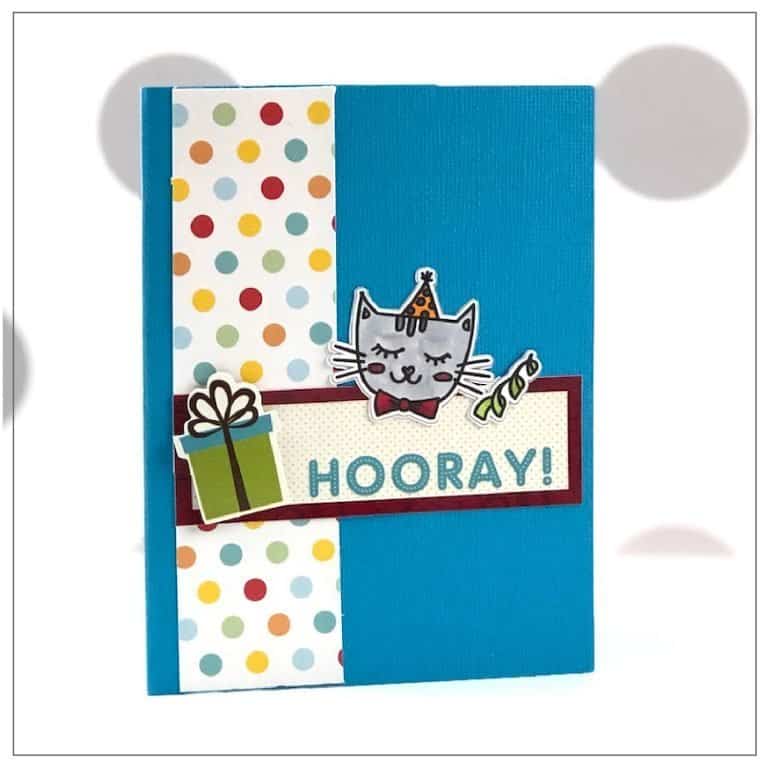
- Headings: Use eye-catching fonts or letter stickers to create headings and captions for your photos and memories.
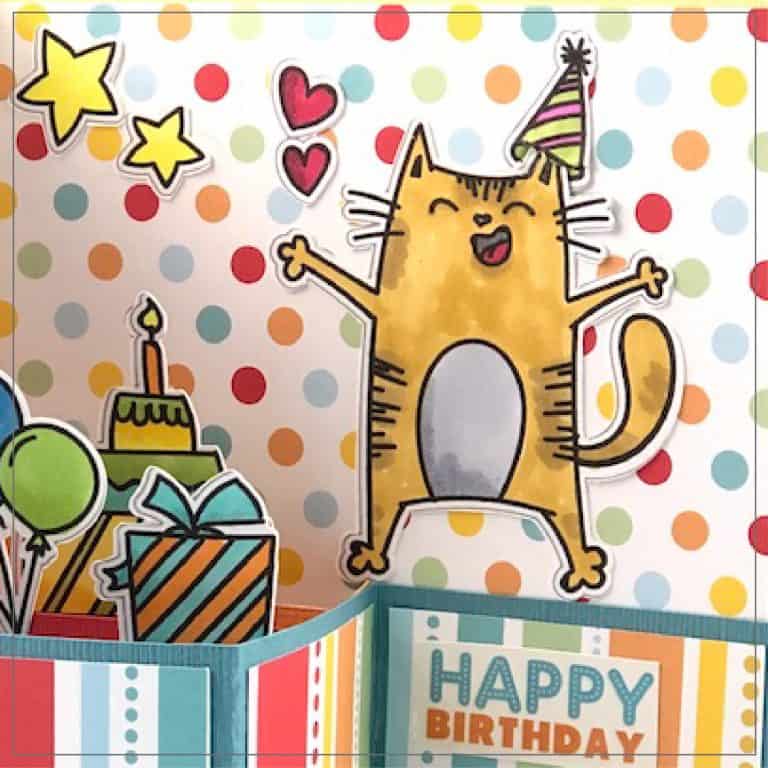
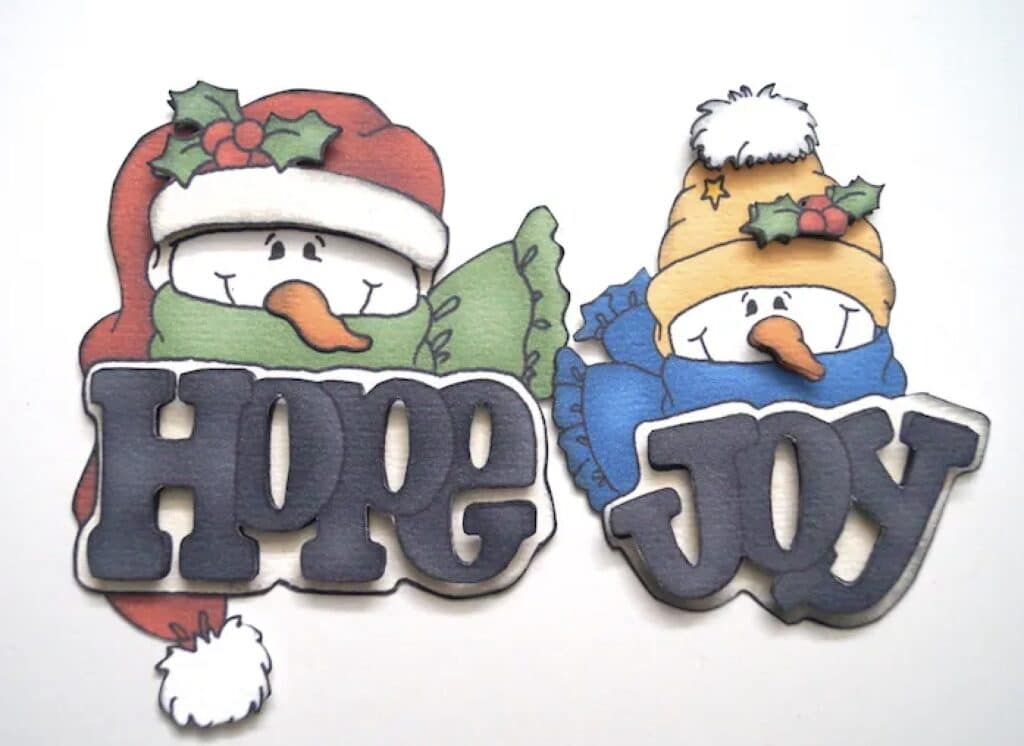
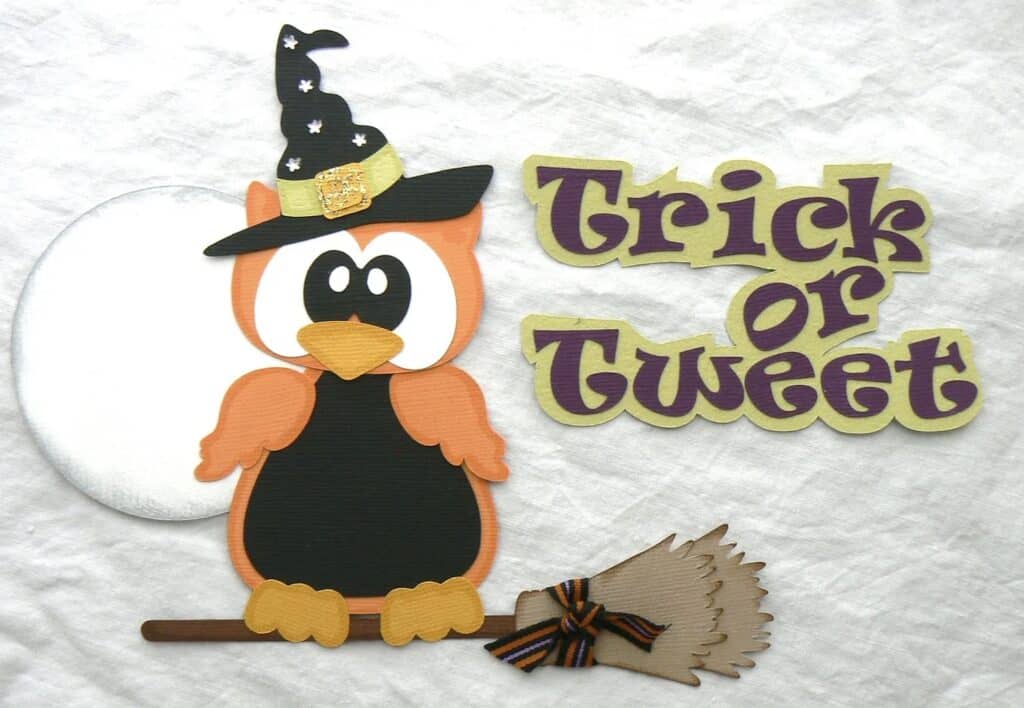
- Paper piecings: Characters or objects that are made from layering cardstock paper.
To make the process more manageable, follow these step-by-step instructions:
- Arrange your chosen elements on the page. Try different placements and layouts before committing to a final design. (if you are unsure what placement to try, you can use scrapbook sketches to help start your process).
- Once you’re satisfied with the layout, adhere each item to the background. Be cautious not to use too much glue or tape, as it may cause the paper to wrinkle.
- Add finishing touches, such as stickers, Washi tape, or journaling, to complete your page.
Remember to let your creative side shine when designing your scrapbook layout. There are no strict rules to follow, so feel free to experiment and make it uniquely your own. By incorporating the tips and suggestions mentioned above, you’ll be on your way to creating a beautiful and memorable scrapbook.
Adding Photos and Memorabilia
Selecting and Organizing Photos
The first step in adding photos to your scrapbook is to select and organize the images you want to include. Choose pictures that represent your theme and tell the story you’re trying to create.
For example, if you’re creating a vacation scrapbook, include photos of the different places you visited. Once you’ve picked your photos, sort them into categories based on the stories you want to convey.
To make your scrapbooking process smoother, placing the pictures and memorabilia inside labeled folders or envelopes can be helpful. This way, you can easily access the materials you need as you work on your layouts.
Incorporating Memorabilia
In addition to photos, memorabilia can add depth and interest to your scrapbook pages. Here are some ways to include various keepsakes in your layouts:
- Pockets: Create pockets on your pages to hold items like brochures, postcards, or tickets. One approach is to glue the edges of a picture to white cardstock and attach that to black cardstock, leaving the center as a pocket.
- Photo corners: If you want to preserve the original state of your keepsakes, use photo corners to hold them in place on the page. This allows you to easily remove and replace the items without damaging them.
- Ephemera: Collecting and incorporating ephemera like pamphlets, packaging, postcards, and tickets can add visual interest to your layouts. Attach these items to your pages using adhesive or photo corners, depending on your preference.
Remember to keep your theme in mind while incorporating memorabilia and choose items that enhance your story.
The Process of How to Make a Scrapbook
There are so many product lines with all the elements and supplies pre-selected and coordinated. Your biggest challenge will be deciding which parts of them you want to use, not finding enough to create a gorgeous layout.
Print your photos. Match colors and themes. Above all, enjoy the creative process. Sharing layouts is fun and rewarding. The best part is the joy your find during the creation. Enjoy that.
With careful selection and thoughtful placement, you can create a beautiful scrapbook that tells your unique story.