
Tuesday Template: A Quick and Fun Gift Box Card
We may earn a small commission for purchases made through affiliate links in this post. For more information go to our Privacy Policy.
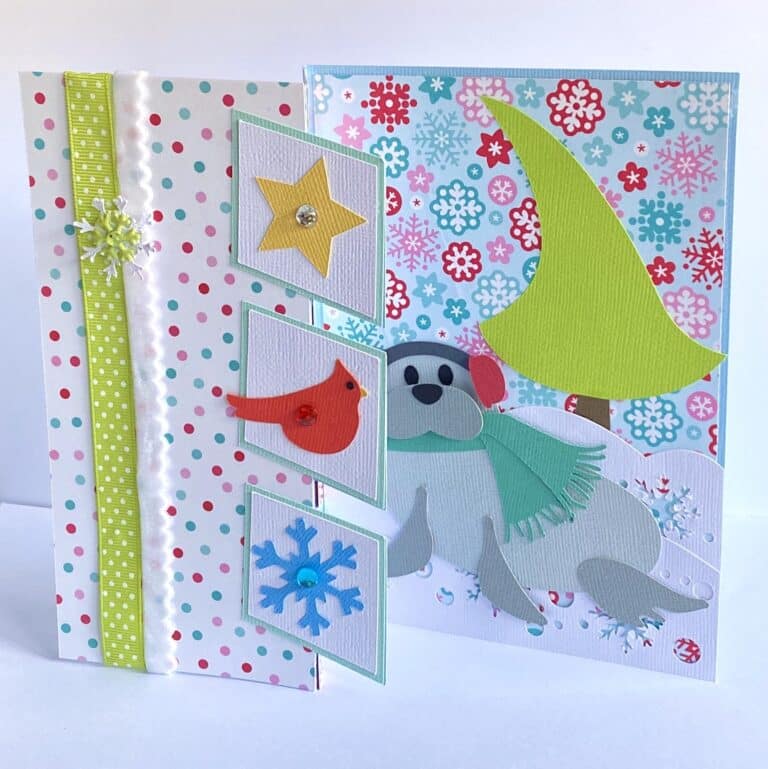
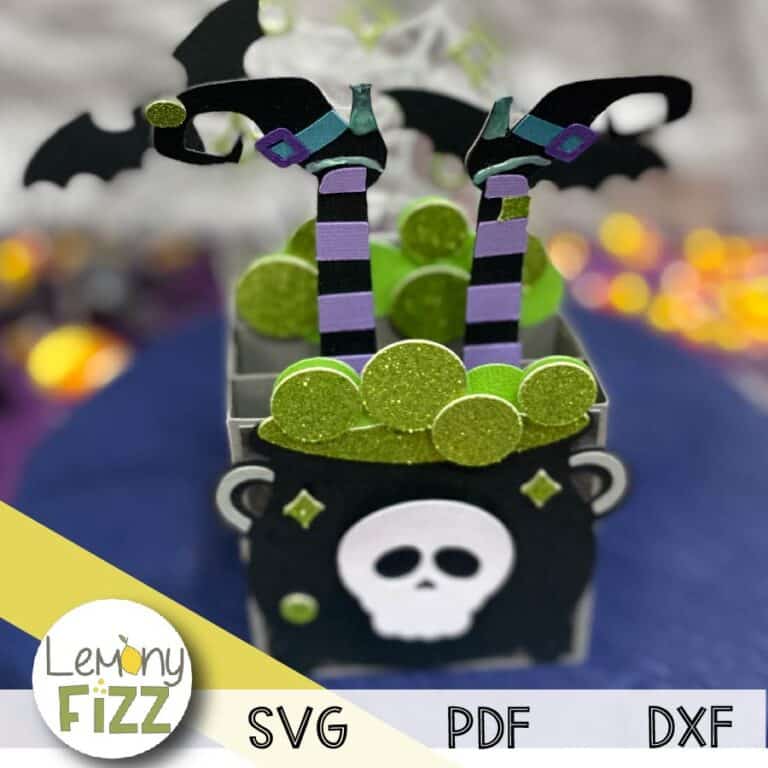
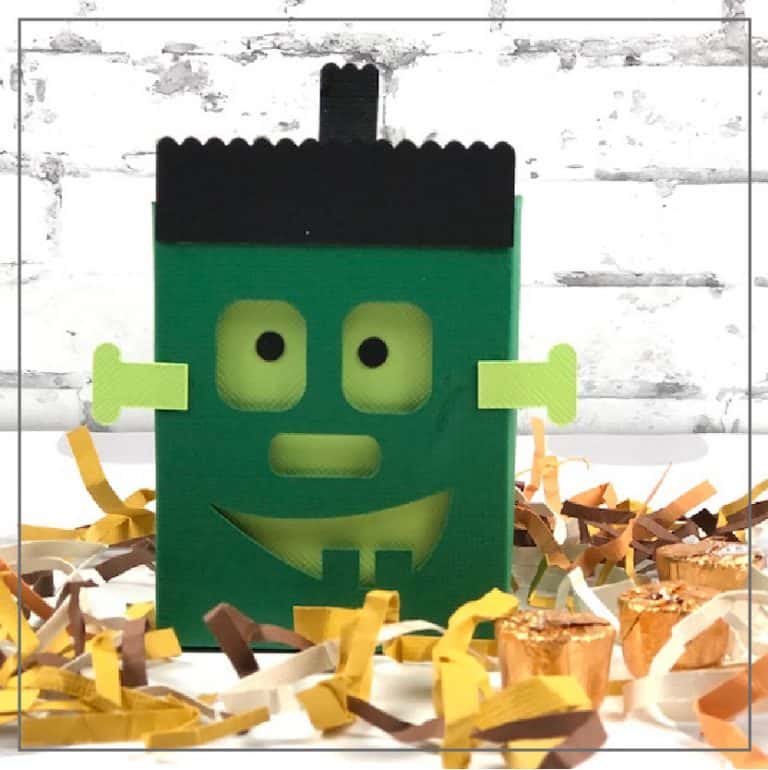
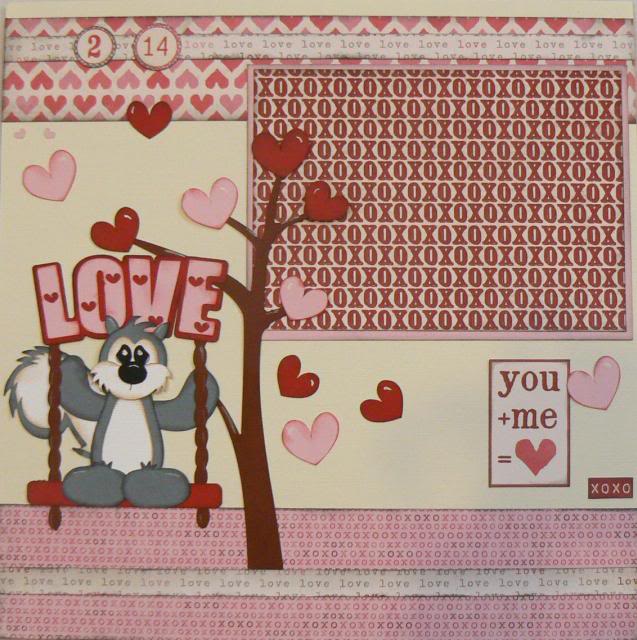
Have you ever dreamt of crafting personalized, creative cards for your loved ones? Ones that stand out from the pack and make people say “wow”? If so, you’re in the right place. This guide will walk you through creating a unique gift box card using a Cricut – a simple project with a stunning outcome that can be customized for any occasion, be it Christmas, a birthday, or even just to express sympathy. Get ready to unleash your creativity!

Step 1: Preparing the Materials
Before we dive in, let’s make sure we have everything we need to bring our crafty vision to life. You’ll need:
- A Cricut cutting machine
- Cardstock
- A Gift box card template SVG (you can find that here)
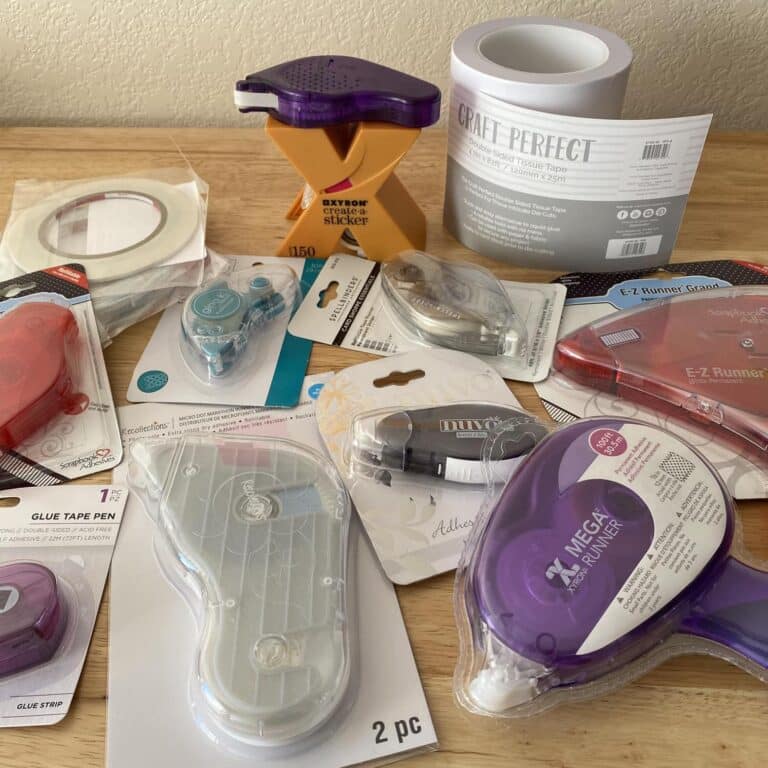
- Adhesive (tape runner and liquid glue)
- Pattern paper
- Optional: foam dots, die cuts, stickers, embellishments to personalize your card
Once you’ve gathered your materials, it’s time to prepare the SVG file for cutting. Upload the SVG file to Design Space, resize it according to your preference, and make sure all score lines are set to ‘score’ and not ‘cut’.
Step 2: Cutting
Now, it’s time to let the Cricut do its magic! Place your cardstock on the Cricut mat and load it into your machine. Make sure your settings align with the type of cardstock you’re using. Once everything is set up, hit the ‘Go’ button and watch as your gift box card template starts to take shape.
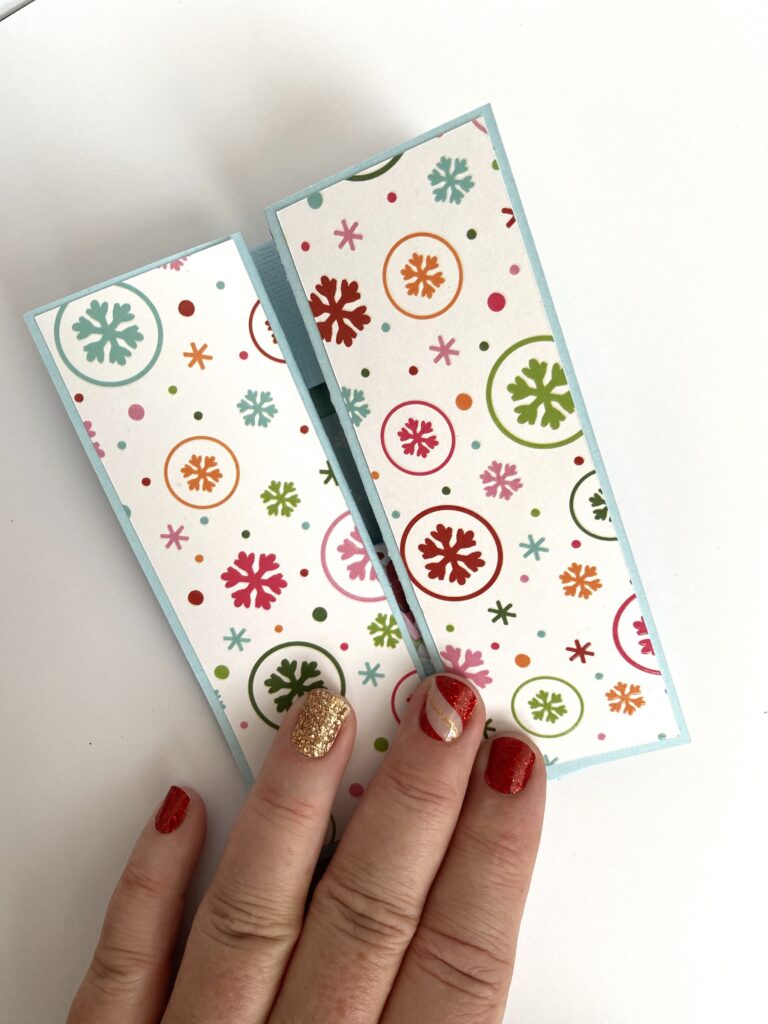
Repeat the process with your pattern paper if you want some extra flair. Cut smaller pieces of the pattern paper to fit on the box panels to add some color and texture to your card.
Step 3: Assembling the Card
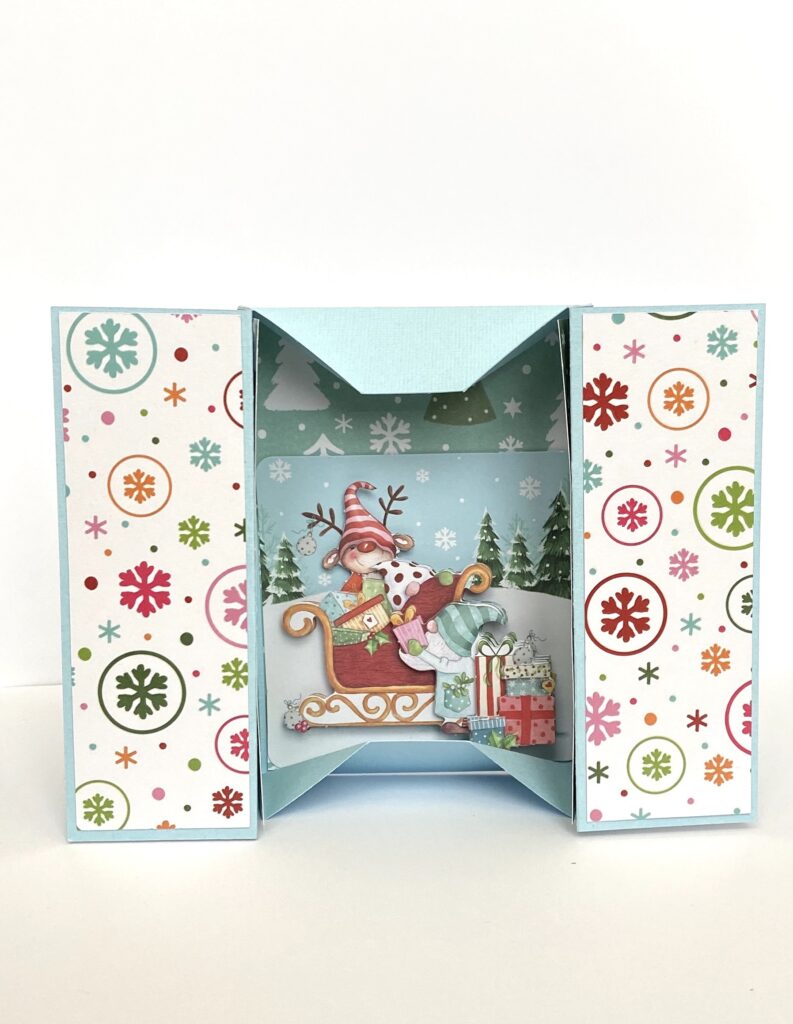
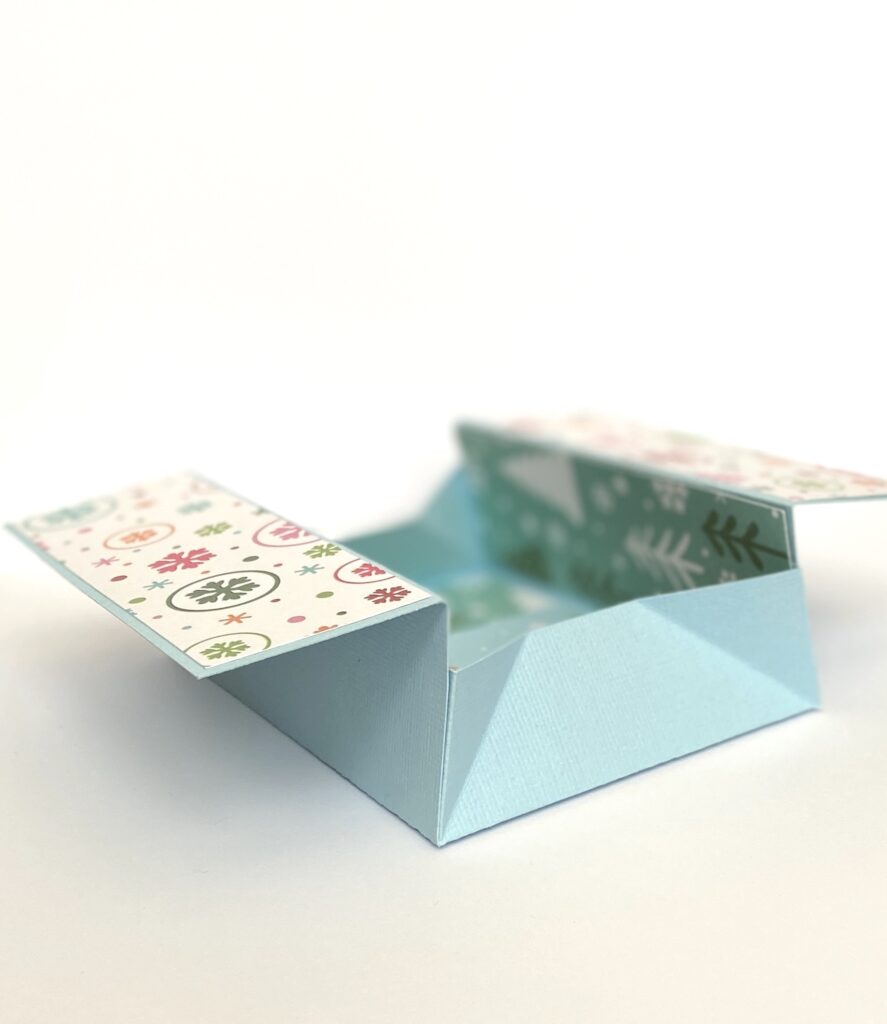
Once all your pieces are cut, gently remove them from the mat. Now, it’s time to assemble your card. Fold the card template along the score lines to create your box shape. Add some glue to the box flaps and stick them together to form the shape of the box card.
Step 4: Adding a Sentiment or Diorama Scene
Now comes the fun part! You can add a sentiment or create a small diorama scene on the inside back panel of the card. If you’re making a birthday card, for example, you could add a cute “Happy Birthday” sentiment. Alternatively, you could create a little scene, like a party scene with tiny paper balloons and a cake.
Step 5: Personalization with Embellishments
To make your card truly unique, add some personal touches. Use foam dots to add dimension to your card, die cuts to add interesting shapes, stickers for extra decoration, or other embellishments that fit the occasion.
If you want to create a belly band to hold it closed, you can just take a strip of cardstock (or a decorated strip of cardstock with an added piece of pattern paper) and wrap it around the card. Make sure it overlaps in the back. Glue the overlapping tab so the band can easily slip on and off the card.
You can also add a design element to the band to match your theme. For my card I would probably add a circle and a snowflake.
And there you have it! With these simple steps, you’ve created a one-of-a-kind gift box card that’s bound to impress. The joy of giving something handmade is incomparable, and the reaction you’ll get will surely be worth the effort.

I’ve never seen a card made like this. Absolutely love it. Thanks for sharing!
Such a cute card! Thanks for the template.