
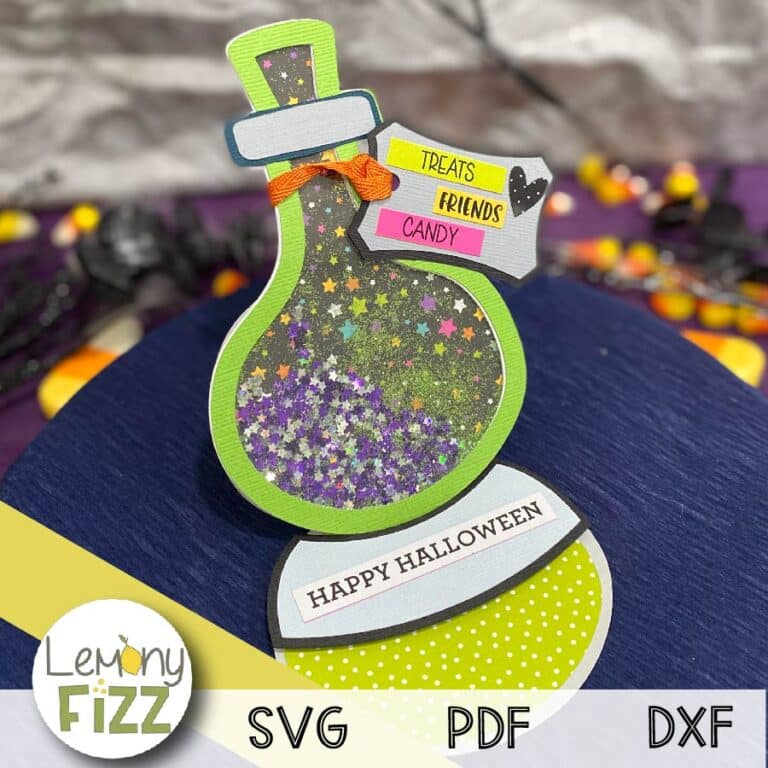
Fast and Simple: Candycorn Popcorn Box for Treats and Decor
We may earn a small commission for purchases made through affiliate links in this post. For more information go to our Privacy Policy.
Need a quick and simple treat box? This candycorn popcorn box will do the trick. It is fast to assemble. Darn cute. And you can get the kids involved in the process. Cut out all the elements and let the kids do a “build your own treat box” station.
Supplies Needed for Candycorn Popcorn Box:
- Candycorn Popcorn Box SVG
- SVG cutting machine (e.g., Cricut, Silhouette)
- Cardstock in various colors (orange, yellow, white, black, patterned paper)
- Glue or double-sided adhesive tape
- Foam adhesive dots
- Bone folder (optional)
- Scissors
- Printer (if you want to print sentiment)
- Candycorn and popcorn treats
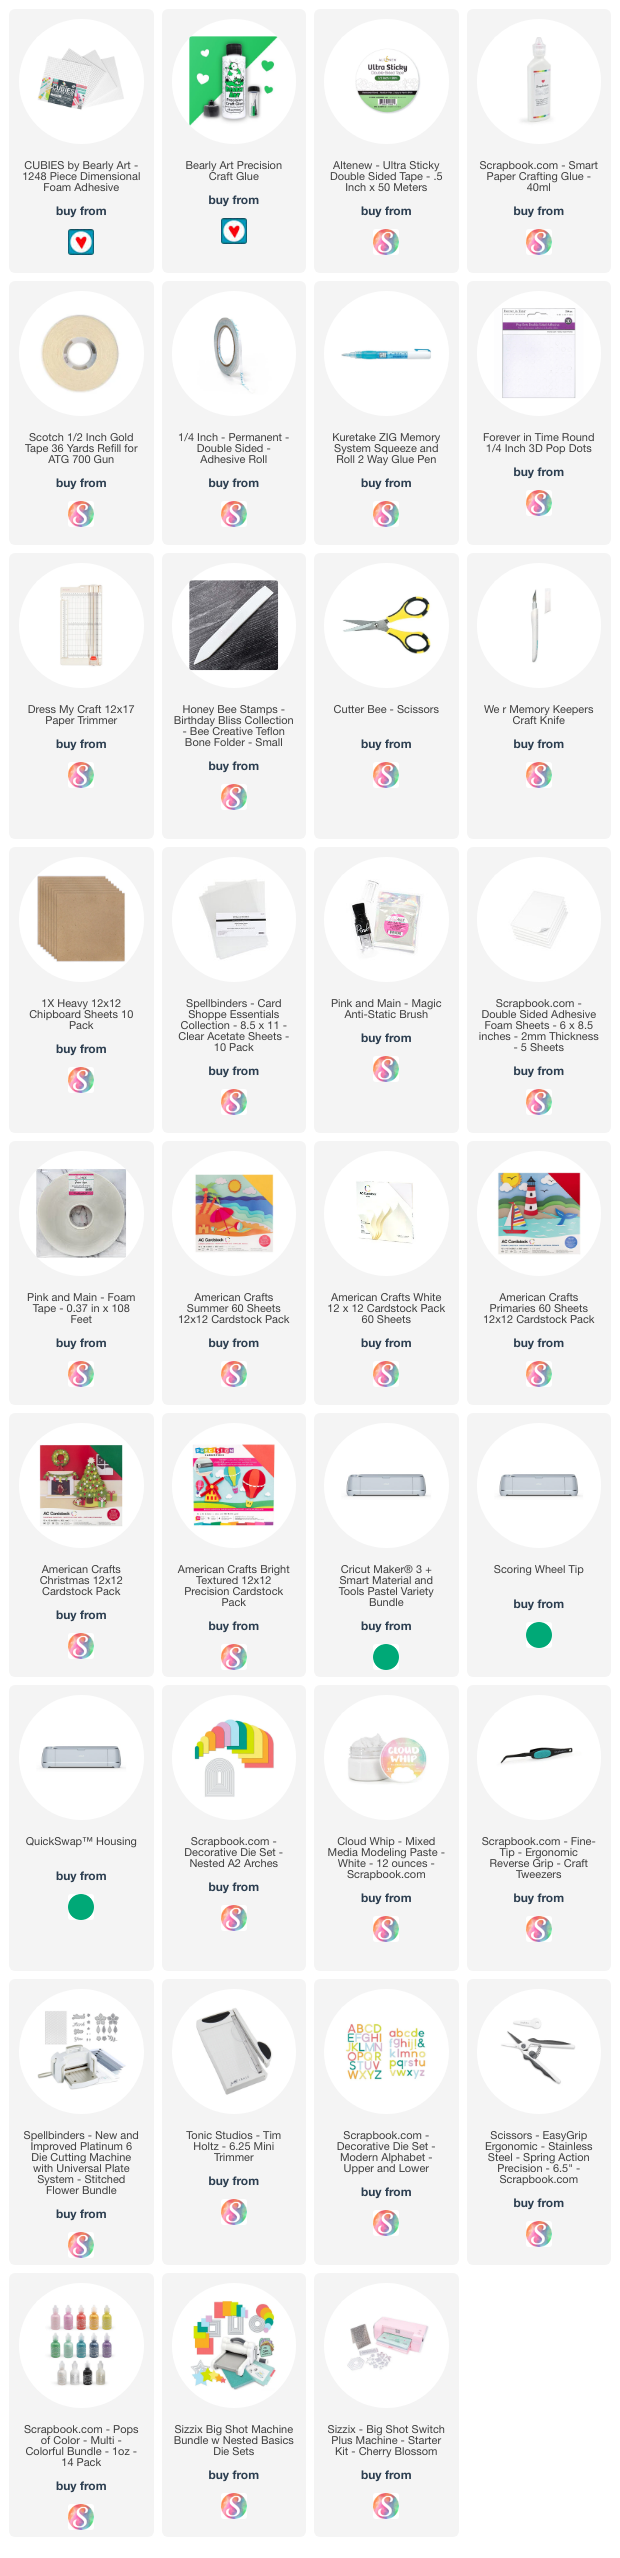
All the general supplies for scrapbooking and cardmaking that I use are listed below. Pattern papers and cardstocks are not specific. Use what you have (unless you were eyeballing that new paper release…).
NOTE: This file is part of the 2023 Halloween Craft Stash Challenge. If you are working on this project after the challenge is complete, you can still participate. The file is sold individually in the shop and it is also included in the Mega Halloween Bundle.

Step 2: Upload SVG Files
Navigate to your cutting machine software (e.g., Cricut Design Space or Silhouette Studio) and upload the provided SVG or PNG files for the popcorn treat box and the candy corn embellishment. Separate and ungroup the different components.
Step 3: Prepare the Files
For the popcorn treat box, identify the score lines (usually shown in red) and convert them to score lines in your software. Attach the score lines to the base of the box. Repeat this process for both halves of the box.
Step 4: Optional: Adjust Sentiment
If you prefer not to use the pre-designed sentiment, you can either delete it or replace it with your own sentiment using your software. If you want to print the sentiment, prepare it on your computer and print it onto white cardstock.
Step 5: Assemble the Embellishments
Assemble any embellishments, such as the spider, using glue or foam adhesive dots for dimension. If necessary, use scissors or tweezers to handle small pieces.
Step 6: Fold the Box
Fold along the score lines of the treat box base using a bone folder for crisp edges. Fold the flaps that will create the box structure.
Step 7: Attach Patterned Paper
Before assembling the box, adhere your chosen patterned paper to the box components. Apply glue or double-sided tape to the paper, align it with the box, and press down firmly.
Step 8: Assemble the Box
Apply adhesive to the flaps that will hold the box together. Fold the box into shape, ensuring the adhesive sticks well. Tuck the bottom flaps inside to secure the base. Glue these as well if your treats will be a little heavier.
Step 9: Attach Embellishments
Attach the candy corn embellishment to the front of the treat box using glue or double-sided tape. If using a foam adhesive dot for the spider, attach it as well.
Step 10: Fill with Treats
Fill the popcorn box with candy, popcorn, or special Halloween recipes for popcorn treats.
This treat box design is perfect for mass production. Repeat the process to create multiple boxes for Halloween parties, classrooms, or other events.
Don’t forget to share your creation with the rest of us in the Lemony Fizz Paper Crafters Facebook Group.
General Scrapbooking and Cardmaking Supplies that I Use

Very cute box, I would have never thought of making these. And what an adorable little spider! Thanks for sharing👍
So darn cute! I love candy corn as a design element. It always beings a smile to my face! This is another very versatile project. I can see using it for many different events and holidays. TYFS!
Super cute
Another cute idea! Good for all the occasions too.