
8 Easy Steps to a Halloween Potion Easel Shaker Card
We may earn a small commission for purchases made through affiliate links in this post. For more information go to our Privacy Policy.
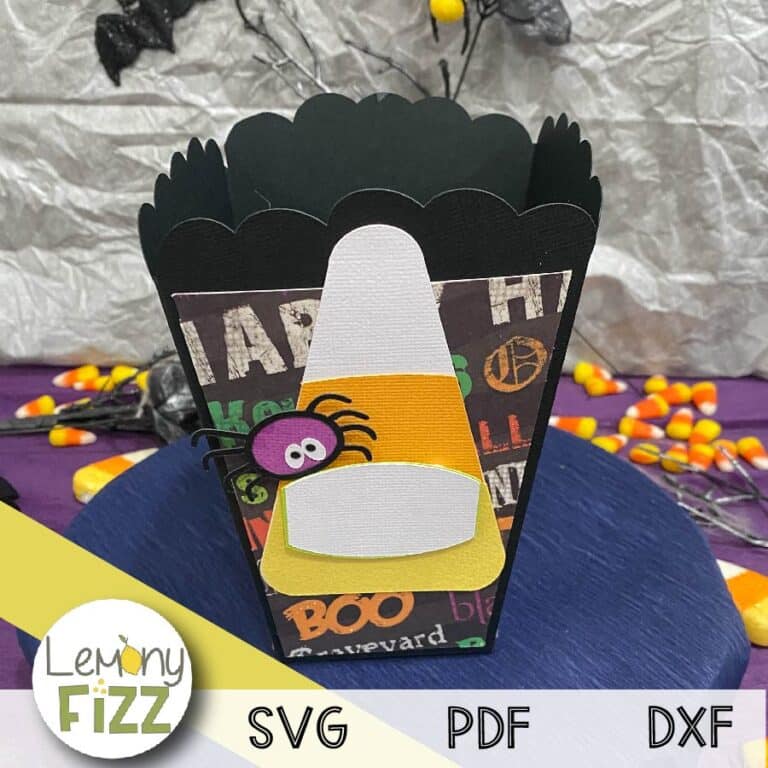
This Halloween Potion Easel Shaker card is a fun project to make because not only is it 2 types of cards in one, it is also a great piece for Halloween decor. You can interact with the shaker part of the card to listen to it rattle. Then you can display it by propping it up on the easel tag and adding it to your Halloween display.
Materials Needed:
- Halloween Potion Easel Shaker Card SVG
- Cardstock in various colors and patterns
- Acetate sheet or clear packaging material
- Foam adhesive tape or foam dots
- Glue or adhesive runner
- Double-sided tape
- Sequins or confetti for shaker element
- Ribbon or twine (optional)
- Scissors or cutting machine (e.g., Cricut)
- Bone folder or scoring tool
- Embellishments (stickers, bling, etc.)
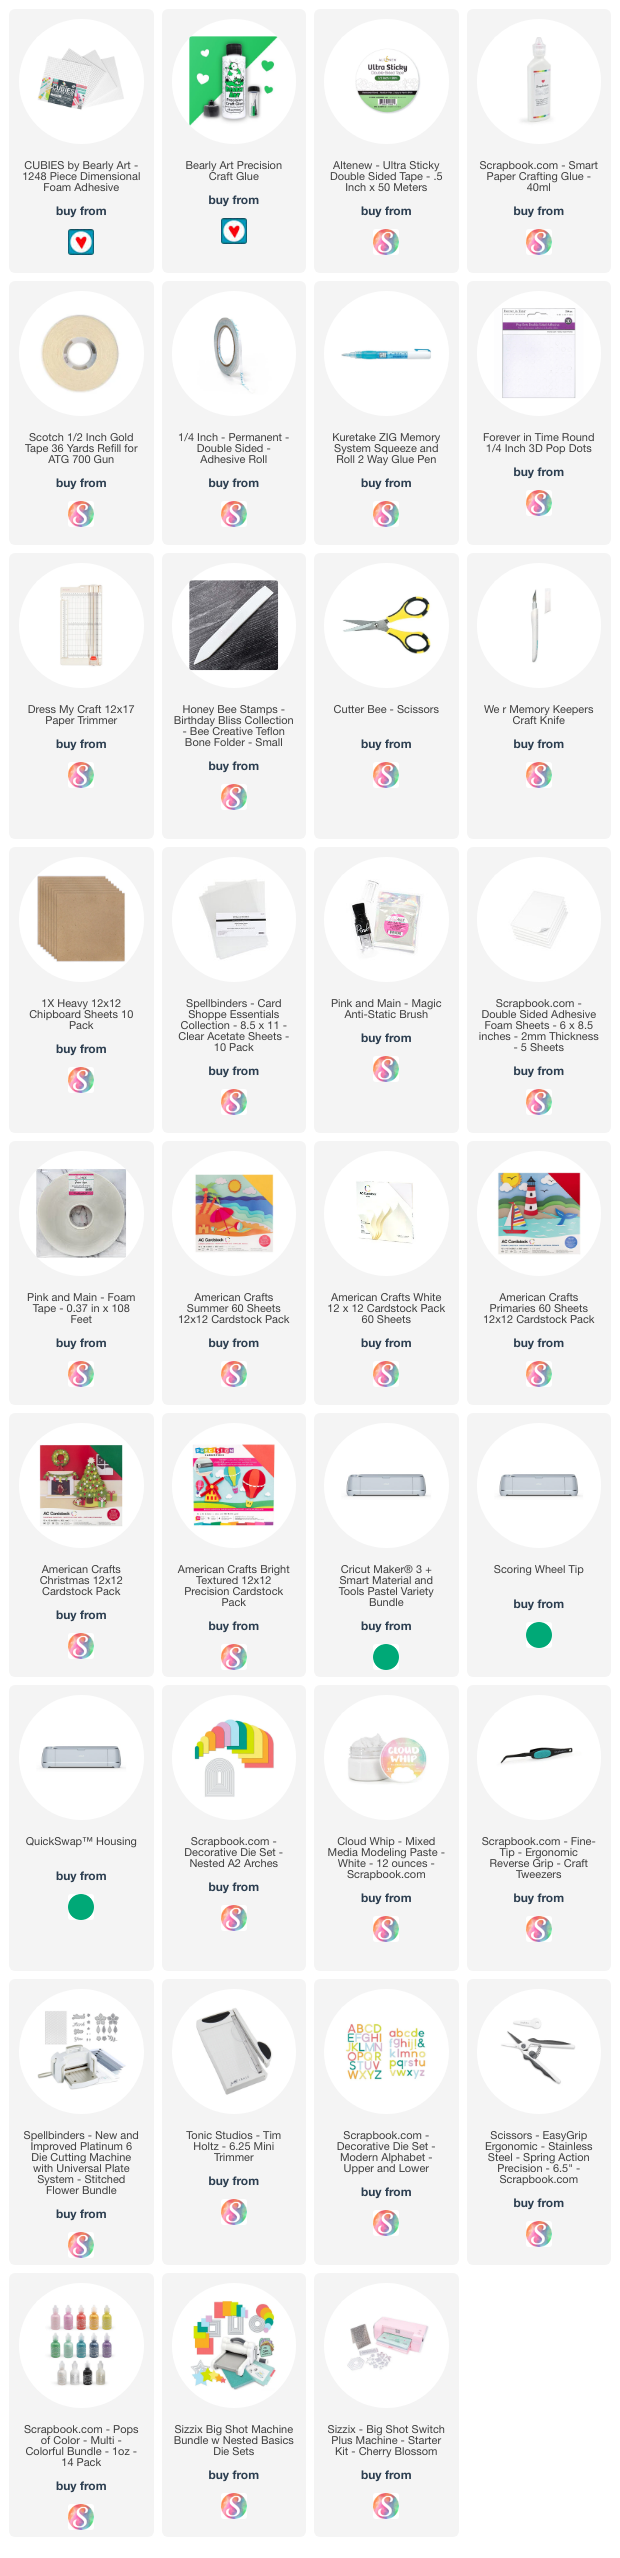
All the general supplies for scrapbooking and cardmaking that I use are listed below. Pattern papers and cardstocks are not specific. Use what you have (unless you were eyeballing that new paper release…).
NOTE: This file is part of the 2023 Halloween Craft Stash Challenge. If you are working on this project after the challenge is complete, you can still participate. The file is sold individually in the shop and it is also included in the Mega Halloween Bundle.

Step 1: Gather Supplies
Collect all the required materials, including the provided Halloween-themed SVG files, assorted cardstock, adhesive, sequins, and any additional embellishments you’d like to use.
Step 2: Preparing the SVG Files
Upload the provided SVG files into your cutting machine software. Ensure you have both pages of the file uploaded, as described.
Step 3: Cutting and Prepping
- Cut the SVG files according to the provided dimensions. You’ll need the potion bottle shape, card base, pattern paper shapes, and label pieces.
- Mark your score lines.
- If you choose not to use foam tape, remember to cut the outline of the card at least 5 times to stack for your shaker pocket.
Step 4: Scoring and Folding
- After you have cut the shapes, fold your score lines so they are crisp.
Step 5: Creating the Shaker Element
- Attach the foam adhesive tape the potion bottle base shape.
- If not using foam adhesive tape, stack the cut cardstock shapes to create a similar thickness for the shaker pocket.
- Add sequins or confetti onto the cardstock base, within the potion bottle shape.
- Place the acetate sheet on top of the foam tape, creating a barrier for the shaker element.
- Then place the colored outline of the potion bottle on top to cover the edges of the acetate.
Step 6: Assembling the Card Base
- Apply glue or adhesive runner along the edges of the cardstock base.
- Carefully press the potion bottle shape with the shaker element onto the base, ensuring alignment.
- Let the adhesive dry to secure the shaker component in place.
Step 7: Adding Decorative Elements
- Glue pattern paper onto the card base, creating a border and decorating the card’s inside.
- Attach the label piece to the front of the shaker card, adding foam dots for dimension. This is what keeps your shaker from sliding and creates the easel card.
- Consider adding additional embellishments such as stickers or bling to enhance the card’s visual appeal.
Step 8: Finishing Touches
- If desired, attach a ribbon or twine to the top of the label piece for added decoration.
- Display the card by folding the easel stand and placing it on a flat surface.
Feel free to experiment with colors, patterns, and embellishments to make the card uniquely yours.
Don’t forget to share your creation with the rest of us in the Lemony Fizz Paper Crafters Facebook Group.
General Scrapbooking and Cardmaking Supplies that I Use


This is so cute!
I grinned reading about the kid on toast, gets me really in the Halloween mood 🎃
Today’s card is awesome, love it!! Thank you for sharing 👍
Love this! Can’t wait to try it.
Cute! I love the tip about the acetate. Your helper is adorable.
great card can’t wait to get it done. Loved your little helper he was adorable.
love your tutorial, but Mr busybody (KITTY) really make the film. thank you
Today is Sunday, September 3 and today’s SVG is not showing as available but Saturday’s is. I thought it would be available by now. Am I doing something wrong?
Hi Susan,
Thanks for the heads up. You might need to refresh your page. Websites “save images and links” so they can load faster. The page I am using for all the files needs to be refreshed because all the things change each day.
I downloaded it first thing to make sure it was all working properly. Should be good to go 🙂
Rhoda
Love this one! I can hardly wait to make it. Thank you and your little ‘helper’ for this great video.
Can I convert this to do a dome with candy instead of the acetate and confetti?
I think you could probably size it down and it would work with the domes. You might have to take out the center completely and then slice a new circle in the center.
Let me know how it goes 🙂
Rhoda
Thanks for the Halloween crafts