
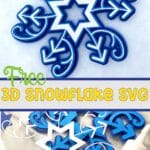
Free 3D Layered Snowflake Paper Craft SVG
We may earn a small commission for purchases made through affiliate links in this post. For more information go to our Privacy Policy.
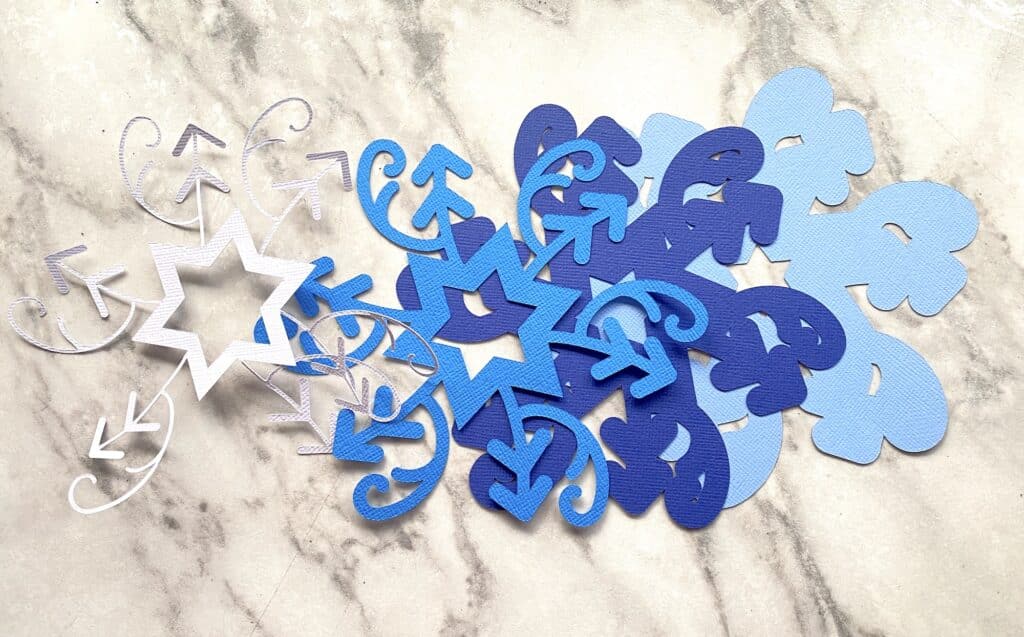
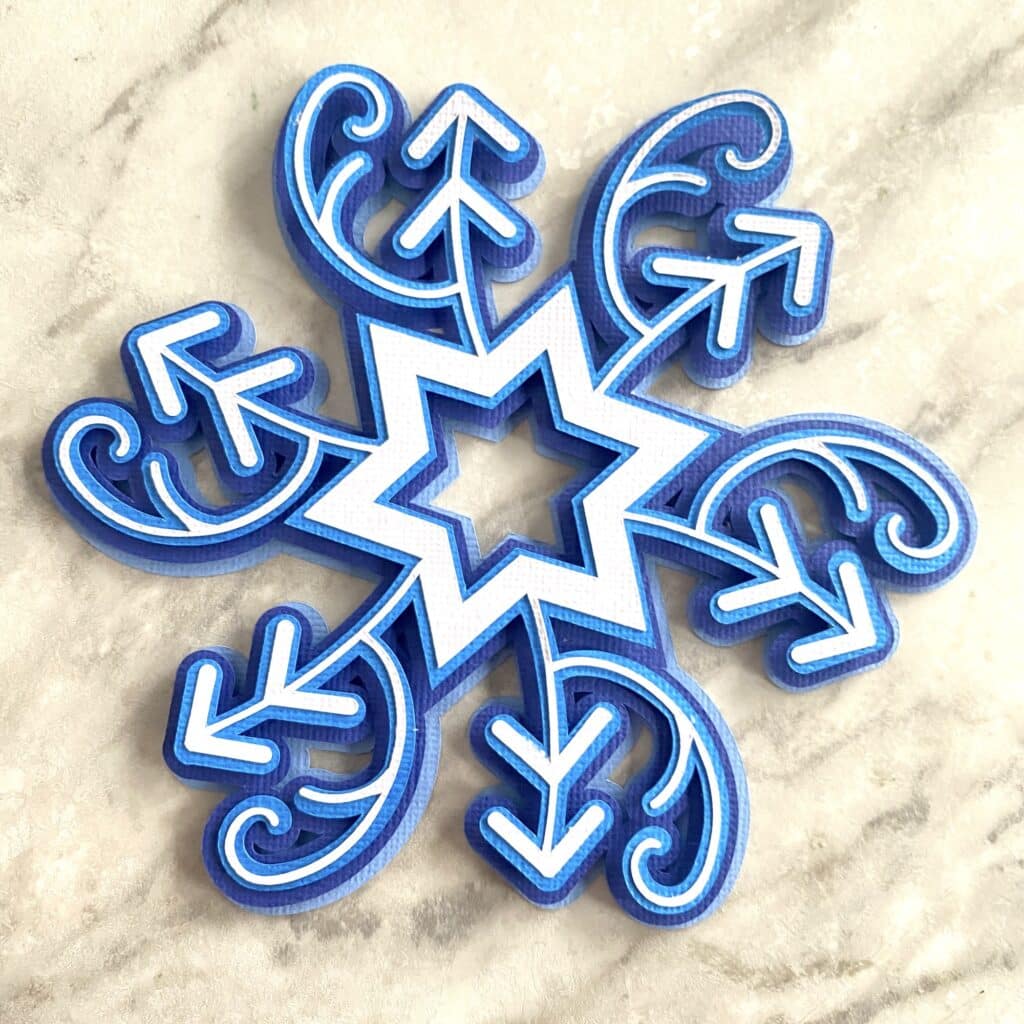
This design looks complicated and elegant. Making this free 3D layered snowflake is actually very simple. Fast, simple, elegant.
The SVG file is designed to be cut around 10 inches. I sized mine down to about 6 inches and would NOT recommend going any smaller.
Change up the colors for a black-and-white theme. Add in some purples. You could even do a Frozen theme. Once you download this file, the creativity won’t end.
Supplies for Making a 3D Layered Snowflake Paper Craft
- Cricut machine
- Blue Cricut cutting mat (light grip)
- Solid Core Cardstock (I use American Crafts)
- PVA Papercraft Glue
- 3D foam adhesive dots
- favorite embellishments (glitter glue, bling stickers, ribbon, etc.) Glitter vinyl would be fun on this one!
- 3D Layered Snowflake SVG
Upload Your File to Cricut Design Space (Or Your Design Program)
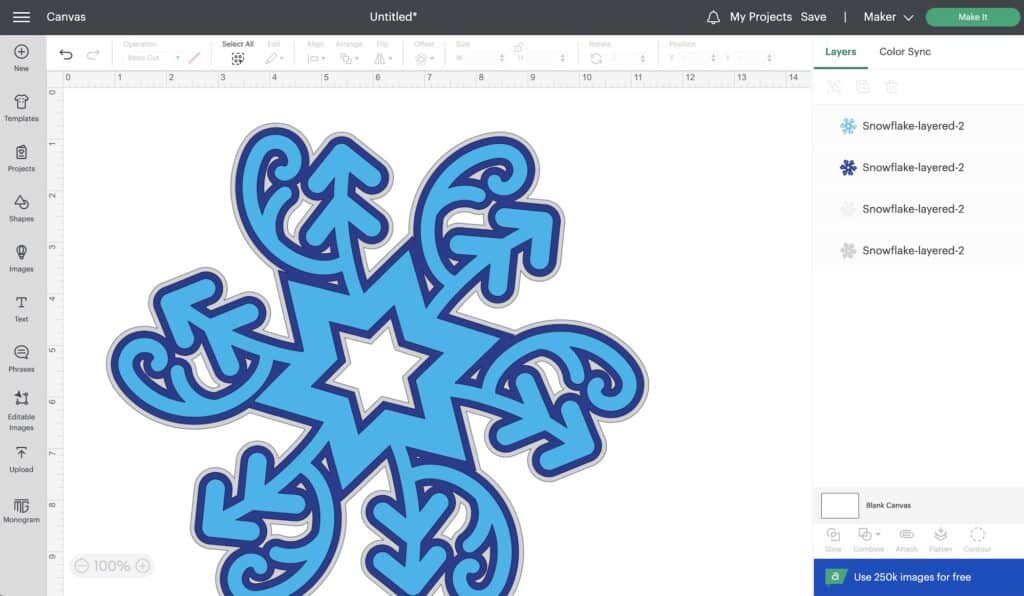
Once you have downloaded your SVG, unzip it and then upload it to the design program that goes with your cutting machine. I use a Cricut Maker, so I will be showing you how to upload to Cricut Design Space.
Choose “Upload Image”“. Navigate to the snowflake folder and select the SVG file. Once it is uploaded, click the image you want to make.
In this case, the snowflakes.
When the green bounding box is around your image, you know you have it selected.
Click “Add to Canvas”.

Modify or Resize Your SVG File
Now that you have the snowflake layers in Cricut Design Space, you can change your color preference to make it easier when you are loading your mat with cardstock. The original file has a grey snowflake as the background.
I was out of grey paper, so I choose a super light blue. You can change the color of the layer to help you know when too load that color cardstock into the cutter.
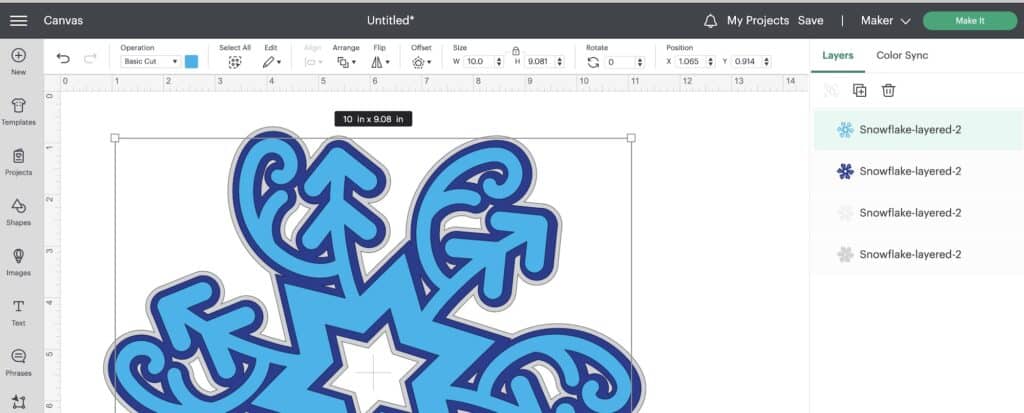
This file is designed to be 10.5 inches approximately. You can resize it up to the full cutting mat width (11.5 inches) or size it down to make a variety of snowflake sizes.
I changed mine to 6 inches because I didn’t want such a large snowflake (I live in a camper and I’m already drowning in paper crafts!).
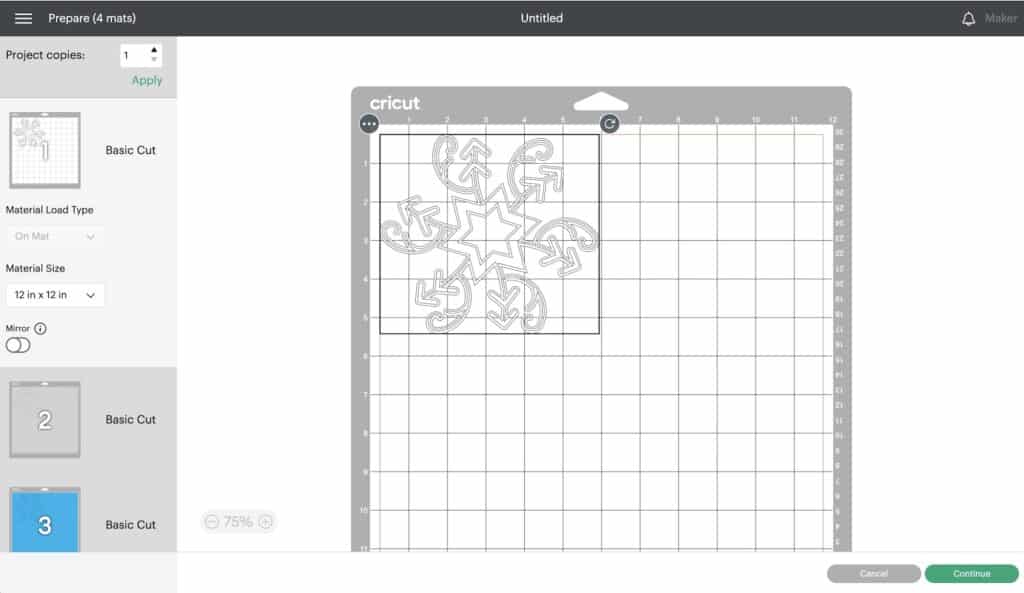
Once you have everything modified, resized, prepped, and ready to go…it is time to cut. Click “Make It” Check your colors and mat sizes. Then click “Continue”.
Assembling Your Snowflake Paper Craft
I almost tossed the white layer and started over because it looked like it would be too thin at the 6-inch size. Pieces were popping up and I was sure I had ruined it. When I took it off the mat, the ruined part was actually the cut outline. No damage done. So, I pushed on and made my smaller snowflake.
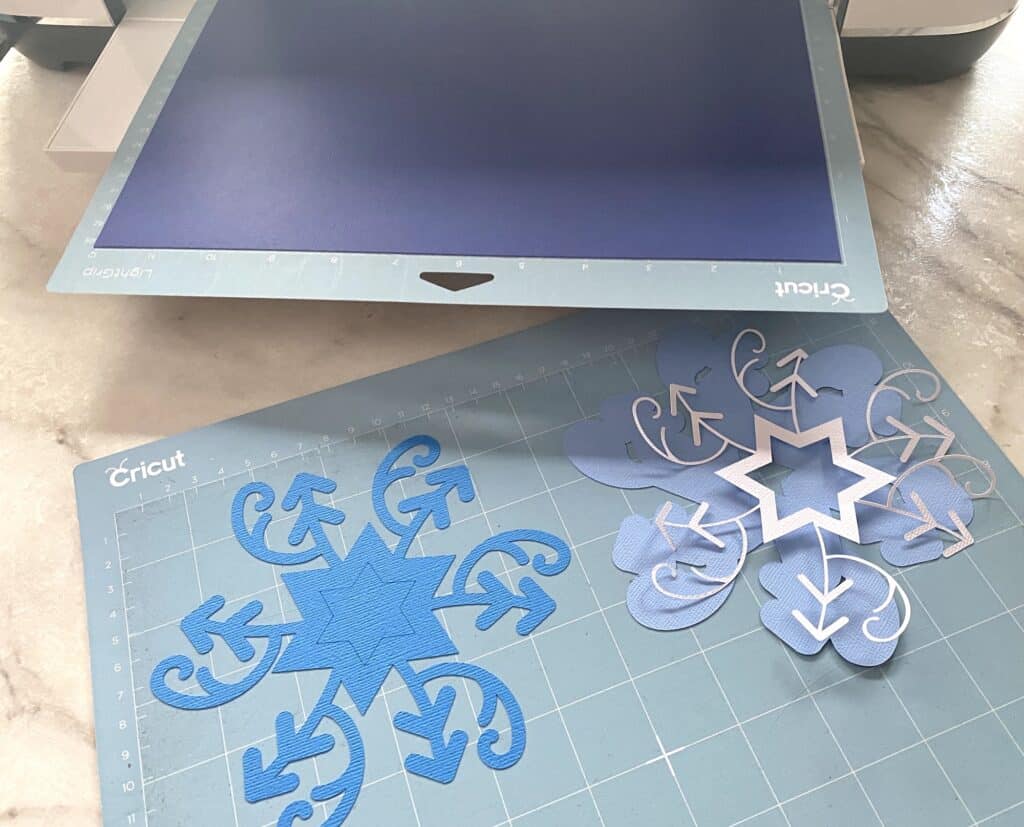
My layers are all in a blue scheme. You will start with the two thickest snowflakes. In my case that is the light blue and the darkest blue.
I use foam dots to add dimension and because the dark blue layer has some pretty thick lines, I used a larger foam dot. The smaller ones are for the thinner lines.
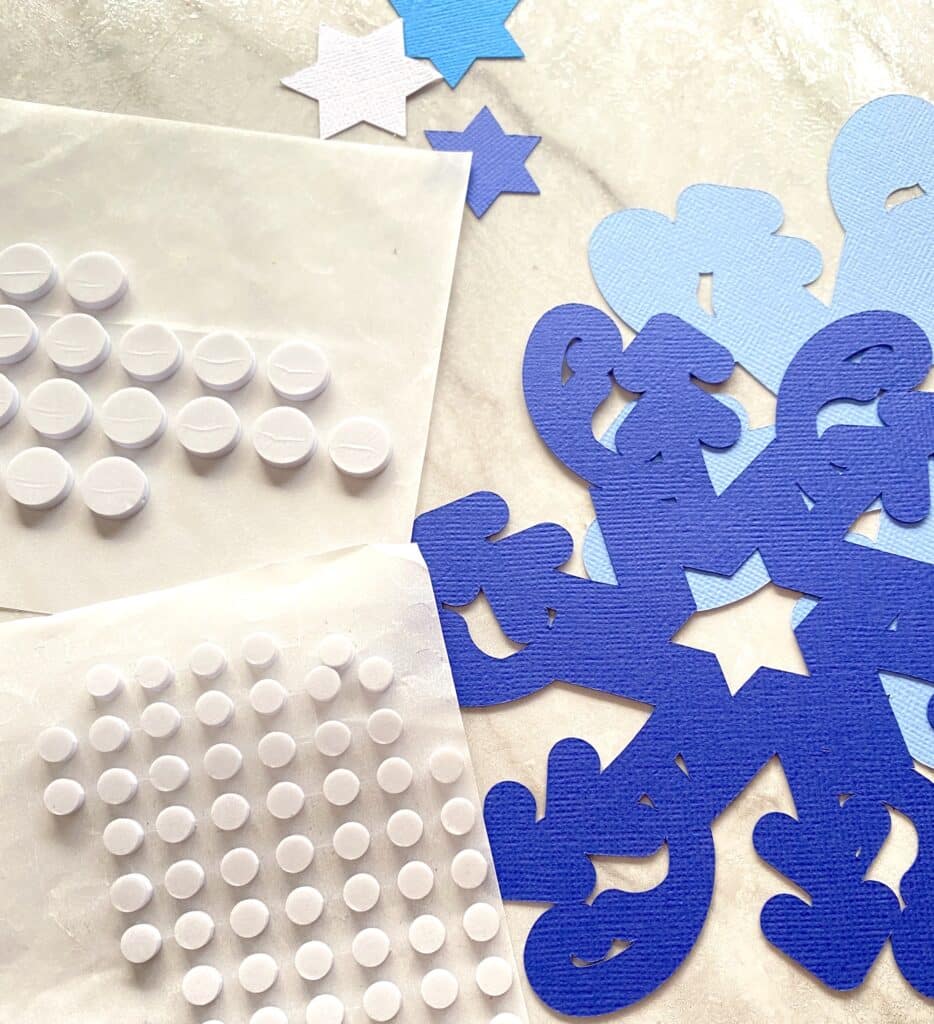
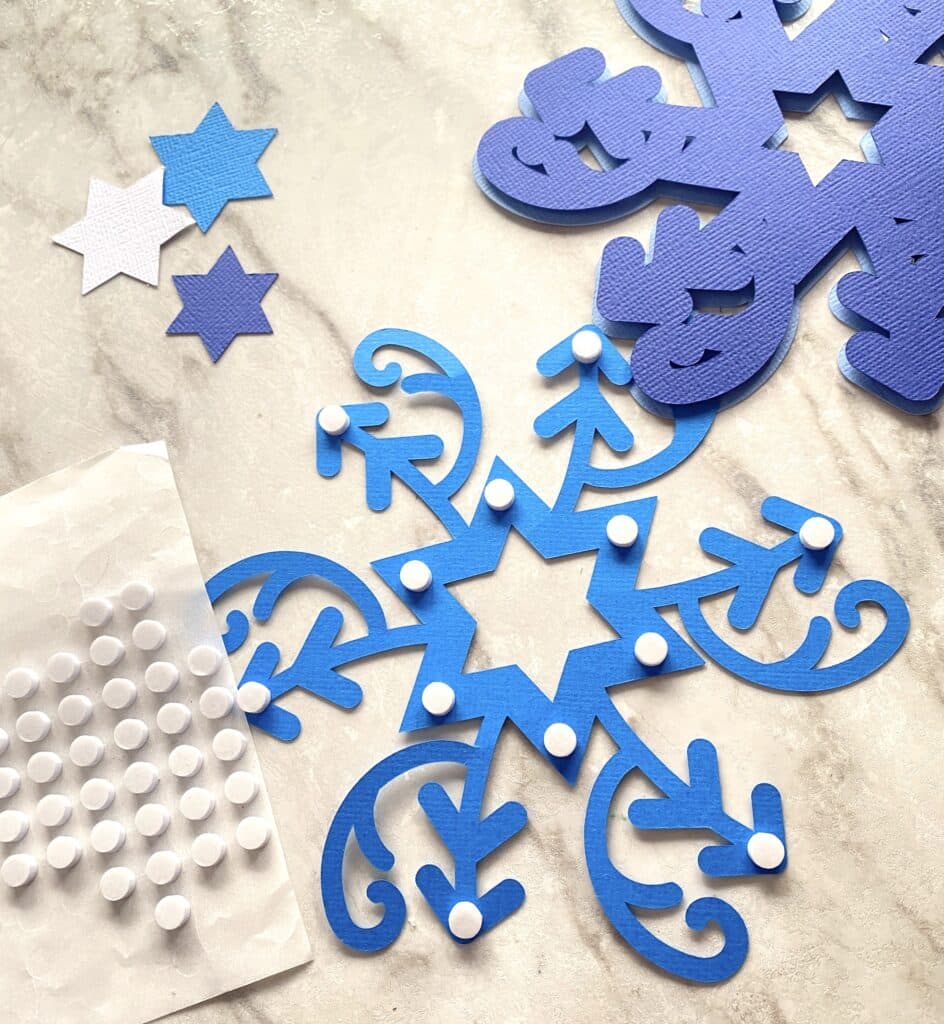
After attaching the dark blue layer to the very bottom layer of light blue, I added the smaller foam dots to the bright blue layer.
There are also some stars left over from the centers of 3 layers. If you wish, these can be saved for other projects like cards or scrapbook embellishments. But if your storage is running low or you are feeling inundated by paper scraps, by all means, feel free to toss!
After using foam dots on the first two layers, I chose to clue the very top layer. The lines are way to thin to hide a foam dot behind.
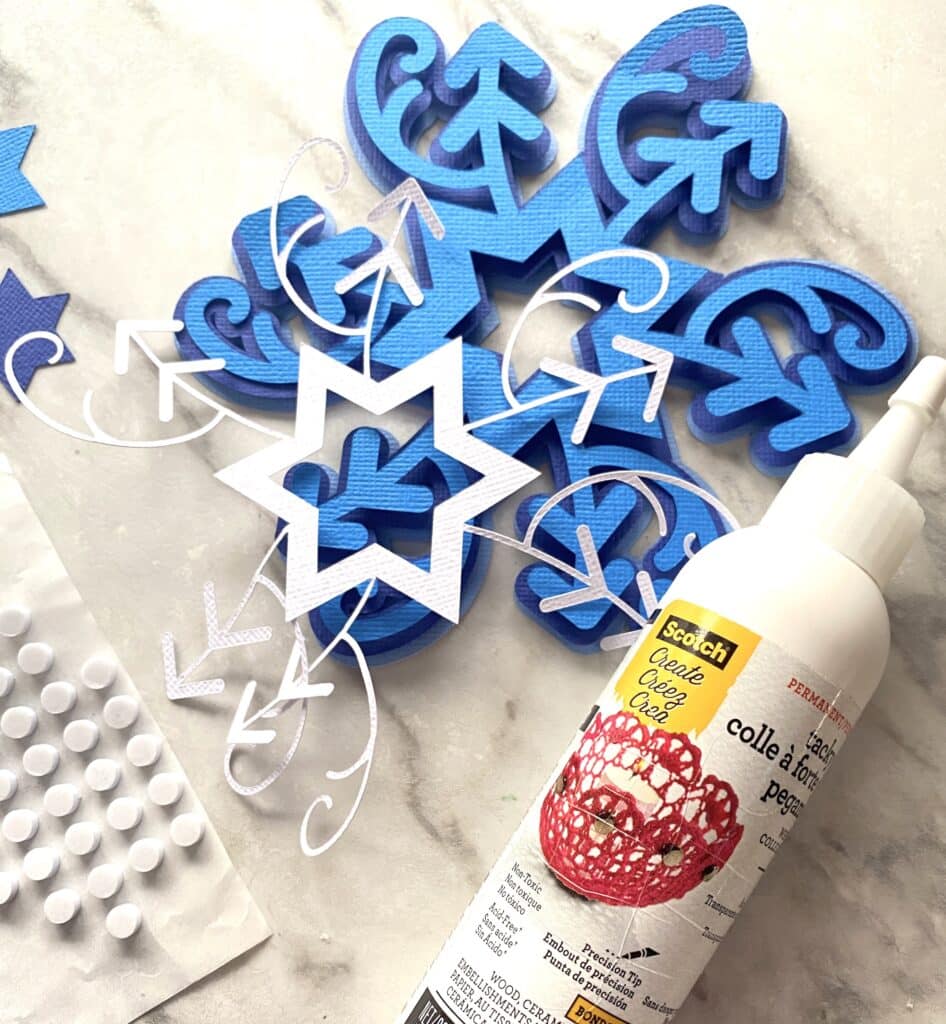
NOTE: Lining up the last layer can be a little tricky. It looks like it is a symmetrical image (and I was pretty sure I designed it that way) but there is definitely a right and wrong way to place this layer down.
Before you add glue, twist the top layer around until you find the “right side up” way. Your arrow lines should be leaving the star in line with the layer below. Once you find the correct way, you can add your glue to the star and then each arrow arm.

The finished snowflake has way more dimension than you would expect from only 4 layers of paper. It is sturdy, gorgeous, and ready to be used for your winter decor and crafting.
thank you for the great instructions and SVG. I’ll be making it for Christmas!