Christmas Gnome Shadow Box Tutorial
We may earn a small commission for purchases made through affiliate links in this post. For more information go to our Privacy Policy.
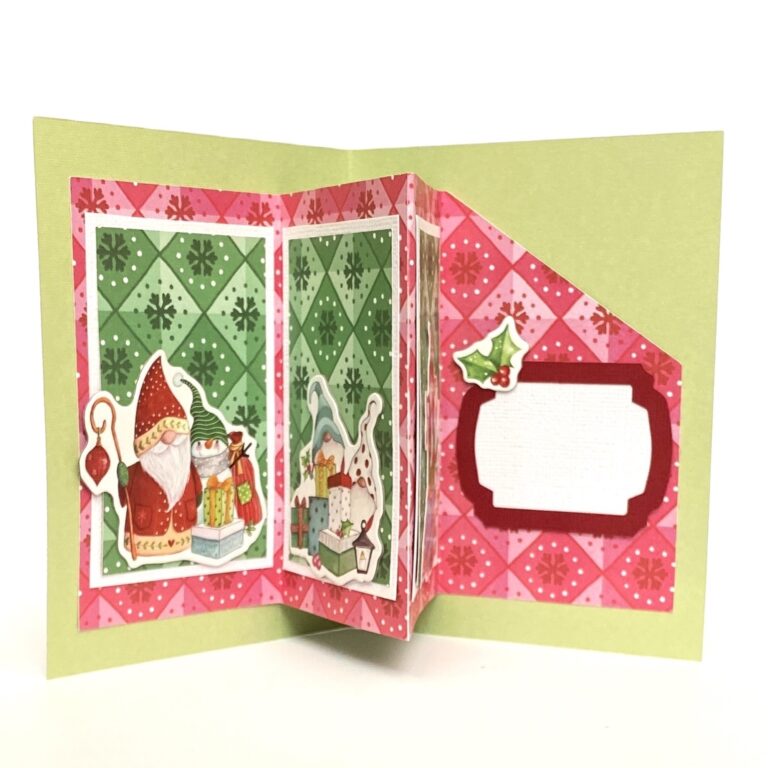
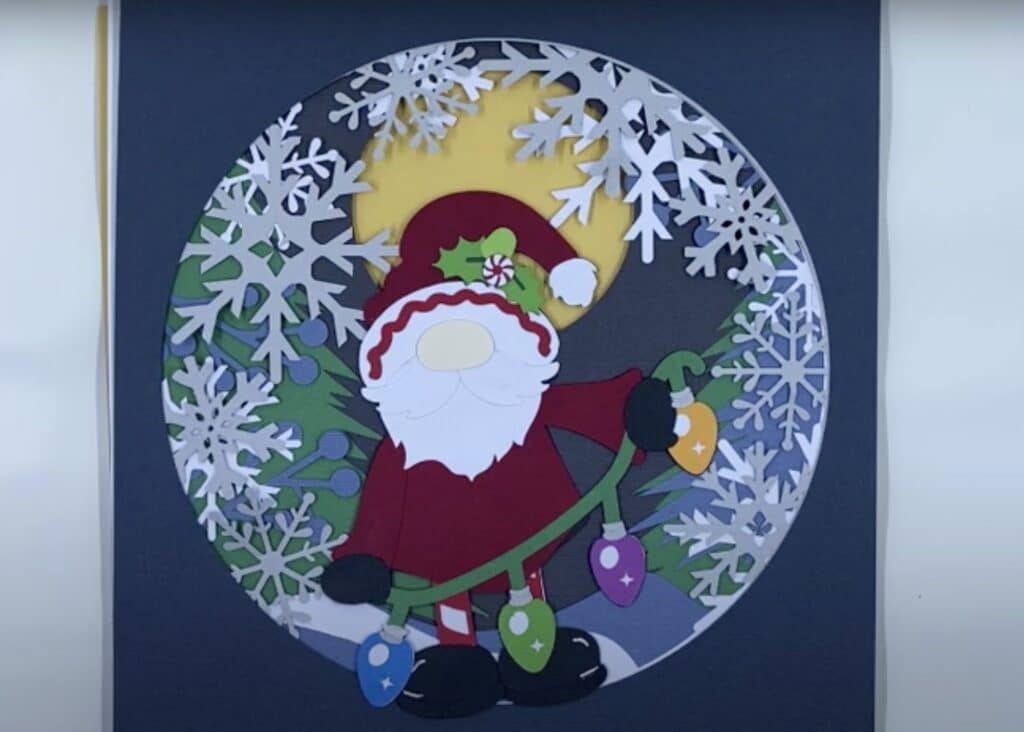
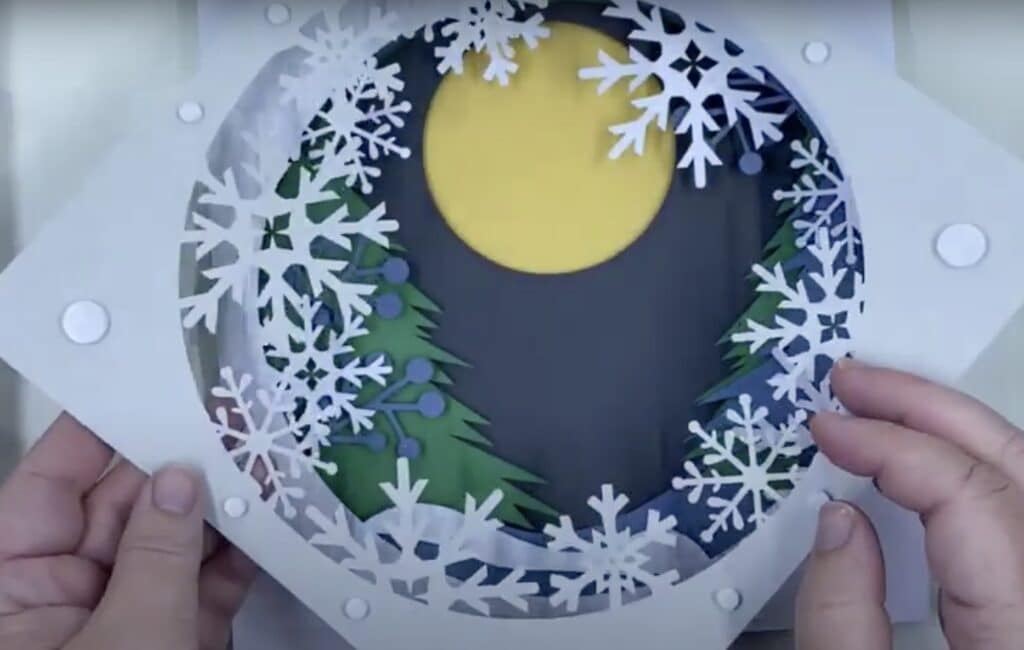
Gnomes just can’t get any cuter. This Christmas gnome shadow box is no exception. I want to make a dozen of them and put them all over. Every time I look at it, my smile just gets bigger.
This shadow box SVG is super easy to work with and the longest part of this project is putting on the pop dots and removing their backing. Tedious, I tell you.

Supplies you will need to create this 3D Layered Christmas Shadowbox:
- Cricut machine
- Blue Cricut cutting mat (light grip)
- Solid Core Cardstock (I use American Crafts)
- PVA Papercraft Glue
- 3D foam adhesive dots
- Shadowbox (adjust your design according to the size of your shadowbox!)
Watch the Tutorial or Keep Reading
Here is a video tutorial on how to cut and assemble your Christmas shadowbox. You can watch the process here or keep reading to build it with me step-by-step.
Uploading the SVG to Design Space
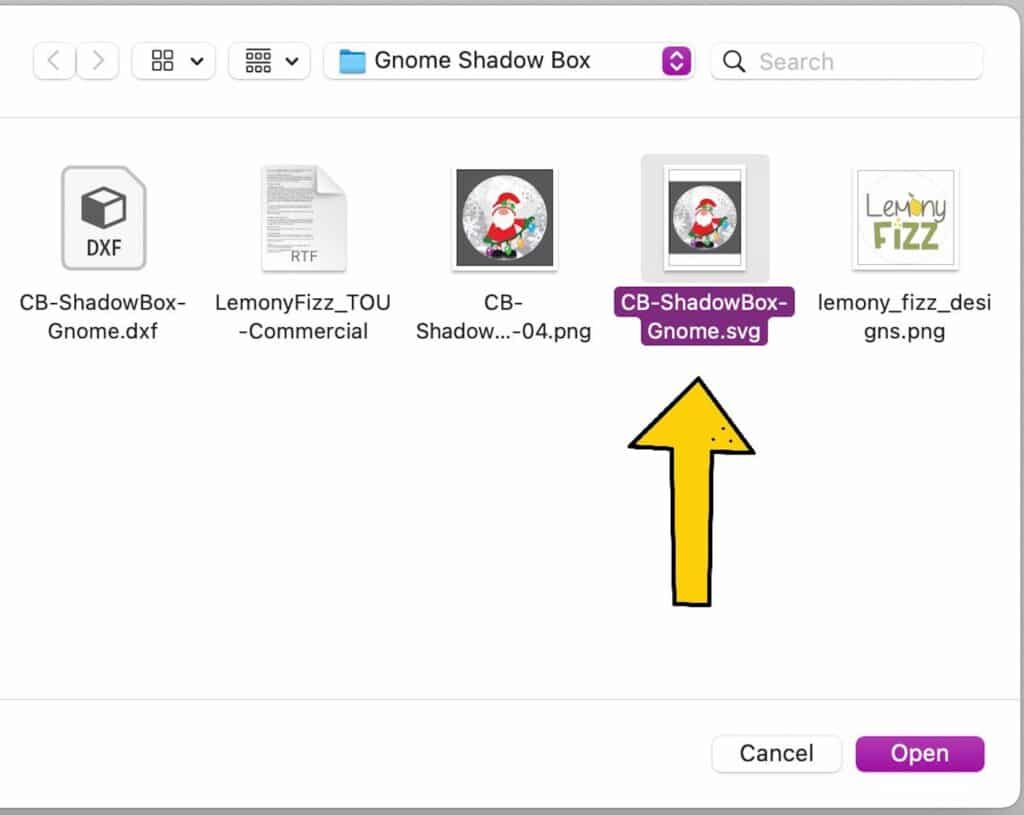
1. Download the file & unzip the downloaded folder
You will need to purchase the Christmas Gnome SVG or the Mega Christmas Bundle. Once you have downloaded the zipped file, you will need to unzip it to access the design files. If you are unsure how to unzip a compressed file or need a refresher, read this post.
2. Open Cricut Design Space and locate the SVG file
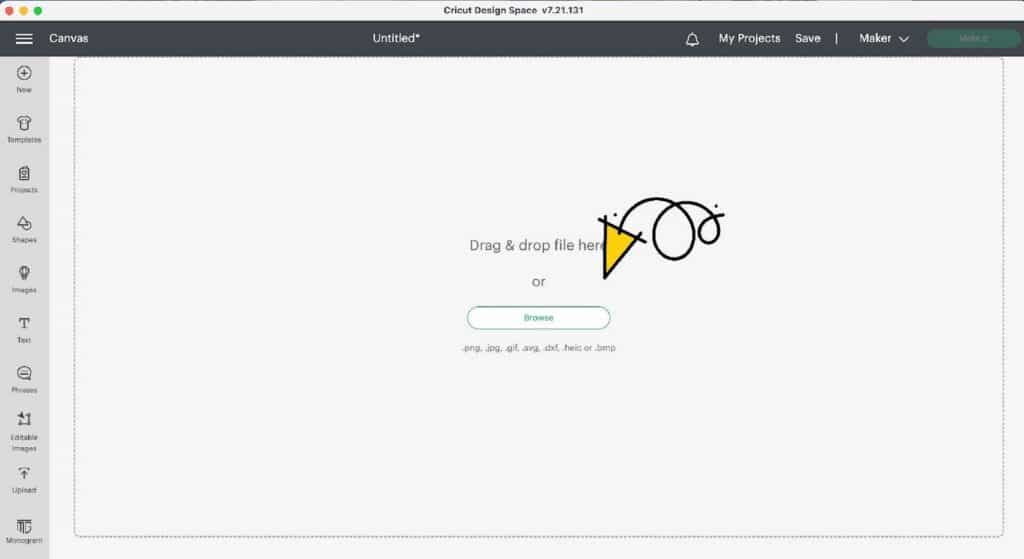
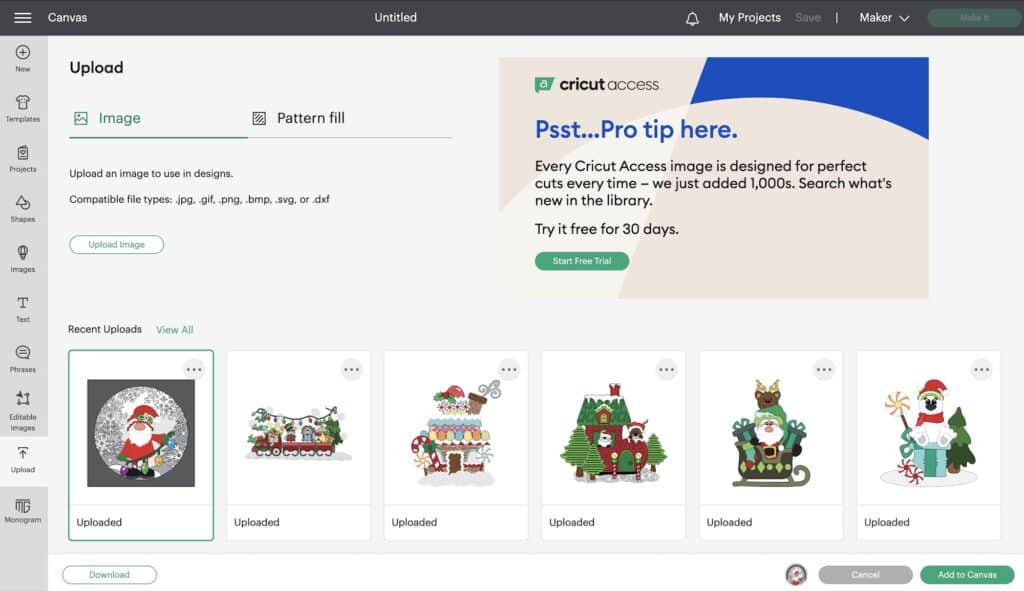
3. Upload the SVG file to Cricut Design Space (or whichever program you use for your cutting machine).
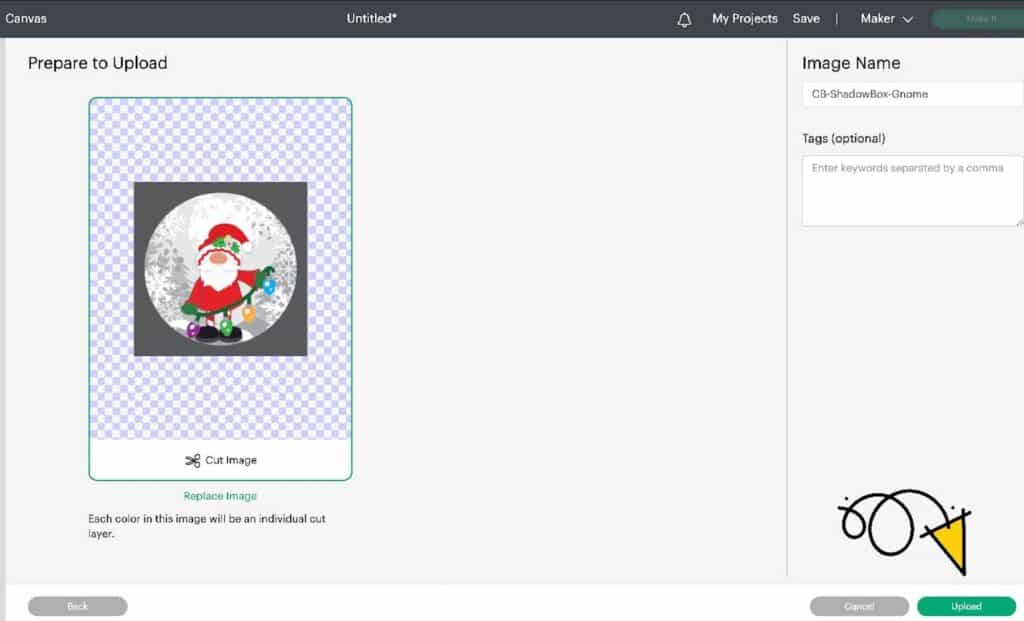
4. Insert the file onto your canvas. After you have uploaded the SVG file, the design will show in your “Recently Uploaded Images”. Click on the image so there is a green bounding box around it. Then click “Add to Canvas”.
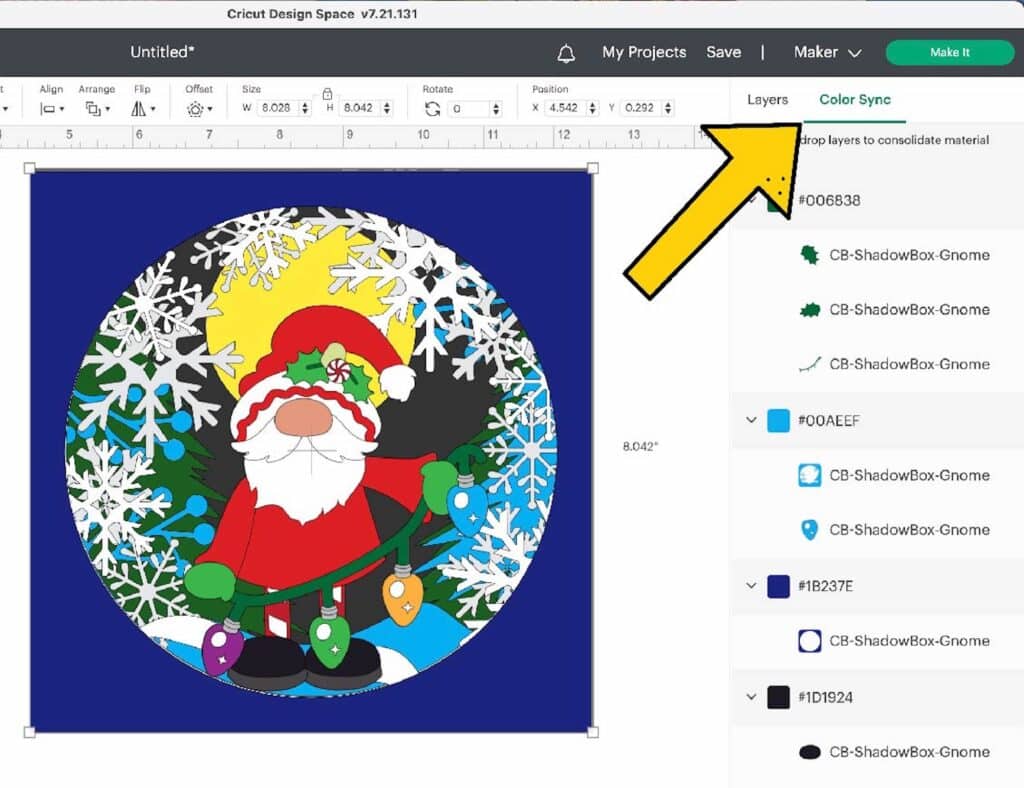
5. Ungroup the Layers: If you want to change the colors of the different layers, you can ungroup the file layers and change their colors. This makes it easier when you are loading your paper mats during the cutting process.
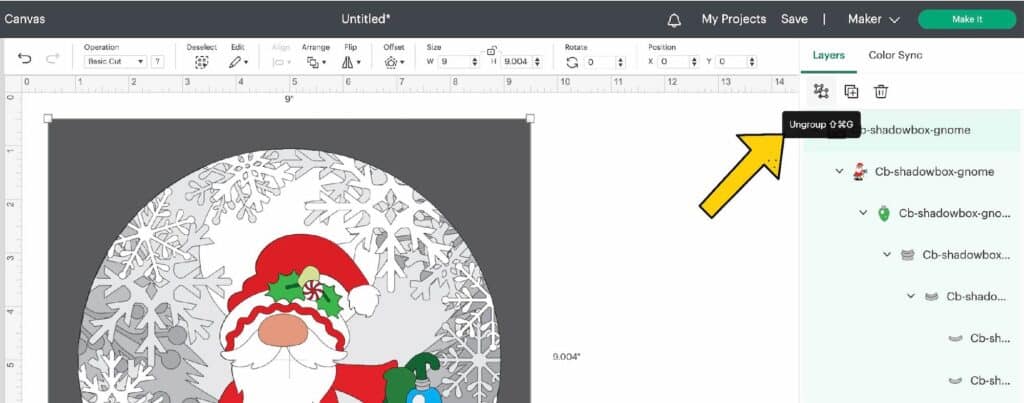
These are the colors that I used to cut my shadowbox out. You can make them lighter for a more “daytime” look or keep them monochrome for a color pop with the gnome. Or make him more than one time.
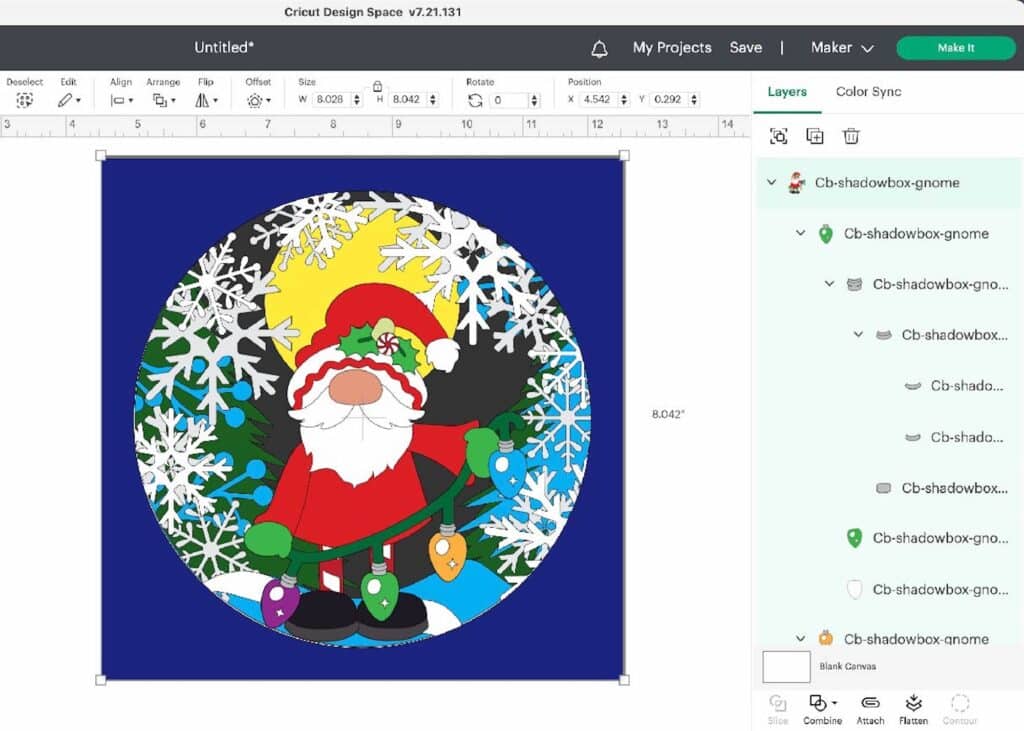
6. Color Sync to save time and paper: Design Space will read the colors in the file and make them slightly different. To save time and your sanity, color sync the layers that you want to cut on the same piece of cardstock. Just grab the color group you want to change. Drag and drop it into the color group you want to keep.
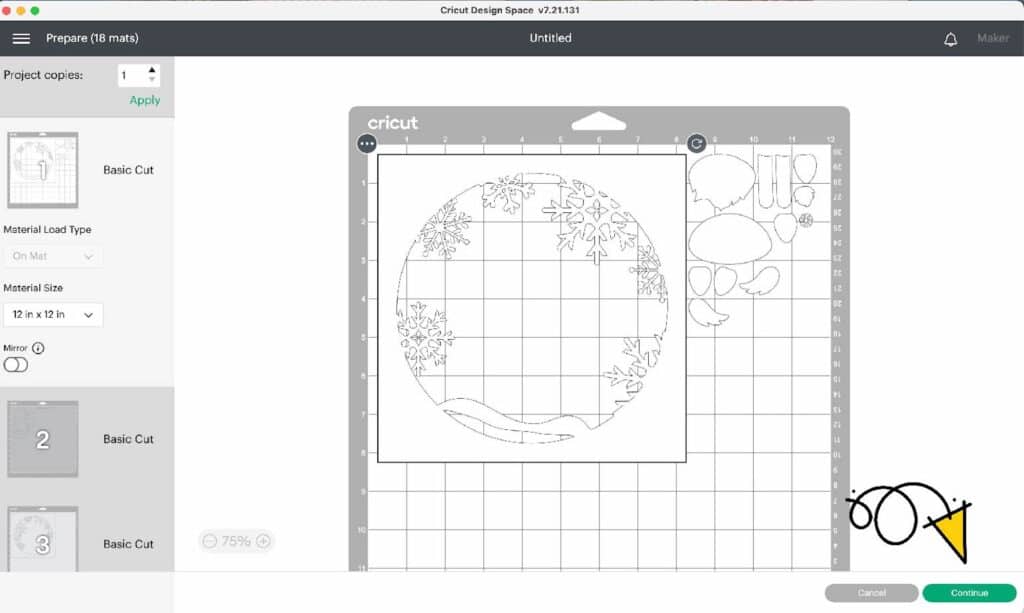
7. Cut your paper layers: once you have your colors for each layer of the shadow box selected and you have finished your color sync, it is time to cut your layers. Click “Make it” in the top right corner. Check your colors and the placement on each mat. Then click “Continue”. Follow your Design Space prompts for materials and the cutting process.
Assembling Your Christmas Gnome Shadowbox
I assembled my gnome off-camera. It is pretty simple and almost like putting a puzzle together. Just use the base gnome as your guide and start with the bottom layers. Work your way to the top and add pop-dots where you want dimension.
1. Put your layers in order and flip them over (front-side down). Place your sold square layer in your workspace.
2. Add Pop-Dots to the next layer. Remove the backing and line up the edges of your layer with the layer below. Press it down gently.
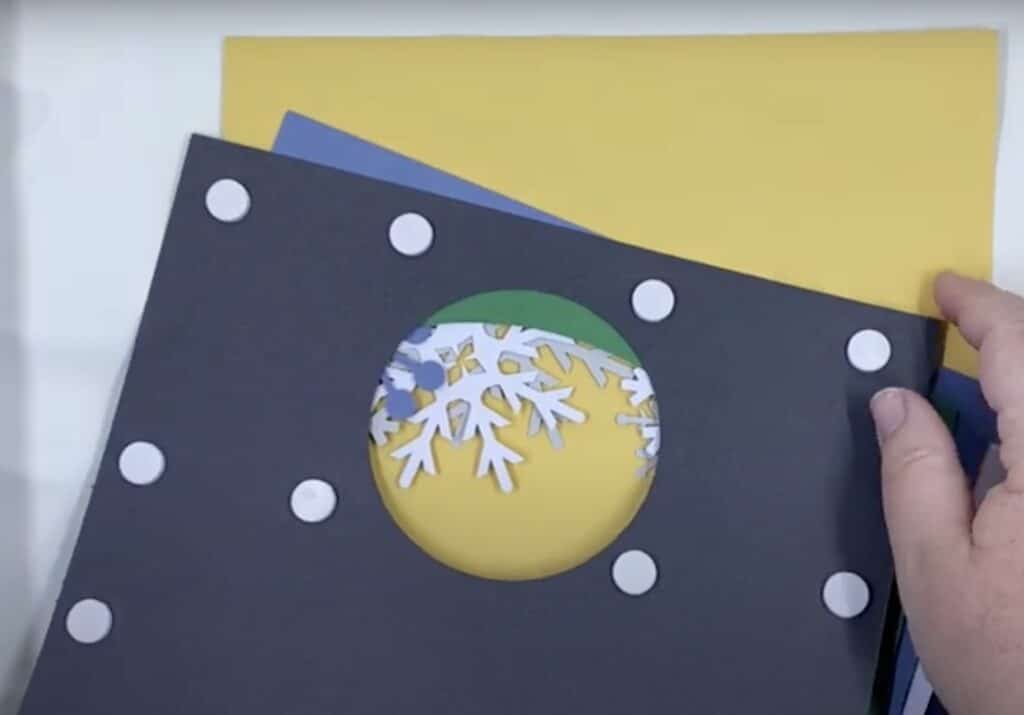
3. Repeat with each layer until you have them all placed.
4. Double stack pop-dots on the back of your gnome. He needs support in 3 places. His head, his body, and his arm. Because he is the last layer, he is higher than one pop-dot from the back. This is why you need to double them up. You can add a single dot to his feet if you want, but it isn’t necessary.
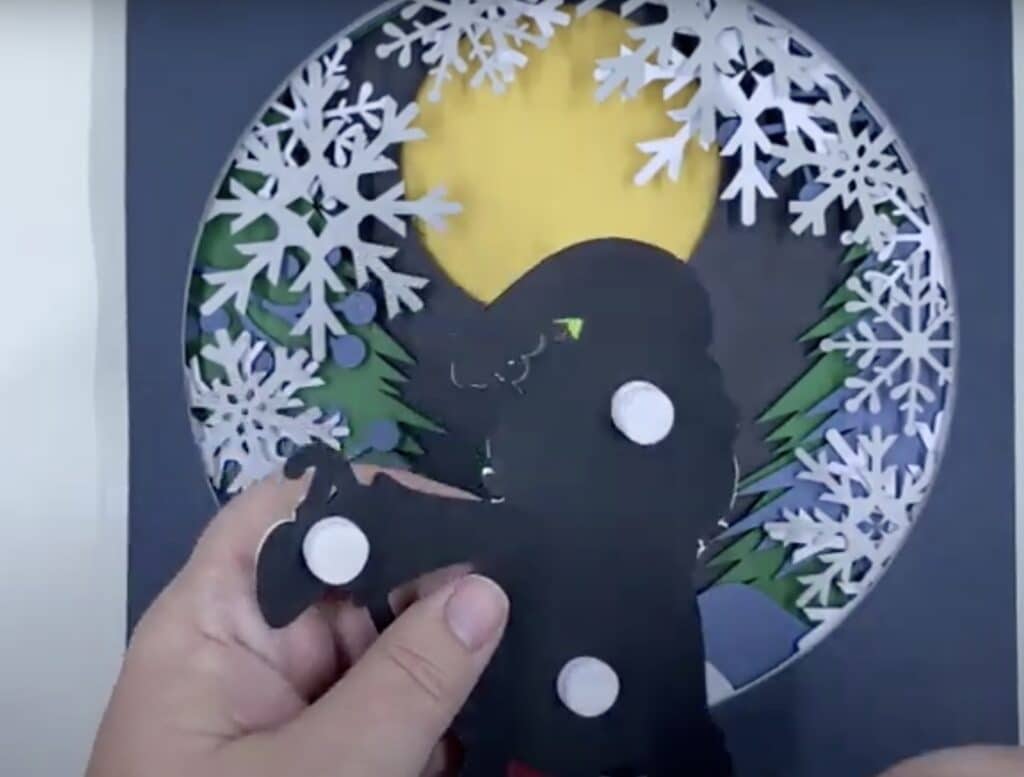
5. Place your gnome where you want him. Pull any of the snowflakes or detail layers in front of him that you don’t want to be pushed back behind him (like the ones up by his hat).
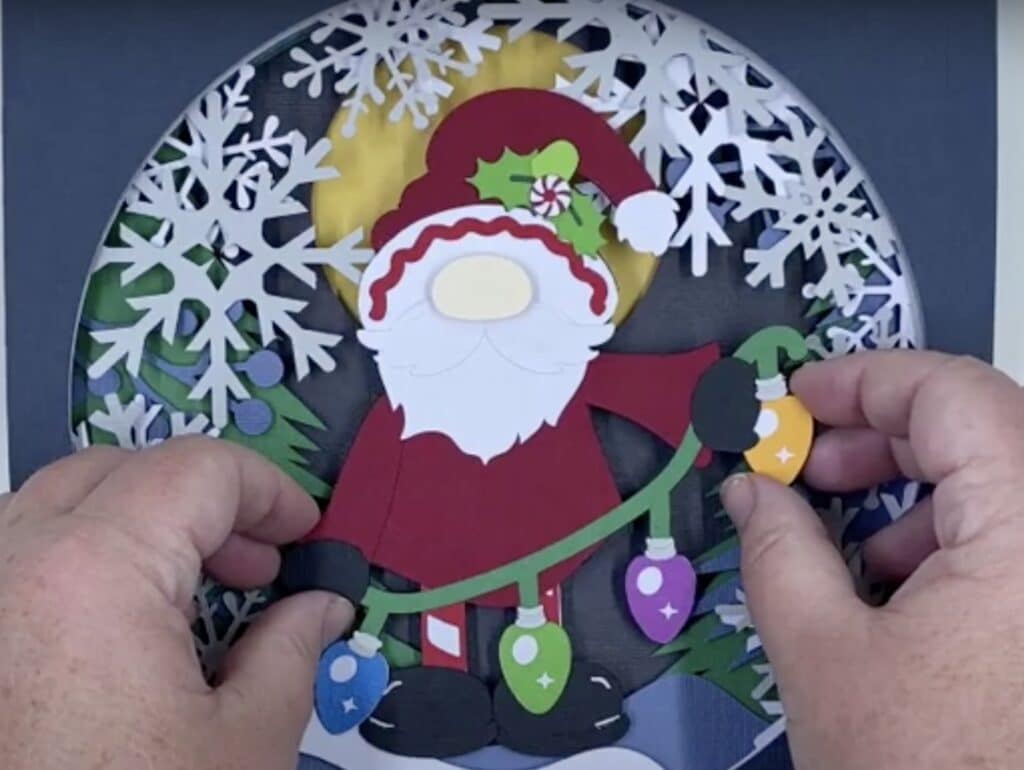
6. Look at all those gorgeous layers! Add your creation to your shadowbox frame and enjoy (or give it as a gift).

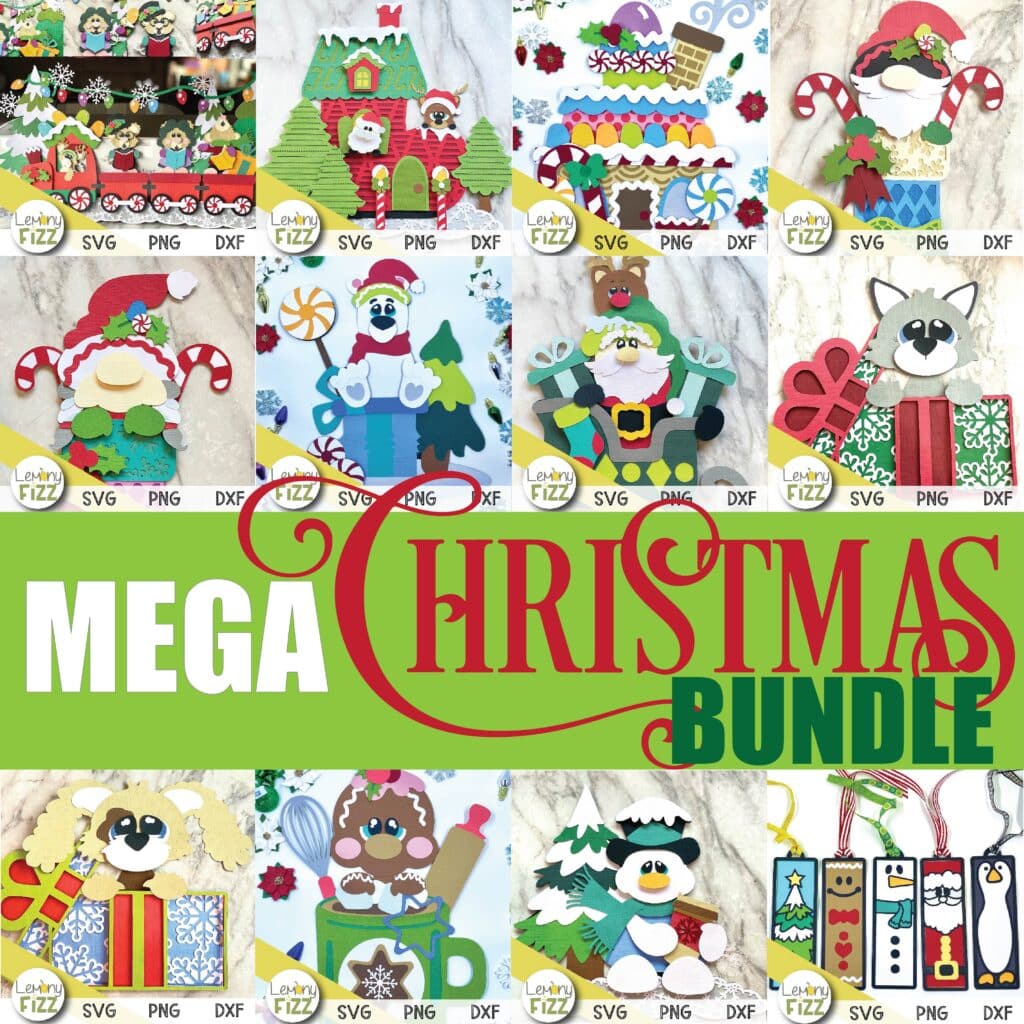
A Massive Bundle of Christmas SVG Cut Files
- 10 layered cutting files
- 4 Holiday Shadowboxes
- Giant Off the Mat Christmas Sign
- 5 Greeting Cards and 5 Cut Cards
- 5 Bookmarks
- 5 Ornaments and 5 Christmas Tags