
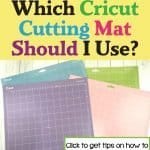
The 4 Different Colors of Cricut Cutting Mats: Which One Should You Use
We may earn a small commission for purchases made through affiliate links in this post. For more information go to our Privacy Policy.
Part of owning a Cricut machine involves owning a few sticky Cricut cutting mats. You might only have one (which is a great way to start out). It could be that you have been stocking up and you now run with 5 or 6.
You are a die-hard Cricut cutting crafter.
Owning a few Cricut cutting mats isn’t just about choosing the color you like or the one that “goes the best with your decor”.
There is a method to the colors and to the crafting madness.
(if you still haven’t bought a machine and you think you are ready, read this post about which is the best Cricut machine to buy)

Learn the Types of Cricut Cutting Mats
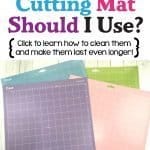
There are 4 colors of sticky cutting mats:
Green
green is the most common cutting mat and the cheapest to buy or replace. Think of this mat as the “regular” or generic cutting mat. Use this for heavy cardstock (but use the rolling upside-down trick to remove your cut elements). This is the mat to use when you are cutting vinyl as well.
Light Blue:
the light blue mat is used for your more delicate materials. Think thinner pattern papers, vellum, or cardstock that has been cut with smaller intricate designs. It has a lighter grip and isn’t as stickified (that’s a word, right?)
Purple:
Purple is the strongest grip out of all the cutting mats. This would be the mat I would buy if it were all about the colors! But it’s not. It’s about the materials you are working with. This mat has a really STRONG grip and is used for your more heavy-duty cuts and materials like vinyl that keeps rolling on you or chipboard.
Pink:
Pink is a specialty mat and is used for fabric. Cricut even reminds you of this by adding a little paper sticker on the plastic protective cover. The adhesive on this one is different than the others and you don’t want to use paper on it. You will eventually ruin the mat if you do that.
Choose the Right One for your Project
Now that you have learned about the colors. Let’s talk about the materials that each one should be used for. Then we will discuss which ones you really need (and how many of them you should have on hand).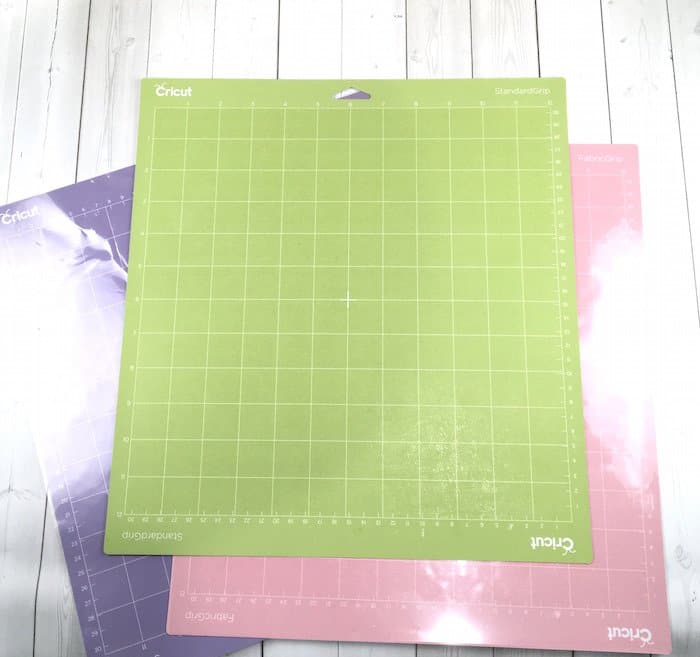
Green: Remember up above where I said this is your general mat. It’s your number one go-to for most projects. This is the “Standard Grip Cricut Cutting Mat”. It will hold up the longest, has just the right amount of adhesive, and works with the largest variety of materials.
Personally, I have 2 of these mats in my collection. I’d rather have a few more than that. Especially when I am working on a project that needs multiple sheets of paper or uses multiple colors.
Why?
Because if you have multiple mats, you can prep them in advance and have them ready to load in the machine when the previous cut is finished. No need to take the time to weed and remove the first cut piece and then add the next piece of material. Just add the next mat and work on weeding and removing while the second piece cuts!
Cricut recommends you cut medium-weight materials on it. This would include (but is not limited to):
- cardstock
- pattern paper
- washi paper
- self-adhesive vinyl
- HTV (heat transfer vinyl)
- window cling
- bonded fabrics
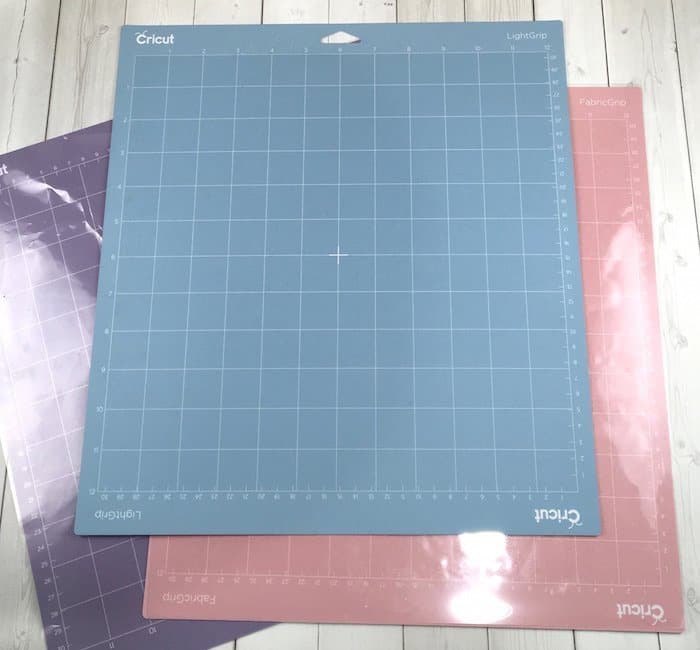
Light Blue: This mat is for your more delicate materials. You will use this one for papers that tear easily or that are really thin.
Cricut recommends you cut light-weight materials on this mat. These include:
- copy paper
- Astro Bright papers
- thin cardstock
- vellum
- construction paper
- crepe paper
- sticky notes
- light vinyl
- wrapping paper
If you aren’t sure if a material is better suited for the Light Blue Cricut cutting mats or the Green ones, I would recommend you try out a sample piece on the mat.
You won’t hurt the mat.
It’s more about not wasting your materials. Go ahead and try a small cut on both types of mats. If it removes fine from the Green one then it’s okay to use. If it tears, sticks, or ruins your material in any way…then you know you want to stick with the Light Blue mat.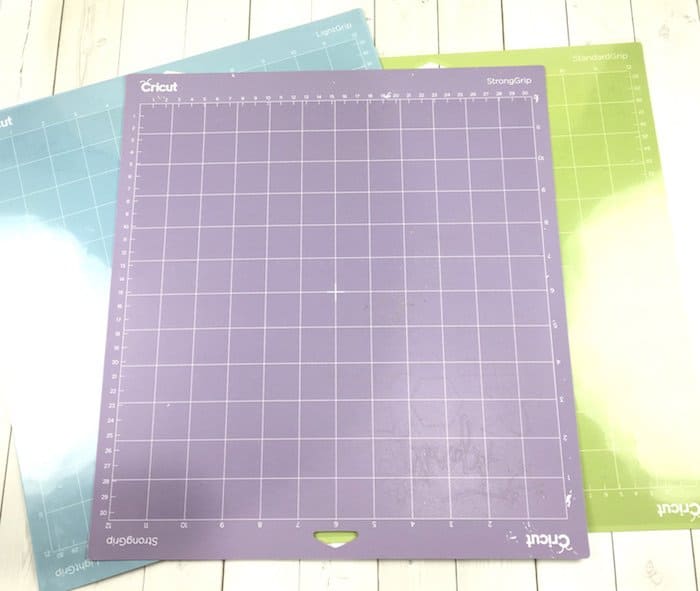
Purple: this bad boy is for those super heavy duty materials. You are probably using a Cricut Maker and making projects with a craft knife.
Cricut isn’t fooling when they say this one is strong. It will tear or ruin your lighter materials. Even your thicker cardstocks.
Cricut recommends you use the Strong Grip mat for heavyweight materials on this mat. These include:
- thick cardstock
- glitter cardstock
- magnet sheets
- chipboard (Kraft board)
- posterboard
- craft foam
- balsa wood
- fabric with stiffener
- leather
This mat is going to be for your more industrial cuts. This would be another one to experiment with and keep your own list of materials that work best on this mat. If you don’t plan on cutting any of the materials above, then it might be that you can save some money and skip this mat.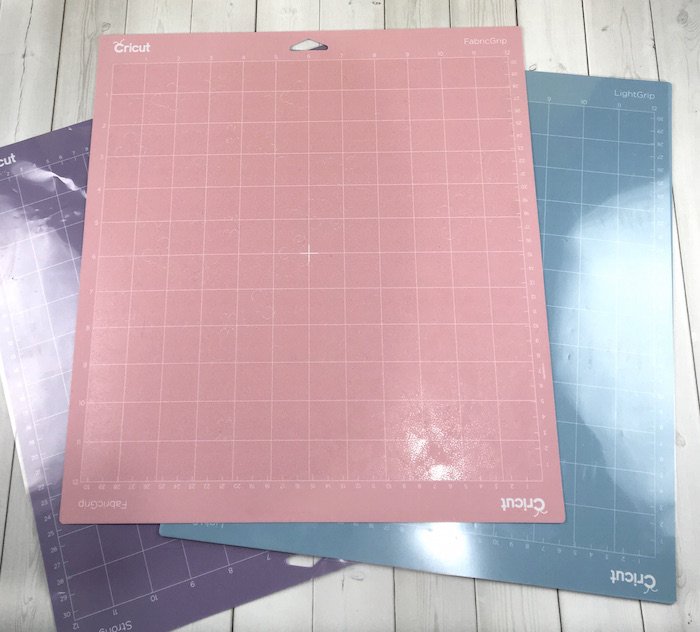
Pink: This Cricut cutting mat is for fabric. You can use lighter papers on it, but the adhesive is a different type and probably won’t hold your paper on as well as the Light Blue mat would.
The major selling point on this mat is that you can cut fabric that hasn’t been bonded. You just put the fabric directly on the mat and cut it out using the rotary cutter.
(NOTE: You need a Cricut Maker to use a rotary blade…if you have other types of machines, you don’t need this pink mat).
Cricut recommends you use the Fabric mat for fabric materials on this mat. These include:
- fabric (bonded or unbonded)
- felt
- crepe paper (it can be used on this mat or the Light Blue mat)
You can also use a bonded fabric blade (also for a Cricut Maker) with bonded fabrics. The idea with this mat is it is less sticky so it won’t collect the fibers and threads from your fabric as much.
This isn’t true when you are cutting wool felt. It will leave a mess behind. Keep reading to find out how to clean your mats, keep them sticky, and not void your warranty.
Keeping Your Craft Mats Clean
There are a number of ways to clean your mat. If it just has a few pieces of paper or material still stuck to it you can pick it off with your fingernails or tweezers.
Where it gets a little more difficult is when you have been making loads of projects and the pieces are starting to build up. Another way to really get your mat dirty is to not replace your protective plastic cover.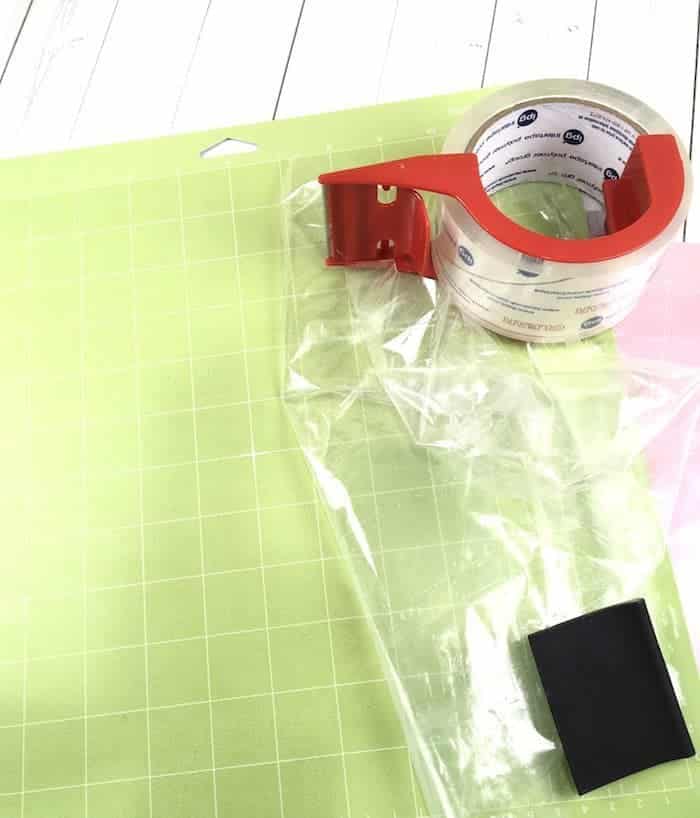
Then a pet or kid comes along and before you know it, your cutting mat is collecting all sorts of things like food crumbs, pet hair, and whatever else happens to be on your craft table or floor.
Never fails that when you drop a Cricut cutting mat it always goes sticky side down!
The following cleaning tips apply to all the Cricut cutting mats except the Pink one.
- keep your protective cover on your mat when it is not in use
- remove small pieces of material with your fingernail or tweezers
- use a scraper or the Cricut spatula to work all those leftover pieces off the mat
- blot your mat with a piece of packing tape, strong transfer paper, or a lint roller (sometimes this one works the best…even better than washing!)
- wash your mat with lukewarm water (you can use a gentle soap…but its not always necessary)
- wipe down your mat with a non-alcohol wipe such as Sensitive Baby Wipes or Purell wipes
You will be amazed at how sticky your mat is after cleaning it. It will be rejuvenated and ready for a ton more projects. You can increase the lifespan of you Cricut cutting mats (and save yourself some money for other craft supplies) by taking care of your cutting mats.
Rotating the end that you put in first and cut on all the time is another great way to make your cutting mat last. You can learn about other Cricut Hacks like keeping your blade sharp and optional scrapers on this post.
Cleaning the Pink Mat
Because the adhesive is different on this mat, it has its own guidelines for cleaning.
- do NOT use a scraper or spatula on this mat, you will remove the adhesive if you do
- do NOT use soap on this mat (I have used water on my mat to rinse off the felt residue from cutting felt succulents and flowers, it’s up to you if you want to try lukewarm water on this mat or not)
- try to avoid touching the mat too much with your fingers. The oils from your hands will start to weaken the adhesive.
One trick to help make this fabric mat last longer is to use transfer tape or packing tape behind your fabrics. Place the tape sticky side up on the mat (so the mat adhesive is holding the tape and then the tape will hold your material). This will save your mat and keep some of those more messy materials off your mat (like wool felt!).
A Word of Caution to This Tale
There are numerous tutorials out there about reapplying adhesive to your cutting mats. If your warranty has expired then, by all means, try them out.
You are better off buying new cutting mats. It’s cheaper than buying a new machine!
However, if your machine is still under warranty then DO NOT use those tutorials to reapply stick to your mat. It may get into your rollers and it WILL VOID YOUR WARRANTY!
That was very helpful. Thankyou!