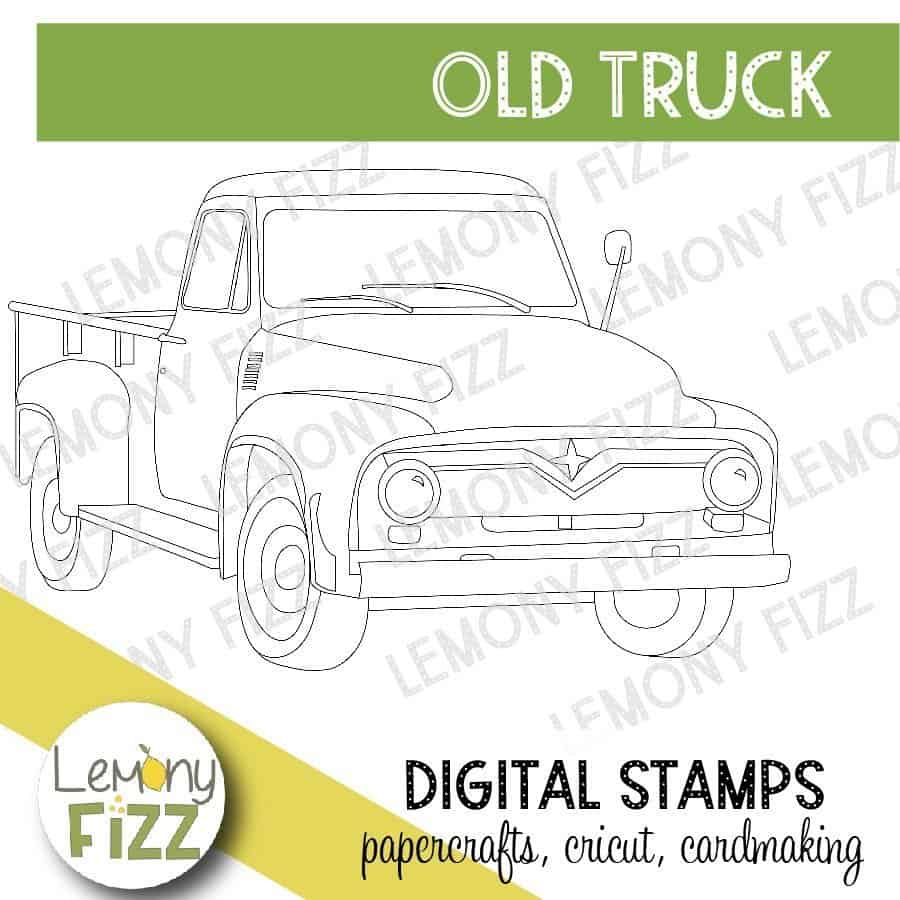
Coloring Images for Paper Crafts and Cardmaking
We may earn a small commission for purchases made through affiliate links in this post. For more information go to our Privacy Policy.
There is something so satisfying about coloring images that you draw or print. You take a black and white piece of art and then add color to it.
You give it life.
And it gives you a very happy and wonderful feeling in return. I get almost giddy when I look at the results of my coloring sometimes.
The Best Ways to Color
There are a number of different ways of coloring images that you upload to Design Space and cut with your Cricut.
- Print, color, and then cut
- Print, cut, and then color while they are still stuck on the mat
- Color digitally, print, and then cut
Below you can read more details on each of these coloring options. Figure out which one works best for you and if you want to try it with your digital stamps.
Print, Color, and Then Cut Images
This method is probably the easiest and works the best with most digital images. After you send the file to the printer from Design Space, you can take your time coloring the images with any medium you want.
Your images are portable and you can take them with you.
You can also save the project file in Design Space, file the images away, and come back to them later! Because the machine scans the edges of the print area and then cuts based on the image size, as long as you don’t alter the images on the canvas, you can come back to it hours or days later!
With this method, you don’t have a piece of paper stuck to your Cricut mat long term. Which means you can move on to other cutting projects and then come back to your coloring images when you are ready.
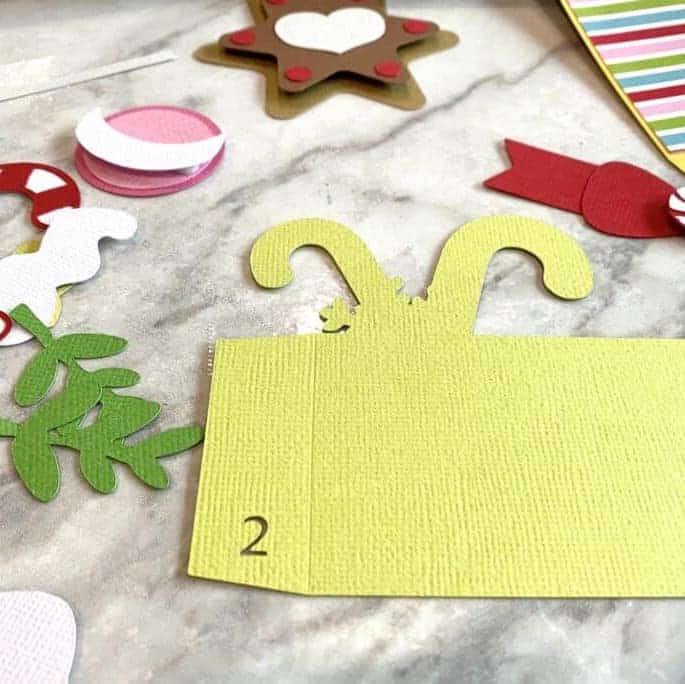
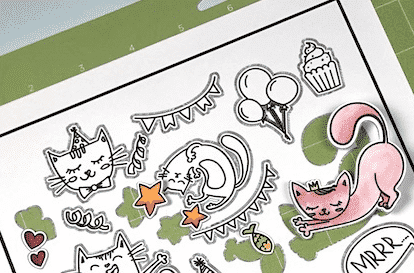
Using the Cricut Mat
This way works if you are going to color your images right away and use them.
I would NOT recommend this method if your coloring images are going to sit on the mat for a few days.
Here’s why:
You may need your mat for other projects and it is now covered with cut pieces of paper. You could remove them and color them…but that is more of a pain than it is worth.
If you leave a piece of paper stuck to the mat for more than 24 hours it becomes harder to remove. It is almost like the sticky is absorbing into the paper. You risk tearing all your hard work!
Coloring with Copic markers means you will have some bleed through. You might be okay with stains and discolorations on your Cricut cutting mat (it doesn’t hurt the performance of your mat).
Some people don’t like blemishes on their tools. It might drive you nuts if your Cricut mat is now rainbow splotchy!!
Color Digitally Before Printing
You are already playing with digital images. If you want to take the tech one step further, then you could color your images digitally as well.
Use your iPad and color them up in Procreate. Or put them in a photo editing software on your computer and color them in (my favorite is Adobe Illustrator and Adobe Photoshop!).
Once they are all colored, you can upload them to Design Space and then use the Print Then Cut feature to prep them for your papercraft projects!
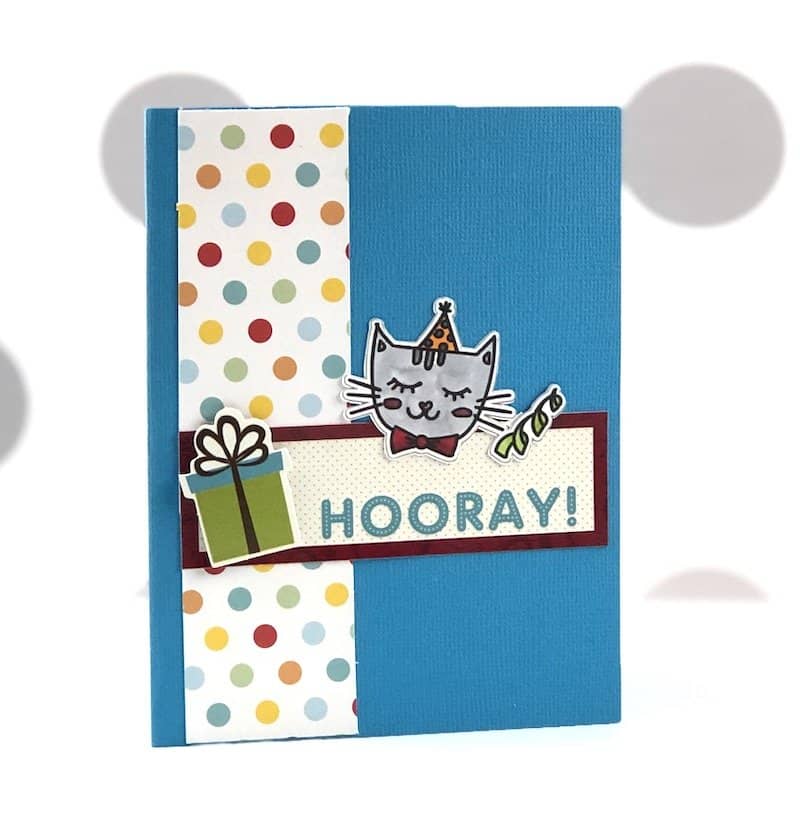
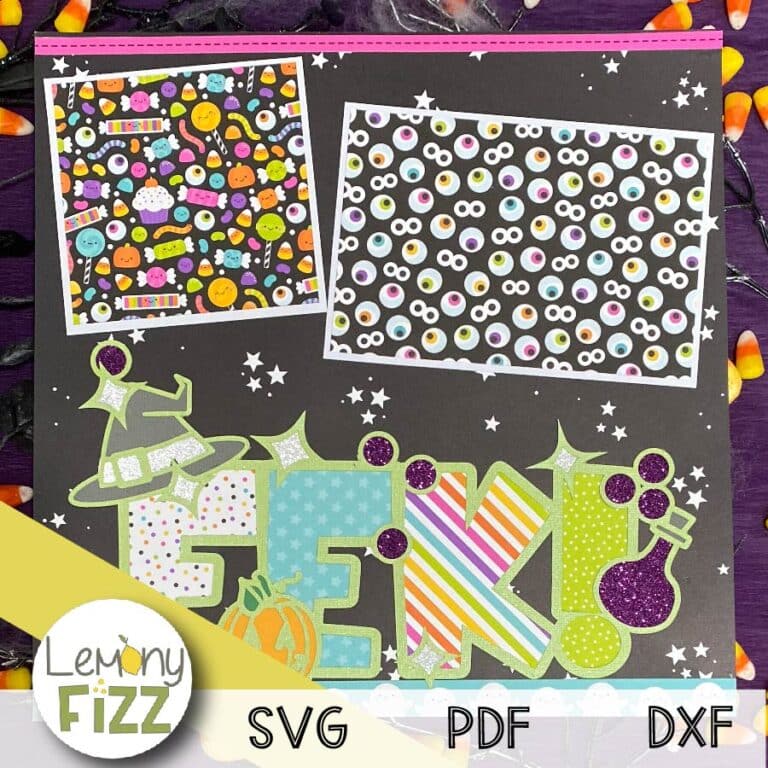
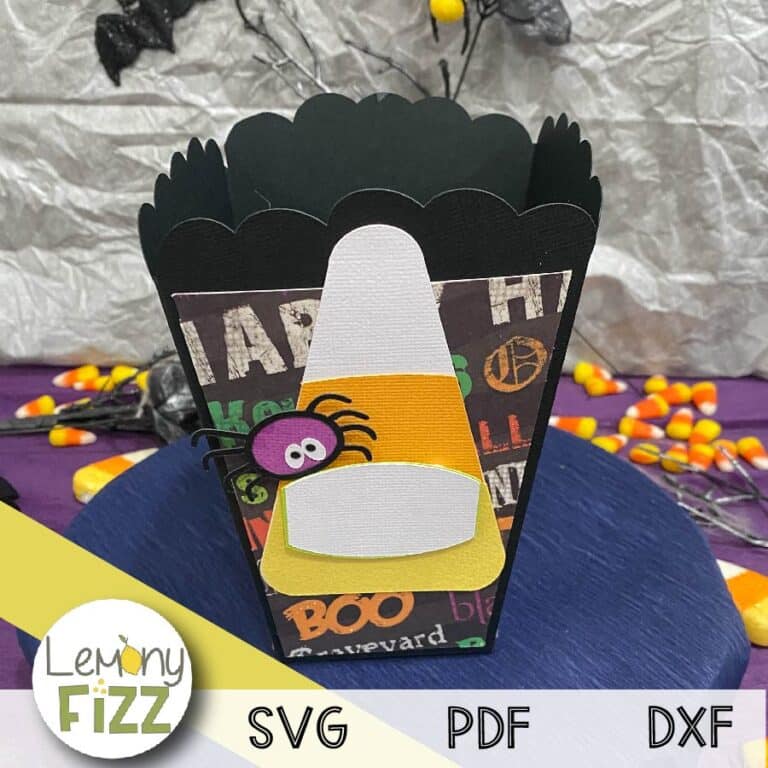
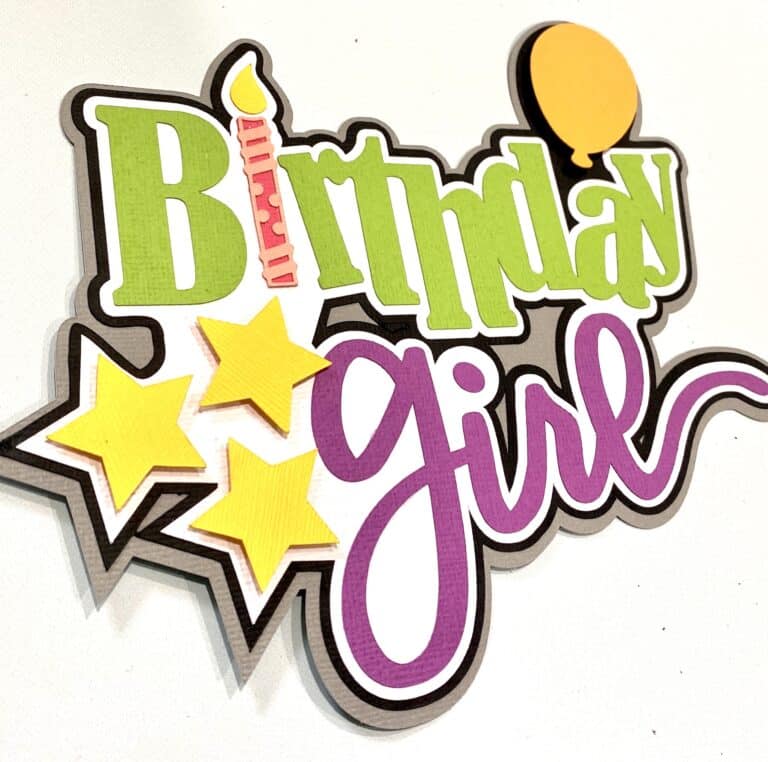
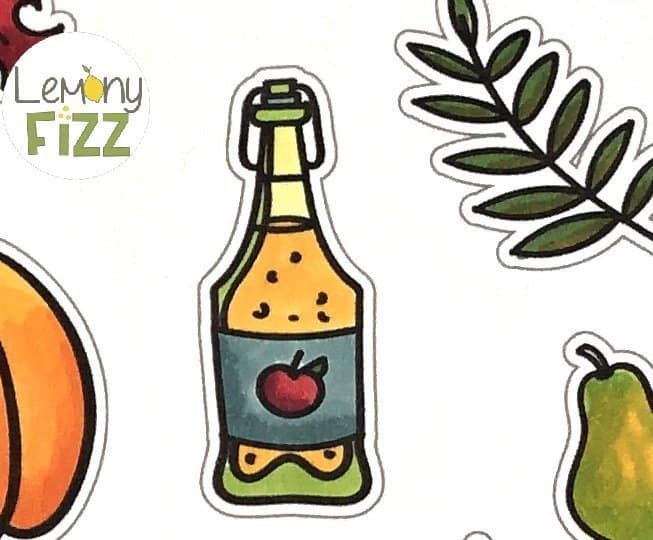
Fun Images for Paper Crafts
As you can see, you have options! You can pick and choose the best way to use your digital stamps for craft projects. Somedays, you might want to pick the print, color and cut option. Other days you may want to color digitally first.
One of the joys of being a crafter is experimenting with different techniques and methods to find what works best.
It is like a blend of science and paper and creativity. All at once!!