Rubber Stamps: What They Are and How You Can Use Them
We may earn a small commission for purchases made through affiliate links in this post. For more information go to our Privacy Policy.
Stamps are not just for office use! In fact, rubber stamps are a favorite among crafters for their versatility and reusability. If you’re into card making or any other type of crafting, you’ll definitely want to consider adding rubber stamps to your collection.
Rubber stamps can also be used for replicating specific patterns or providing a neater lettering option. With so many uses, it’s no wonder why rubber stamps hold a special spot in the crafting community.
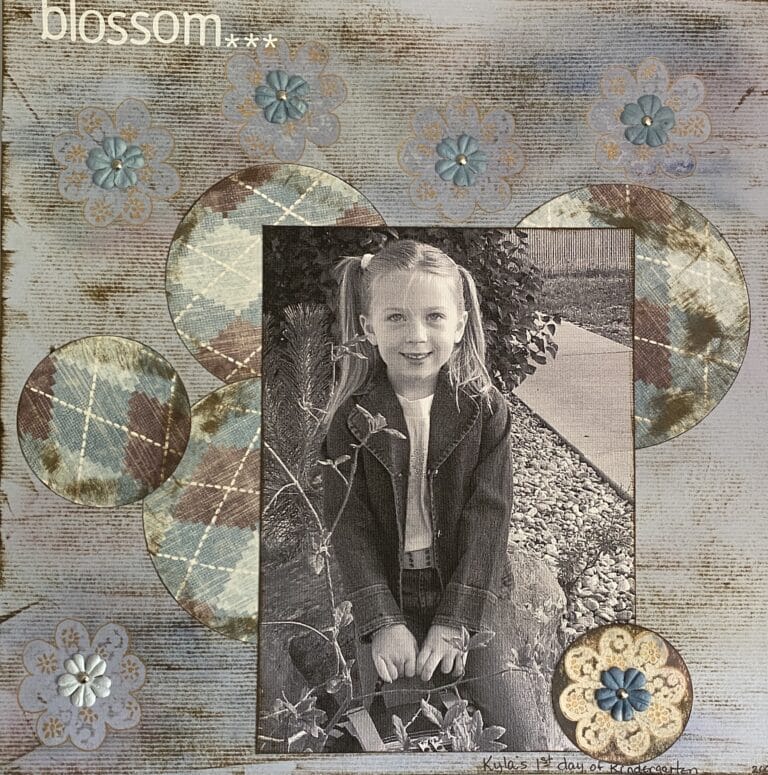
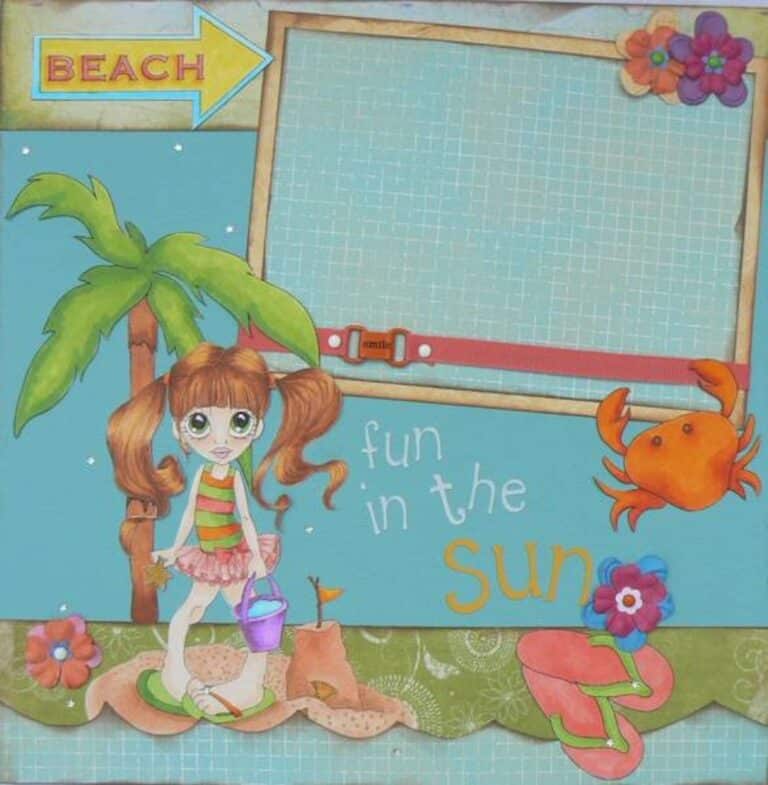
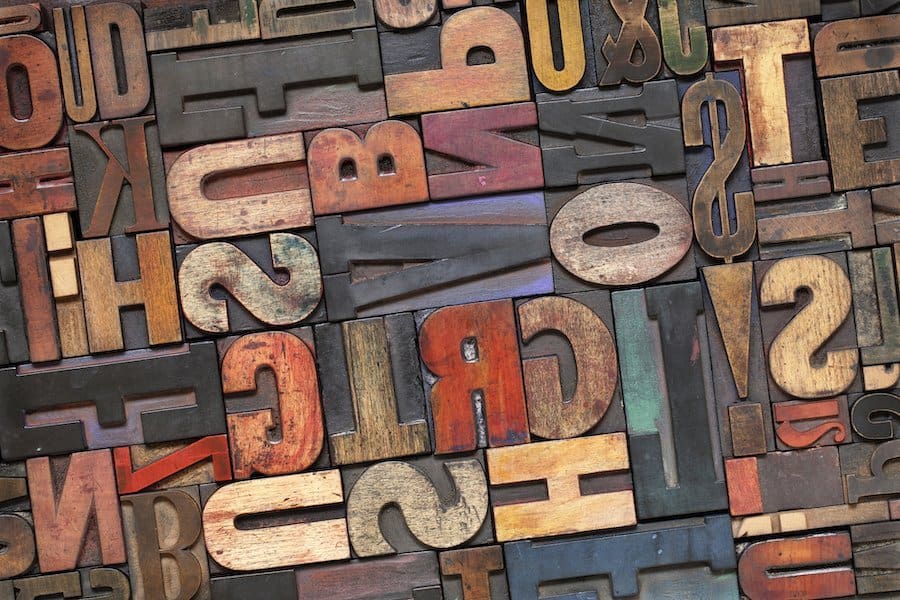
Rubber stamps have been a passion of card makers and crafters for years. Cute little images attached to wooden blocks mean you can have a coloring image in seconds.
And there are LOADS of amazing artists who make rubber stamps to use for crafting. Full scenes. Adorable characters. Realistic animals.
Which Glue for Paper Crafts? Top Picks for Perfect Creations
How to Use Rubber Stamps for Card Making
Making cards with rubber stamps is a fun and creative way to add a personal touch to your greetings. To ensure that your cards turn out beautifully, follow these tips:
- Plan ahead: Before you start stamping, plan out your design. This is especially important when using repeating patterns. Having a plan in place before you start stamping will help you create a cohesive and visually pleasing card.
- Practice makes perfect: Don’t worry if your first few attempts don’t turn out perfectly. With practice, you’ll get the hang of it and your cards will look amazing.
- Clean up: After you’re done stamping, be sure to clean your stamps. A simple damp cloth will do the trick. If you use your stamps frequently, consider investing in a cleaning kit to keep them in top condition.
- Tap off excess ink: To prevent smudging, tap your stamp on a paper towel to remove any excess ink before stamping.
Paper Crafts 101: Types of Paper Crafts for Crafting Inspiration
Stamping Tips and Techniques to Use
If you’re looking to take your stamping game to the next level, there are a variety of techniques you can use. Here are three examples to get you started:
Stamp Masking
To create a clean border or protect certain areas of your card, try using stamp masking. Simply lay down some masking tape where you want the edge to be, so the ink from your stamps won’t accidentally bleed into the section. This technique can also be used to ensure that you only use the part of the design on the stamp that you want to.
Layered Stamping
Layered stamping involves using multiple stamps to create one visual effect. You can use a layered stamping kit or the collection of stamps at home. Keep in mind that lining up the stamps properly can be a bit tricky, so take your time when planning your project.
Kiss Stamping
Kiss stamping takes layered stamping to the next level. Start by inking a shape with a light color, then ink a background pattern with a dark color. Finally, stamp the shape onto the background and transfer the image to the paper. This keeps the pattern entirely within the shape and can create some fascinating effects. To clean it up, you can then stamp the outline with the same dark color.
How To Make a Crisp Impression
So, you’ve picked out your inks and you’re ready to start stamping. But how do you ensure that your impressions come out crisp and clear? Here are a few tips to help you get the best possible results:
- Roll the stamp in the ink, rather than pressing it down. This will help prevent oversaturation and ensure that the image comes out clean and sharp.
- If you do end up with too much ink on the stamp, don’t panic! Just do a couple of pre-stamps on a scrap sheet of paper to get rid of the excess.
- Remember to use firm, even pressure when stamping. Too much pressure can cause the ink to bleed, while too little pressure can result in a faint or incomplete image.
- If you’re using a rubber stamp, be sure to use a different stamping technique than you would with other types of stamps. Check out our guide on How to Make a Quality Stamp Impression for more tips and tricks.
Why Rubber Stamps Aren’t the Best
The drawback to rubber stamps is the space that they take up in your craft space. All those woodblocks need to be stored somehow. Once you have them put away, how do you see what images you have?
They also need to be conditioned and cared for so they don’t harden and crack over time.
Ways to Adapt Rubber Stamps for Modern Stamping
Rubber stamps are mounted onto wood blocks. This is what makes them bulky and hard to store. Lots of cardmakers and crafters will unmount (remove the rubber stamp from the wood) and use the stamp on an acrylic block or stamping platform. This makes them much more user-friendly.
The New Types of Stamps
There are other options besides rubber stamps now. The new process of making stamps is more affordable, takes up waaaay less space and means you can usually get a set of images for the same price as one red rubber stamp.
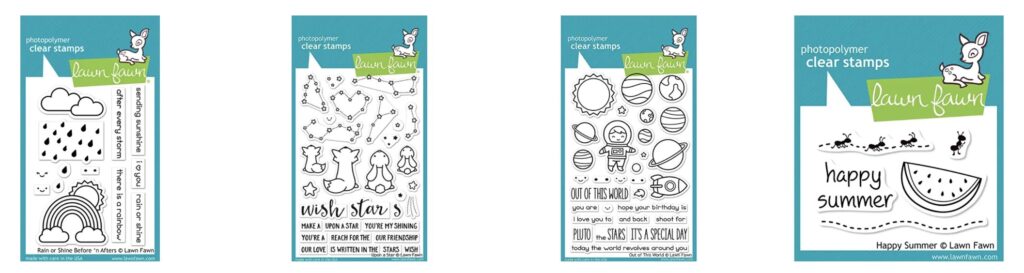
Photopolymer Stamps
Photopolymer stamps (the clear ones) solved the issue of rubber stamps. They don’t need to be mounted on wood blocks and they can be stored in their original packaging, in CD cases, plastic envelopes, or in other creative ways.
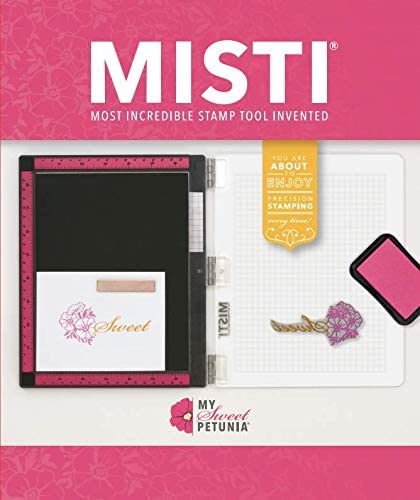
You only need a few sizes of acrylic stamping blocks to be able to use them. And if you want to get really fancy, you can use a stamping platform (like this Misti Stamping Tool). Watch my tips and tricks on for this platform on YouTube.
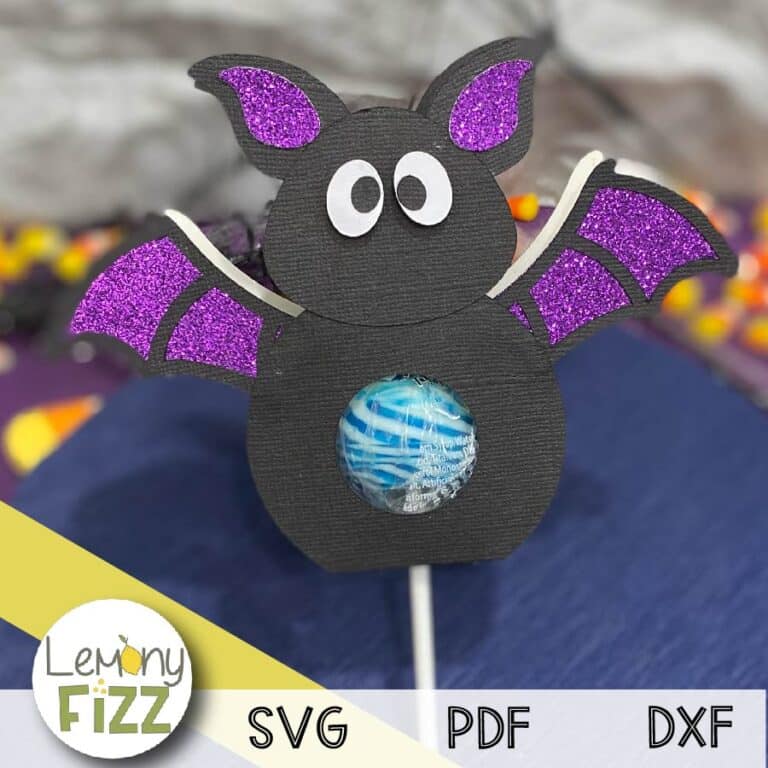
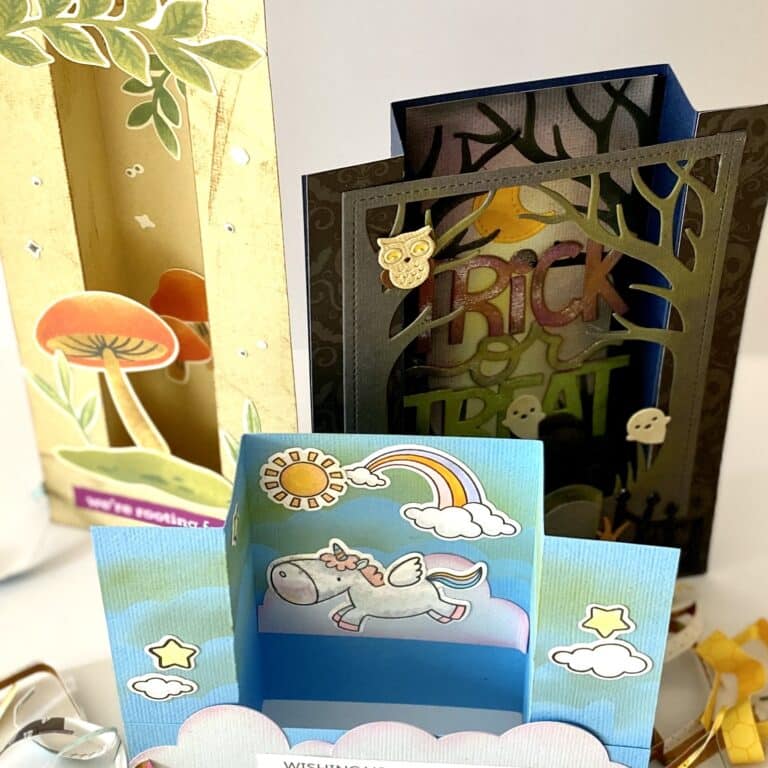
Digital Stamps
Digital stamps are another great way to get your images for coloring and crafts. The beauty of digital stamps is you can resize the images before you cut them out.
If you want a mini version of the image. No problem.
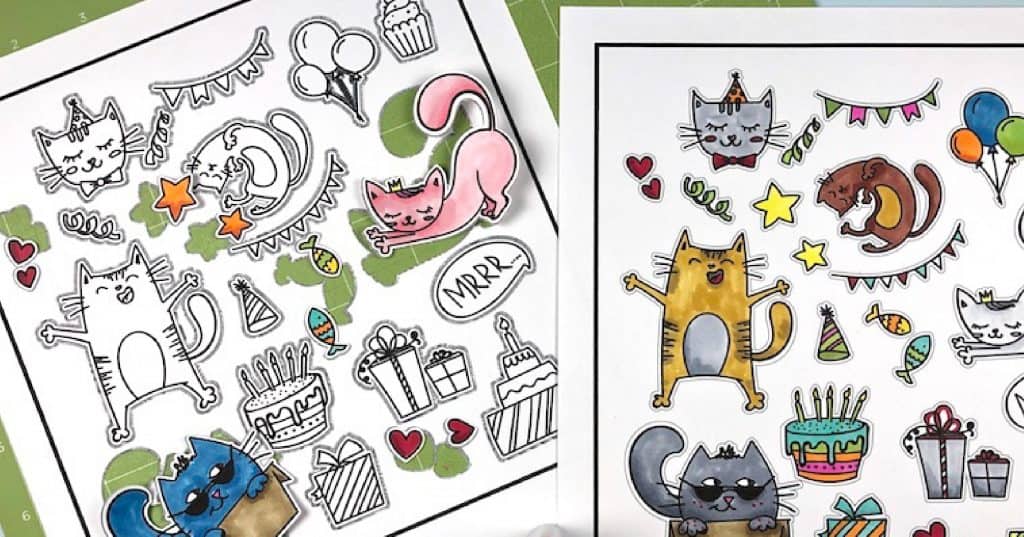
Want to make a card with a repeating pattern in 3 sizes. Totally doable.
Choose What Fits Your Style
Rubber stamps are still beloved by many stampers. They were never my thing and I will always reach for polymere stamps or digital images.
You need to do what works for you and your paper crafting style. There is no right or wrong way.
Just because I use my Cricut for card bases and write about it here on the blog does not mean that I don’t love the more traditional ways of card making. Stamps (at least the clear ones) provide a way to create my own coloring pages. Inking is one of my favorite mediums to reach for. I love seeing all the colors on my fingers after a project and knowing I built something from scratch.
I’m a paper crafter. I love it aaaalll 🙂
Stick with Perfection: Exploring Scrapbooking Adhesives for Your Creative Projects