
Bat Lollipop Holders for Fast and Cute Party Favors in 6 Steps
We may earn a small commission for purchases made through affiliate links in this post. For more information go to our Privacy Policy.
I’m excited to guide you through crafting these delightful and easy-to-make paper bat lollipop holders. Whether you’re looking to share treats with friends, classmates, or colleagues, this craft is perfect for the occasion. Let’s dive into the creative process.
Materials and Supplies for Bat Lollipop Holders
- Bat Lollipop Holder SVG
- Cardstock in colors of your choice (black, purple, glitter, or other preferred colors)
- Glue or adhesive
- Lollipops
- Scissors or cutting machine
- Optional: foam dots, googly eyes, white gel pen
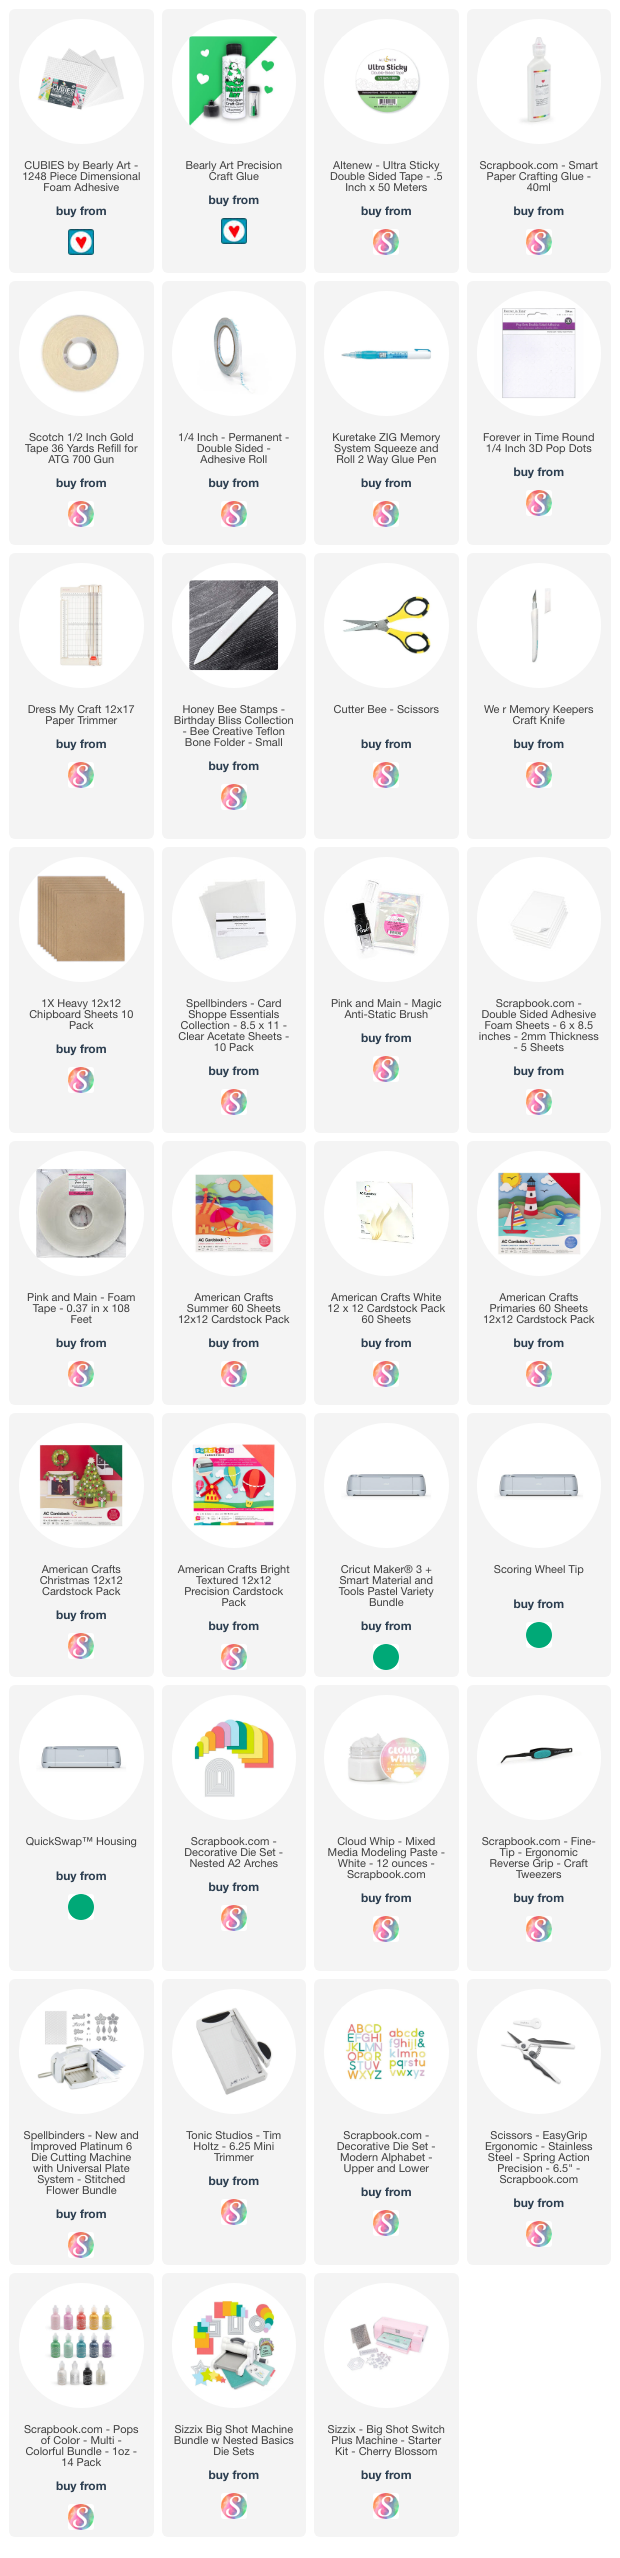
All the general supplies for scrapbooking and cardmaking that I use are listed below. Pattern papers and cardstocks are not specific. Use what you have (unless you were eyeballing that new paper release…).
NOTE: This file is part of the 2023 Halloween Craft Stash Challenge. If you are working on this project after the challenge is complete, you can still participate. The file is sold individually in the shop and it is also included in the Mega Halloween Bundle.

Our bat lollipop holders are not only adorable but also versatile. You can easily involve kids in the crafting process and create batches for different occasions. These holders can serve as classroom treats, door giveaways, or even desk decorations at work.
Step 1: Preparing the SVG File
- Download the SVG file of the bat lollipop holder from the link provided.
- Upload the SVG or PNG file to your cutting machine software.
- Ungroup the file to separate its components before attaching pieces.
Step 2: Adjusting Score Lines
- Identify the score lines in the SVG file and set the operation to “score”.
- Attach your score lines to the card base.
Step 3: Cutting and Prepping the Pieces
- Cut out the bat lollipop holder pieces from your chosen cardstock colors.
- If you choose to use pattern paper, glitter paper or vinyl set your color choices before cutting and remember which color went with which material.
Step 4: Assembling the Bat Lollipop Holder
- Fold along the score lines.
- Begin by gluing the bat’s head to the lollipop holder base. Align it properly for a neat appearance.
- Attach the ears to the holder.
- Glue the wings onto the holder, following your preferred placement. Consider color choices (cut extra cover pieces if you need to cover the back of a piece of paper that has white backing)
- Add the eyeballs to the bat’s face. You can use googly eyes or draw them with a white gel pen for a custom look.
Step 5: Finishing Touches and Display
- To keep the bat lollipop holder closed, consider using foam dots or another adhesive method.
- If desired, add any final embellishments or drawing details to personalize your bat.
Step 6: Optional Variations and Ideas
Feel free to experiment with variations for your bat lollipop holders:
- Use different colors of cardstock to create unique looks.
- Try glitter heat transfer vinyl for an extra touch of sparkle.
- Incorporate googly eyes for a playful and expressive appearance.
- Add small cutout elements or draw intricate details using a white gel pen.
Don’t forget to share your creation with the rest of us in the Lemony Fizz Paper Crafters Facebook Group.
General Scrapbooking and Cardmaking Supplies that I Use

Very cute little bat, I think he’s adorable and would also look great on a (my) card. Thank you for sharing👍
I love lollipop holders! Perfect add on for trick or treating
I agree, black cardstock on back of wings would be better. You could make the ears and wings in other glitter colors too.
I modified the file before I passed it along to you all. No matter which material you choose for wings, the back will be black. Ears and wings in other colors would be fun. Reds, pinks, oranges. You could have a rainbow cloud of bats.