
Spooky Haunted House Scrapbook Layout with Cut File Overlay
We may earn a small commission for purchases made through affiliate links in this post. For more information go to our Privacy Policy.
Are you ready to create a spooky haunted house scrapbook overlay? This overlay will add a touch of eerie charm to your Halloween-themed scrapbook pages.
Supplies Needed:
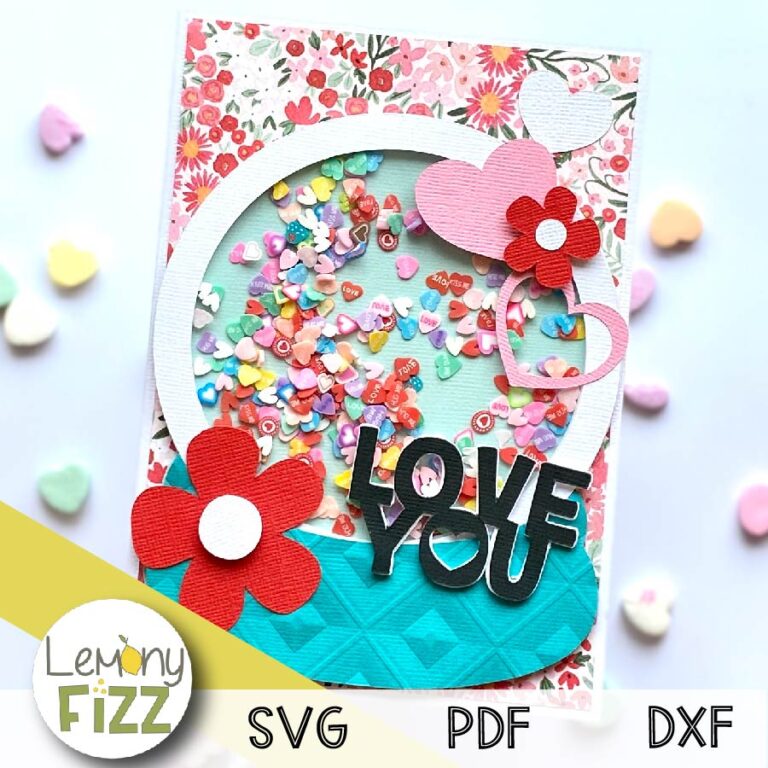
- Haunted House Scrapbook Overlay SVG
- Cricut cutting machine
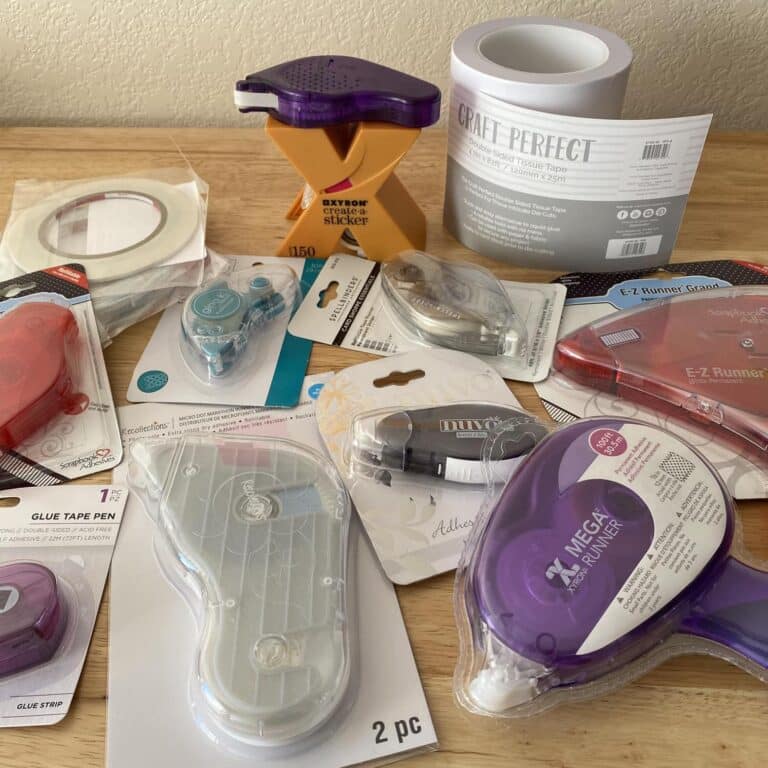
- Glue or adhesive (liquid glue or tape runner)
- Foam adhesive dots (optional, for added dimension)
- Scissors
- Patterned papers (various designs and colors for background and accents)
- Glitter paper (in various colors for accents)
- Gem stickers or other embellishments (for added decoration)
- Halloween-themed stickers (e.g., “October 31st” for title)
- Embossing folders (optional, for adding texture to moon)
- De-stash items (optional, for vintage or unique touches)
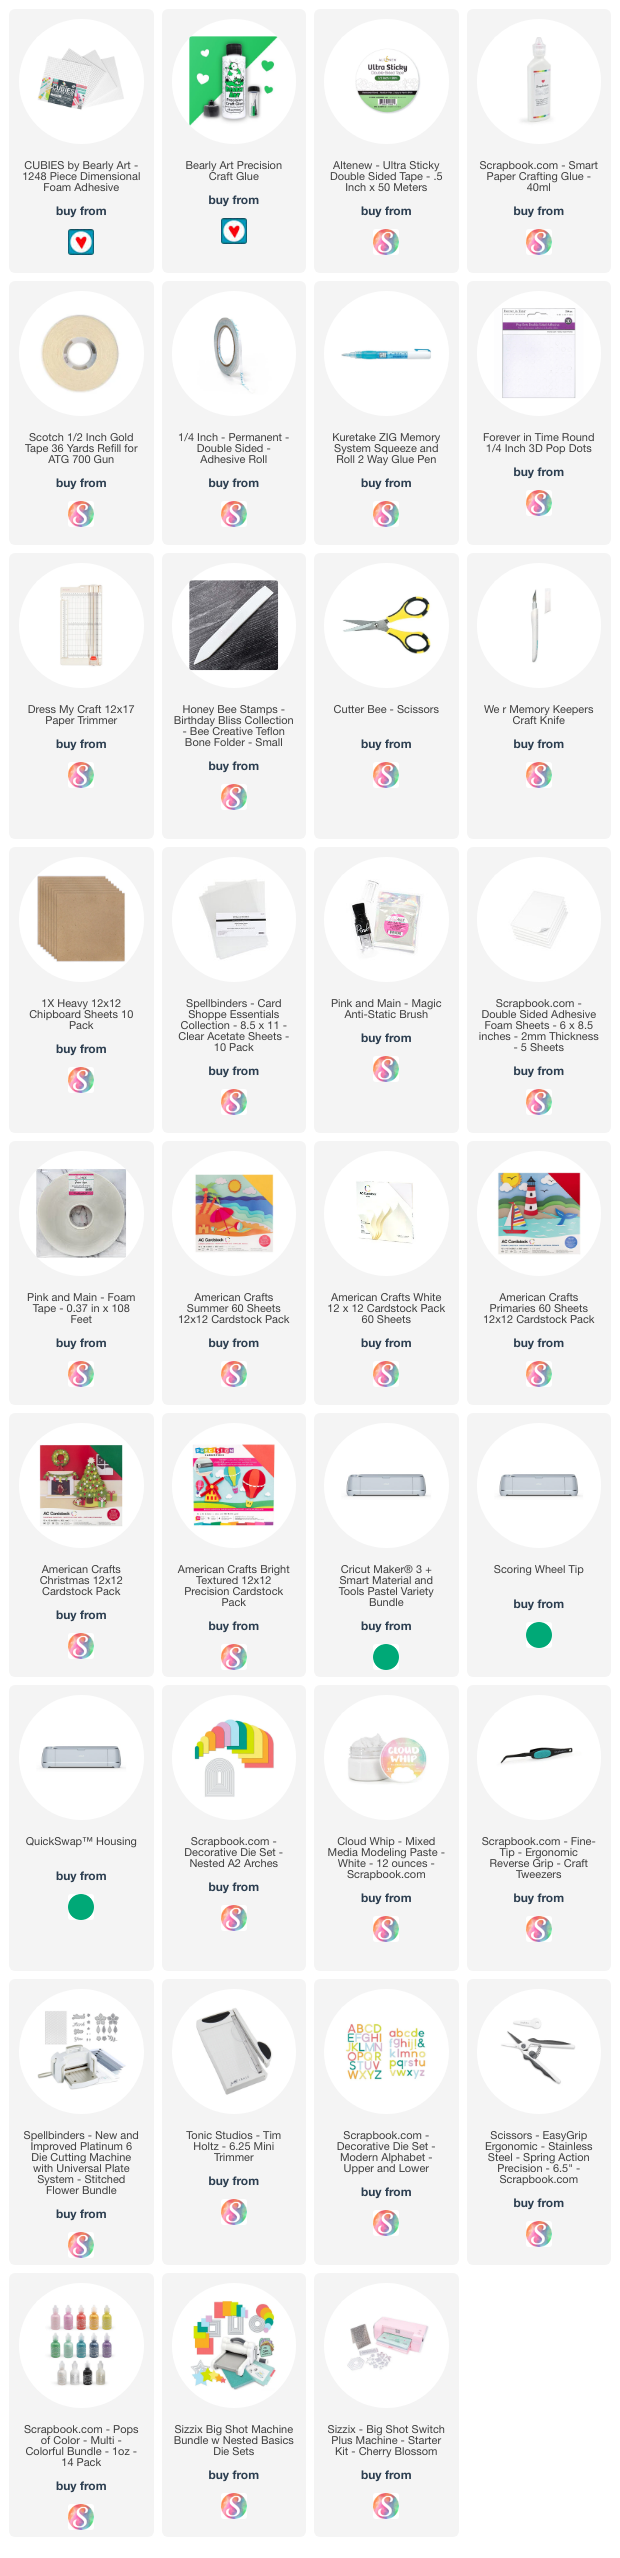
All the general supplies for scrapbooking and cardmaking that I use are listed below. Pattern papers and cardstocks are not specific. Use what you have (unless you were eyeballing that new paper release…).
NOTE: This file is part of the 2023 Halloween Craft Stash Challenge. If you are working on this project after the challenge is complete, you can still participate. The file is sold individually in the shop and it is also included in the Mega Halloween Bundle.

File Upload:
- Begin by accessing the files for the haunted house overlay. (Use the file type that works best with your machine (SVG or PNG formats).
- Open your machine’s design software and “Upload.”
- Select the uploaded image and click “Insert.”
- Prep your pieces by resizing if needed, selecting colors that match your papers of choice, etc.
Layout Preparation:
- Adding texture to pieces using embossing folders (optional)
- Glue the color pieces to the back of your overlay.
- Choose photos and cut your photo mats accordingly.
Glitter and Bling Accents:
- To add a touch of sparkle, apply glitter accents to certain elements.
- Use scrapbook embellishments for more detail and accents.
Arranging Pattern Papers:
- Select your pattern papers to create a backdrop for your haunted house.
- Arrange the pattern papers to achieve the desired look.
- Adhere the pattern papers in place.
Stick Everything Down:
- Using the adhesive of your choice, place your background pattern papers and elements.
- If you want to add dimension, use foam dots to raise specific elements.
- Work your way forward and glue down your overlay.
Final Touches:
- Enhance the layout with any additional embellishments and details that you wish to use from your stash
- Consider using a sticker as a title element, such as “October 31st.”
Looking for more Scrapbook Layouts and Ideas?
Sweet Sunshine
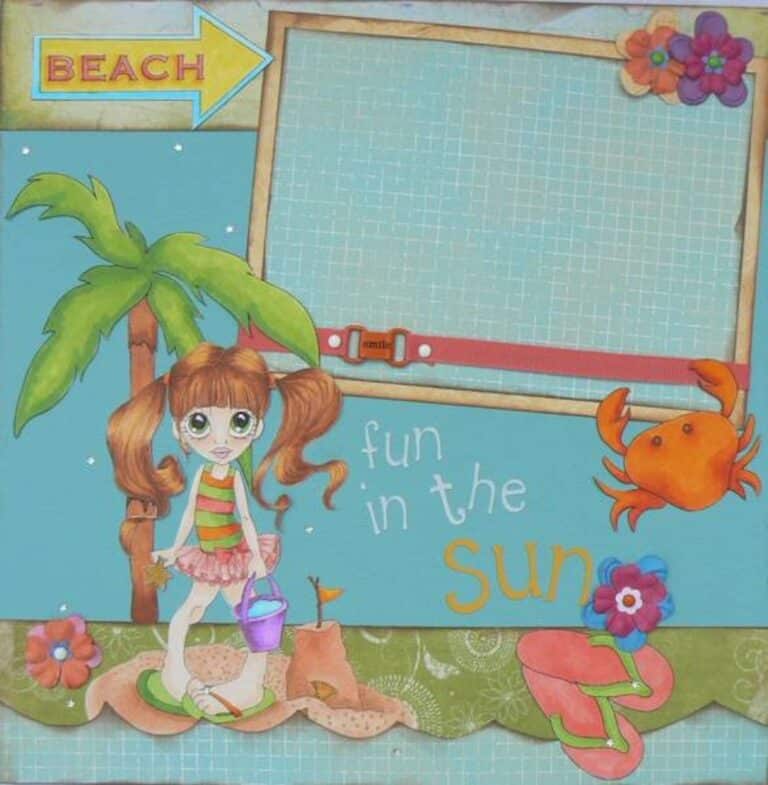
Beach Themed
Birthday Layout Ideas
Don’t forget to share your creation with the rest of us in the Lemony Fizz Paper Crafters Facebook Group.
General Scrapbooking and Cardmaking Supplies that I Use

The glittery paper is a nice touch!
Very cute, amazing details!! Thank you for sharing so many awesome cards👍
This one is great, looks very easy to put together with the cutouts. I would like to have the cutouts added 🙂
Please add cut outs and back ground please.
I absolutely LOVE all of your projects!!! I really appreciate that you put the detail pieces and colors in the SVGs! It is a time saver for me and I think you do great color combinations! I also like your use of pops of glitter paper here and there.
I would love to see more stash challenges!
Love your haunted house and so easy to put together, thank you.
I would definitely use glitter paper for the moon and emboss the clouds with fat swirls. This makes such a cute LO! Thanks for all your generous creativity! Loving all your projects!
I am liking this layout. Love that house!
I love it that the project is all ready for us us to use! As a newbie to cricut, I appreciate being able to make an awesome project, card, etc. Yes , please add as many extra cutouts or items as you would like to do! The extras are what adds that extra special touch . Love your Haunted House and all of the other Halloween projects that you are giving us! They are all spectacular! Your videos are wonderful teaching instructables ! Thank you!