
Happy Birthday Side-Pull Waterfall Card Paper Craft SVG File
We may earn a small commission for purchases made through affiliate links in this post. For more information go to our Privacy Policy.
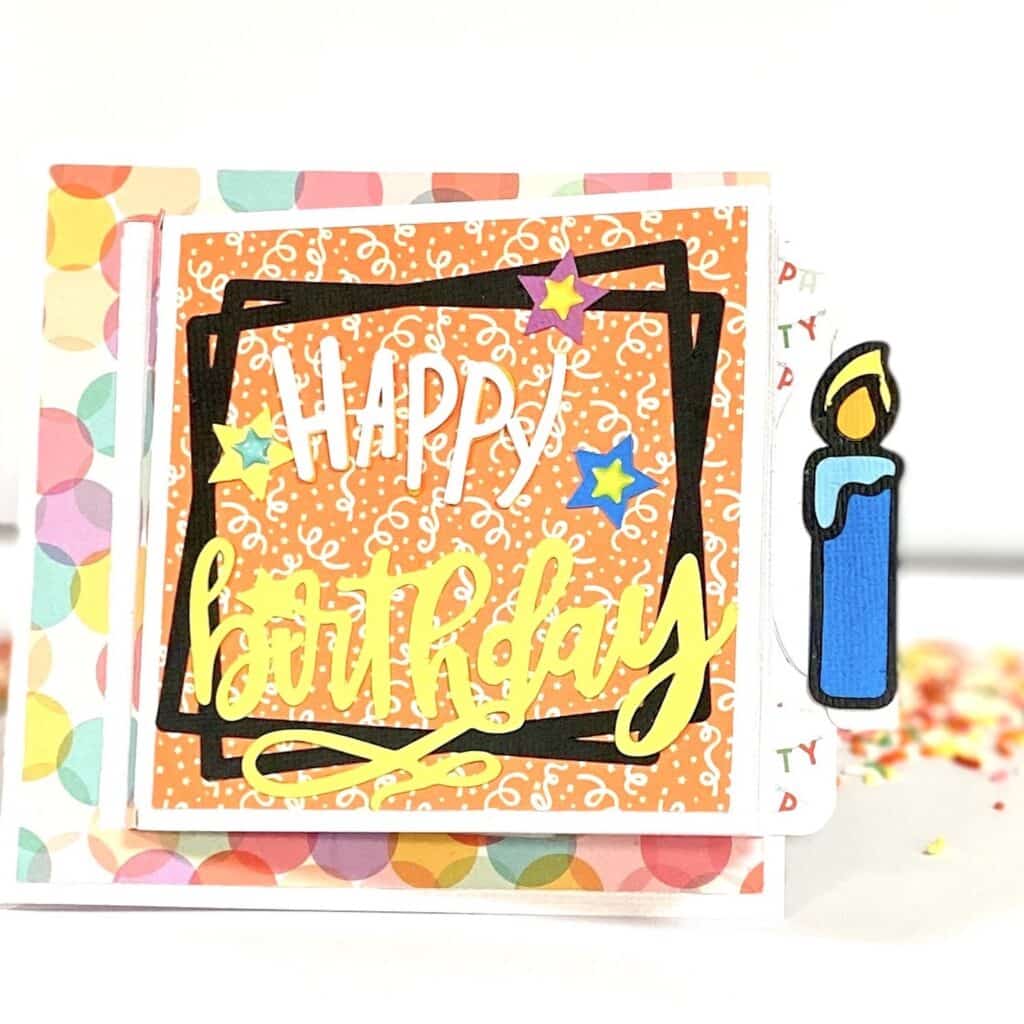
In today’s craft tutorial, we’ll be creating a unique side-opening waterfall birthday card that is sure to impress. We’ll begin by uploading the necessary SVG files into Cricut Design Space, where we’ll organize and modify them to suit our personal preferences. From selecting the perfect patterned paper to adjusting cardstock colors, you’ll learn how to tailor each element of your card to reflect your desired style.
Once the design process is complete, you’ll be guided through the cutting and assembly stages, transforming your digital blueprint into a tangible work of art. Along the way, you’ll discover helpful tips and tricks, ensuring that your waterfall card comes together seamlessly.
Supplies and Materials for this Happy Birthday Card
- Happy Birthday Side-Pull Waterfall Card SVG
- Cutting machine (e.g., Cricut)
- Halloween patterned paper (at least 6×6 inches)
- Solid cardstock for card panels
- Glue or double-sided tape
- Foam adhesive dots
- Distress ink pads in orange and brown shades
- Embellishments (optional, e.g., pearls, bling)
Uploading Files to Cricut
To upload files to Cricut Design Space for your side opening waterfall card, follow these steps:
- Click on Upload in Cricut Design Space.
- Drag and drop your SVG files or click Upload and browse to the files.
- If you’re using Windows and SVG files aren’t showing up, drag and drop them from the folder and Cricut will recognize them as SVG files.
Prepare The Birthday Card Elements for Cutting:
- Add the files to your canvas by selecting them and clicking Add to Canvas.
- Move the files around to see the different groups and elements.
- Ungroup the SVG files to access individual elements.
- Adjust score lines by clicking on them, changing the OPERATION of each line to Score, and then click ATTACH to keep them on their corresponding shapes.
- If you want to change the color of any element, click on the shape and select a new color from the palette.
- If you’re using patterned paper, make the appropriate adjustments to the colors to differentiate from card stock.
- Ensure the insides of letters stay in place by using the ATTACH option and keeping them connected to their letter.
Once you’ve completed these quick and easy file prep tasks, you are ready to cut your files and assemble your side-pull Happy Birthday waterfall card. Your Cricut machine will handle the rest.
Assembling the Waterfall Card
Now that you have uploaded and prepared the required files, let’s move forward with assembling the waterfall card. Follow these simple steps:
- Cut out the card sections: Once your files are in place, ensure that each pattern paper is assigned a unique color to avoid confusion during cutting. Cut out the various sections accordingly using your cutting machine.
- Organize the pieces: After cutting, gather all the card pieces; the white cardstock, the colored cardstock, the background cardstock, and the patterned squares.
- Assemble the waterfall part: Take each white base piece for the waterfall, and attach the corresponding colored patterned squares on top.
- Prepare the jars and text: Make sure the insides of the letters for ‘Happy Birthday’ and the jars are correctly positioned. Attach them as needed.
- Fold along score lines: After cutting and scoring, carefully fold the cardstock along the impressed score lines.
- Assemble the card: Start by attaching the waterfall sections to the background cardstock. Then, glue the jars and ‘Happy Birthday’ text on top.
- Attach the side pull: Finally, add the side pull to the completed 5×5 waterfall card.
Get your SVG file unzipped and uploaded into your design program (or cut out the pieces by hand with the PDF).

Assemble the jars if you want to use them in your design. You can also add stamps, die-cut embellishments, photos, or quotes to each flap.

There are six pieces of cardstock and 6 cut pattern papers. Each pattern paper should be attached to a cardstock mat. Put all your mats in order (there is a 1/4-inch difference between each one).
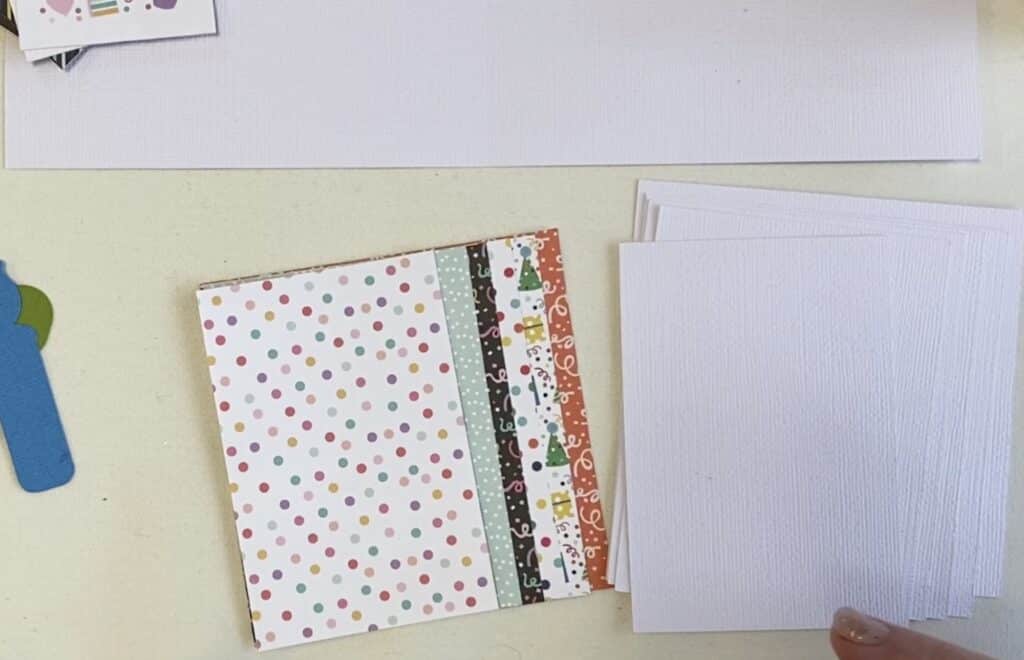
Fold the C-cut pattern paper on the score lines. The first one should fold away from you and then each of the other score lines as well.
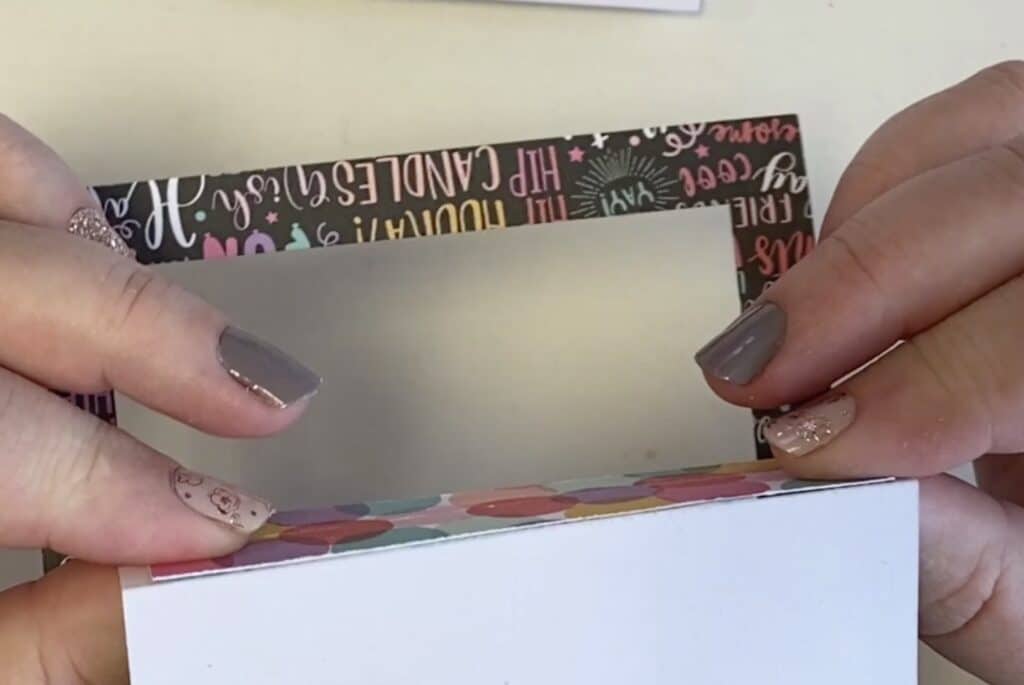
Find the piece of cardstock that has a 1/4-inch score line on the straight side (the other side will have rounded corners). Fold this toward you.

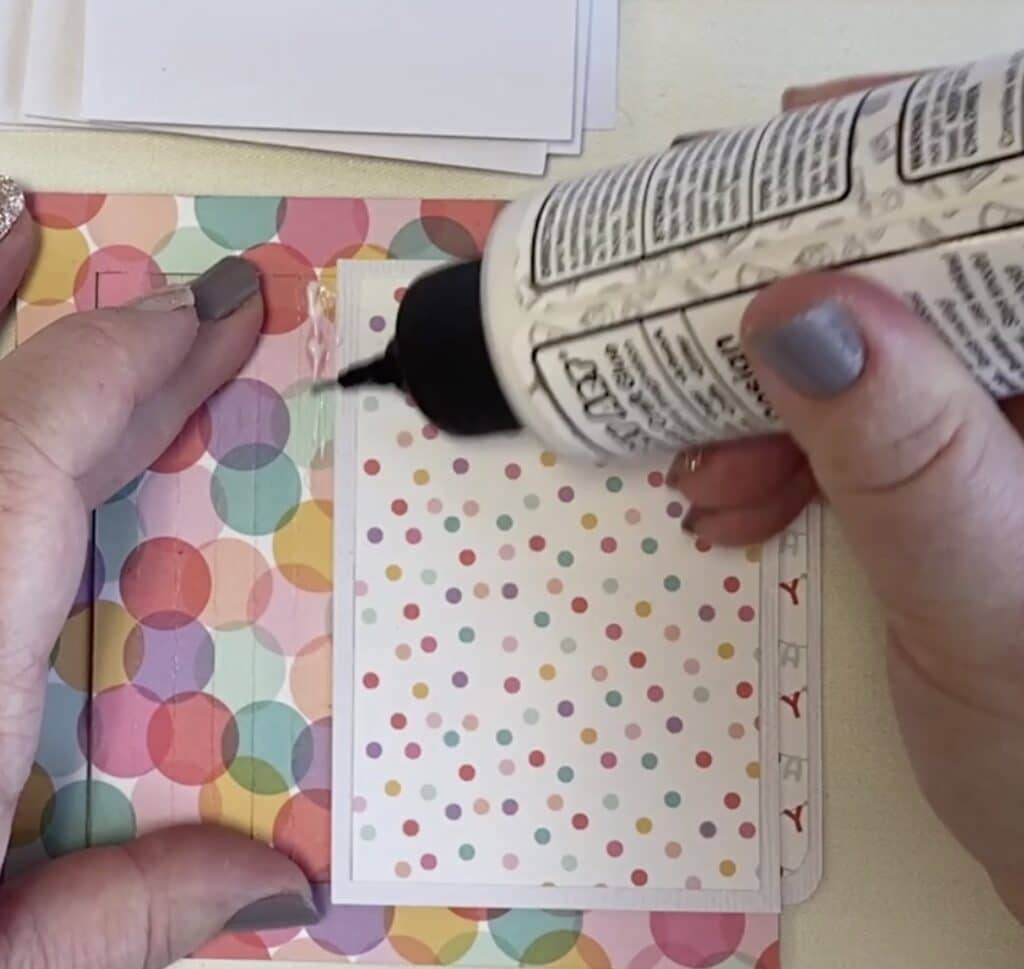
Attach the scored cardstock to the back of the C-shaped pattern paper. it should make a continuous line of paper when you line up the two score lines.
Lay this piece down on your work bench with the cardstock popping out to the right. This is the pull tab. Add your rounded pattern paper piece to the front of this cardstock. Hold the C-shape piece down and pull the tab to work the score lines back and forth a few times.
With the C-shaped piece down on your work surface, push the tab to the left until the first score line is showing.
Start with the smallest piece of matted cardstock. Glue it along that scoreline on the left and in line with the top and bottom edges of the C (you will see the space that it fits in).
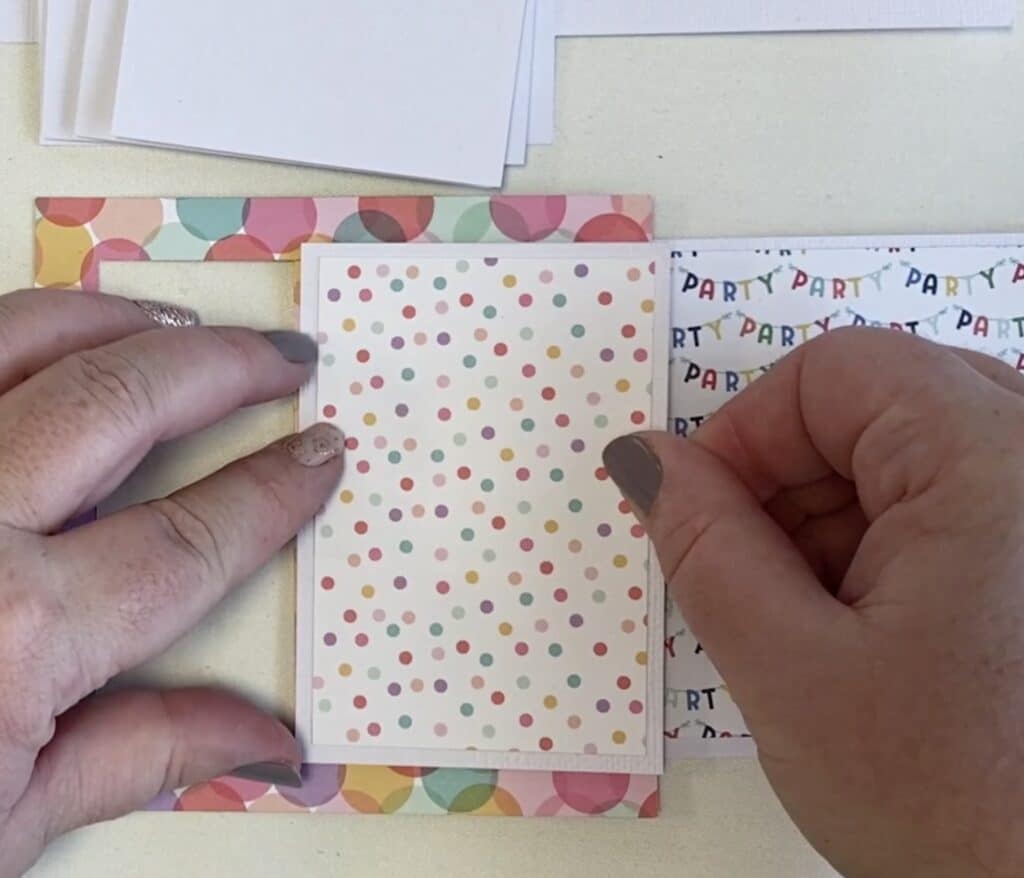
Next, push the tab to the left to show your other score lines. Glue each flap in order to a scored section. Your flaps should be increasing in size each time.
You will end with the perfectly square piece and there will be a small section of the score lines showing to the left. Your tab will be sticking out on the right (my design is just a little different than the one in the file).
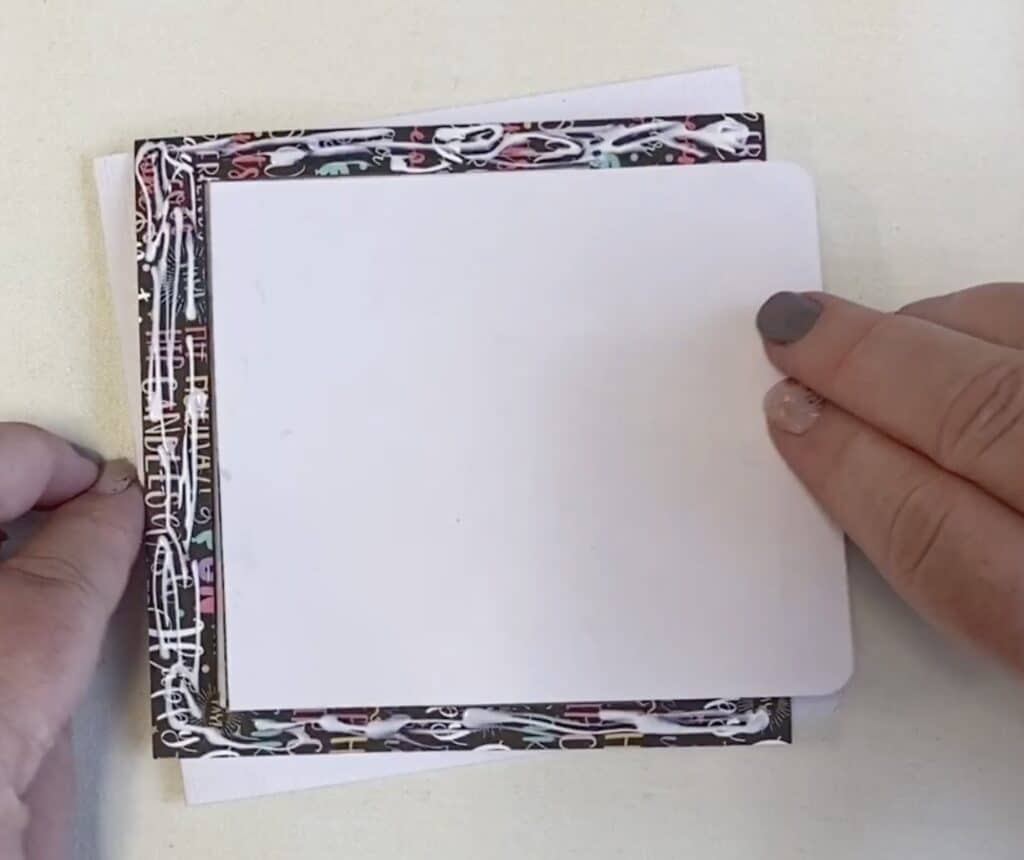
Turn your flip stack over. Add adhesive to the “C-shape” section of your front. Glue this down to your card front.
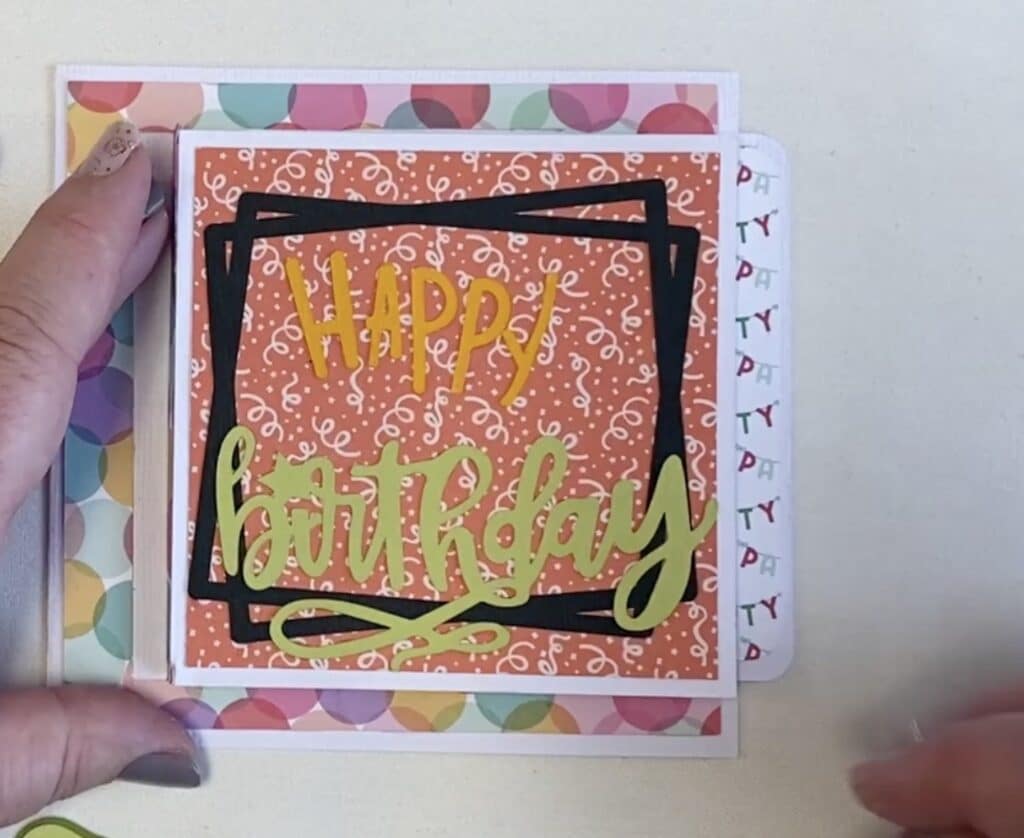
Decorate the front of the card with the elements in from the SVG file or any of your own embellishements.

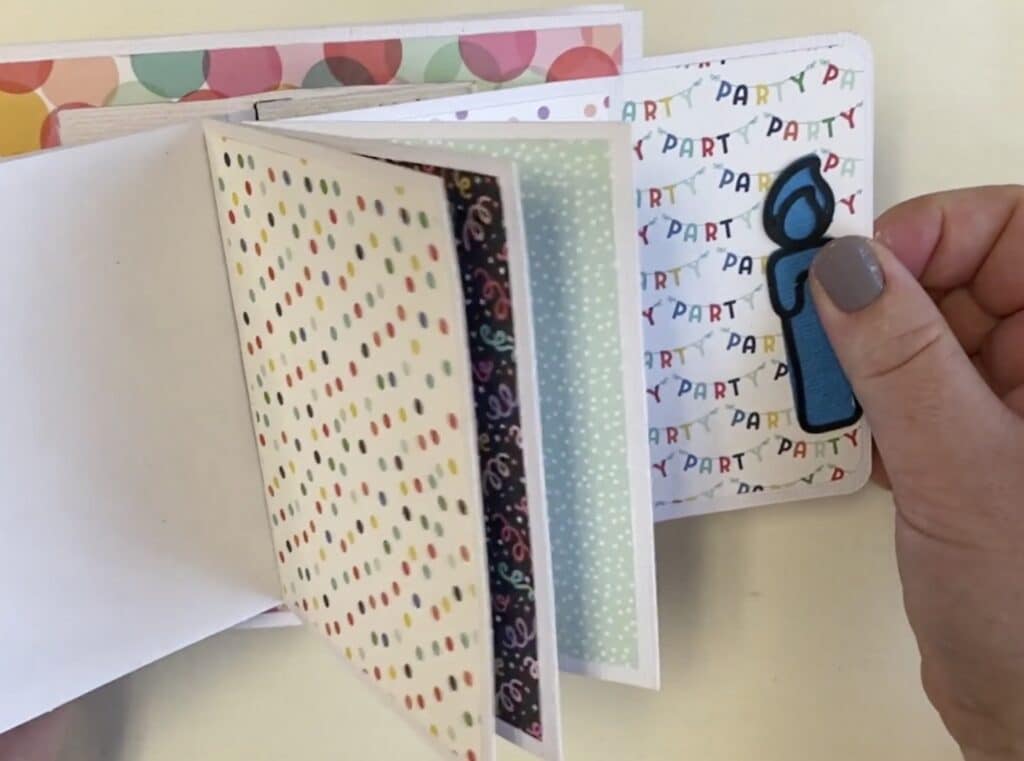
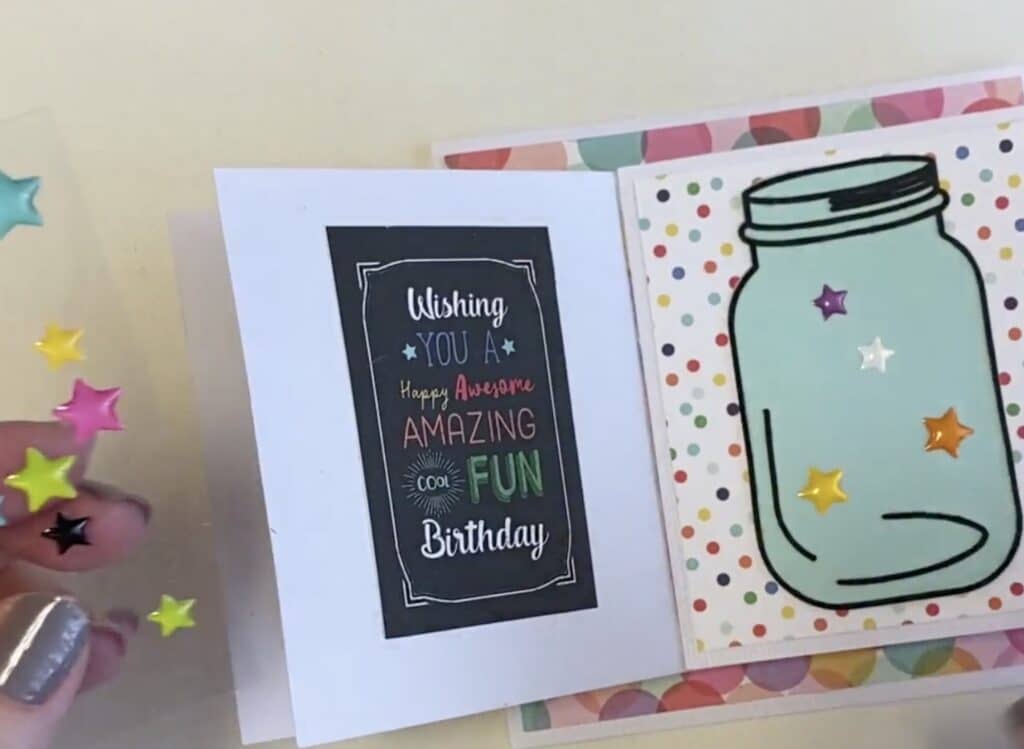
Add the jars and any sentiments you want to use on each flap of the side-pull card.
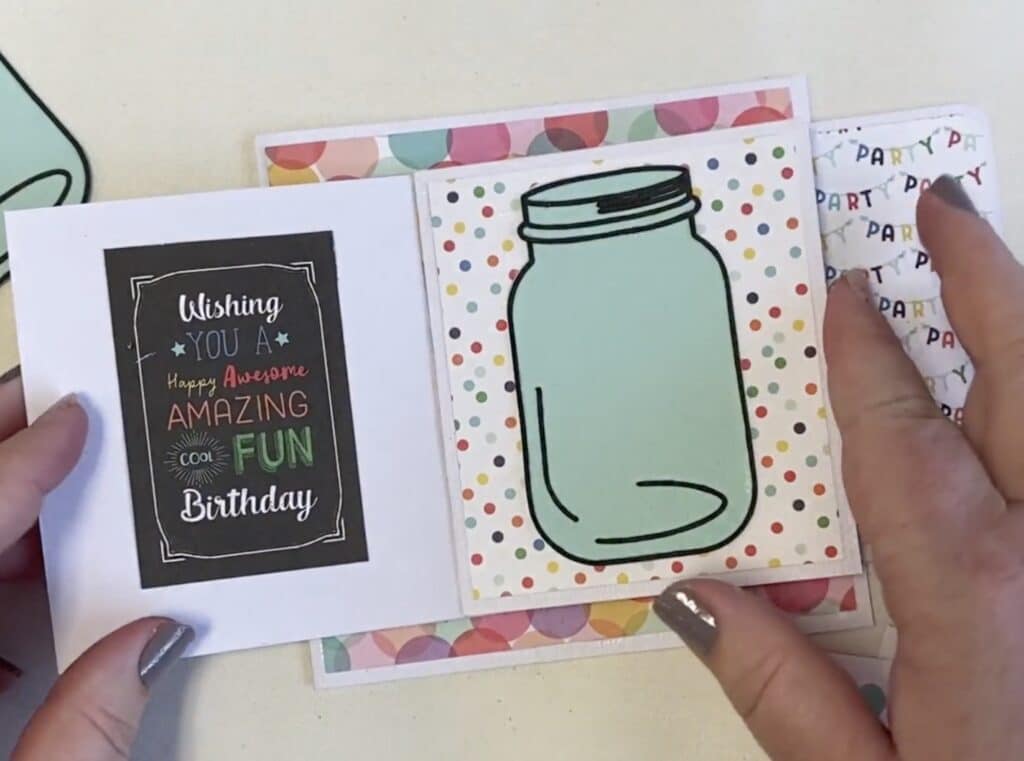
I added a few stars to the first jar and then filled each consecutive jar a little more full to simulate an accumulation of birthday wishes. Add your sentiment to the inside. This card is sure to make someone smile!
Additional Tips to Ensure Your Files Cut Correctly
As you’re preparing for your side-opening birthday-themed waterfall card, here are some additional tips to make sure you’re ready for the assembly process:
- Pattern Paper Choices: Remember to change the colors of your SVG files that will be used as pattern paper. Choose a different non-matching color for each element, this ensures that they won’t be confused with your cardstock elements.
- Score Lines: Make sure you’ve changed the line OPERATION from basic cuts to score line and that you have ATTACHED them to the appropriate elements. Doing this will ensure accurate folding when assembling the card.
- Letter Insides: Some letters may need additional attention to make sure the insides stay where they should. To avoid any issues, be sure to ATTACH those insides to the letters they belong to.
- Layer Colors: Take the time to modify the base colors of your waterfall elements to your preference.
If you are unsure what the terms used in the tutorial and you would like to learn more about using Design Space quickly and efficiently, you can grab this Cricut Guide for Paper Crafters.


Totally awesome tutorial, can’t wait to make
What a cute and fun birhtday card, I love it <3
I have never made a waterfall card, it looks amazing!!
I am amazed at how I seem to always come across a new idea for me. This waterfall card is a great new addition to my collection.
Thank you for such a cute final project! I have really enjoyed the paper crafting event!
This is a cute card! Thank you!
What a great card!
Love your paper selection!
Thank you for this awesome card!
It’s a must! Saving for later
Thank you so much for making these tutorials I sure need all the help I can get in learning how to make stuff!