
Stepper Card Ideas and 6 Step Card Template Free SVG
We may earn a small commission for purchases made through affiliate links in this post. For more information go to our Privacy Policy.
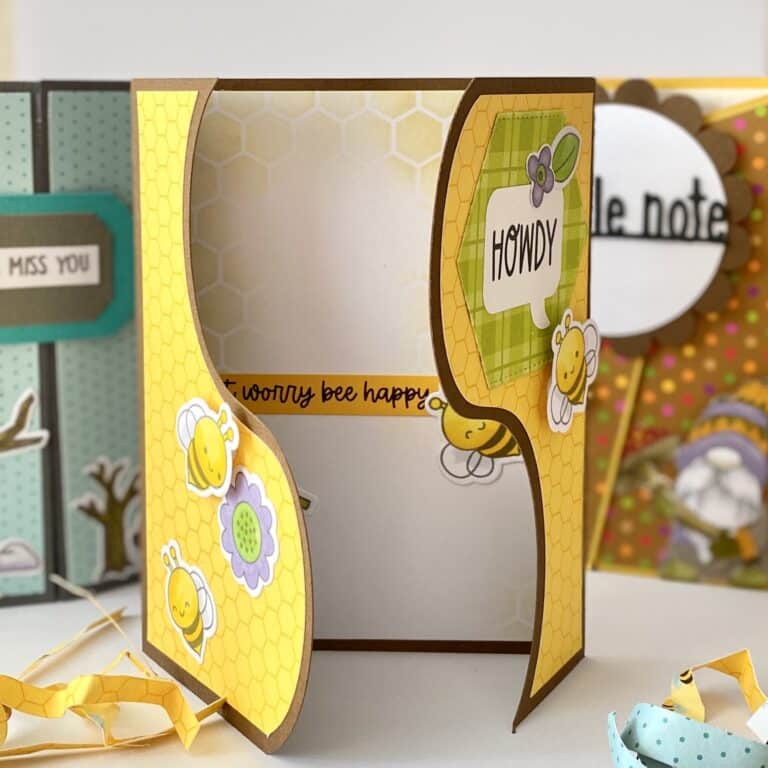
Side stepper cards are a fantastic way to add an extra element of creativity to your card-making projects. These unique and eye-catching designs feature a series of stepped folds on one side of the card (or both), creating an interesting, dimensional look that’s perfect for showcasing your favorite embellishments and sentiments.
Whether you’re a seasoned papercraft enthusiast or a beginner looking for a fun new challenge, side stepper cards offer a fresh and engaging approach to the art of card making.
In just a few simple steps, you can create your own side step card that will surely impress friends and family. No math or measuring needed if you use the free svg template in the library.
Then, it’s all about personalizing your card with patterned papers, stamps, die-cuts, and other decorations to suit the occasion and express your unique style.
Understanding Side Stepper Cards
Definition
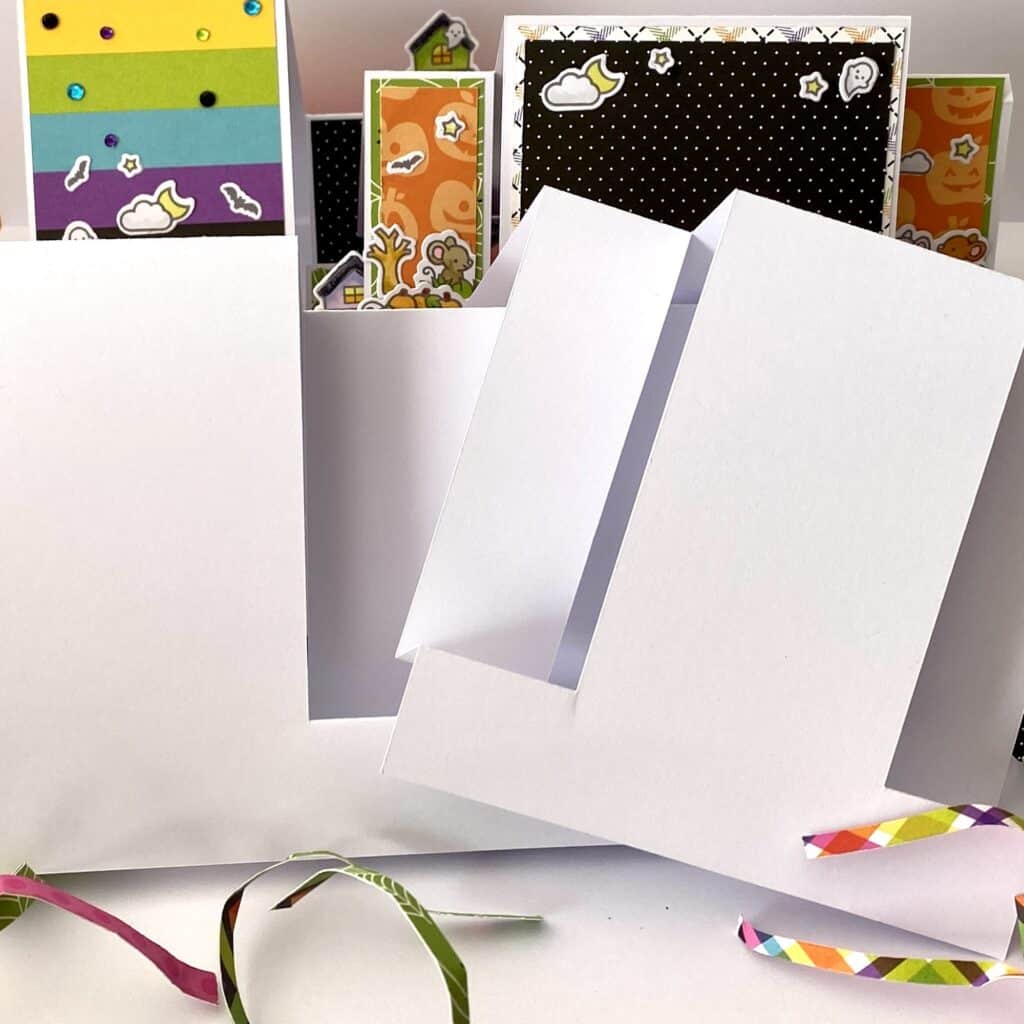
A side stepper card is a creative and unique way to make a greeting card that features a series of step folds on one or both sides of a card panel. The main design is usually placed on the larger panel, and smaller embellishments, tags, or accessories are added to varying levels of steps, creating a dynamic 3D effect. The base card is typically made from an A4 sheet of paper, with specific cut and fold marks to create the front panel and steps.

Best Themes for a Side Step Card Template
Side stepper cards are perfect for a variety of occasions, such as birthdays, anniversaries, or congratulatory events. You can customize the card based on the recipient, the occasion, or the supplies you have to work with. The following are some tips to help you create a fantastic side stepper card:
- Choose a sheet of cardstock that is lighter as the base and follow the necessary steps to cut the template with your machine. (for those of you without a die-cutting machine, there is a PDF included that you can print and use as a template for cutting and scoring).
- Decide on the main design for the larger panel, which can be in the form of a stamped image, die-cut shape, or any other decoration you like.
- Use additional cardstock and embellishments to decorate the steps, keeping in mind that smaller and less-detailed items work best on these sections.
- Arrange the embellishments across the steps in a pleasing, visually balanced manner, drawing the viewer’s eyes across the card.
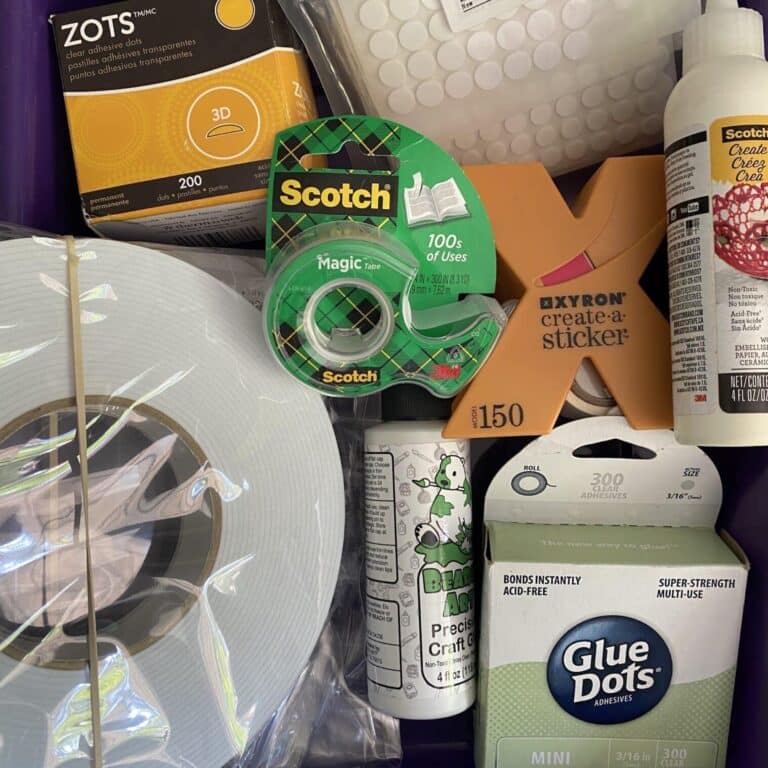
Materials Needed
Here are the materials you will need to create your stepper card:
- Free Stepper Card Templates
- Cardstock: Use a sturdy cardstock of your choice for the card base.
- Die Cutting Machine: a Cricut, Silhouette Cameo, or Brother ScanNCut, etc.
- Scoring tool: A bone folder or similar tool will help with scoring the cardstock. (if you are not using a machine)
- Craft knife: Needed for cutting along the measured lines on the cardstock. (if you are not using a machine)
- Stamps and dies: Select suitable stamps and corresponding dies for your chosen theme and design.
- Embellishments, ephemera, stickers, etc.
- Adhesive: Use glue or tape to attach your decorations to the card.
Creating Your Side Stepper Card
Step by Step Guide
- Prepare the card base: Start by cutting your chosen card base from your selected cardstock.
- Fold: Use a “mountain and valley” fold pattern along the score lines.
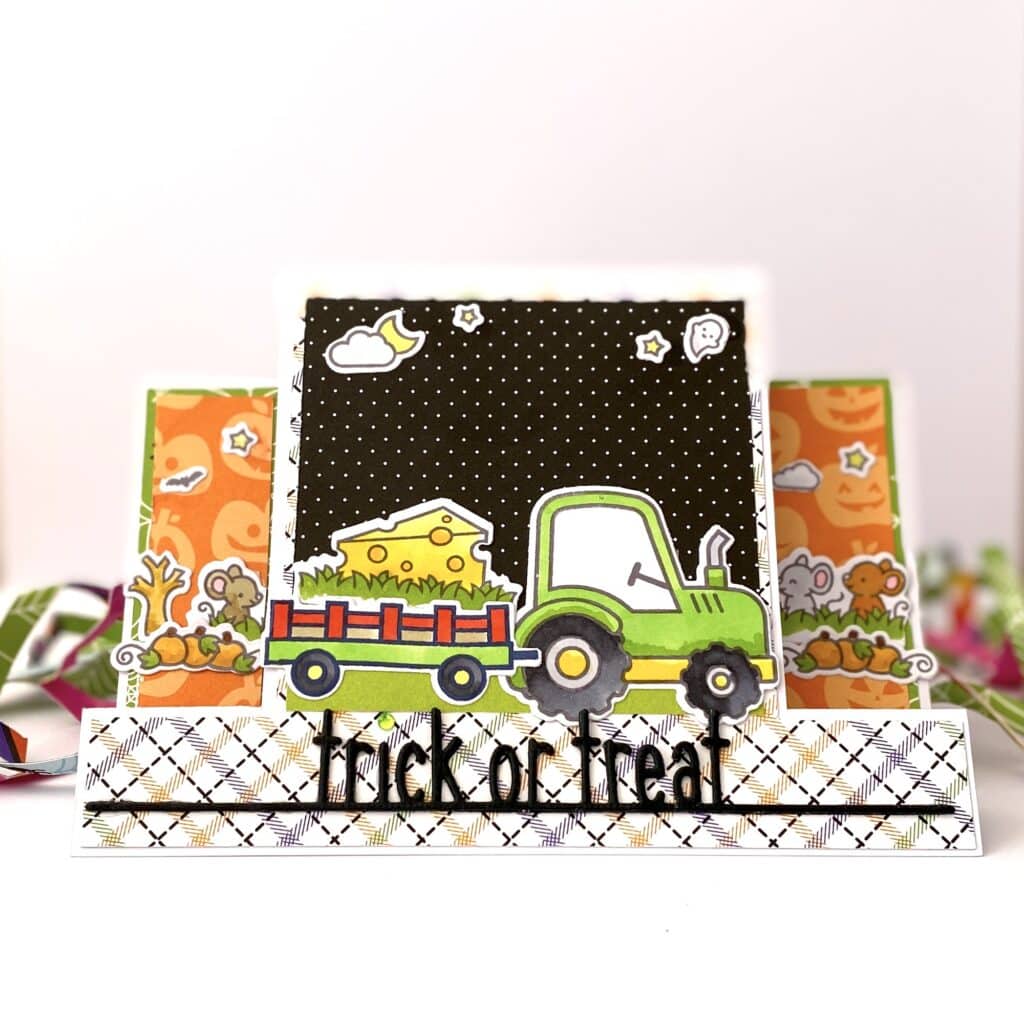
- Decorate: Choose stamps, die cuts, or embellishments that suit your main focal area, and decide whether you want them hanging off the side or within the main area. Proceed to stamp, color, and add die cuts as desired.
Designing a Side Stepper Card
Choosing a Theme
When designing a side stepper card, one of the first decisions you’ll need to make is selecting a theme. A well-chosen theme will help tie all the design elements together, making for a cohesive and visually pleasing creation.
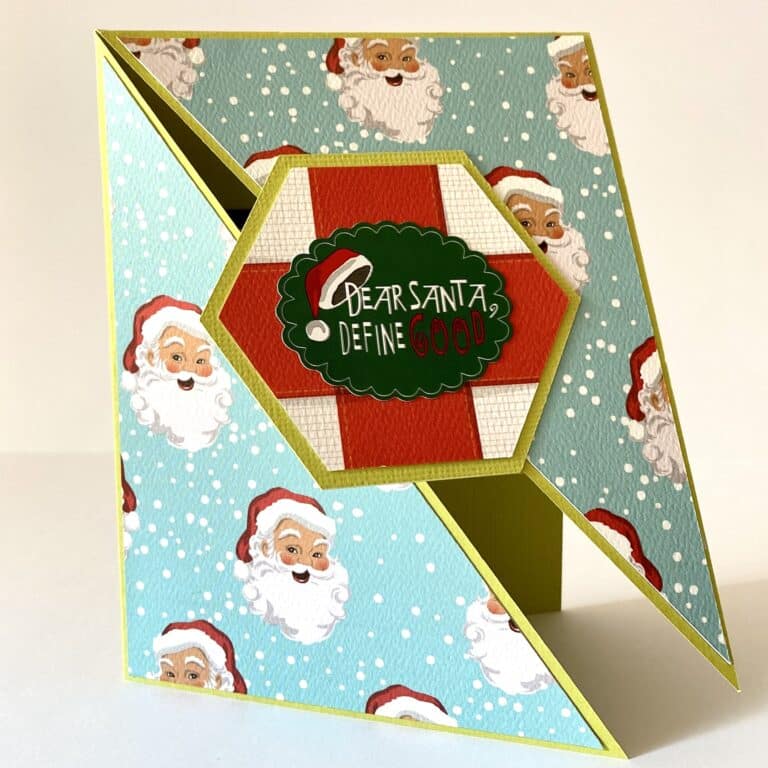
Some popular themes you might consider include holidays, birthdays, weddings, or baby showers. Your choice will depend on the occasion and the preferences of the recipient.
Remember to think about the colors, patterns, and embellishments that will work well with your chosen theme to create a harmonious look.
Incorporating Personal Elements
Adding personal touches to your side stepper card can make it extra special for the recipient. These unique touches may include:
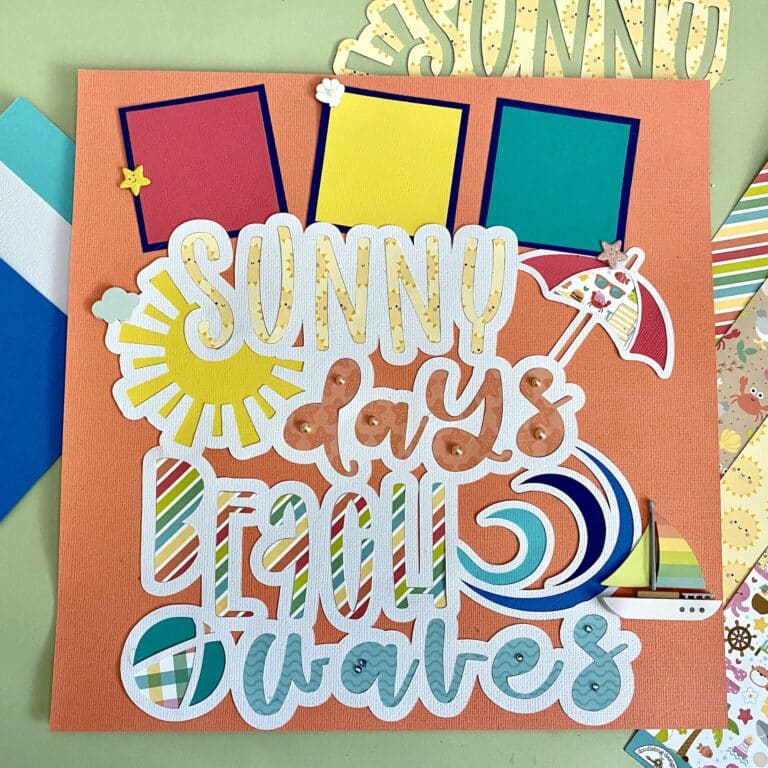
- Personal photos: Consider adding a favorite picture of the recipient or a cherished moment you shared together.
- Customized messages: Write a heartfelt message or use a meaningful quote tailored specifically for the recipient.
- Hand-drawn illustrations: Showcase your artistic abilities by including your own drawings or doodles relevant to the theme or the recipient’s interests.
- Hobbies and interests: Incorporate elements that reflect the recipient’s hobbies, favorite animals, or other personal interests.
- Special materials: Use unique papers, ribbons, or other materials in the design that have sentimental value or special meaning.
Incorporating personal elements will not only make your side stepper card visually appealing, but it will also show the recipient how much thought and effort you put into creating it just for them.
Rectifying Common Mistakes
Mistake 1: Incorrect scoring and cutting measurements
It’s important to have precise measurements for scoring and cutting your cardstock for the side stepper card.
Mistake 2: Not folding the cardstock properly
Folding the cardstock correctly is crucial for the proper side stepper card design. For a clean and neat fold, use a bone folder. After scoring, concertina fold the card at the score lines.
NOTE: A concertina fold, also known as a zig-zag fold, accordion fold or z-fold, is a continuous parallel folding of brochures and similar printed material in an accordion-like fashion, that is with folds alternatively made to the front and back in zig-zag folds.
Mistake 3: Using images that are too large
When designing a side stepper card, it’s advisable to choose images that fit in a 3″ x 4″ area. However, you can make the images hang off the side while ensuring they don’t overwhelm the entire card design and stay within the main area.
Mistake 4: Overcrowding the design
Although side stepper cards can feature a variety of images and designs, ensure your card doesn’t feel too cluttered. Ensure there is enough spacing between elements to create a visually appealing and balanced composition.
Frequently Asked Questions
Are there printable side stepper card designs available?
Yes, you can find printable side stepper card designs online. Websites like Pinterest offer a wide variety of printable card designs, including side stepper cards. Just search for “printable side step card” to discover a range of different designs that you can easily print and use for your projects.
Can I get a side stepper card in PDF format?
Many online tutorials and templates are available in PDF format, ideal for downloading and printing. Just search for “side step card PDF” or similar terms to find various resources, including step-by-step instructions and cutting guides.
Where can I find free stepper card templates?
There are several websites available offering free stepper card templates. Click on the link above for the free svg library and download your set of free side-step template cards. There is a diverse selection of templates suitable for various crafting projects, not just side stepper cards.
What materials do I need to make a side stepper card?
To make a side stepper card, you’ll need a piece of cardstock or sturdy paper as the base. You’ll also need a scoring tool, craft knife or paper cutter, and a cutting mat to protect your workspace. Other materials may include decorative elements such as patterned paper, stamps, stickers, and embellishments to add a personal touch to your card.
How do I create a side stepper card?
To create a side stepper card, you need to score and cut a piece of cardstock according to specific measurements. Start by scoring along the long edge at different intervals, then cut from one fold to another. Finally, fold the card at the score lines to create a side-stepping pattern. A more detailed tutorial can be found in this blog post. Not fond of math and measuring? Just use the free step card template SVG file.

Thanks. These are fabulous!