
7 Steps to Make a Card with Cricut Die-Cutting Machines
We may earn a small commission for purchases made through affiliate links in this post. For more information go to our Privacy Policy.
With the help of the Cricut die-cutting machine, creating unique and stunning cards has become easier and more enjoyable than ever before. It is easy to make a card with Cricuts. Not only will it save you time and frustration, it will also open up a whole new world of design possibilities. Think fun fold cards you didn’t know how to make before, different-sized die cuts, and quick and easy cut letters.

How to Make Fun Fold Cards with Cricut Machines
Gather Your Supplies and Embellishments
Having a plan of what you want to make and the elements you want to include beforehand will make the process go a little smoother. You won’t be as overwhelmed or get “lost” in decisions.
For the basics, you will need:
- Cricut die-cutting machine (Maker, Cricut Joy, etc.)
- Cardstock for your card base and any elements.
- Scrapbook pattern papers in your chosen color or theme (optional but recommended).
- Light blue cutting mat or a less sticky green cutting mat (read more about Cricut mats in this post).
- Adhesives: runner tape, glue, or adhesive foam squares.
- Embellishments: die cuts, rhinestones, sequins, enamel dots, ribbons, brads, buttons, etc.
Choose a Design and Prepare the File
Using a Cricut to make cards offers you a vast array of design possibilities. You can choose a pre-made design from Cricut Access, purchase SVG files, download free ones (like the ones in my library), or create your own. Choose a design that fits the occasion, the supplies you have, and your recipient. Once you have your design, follow these steps:
- Import the design into Cricut Design Space.
- Resize the design to fit your card dimensions.
- Customize the design by selecting your preferred colors and shapes.
- Check the material settings and line operations to ensure the Cricut machine cuts accurately.
NOTE: There are tutorials here to help you with these steps if you need more guidance:
- CARD MAKING FOR BEGINNERS – ALL THE BASICS FOR HANDMADE CARDMAKING
- HOW TO USE CRICUT DESIGN SPACE: EASY TO FOLLOW BEGINNERS GUIDE
- WHAT ALL CAN YOU DO WITH CRICUT DESIGN SPACE: A COMPLETE TUTORIAL FOR BEGINNERS
Load and Cut the Material
Now that your design is ready and prepped, it’s time to load your materials and get your base elements cut out. Cricut Design Space will walk you through the steps of choosing your materials, which color to cut first, second, etc. If you have a machine that scores your fold lines, it will tell you when to load the correct tool. Just follow the prompts and don’t rush the process. The following tips will help you get the best cut possible.
- Place the cardstock on the cutting mat, ensuring it aligns correctly.
- Gently press the cardstock onto the mat to ensure a secure grip. If you have a brayer, roll it across the paper to firmly press it onto the mat.
- Insert the mat into the Cricut machine, lining it up with the guides.
- Follow the on-screen prompts to initiate the cutting process.
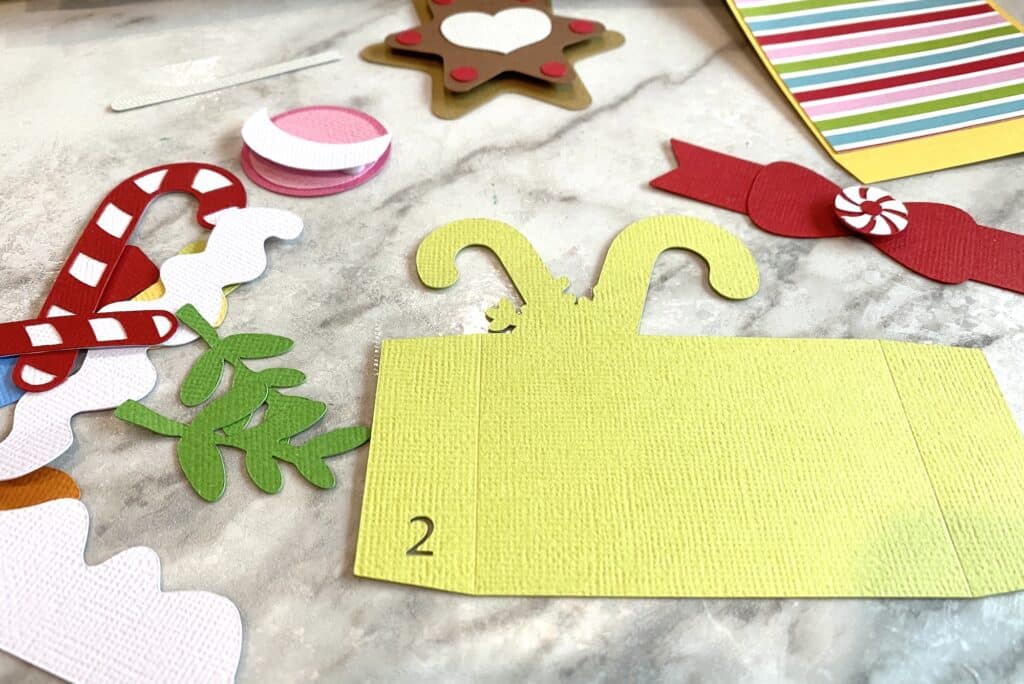
Weed and Assemble the Die-Cut Pieces
After cutting, carefully remove the cardstock from the cutting mat and proceed to “weed” the excess paper around the die-cut pieces. Weeding is usually a term referred to for vinyl cuts, but you are still removing excess materials. In this case, you are removing any unwanted paper from your die cuts, lettering, etc.
Add Personality, Pizzaz, and Sentiments
Once the pieces are ready, assemble them on the card base according to your chosen design. This is where you add your own touches of creativity. Ink the edges of your cut elements, draw additional details on pieces of clothing, plants, flowers, etc.
Other ways to dress up a card:
- add a handwritten, stamped, or printed sentiment (or have your Cricut write it for you).
- use some bling like rhinestones, glitter glue, or enamel dots to make your design sparkle
- add a bow or a strip of ribbon
Finishing Touches
Create a coordinating envelope. If you used pattern papers on your card, you can repeat the color or pattern by using a piece of the same paper on the envelope flap or even gluing a strip across the bottom edge.
Sign the back of your card and add the date. A fun “made by” stamp might be something to add to your collection if you decide you really love making and giving handmade cards.
Tips and Troubleshooting
For those new to card crafting or paper crafting with the Cricut machine, consider these helpful tips:
- Cleaning the mat: regularly clean the cutting mat with a lint roller or soapy water to maintain its stickiness.
- Blade quality: when was the last time you changed your cutting blade? This is your PSA and it might be time to change it again.
Why Make Cards on Cricut Design Space and Cricut Machines
Card makers have been designing cards for years without the help of these Cricut machines. Why do you need to use one to make a card? Well. Really. You don’t.
The joy of using a Cricut for making cards is you are saving yourself a little time. There is no need to fussy cut out the shape of a Christmas tree when you can have your machine do it. You might have stamps and metal dies to do the same thing. But what if you want the tree a little larger or smaller than the die you have on hand? You can resize your elements perfectly with Design Space.
You also don’t waste as much paper and materials trying to figure out the measurements and overall way a fun fold card functions. Cut the card base template for that complicated card and start adding embellishments. No measuring. No mistakes. No cussing (or is that just me?!).
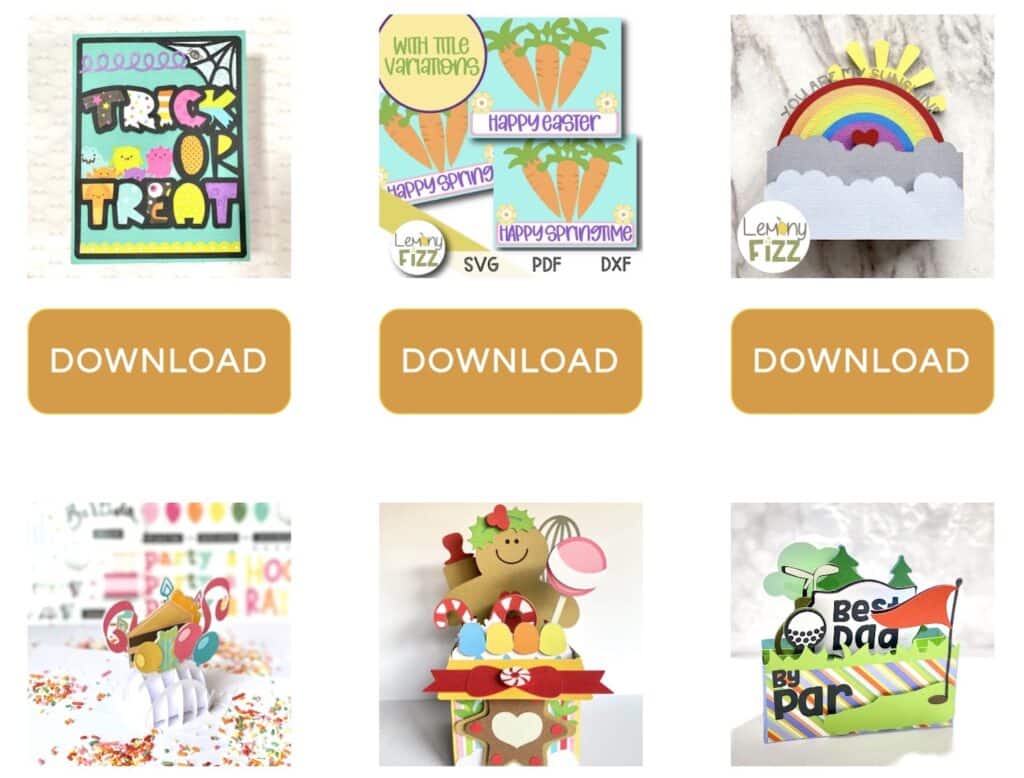
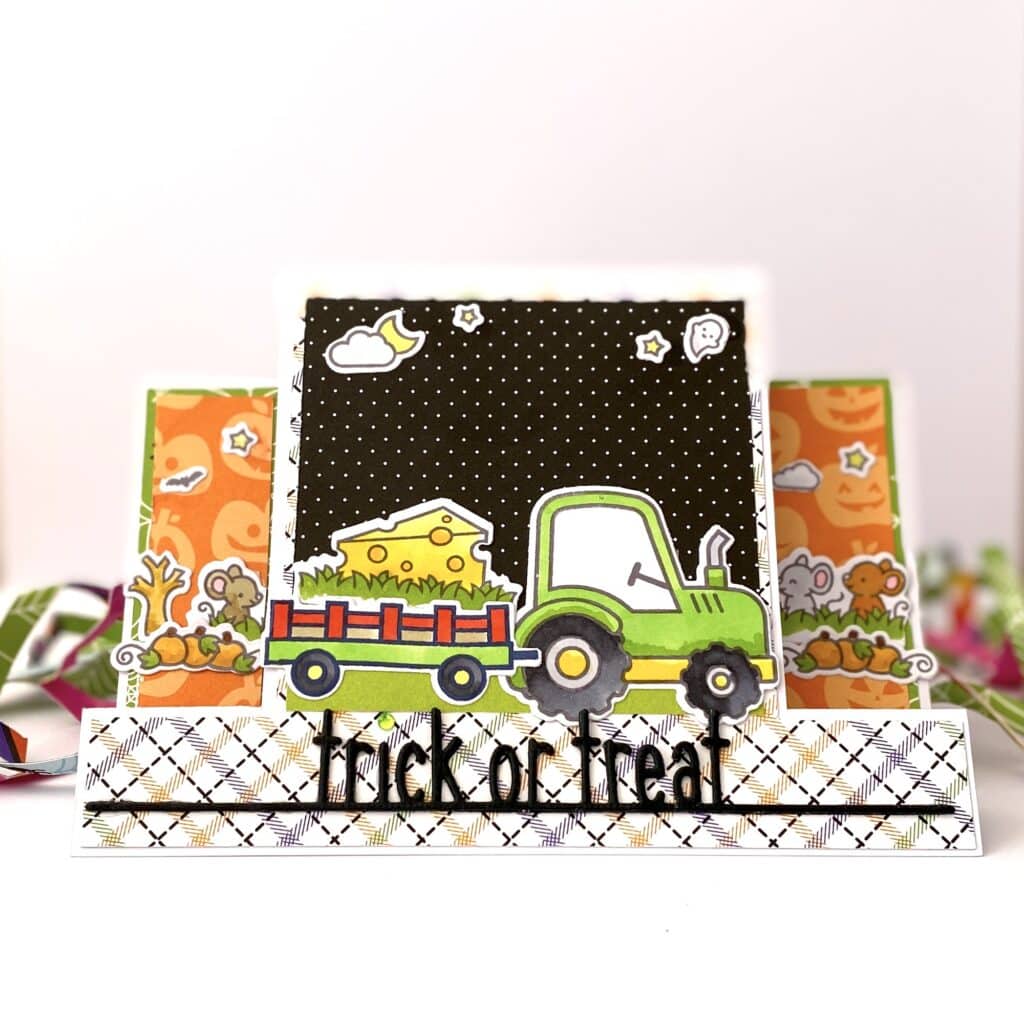
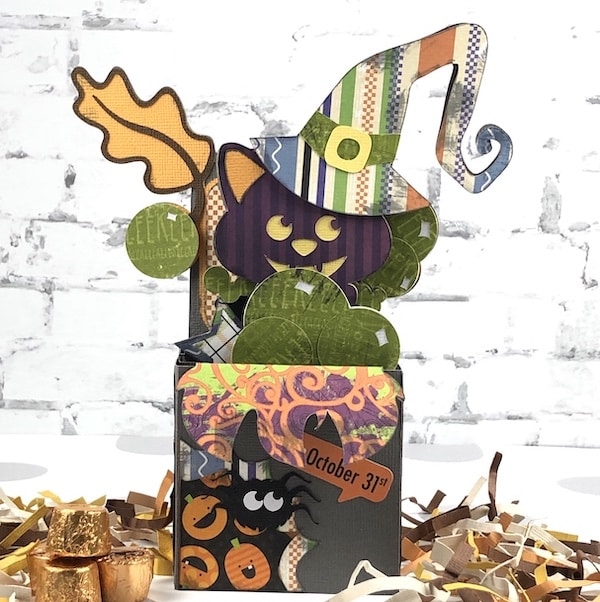
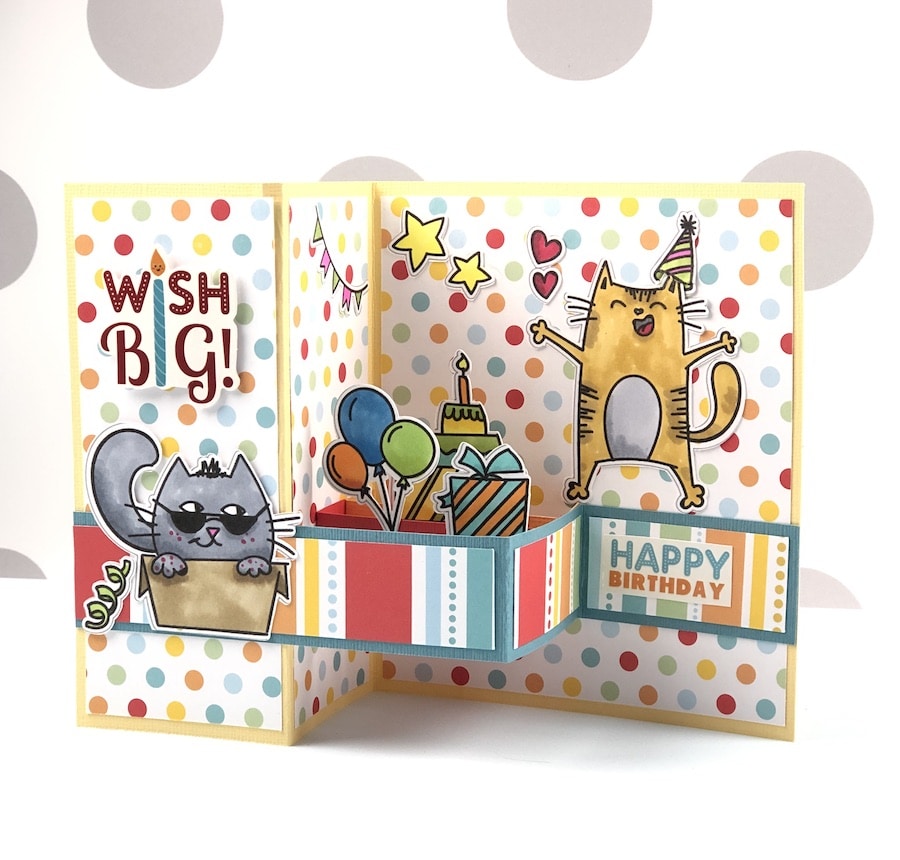
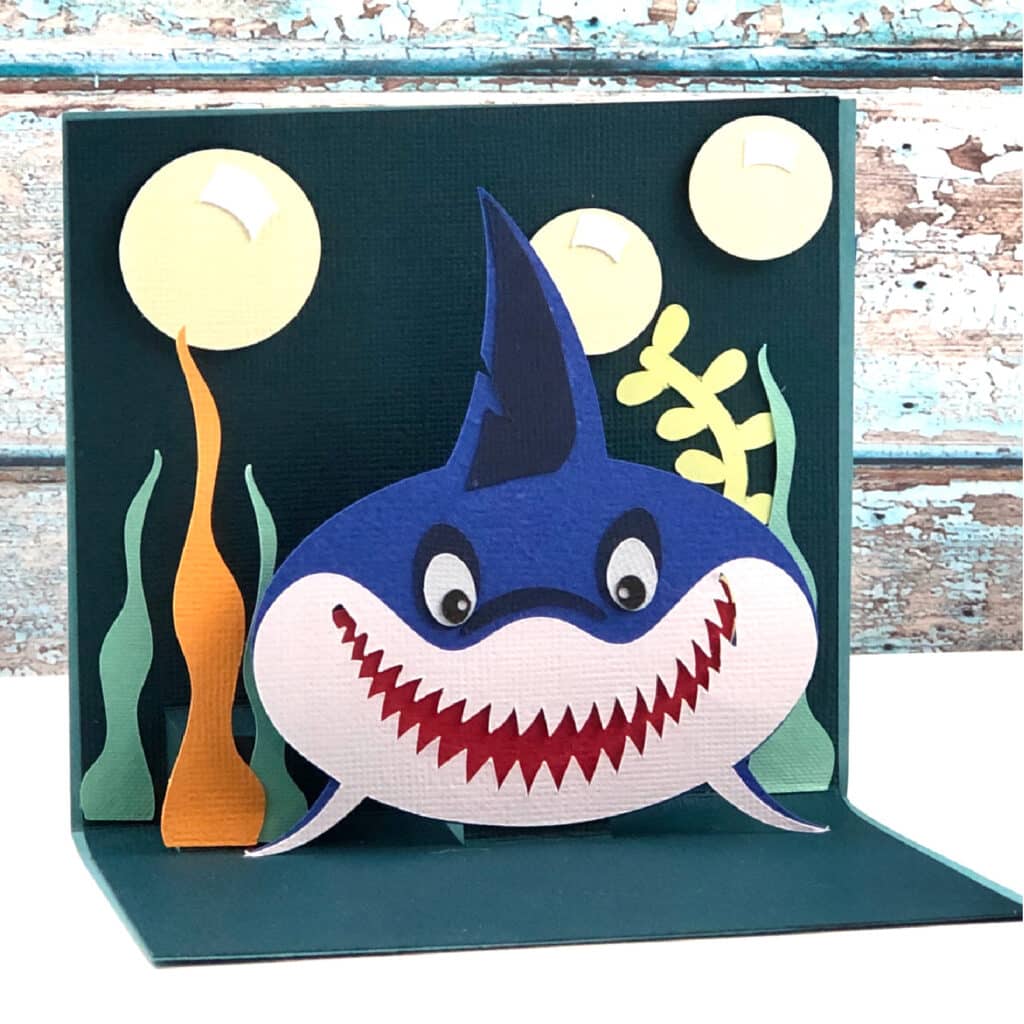
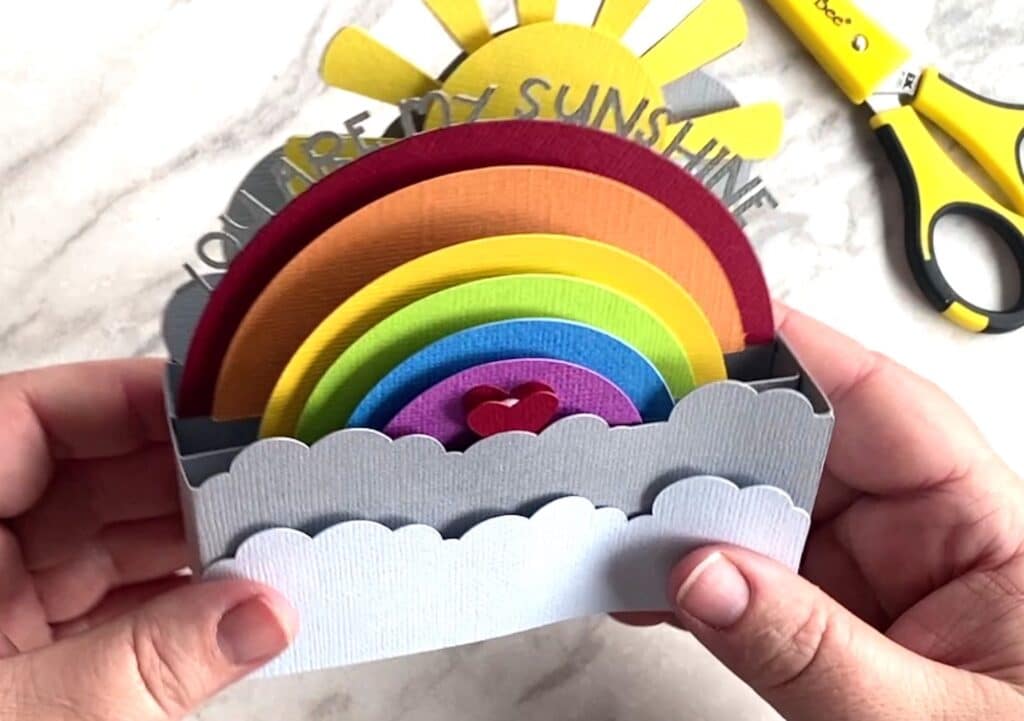
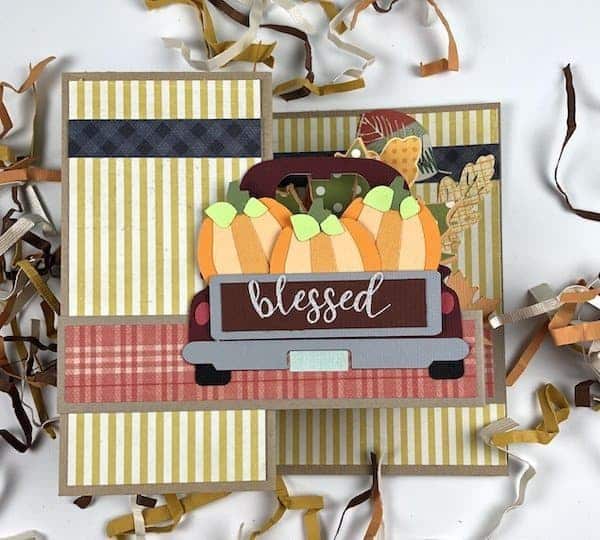
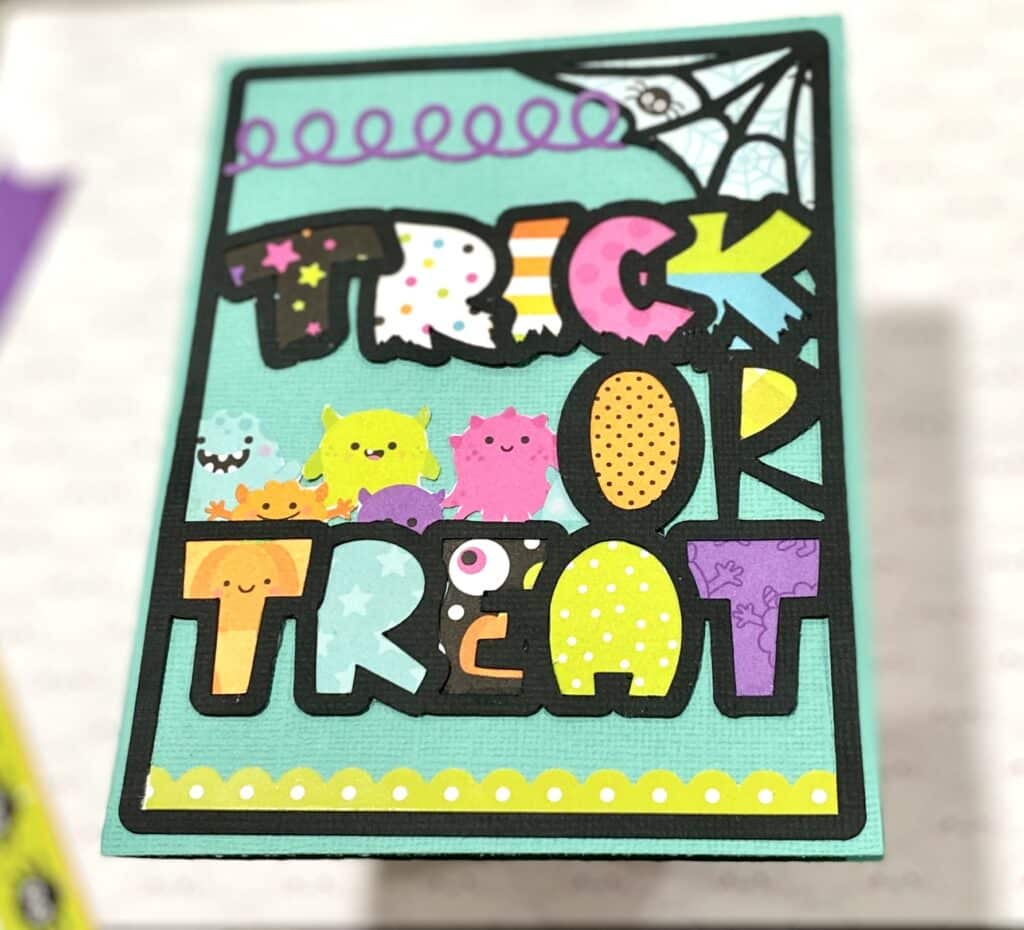
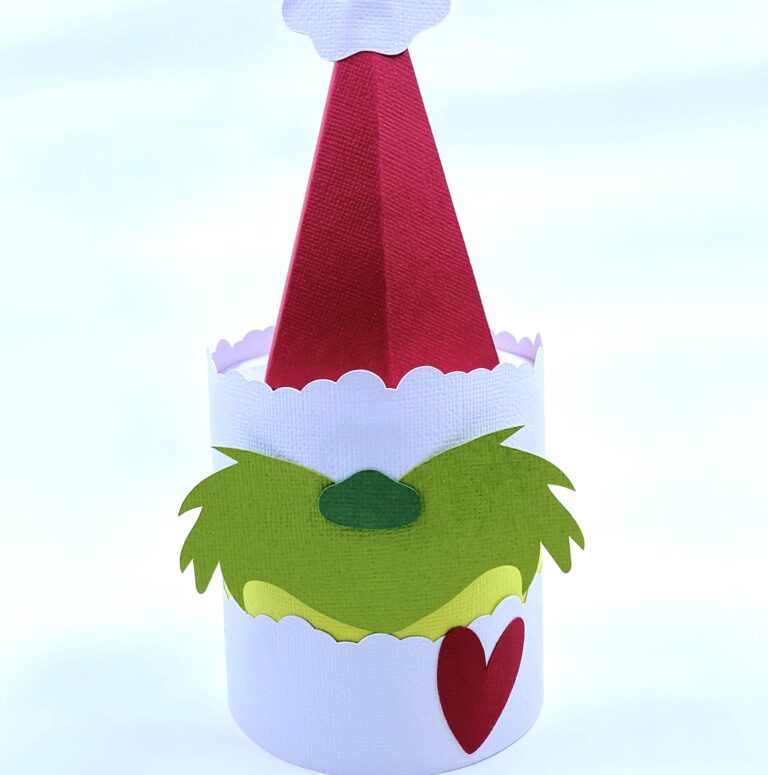
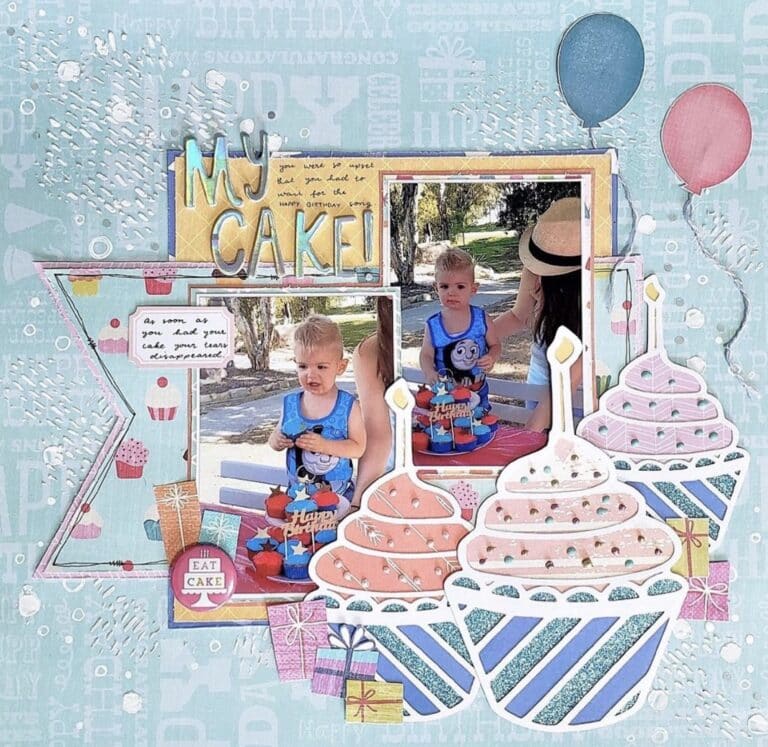
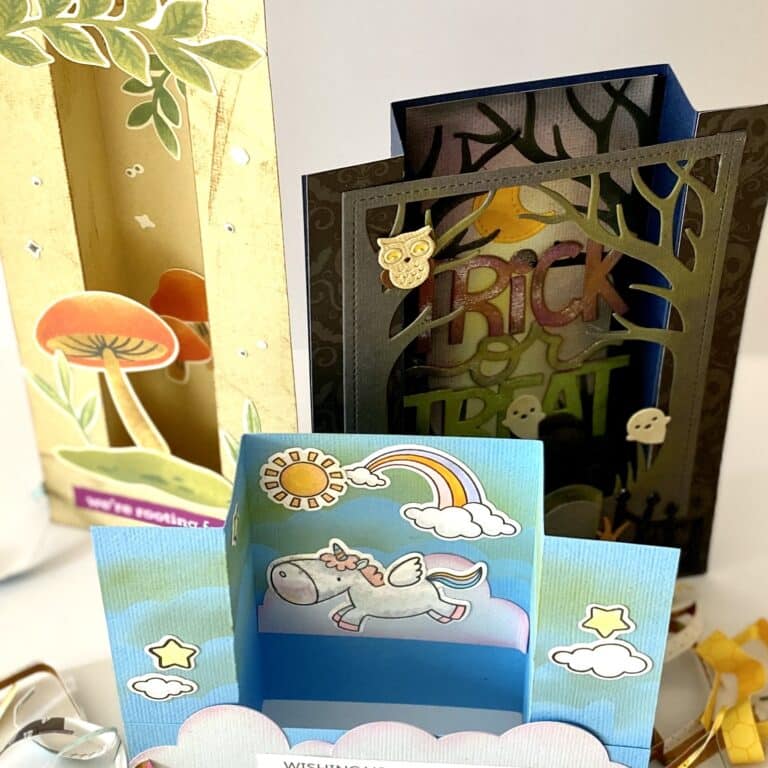
Ideas for Cricut Cards
The following cards are just a sample of the things you can do with your Cricut. There are loads of ideas on Pinterest and Instagram as well as right here on the blog. Have a look around and make your own version of the ones you love.


No place I could find to sign in. Did I miss it?
There is a sign-in page under Free SVG (https://lemonyfizz.com/free-svg). If you haven’t signed up yet, the form is just down the page a bit.
Rhoda