A Berry Sweet Card and Free SVG: A Delightful Treat for Special Occasions
We may earn a small commission for purchases made through affiliate links in this post. For more information go to our Privacy Policy.
In the age of digital communication, receiving a heartfelt handmade card brings a unique joy that cannot be replicated by a simple text or email. Among the many wonderful themes to choose from, the “Berry Sweet” card is a delightful and charming option that exudes warmth and affection.
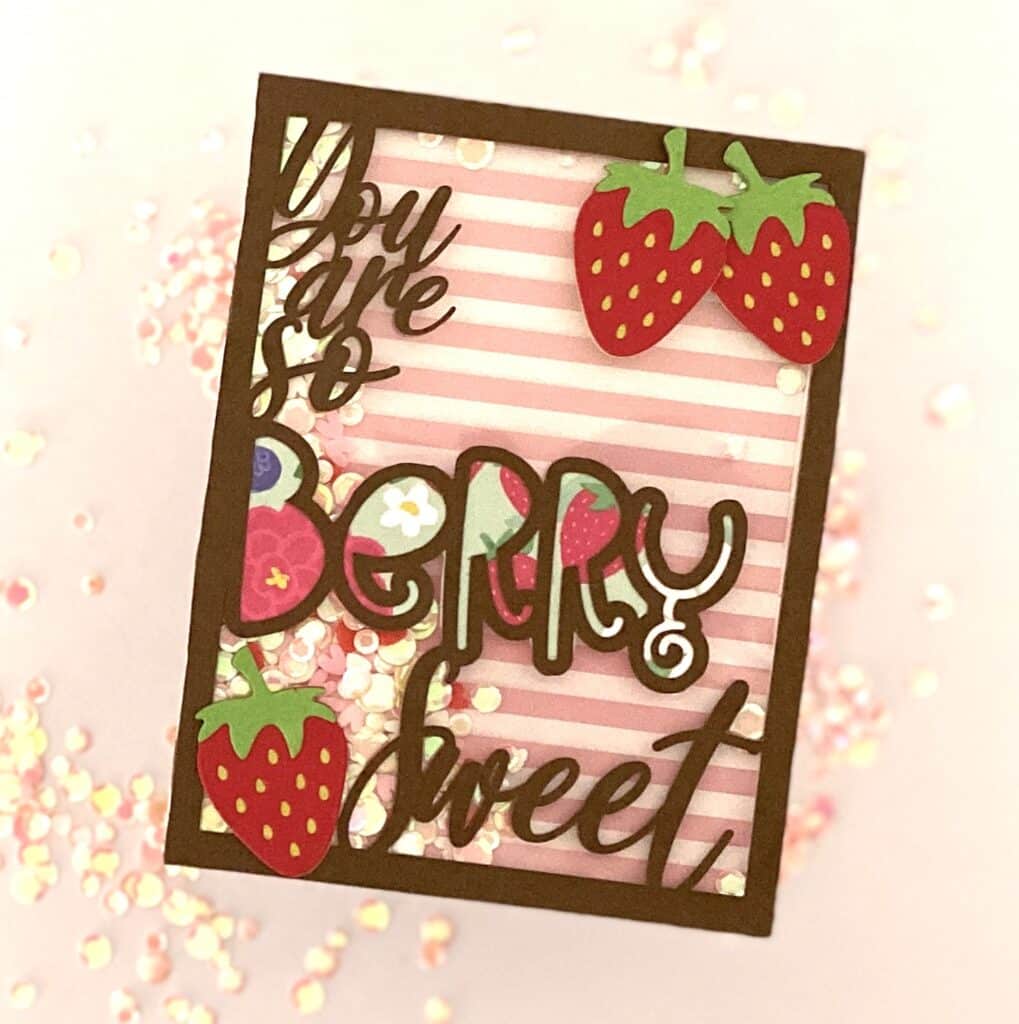
Embracing the beauty of berries, this card is perfect for various occasions, from birthdays to anniversaries or just to brighten someone’s day. Jump into the creative process and make this “Berry Sweet” free SVG file for cards your own unique card design.
This card brings back sweet summer memories of my grandma. She used to make a strawberry mash with boiled berries and sugar. Breakfasts were strawberries with heavy cream and toast. With the windows and door open to let the cool morning breezes blow through the house. Strawberries will always be one of my favorites.
Materials Needed for Berry Sweet Card:
- Cardstock or Blank Card: Choose a high-quality cardstock or a blank card as the base for your design. Opt for colors that complement the berry theme, such as shades of red, pink, brown, green, or purple.
- Berry-Themed Paper: Select patterned paper featuring strawberries, raspberries, blueberries, or any other berry of your choice. Stripes in any of the berry colors. This will serve as the backdrop for your card’s front.
- Berry Embellishments: Consider using 3D stickers, die-cuts, or small plastic berries to create a tactile and visually appealing effect.
- Ribbon or Twine: To add a finishing touch, choose a ribbon or twine that complements the color scheme and ties your card together (literally!).
- Acetate: There are options online for clear acetate sheets. Some are pre-cut. You can also use the plastic from food containers or clear cake boxes from craft stores.
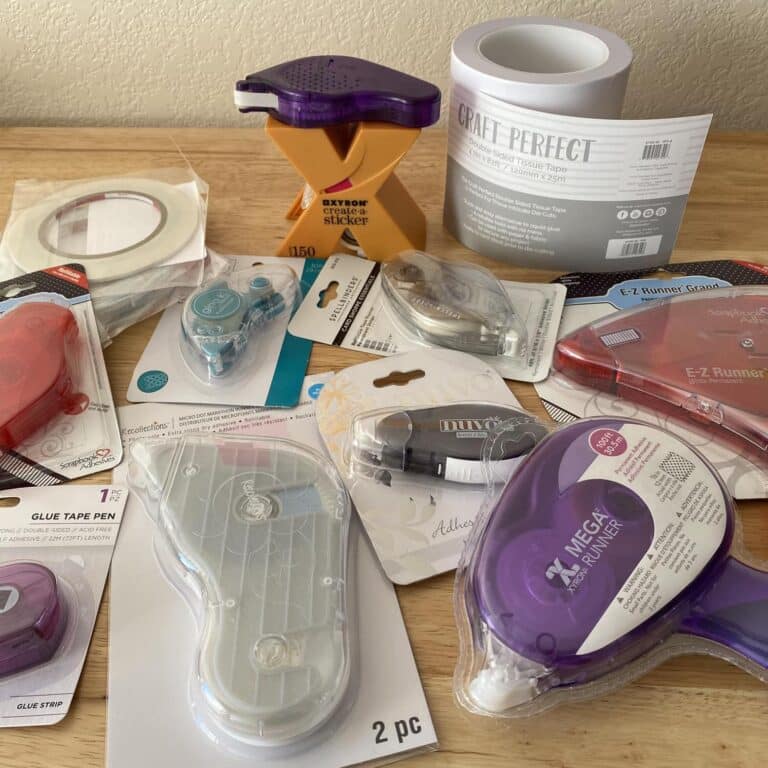
- Adhesive: Opt for glue or double-sided tape to securely attach your embellishments. Foam tape for your shaker box. I used Scor-Tape to put my shaker on the front of my card base.
NOTE: You can see my favorite supplies and tools here.
Step-by-Step Guide for Shaker Cards:
Prep the Card Front:
- Begin by cutting the be berry sweet overlay from cardstock paper to fit the front of your card.
- Cut a card base that is 5.5 x 8.5 inches and fold it in half (or use a pre-made A2 card base).
- Cut a 2.5 strip of berry pattern paper to back your “berry” cut out.
- Cut a piece of pattern paper (berries or stripes in berry colors) that is 4.25 x 5.5 inches.
Back the “Berry” Cutout:
- Glue your 2.5 inch strip of berry pattern paper to the edges of the “berry” word on the overlay
- Use scissors to trim around the word.
Create Your Shaker:
- Use foam tape and edge your 4.25 x 5.5-inch pattern paper (Your foam tape needs to be 1/4 inch or just a little less to make it so you can’t see it on the edges of the card. If you don’t have foam tape that thin, add it to the edge of your paper with it hanging off the side. Trim it with scissors).
- Pull the foam tape protective paper.
- Add your sequins, shaker pieces, or glitter to your shaker.
- Cover with your acetate
Add the Card Overlay:
- Use glue or Scor-Tape to attach your card overlay to the top of the acetate on your shaker.
Embellish with Berries:
- Carefully attach the 3D stickers, die-cuts, or plastic berries to the card front. Arrange them in a visually appealing manner. (I used the Scrapbook.com berry and basket die cuts).
- With colored markers or pencils, add details like seeds on the strawberries or veins on the leaves.
- Add some shading to the berries and leaves to create a 3D effect.
- Don’t overdo the embellishments; remember that simplicity can be just as beautiful.
Place Shaker on Card Front:
- Run strips of Scor-Tape across the front of your card base.
- Place your shake on your card front and press to make sure it is secure.
Write Your Sentiment on the Inside:
- On the inside of the card, write a heartfelt message using berry-related puns or simply express your love and appreciation.
Handmade cards are the embodiment of love, creativity, and thoughtfulness. The “Berry Sweet” card, with its delightful berry-themed design, is a perfect choice for expressing affection and appreciation on various occasions.
By following these steps and infusing your own unique touches, you’ll create a card that’s not only sweet but also cherished by the lucky recipient. So, gather your materials, unleash your creativity, and get ready to spread berry sweetness with a heartfelt handmade card.

