
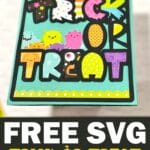
5 Easy Steps to Use This Free Trick or Treat SVG
We may earn a small commission for purchases made through affiliate links in this post. For more information go to our Privacy Policy.
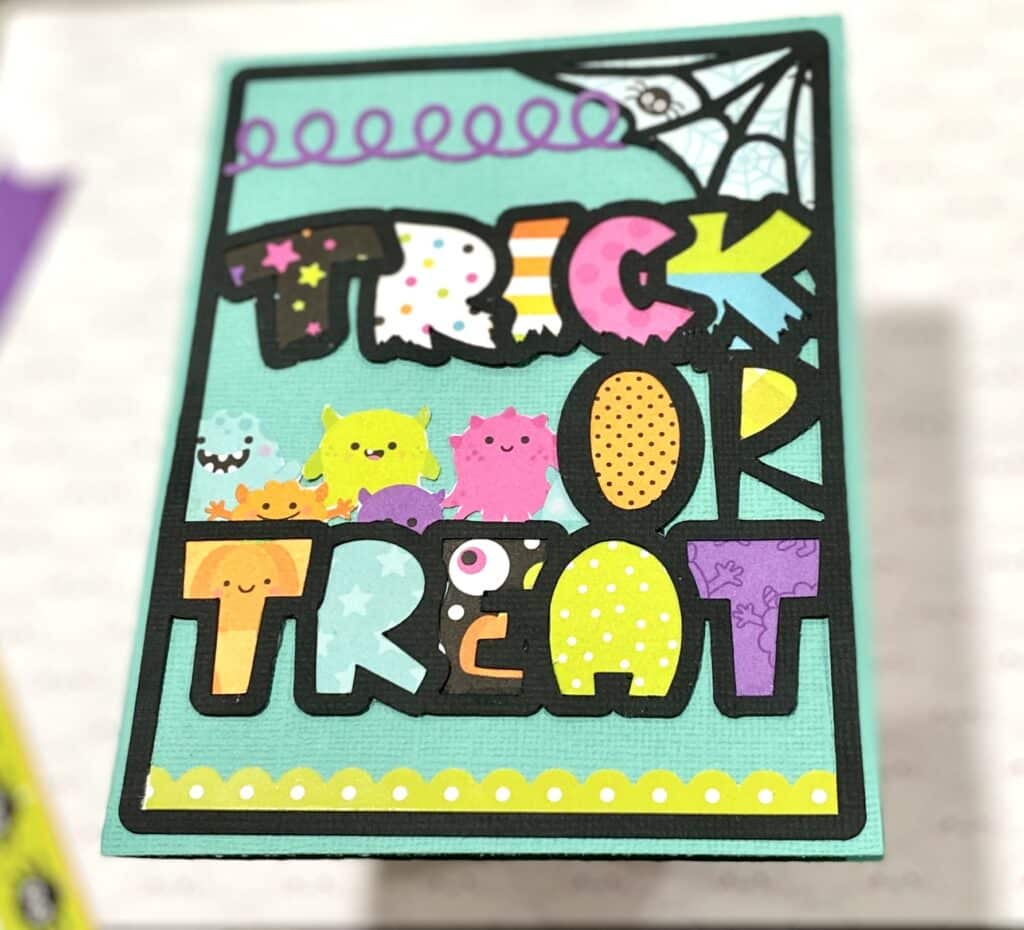
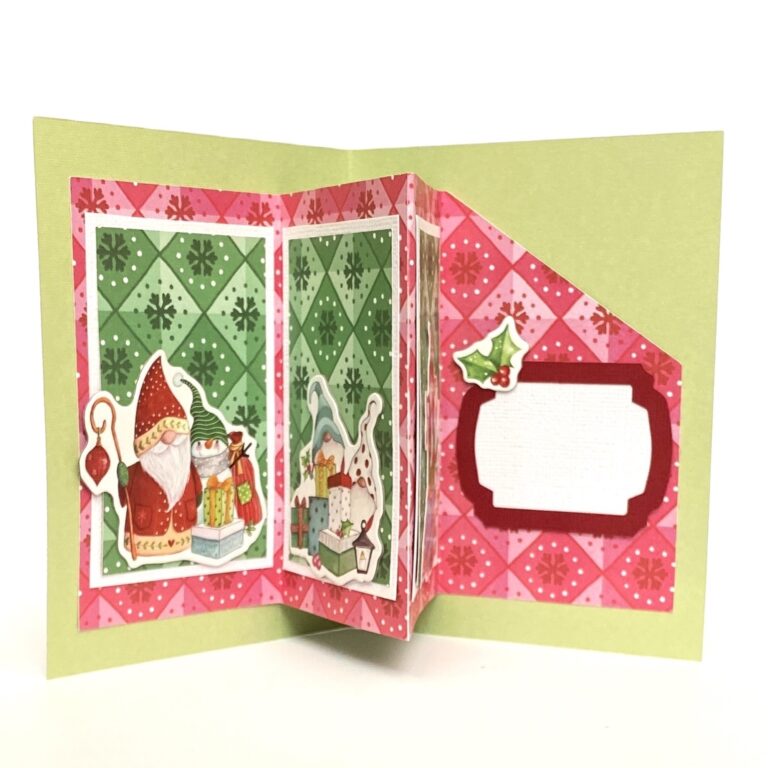
Cut file SVGs are super easy to upload, cut, and start using. This trick or treat SVG is perfect for a handmade card (like I demonstrate in the video) or for a festive scrapbook element. You can alter it as needed to make it work for your craft projects.

The supplies you will need to create this cute card are very minimal. I used scraps of Doodlebug’s Monster Madness pattern papers and a few pieces of the sticker borders. A little fussy cutting to make the monster friends (out of a paper border) and it is ready to send.
- Doodlebug Monster Madness pattern paper
- Trick or Treat SVG file (you can get that in the library)
- black cardstock
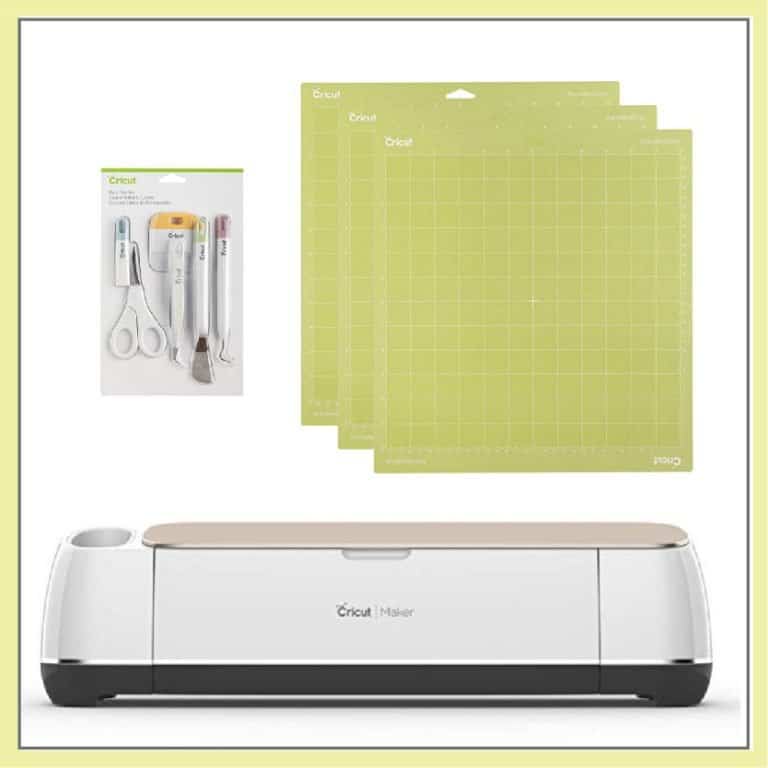
- cutting machine
- glue (the one I used is here)
- Cutterbee scissors (these are my favorite)
You can jazz it up a little more with glitter glue, start stickers, some stamps, or rhinestone embellishments.
Quick and Easy Steps to Use this Trick or Treat SVG
Step One:
Download the file from the SVG library. Once you have downloaded it, you will need to unzip or extract the files. If you need help with that, you can read the tutorial on that here.
Step Two:
Upload the file to the software of your choice. I use Cricut Design Space because I have a Maker. There is also a PNG file included in the folder, so you can always fussy cut it by hand if you don’t have a machine.
Step Three:
Choose the pattern papers you want to use for each letter or section. Add a little glue to the backside around the part you wish to fill. Attach your pattern paper and then trim off the excess. When you look at the design from the front, none of the pattern paper should show on the outside edge.
Don’t worry if it looks messy on the back. No one will see that part. Just make it look good on the front.
Step Four:
Place your overlay on your card front (this one is designed to go on an A4 card (4.25 inches x 5.5 inches) but you can size it down or up depending on what you want.
If you plan to add stamped elements, tags, or other embellishments, arrange them so you are happy with the design.
Step Five:
Attach all your elements to your card front using either glue, foam dots, or your adhesive of choice. Once you have finished attaching your main design, then you can add the rest of your bling. Sparkles, glitter glue, brads, sequins, or pop glue will all add a great finishing touch.
Other Ways to Use This File
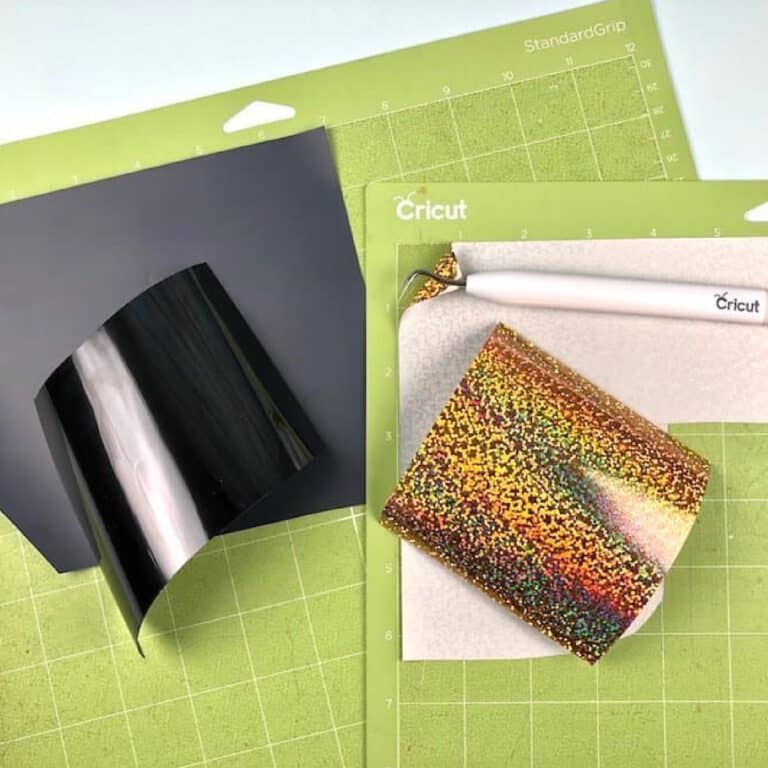
Just because this file is designed for a card front, that doesn’t mean you can’t use it for other projects. Cut it out of colorful vinyl and create a fun Halloween cup, a t-shirt design, or a framed image.
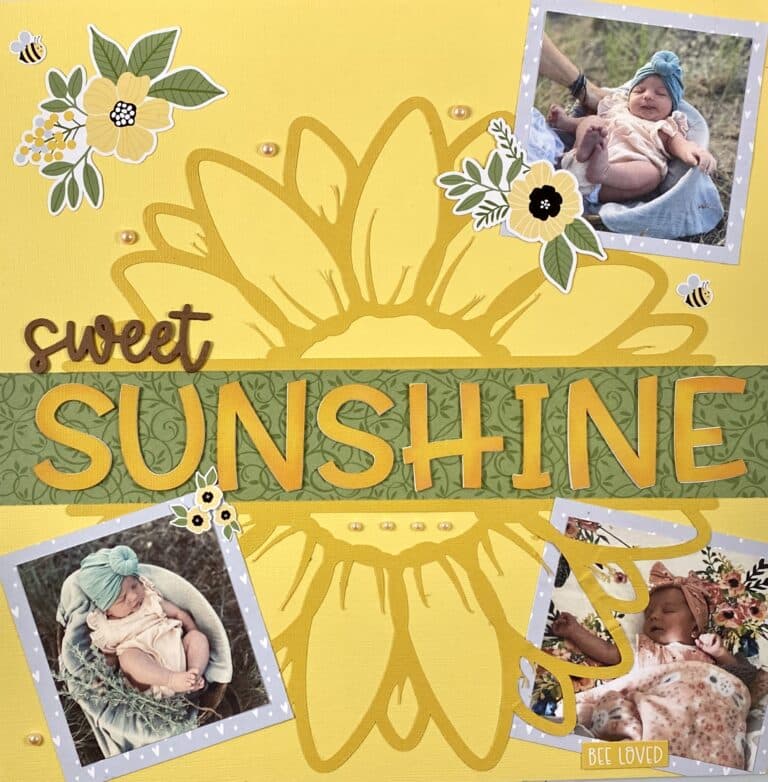
You can also trim off the border and use it for a scrapbook title. Fill in the letters the same way you would for the card, but then add it to a scrapbook layout.
Don’t Like Fussy Cutting?
Fussy cutting is definitely not for everyone. You can still use this file without having to lift a pair of scissors.
Use the SLICE tool in Cricut Design Space to break apart each letter. Change the color of the piece to match the color you want to fill it with. Now make the project. Each of the “negative spaces” in the letters will be cut out exactly in pattern paper.
You can glue down the frame (in black or your desired color) and then fill in each center with your scrapbook paper that was cut by your machine. The piece will not overlap, they will just fit in like a puzzle piece.
Feel free to share your final projects with me on Facebook or Instagram. If you choose to sell or share your designs online, please provide a link back to this post.
Enjoy!
This is very cute. I think I will start with cutting the pieces for the insides of the letters by hand. I watched a video on your You Tube channel that was using slicing to make insides for letters but I’m not sure I’m ready for that with my Cricut.
Definitely go with what you are most comfortable with. There will be a few files coming up that have the insides as pre-made elements for you *hint hint*
Rhoda
So cute!!
Your designs are always so fun! I love this one
This is so fun! Will make these fit my nieces for their Halloween card this year! Thank you!
Such a cute design! Thank you!