7 Simple Photo Mats Tips to Help Create Gorgeous Scrapbook Layouts
We may earn a small commission for purchases made through affiliate links in this post. For more information go to our Privacy Policy.
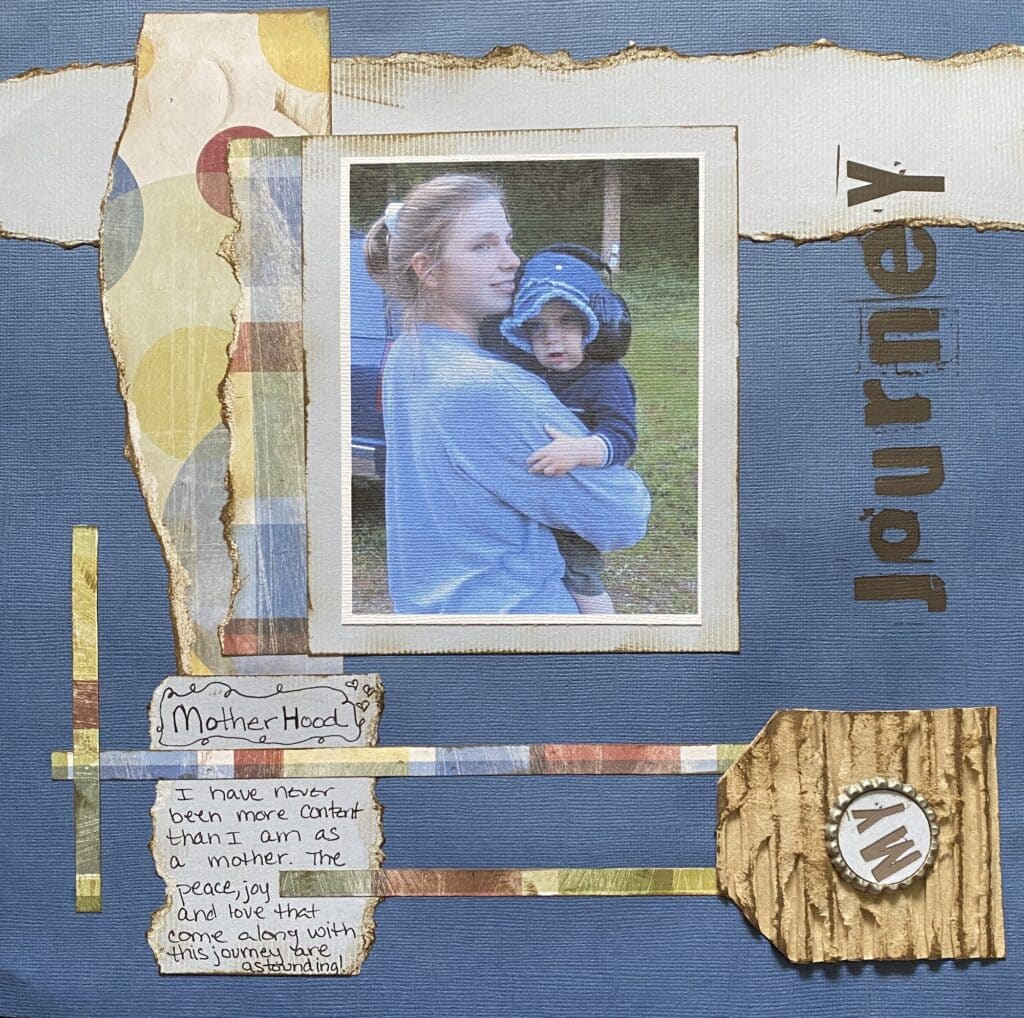
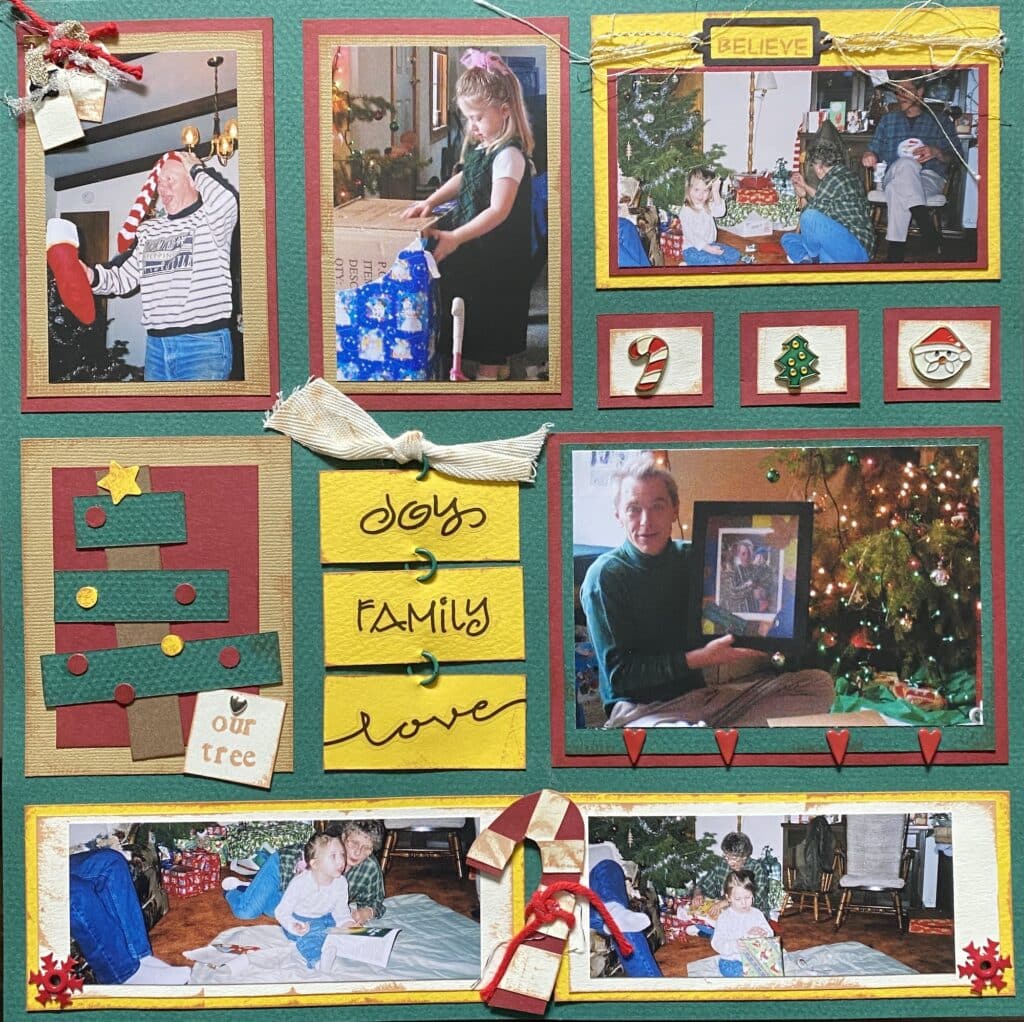
One of the easiest ways to enhance your scrapbook layouts is by incorporating photo mats. These versatile and decorative elements not only showcase your precious photos but also add visual interest and charm to your pages.
We’ll explore the wonders of photo mats and provide you with tips and ideas to create stunning layouts that truly capture the essence of your memories.
Choosing the Right Photo Mat:
When it comes to selecting photo mats, the possibilities are endless. You can opt for solid color mats to create a clean and classic look, or experiment with patterned mats to add flair and personality.
For a touch of elegance, textured mats can bring depth to your pages, while die-cut mats offer a unique and artistic appeal. Consider factors such as color coordination, theme and style, as well as size and shape, to ensure that your photo mats harmonize with the overall design of your layout.
Creating Photo Mats:
Creating your own photo mats is not only rewarding but also allows you to tailor them to your specific needs. Gather your favorite cardstock and patterned paper, along with basic tools like scissors or a paper trimmer, a ruler, and adhesive.
Follow our step-by-step guide to easily craft photo mats that perfectly frame your photos. From measuring and cutting the mats to adding decorative edges or borders, and even incorporating embellishments, your handmade photo mats will add a personal touch to your scrapbook pages.
Measuring Photo Mats:
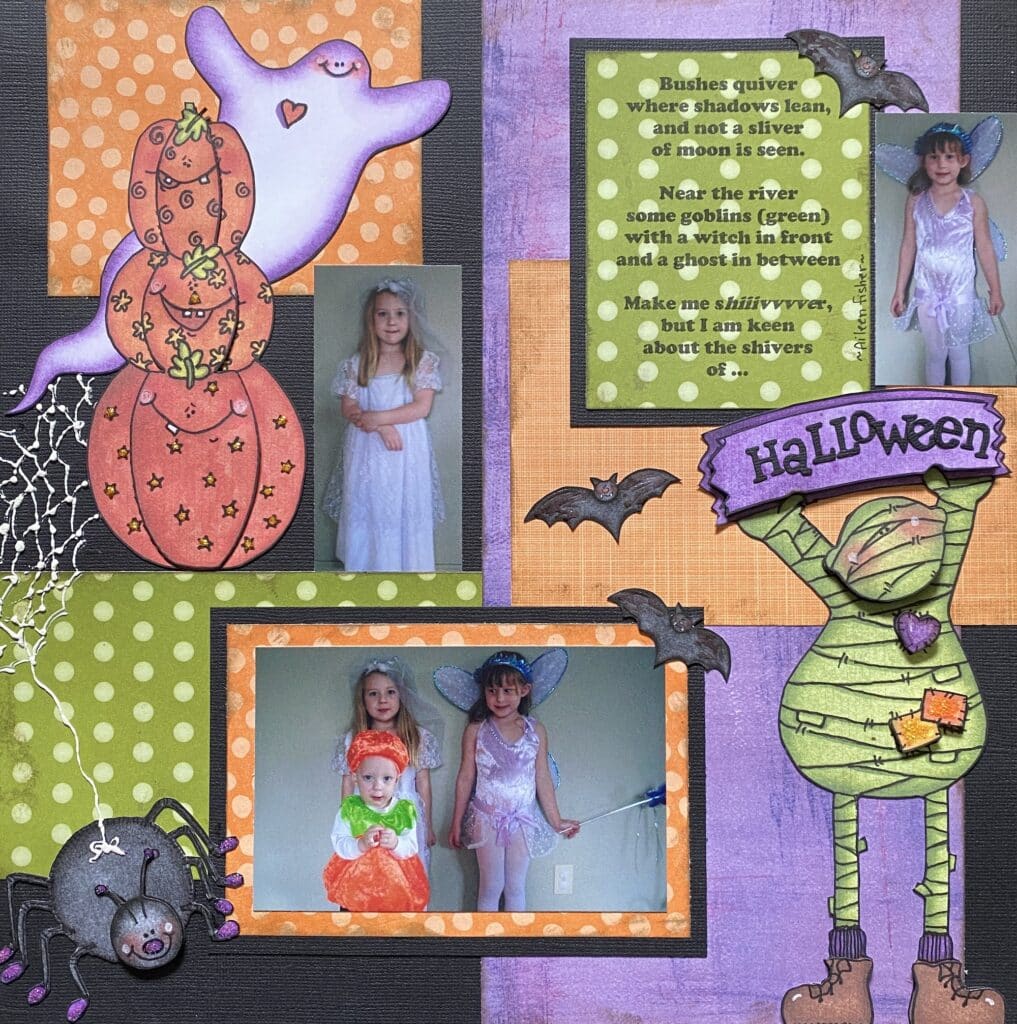
Determine what size your photo is (most photos are 4 x 6 inches unless you had a larger version printed). Photo mats are usually 1/2 inch larger on each side, which actually gives you a 1/4 inch showing on each side when the photo is centered.
If you want more paper showing on your mat, try 3/4 inch to 1 inch larger than your photo. Multiple layers mean you will cut each additional layer a little larger. I usually cut each layer 1/2 inch larger each time.
For example, my photo is 4 x 6 inches. I cut the first mat out of black cardstock at 4.5 x 6.5 inches. Then I cut a pattern paper for the bottom mat that is 5 x 7 inches. You can add as many layers as you want, but 2 or 3 is usually sufficient.
Enhancing Scrapbook Layouts with Photo Mats:
Placement and positioning of photo mats can greatly impact the visual impact of your layouts. Experiment with different techniques such as centering the photo for a balanced and traditional look, or offsetting the photo for a dynamic and playful composition.
Don’t be afraid to explore angles and tilts to create a sense of movement. Additionally, adding dimension and texture to your mats using foam tape, embossing techniques, or mixed media elements can elevate your scrapbook pages to new heights of creativity.
Creative Ideas for Photo Mat Design:
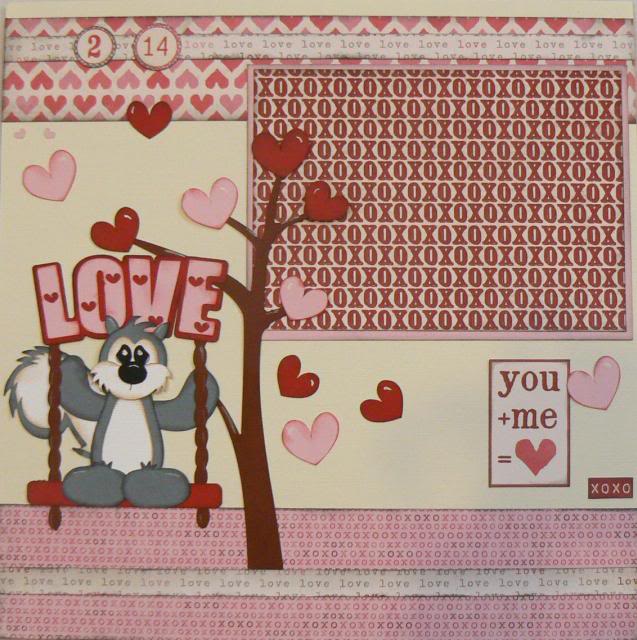
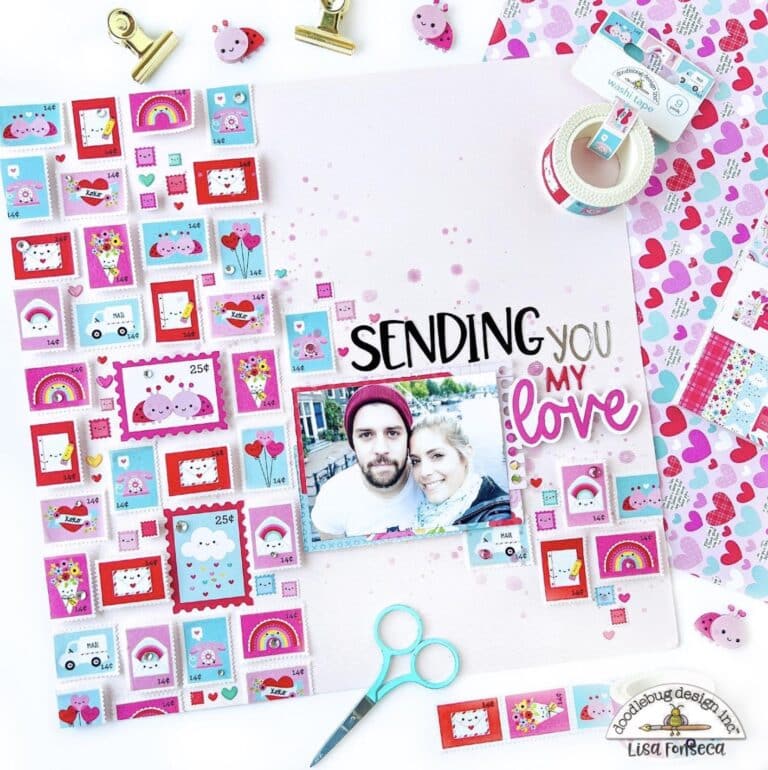
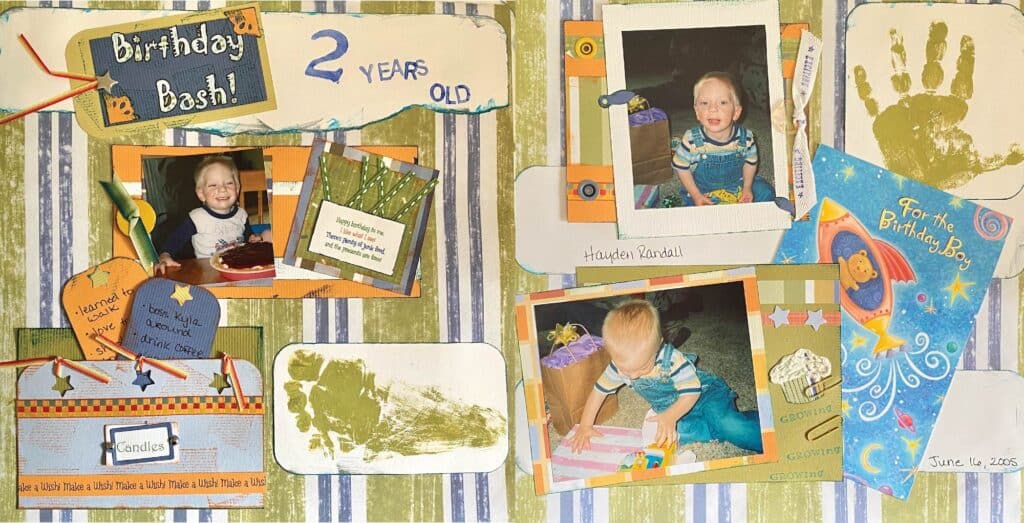
Let your imagination run wild with these creative ideas for photo mat design. Mix and match patterned papers to add pops of color and excitement to your layouts. Consider using themed or specialty papers that reflect the subject or occasion of your photos. Incorporate interactive elements like pockets, flaps, or tags within your mats for a fun and engaging experience.
Play around with different shapes and sizes to create visual interest and variety. And don’t forget to leave room within your mats for journaling, allowing you to capture and share the stories behind your photos.
Tips and Tricks for Working with Photo Mats:
To make your scrapbooking experience even more enjoyable, here are some handy tips and tricks. Start by planning and sketching your layout to ensure a cohesive and balanced design. Prepare and organize your mats beforehand to save time and minimize mistakes.
Experiment with fussy cutting and layering techniques to add depth and dimension to your mats. Balance the sizes of your mats within the layout to create a pleasing visual flow. And remember to adjust the colors of your mats for optimal contrast, ensuring that your photos truly shine.
Frequently Asked Questions about Photo Mats on Scrapbook Layouts
What are photo mats in scrapbooking?
Photo mats are decorative elements that are used to frame and enhance photos on scrapbook layouts. They are typically made of cardstock or patterned paper and add visual interest and dimension to the page.
Why should I use photo mats in my scrapbook layouts?
Photo mats serve several purposes. They provide a visual border that helps draw attention to your photos and make them stand out on the page. Mats also add depth and texture, allowing you to create a more dynamic and visually appealing layout.
How do I choose the right photo mat for my layout?
When selecting a photo mat, consider factors such as color coordination, theme and style, size and shape, and the overall aesthetic of your layout. Solid color mats offer a classic look, while patterned mats can add personality. Textured mats provide visual interest, and die-cut mats offer unique artistic elements.
Can I create my own photo mats?
Creating your own photo mats allows you to personalize your layouts and tailor them to your specific needs. All you need is cardstock or patterned paper, scissors or a trimmer, a ruler, and adhesive. Follow our step-by-step guide to easily craft photo mats that complement your photos and layout design.
How should I position the photo mats on my scrapbook layouts?
There are various ways to position photo mats. You can center the photo within the mat for a traditional and balanced look. Offset the photo within the mat for a more dynamic and playful composition. You can also experiment with angles and tilts to add a sense of movement to your layout.
Are there any other ways to enhance photo mats?
Yes! You can add dimension and texture to your photo mats by using foam tape or adhesive foam squares. Embossing or distressing techniques can also provide interesting effects. Additionally, incorporating mixed media elements, such as ribbons, buttons, or stickers, can further enhance the visual appeal of your mats.
Are there any creative ideas for designing photo mats?
You can mix and match patterned papers to add pops of color and excitement. Consider using themed or specialty papers that align with the subject or occasion of your photos.
You can also experiment with different shapes and sizes to create visual interest. Remember to leave space within your mats for journaling, allowing you to tell the stories behind your photos.
Do you have any tips for working with photo mats?
Planning and sketching your layout beforehand can help you visualize the placement of photo mats. Preparing and organizing your mats ahead of time can save you time and minimize mistakes. Explore fussy cutting and layering techniques to add depth and dimension.
Balance the sizes of your mats within the layout to create a pleasing visual flow. Lastly, adjust the colors of your mats for optimal contrast to make your photos stand out.
Can I reuse photo mats on different layouts?
Yes, photo mats can be reused on different layouts, especially if they are versatile in color and design. However, consider the theme and style of each layout to ensure that the mat complements the overall aesthetic. You can also alter or decorate the mats to suit the specific theme or mood of the new layout.
Where can I find inspiration for photo mat designs?
Inspiration for photo mat designs can be found in various places. Look for ideas in scrapbooking magazines, online communities, social media platforms, and even in nature or everyday life. Pinterest and Instagram are great platforms to explore a wide range of scrapbooking ideas and discover new trends.
Remember, photo mats are a fantastic way to add creativity and visual appeal to your scrapbook layouts. Don’t be afraid to experiment, try new techniques, and let your personal style shine through. Enjoy the process and have fun creating memorable and beautiful scrapbook pages!
Photo Mats for Scrapbook Layouts
Photo mats are a fantastic way to elevate your scrapbook layouts and bring your memories to life. By carefully selecting and creating beautiful mats, you can transform your pages into stunning works of art. Don’t be afraid to experiment, personalize, and let your creativity soar.
With these tips, ideas, and tricks at your disposal, you’re ready to embark on a scrapbooking journey filled with joy, laughter, and cherished memories. So gather your photos, unleash your imagination, and start creating layouts that will be treasured for years to come. Happy scrapbooking.

