Happy Planner Horizontal vs Vertical Planner Layouts
We may earn a small commission for purchases made through affiliate links in this post. For more information go to our Privacy Policy.
As you begin looking at layouts for your next planner, you’ll likely notice there are several to choose from. However, even among all the different brands, the two most common layouts are the vertical layout and the horizontal layout.
Debating between a horizontal vs vertical planner? If you find yourself having a tough time deciding whether to go with the Happy Planner horizontal vs vertical layouts, I’m deep-diving into the differences to help you decide.
Covering all the different planner brands would be enough information to fill a book, so I’m going to stick with the differences between the two layouts in The Happy Planner. I love The Happy Planner – it’s the first planner that I actually stuck with. And believe me, I tried ‘em all!
Let’s dive in and contrast the horizontal vs vertical planners because the differences between the layouts actually translate into very different styles of planning.
All About the Happy Planner Vertical Layout
The way that the Happy Planner vertical layout is set up, it has the days of the week spanning columns that cover two side-by-side pages. Each week starts with Monday and ends with Sunday.
Each column has three boxes spanning from the top of the page to the bottom, underneath each day of the week. Although the boxes are not labeled, the idea behind them is to break up your day into morning, afternoon, and evening. But you can label them or use them in whatever way works best for you.
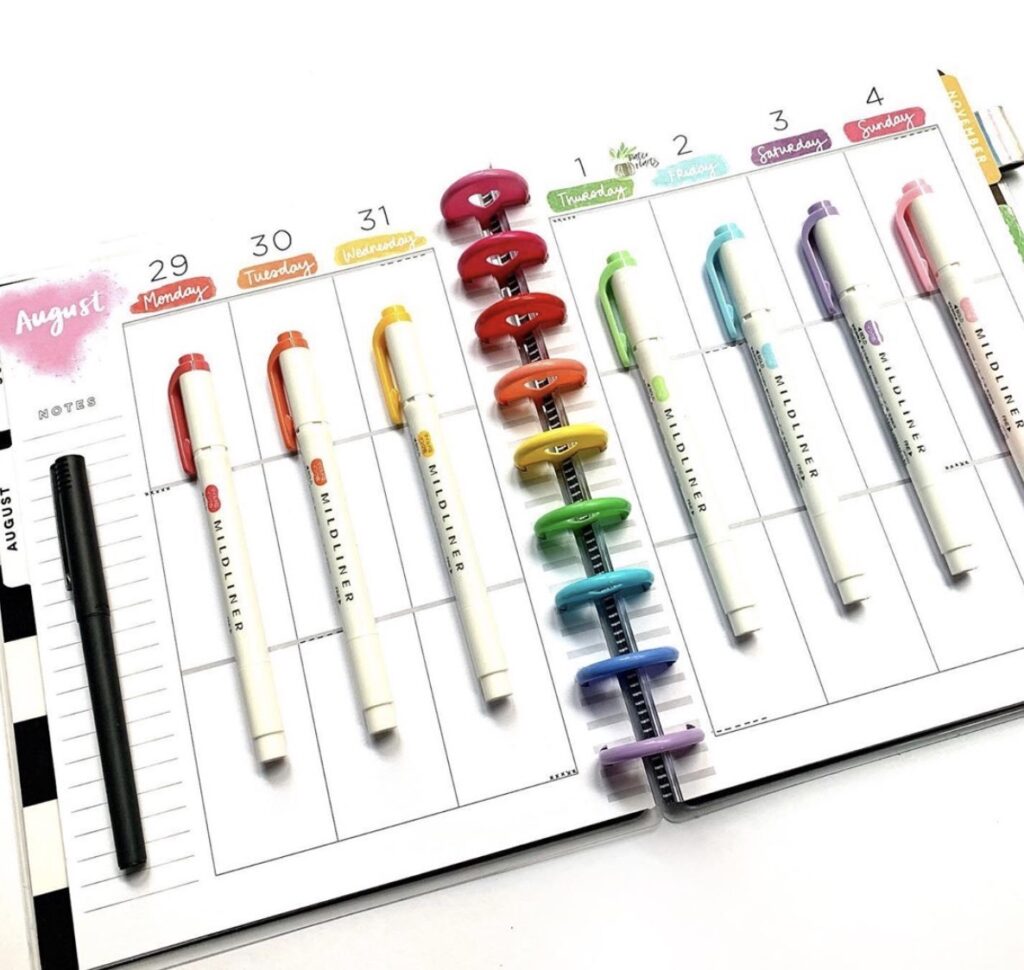
And finally, in the Happy Planner vertical design, you’ll find a column on the very left-hand side that has a monthly calendar and lines to take notes, jot down bullet points, or write down your shopping list or to-do list.
Who Does This Style Work For?
This design is perfect for people who think logically from top to bottom, list-makers, and people who have a lot to keep track of during the day. People who have long task lists, such as moms or bloggers might be a good fit for this style of planner.
Personally, it’s not a style that works for me. My brain just can’t seem to fit my ideas and to-dos into those boxes. Instead, I end up jotting down most of my notes, reminders, and lists that I can into the first two pages of the month.
Then I tried to convert the pages to the dashboard style. After that, I printed my own dashboard-style layout and just turned my Happy Planner into a Frankenplanner.
Pros of the Happy Planner Vertical Design
- It’s layout is perfect for writing lists of short tasks
- Lots of options for fun planner stickers to use (including themed stickers)
- Great format for people who really crave structure through their day
- This layout works well for people who have strong morning, afternoon, and evening routines.
- Can use the left column for habit tracking
Cons of the Happy Planner Vertical Layout
- Most planners in the vertical layout do not come with lines, which can make it hard for people who need lines in order to write straight across
- Some people may find a tendency to have more wasted space with this layout – especially those who tend to leave a gap between tasks.
- The columns are fairly narrow, so if most of your tasks are more than 3 or 4 words long, you’ll find yourself using multiple lines or abbreviations, which might bother some people.
Who Would Benefit the Most from Using a Vertical Layout Happy Planner?
- People who have lists of 2-3 word tasks. Moms could fit this with tasks like “grocery store”, “pick up dry cleaning”, or “Sophie Dr. Appt.”
- People who want to use their planner in a task-oriented way instead of as a journal.
- People who think and plan through their day in blocks of time such as “morning”, “afternoon”, and “evening”.
- Anyone who likes using planner stickers 🙂
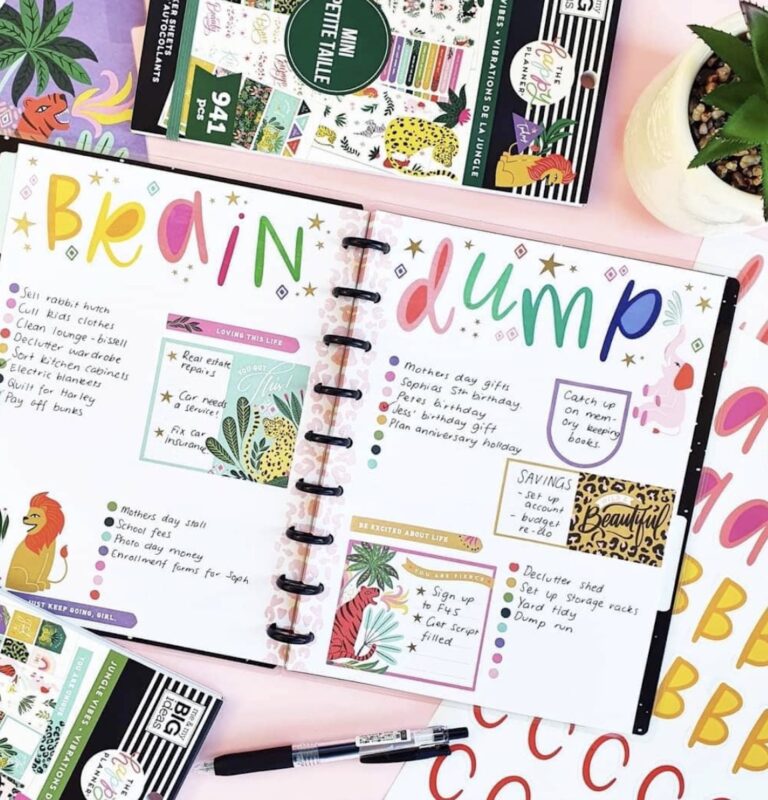
Happy Planner Vertical Ideas to Get the Most Out of It
If you’re anything like me, you need to see some examples of real life planners in action to figure out a good way to use the space. Here are a few ideas of ways to use the Happy Planner vertical layout.
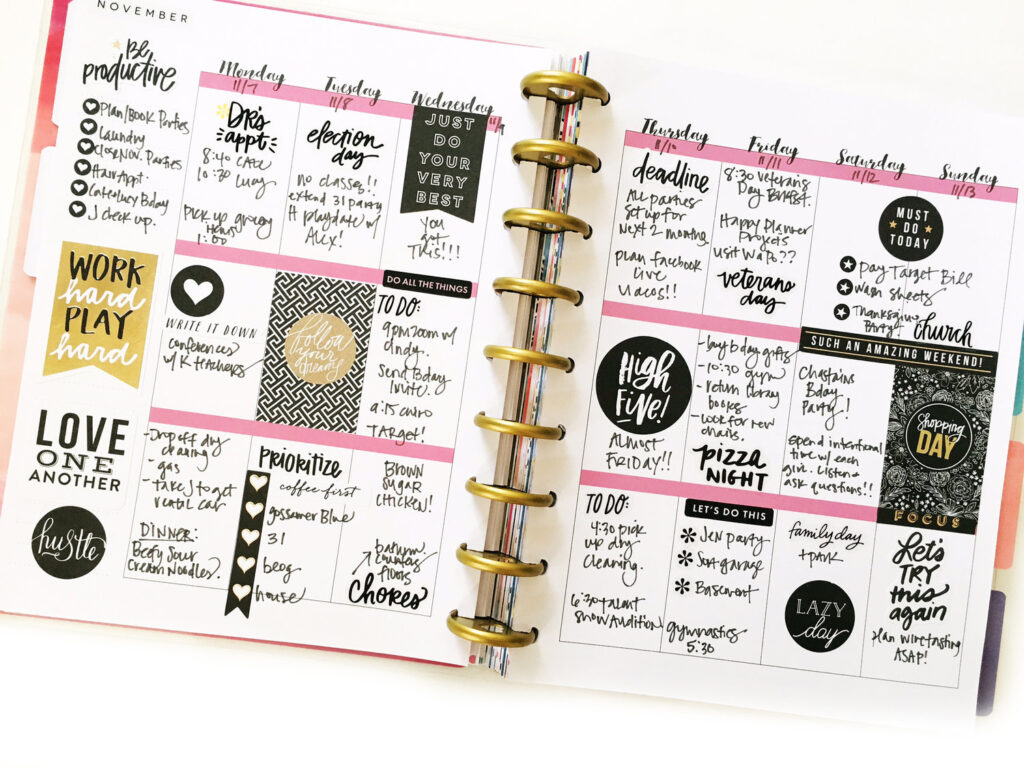
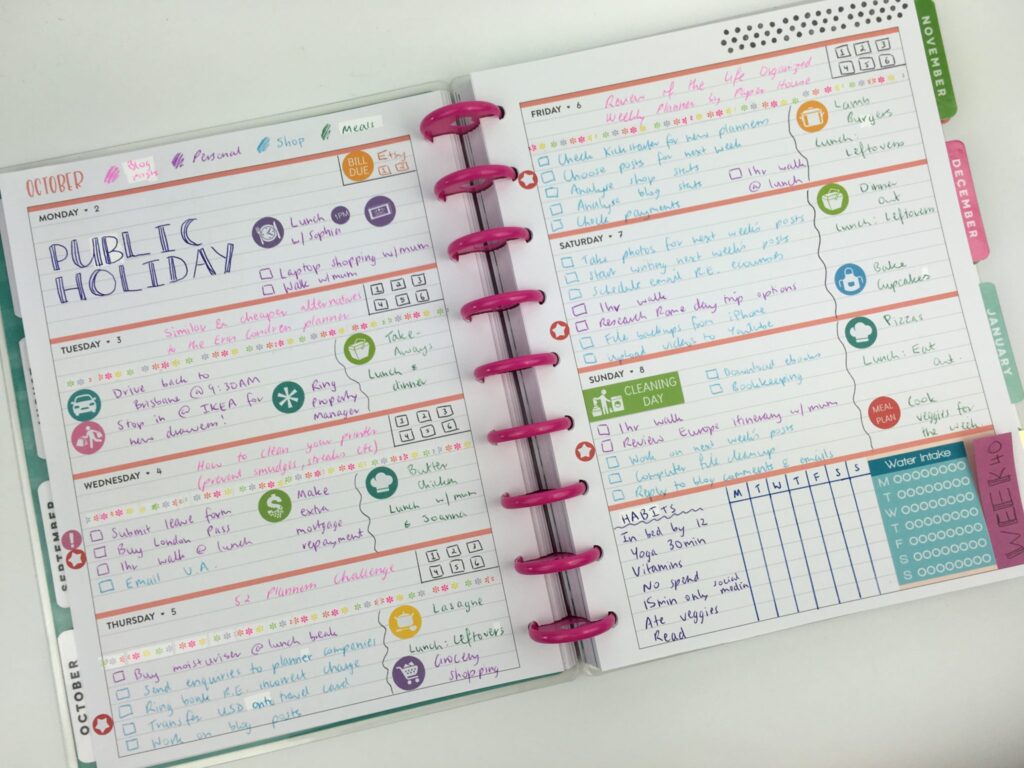
Use Stickers to Completely Rearrange
This planner used stickers to transform her vertical-style planner into a combination of an hourly planner, fitness tracker, meal planner, and to-do lists.

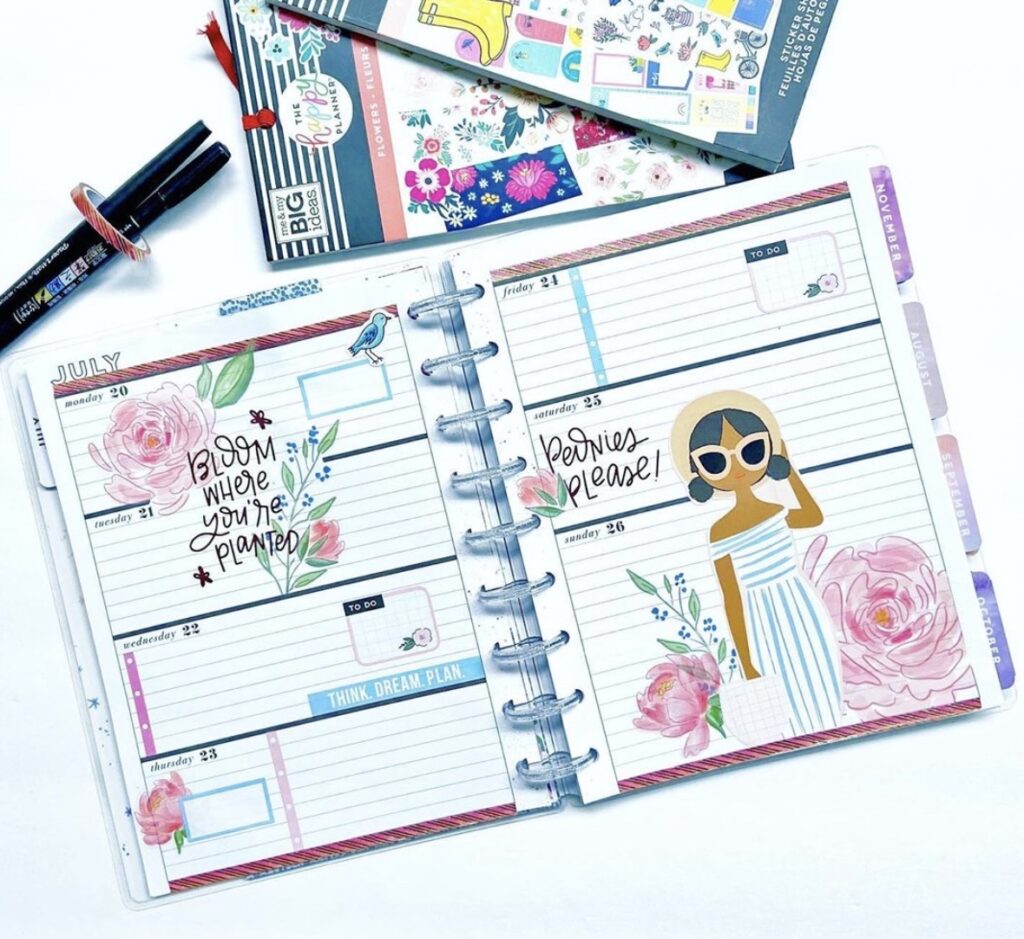
Personalize with Stickers
Here’s an example of using stickers to add some personalization to what is otherwise a simple planner layout. There’s no need to go crazy, let each sticker add its own little bit of flair.
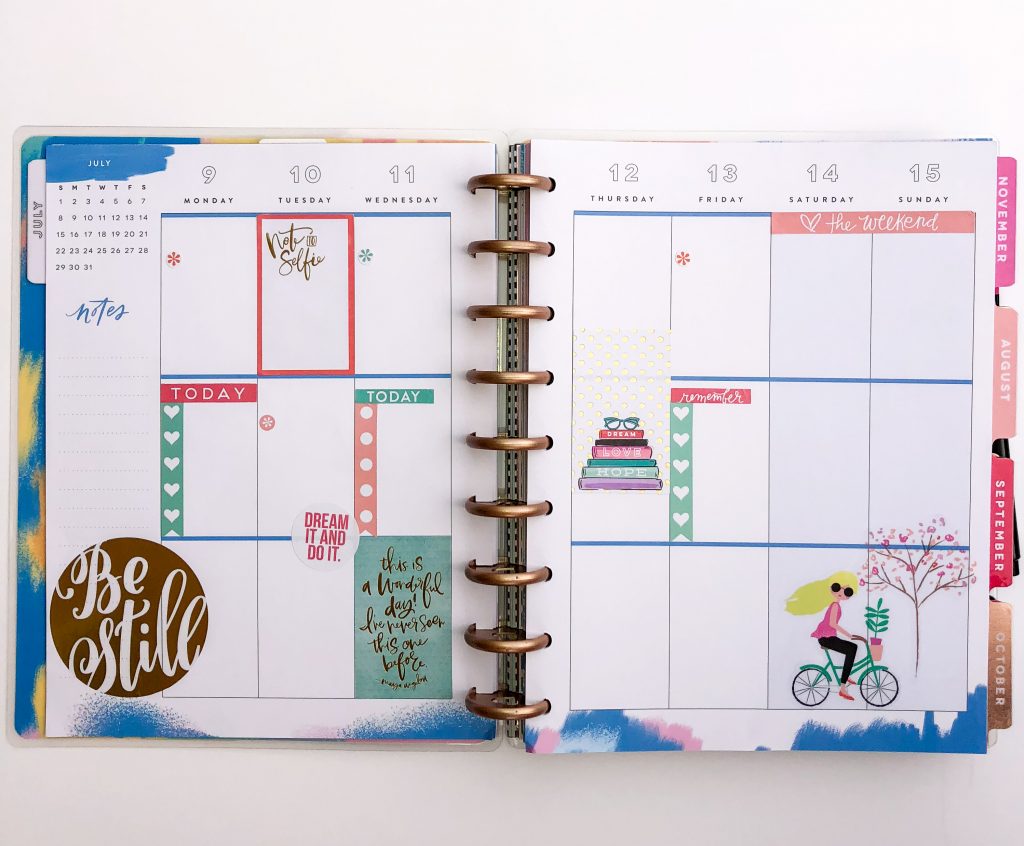
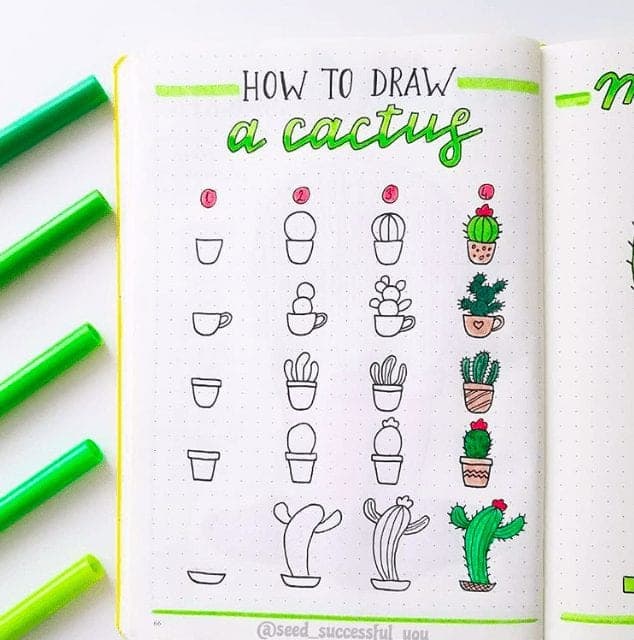
Create a Color Scheme
Part of the fun of planning is the ability to let your creative side out, right? Pick a color scheme for the week (or the month!) and roll with it. It’s fun!
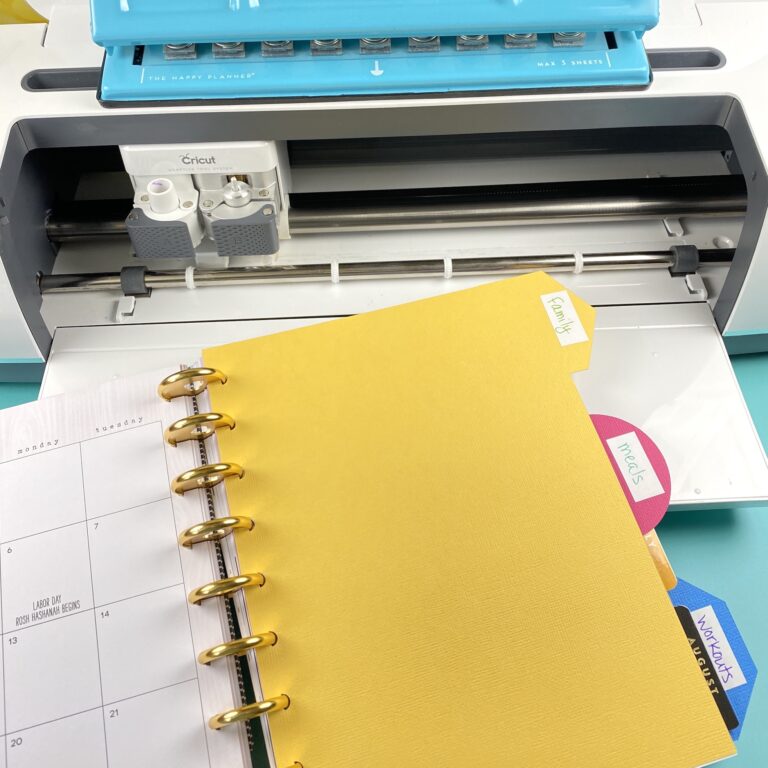
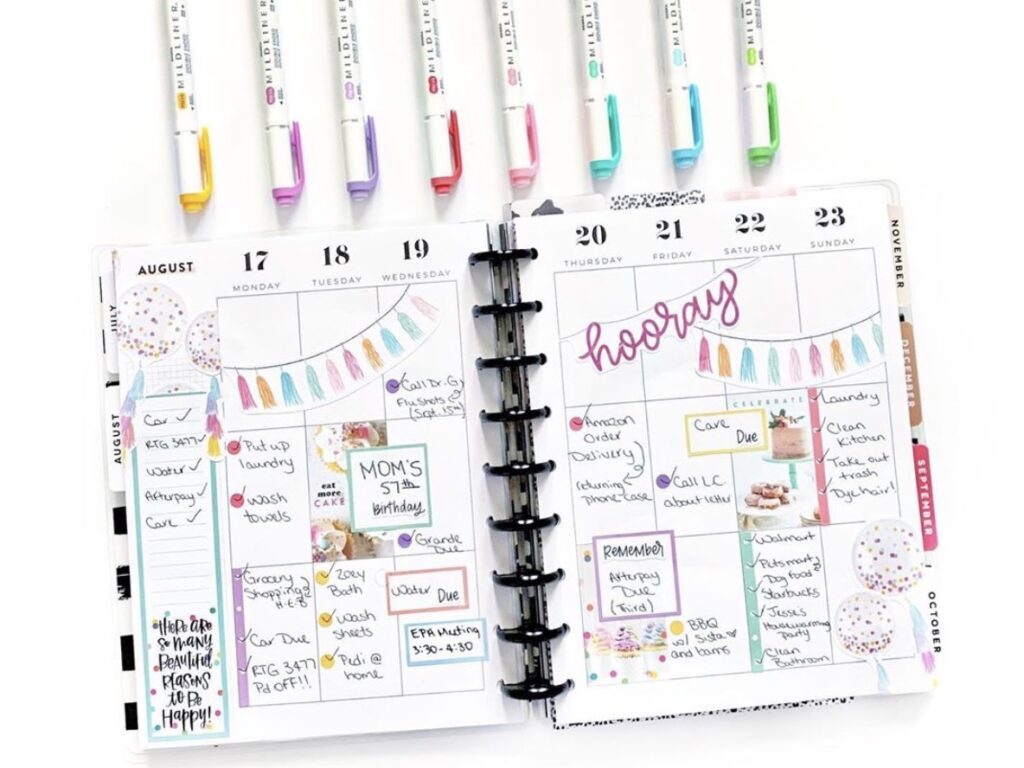
Happy Planner Horizontal Layout 101
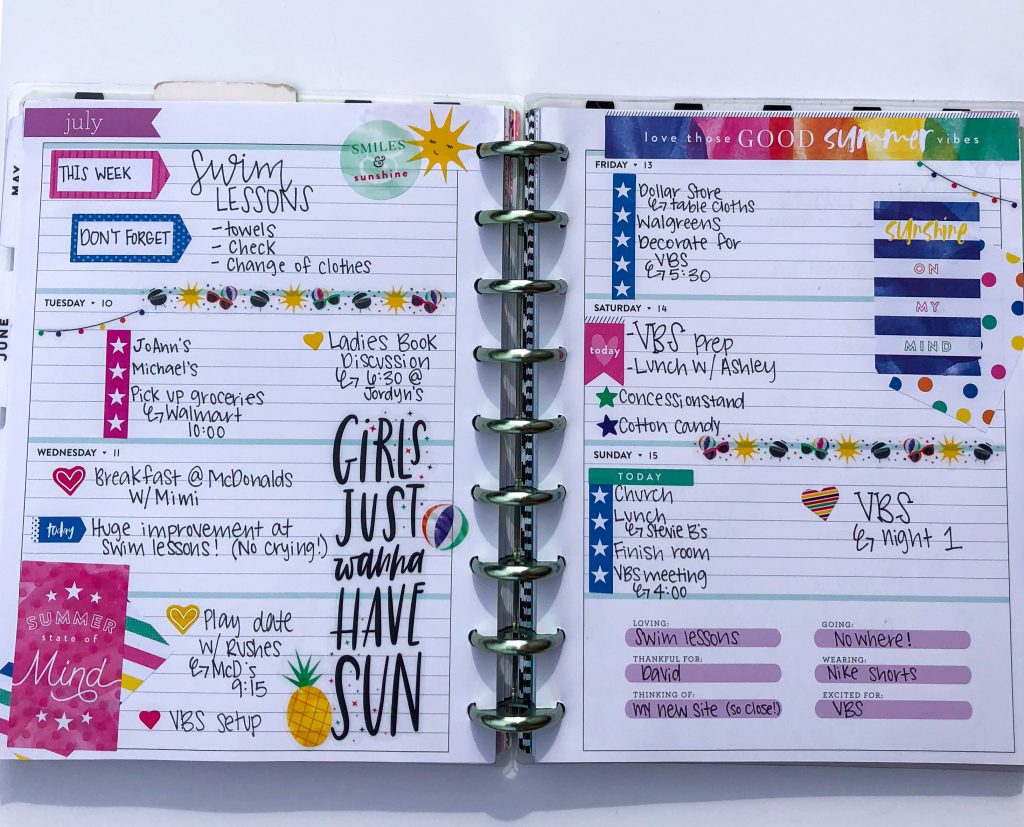
The Happy Planner horizontal layout is set up in such a way that each day has its own box section, and that section spans the entire width of the planner page. The box is filled with lines to make writing easier.
We read horizontally, and this layout is logical for the way we read and write. Its design works well for those who like to write in more detail in their planners. In fact, the horizontal layout is the style that most bullet journal planners use when just starting out (and usually stick with).
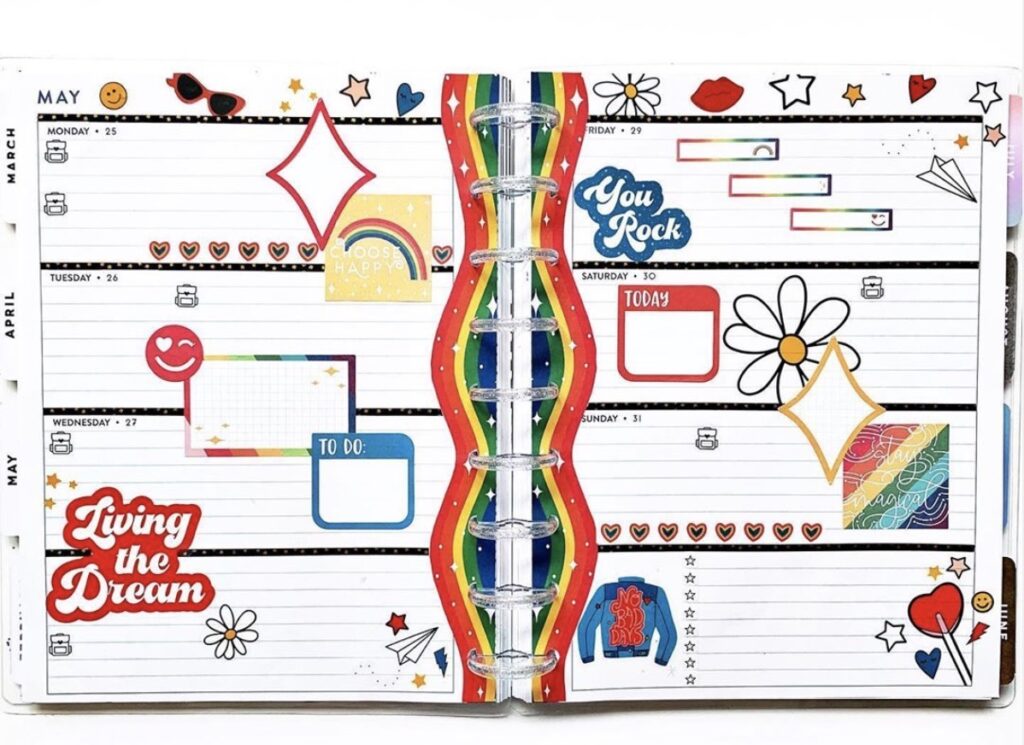
To prevent wasted space, there’s a box at the end of each week that’s great for adding general notes or reminders.
Who Does This Style Work For?
This design is a dream for anyone who loves to journal, doodle, and create by coming up with interesting ways to fit their life into the horizontal spaces.
Pros of the Horizontal Happy Planner Design
- Great format for listing things that just need to get done during the day but don’t need to follow a schedule
- This layout is perfect for being able to write longer tasks without needing to do it on multiple lines
- Terrific journaling style format, providing lots of room to write
- This design is great for taking notes
- Versatile style because you can split each daily planning space into 2 sections if you need more room to plan but your tasks are short
Cons of the Happy Planner Horizontal Layout
- The horizontal format doesn’t have built-in space for habit trackers.
- Not a format that works well with time blocking
- The lack of clear organization may make planning harder for some people.
- Fewer stickers available that fit the horizontal design – you can use other stickers and trim them to size (consider using Happy Planner Mini sticker packs)
- Using stickers with this layout can be awkward as the icon stickers tend to cover up multiple lines and leave you with an odd-shaped planning space.
- Weekend planning space can be cut in half, so double check before purchasing
- This design doesn’t naturally flow with hourly planning, so the hours of the day aren’t printed within the layout.
Who Benefits the Most from Using a Horizontal Happy Planner?
- Anyone who writes tasks longer than 3-4 words.
- People who dislike having tasks take up multiple lines
- Anyone who doesn’t have a super long to-do list or a lot of appointments each day
Happy Planner Horizontal Layout Ideas to Get the Most Out of It
It’s one thing to talk about a planner design, but it’s a whole different experience to see ideas in action, right?
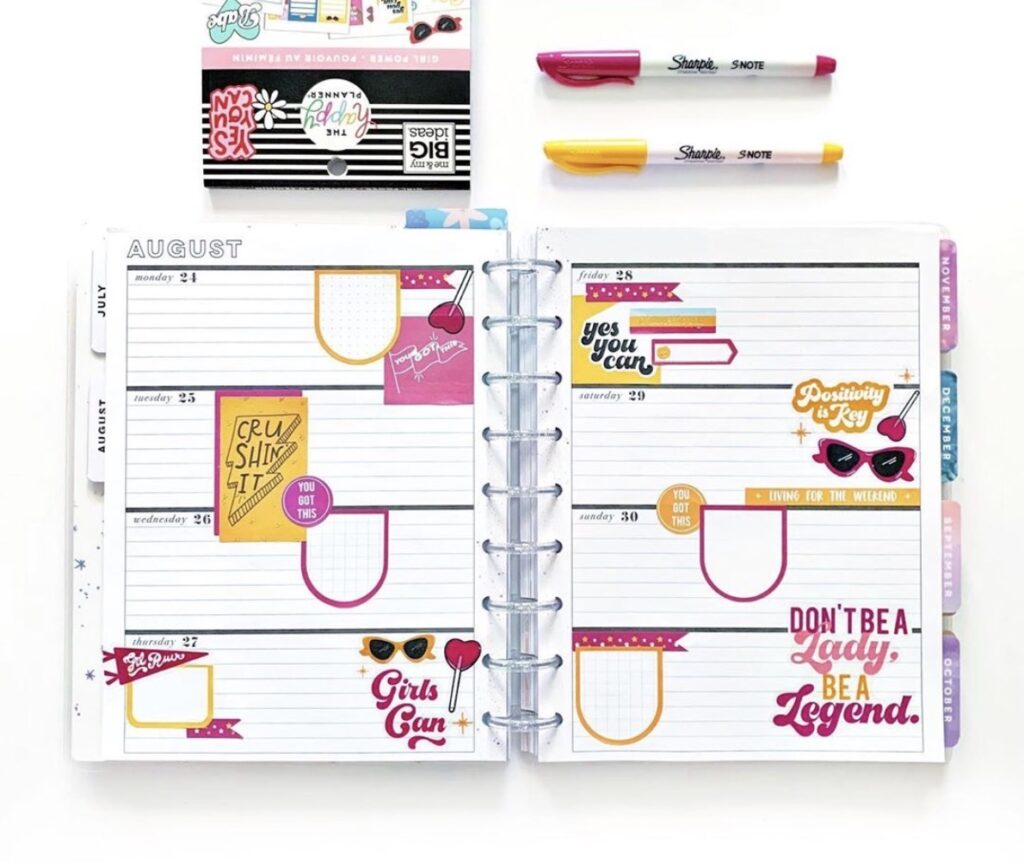
Create 3 Sections for Each Day
This layout provides lots of ability for versatility. The large writing area can be divided up into 2 or 3 sections, in any design that you choose. This planner created 3 sections of different shapes and sizes to meet her needs for tasks, meal planning, and the assignment due that day.
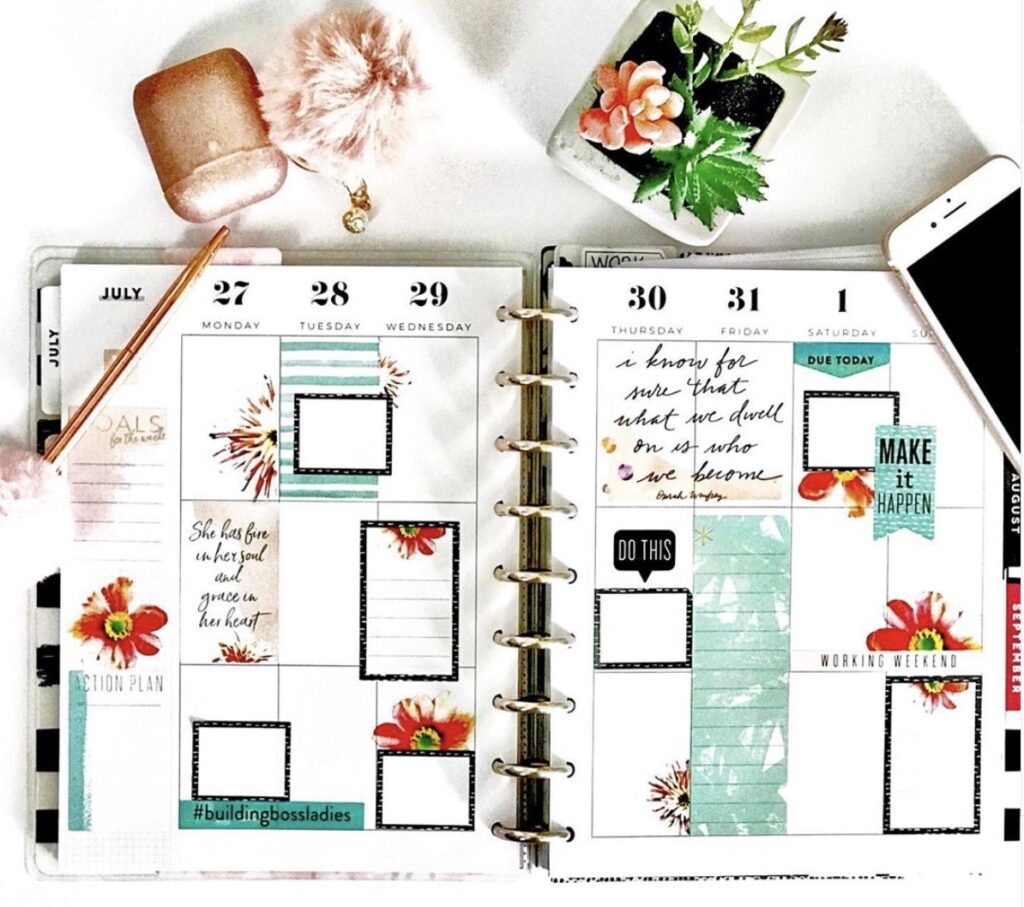
Fun With Stickers
Here’s a great example of planning that doesn’t involve a gazillion activities. The horizontal layout with large stickers makes for fun planning without taking up too much space.
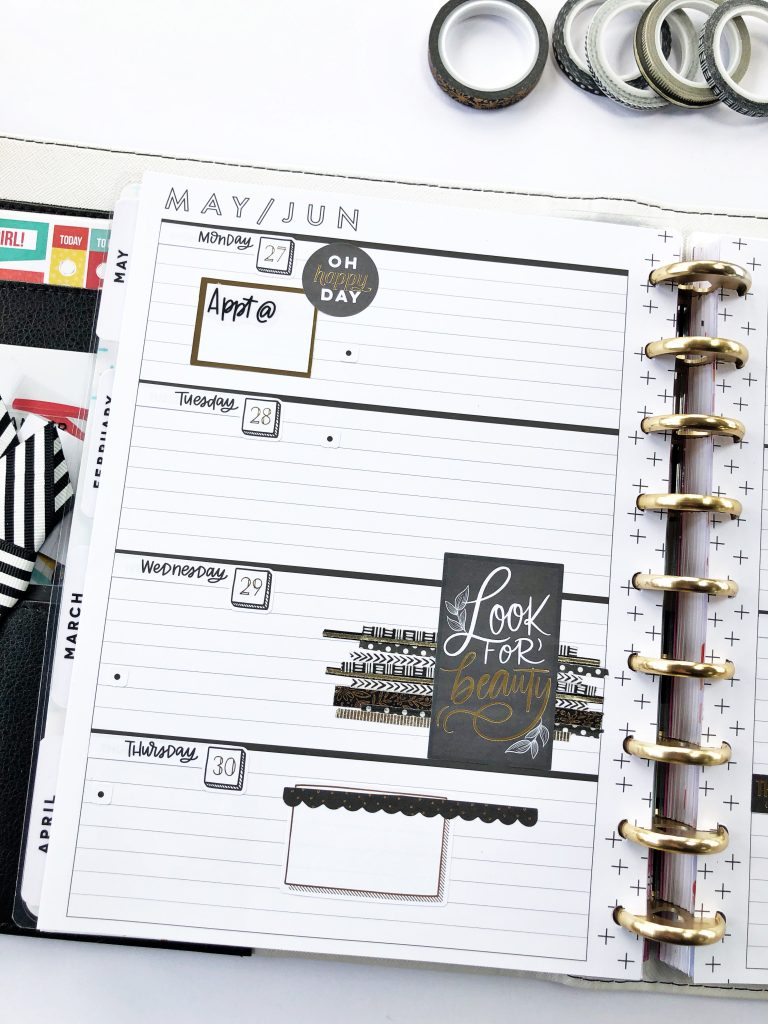
Chic and Simple
This planner uses stickers and washi tape to create a simple but chic black, white and gold design that leaves plenty of room for writing.
Horizontal vs Vertical Planner Layouts – Final Thoughts
Happy Planner vertical layout or Happy Planner horizontal layout? As you can see, these two layouts work very differently from each other and appeal to varying needs and personalities. At the end of the day, though, a planner will only work well for you if you can choose a layout that gels with the flow of your own life.
If you don’t feel that either horizontal vs vertical planner layout options work well for you, try using a printable planner companion kit and make your own! This is something I believe strongly in. After all, the goal is to reduce your stress and help you stay on track with your life.