Quickly and Easily Resize Planner Printables to Customize Your Planner
We may earn a small commission for purchases made through affiliate links in this post. For more information go to our Privacy Policy.
Knowing how to quickly and easily resize planner printables to fit into your planner system is a must.
If you want your planning system to work for you and be something that you enjoy using, you will want to customize your planner (make it your own custom planner with Frankenplanning style!).
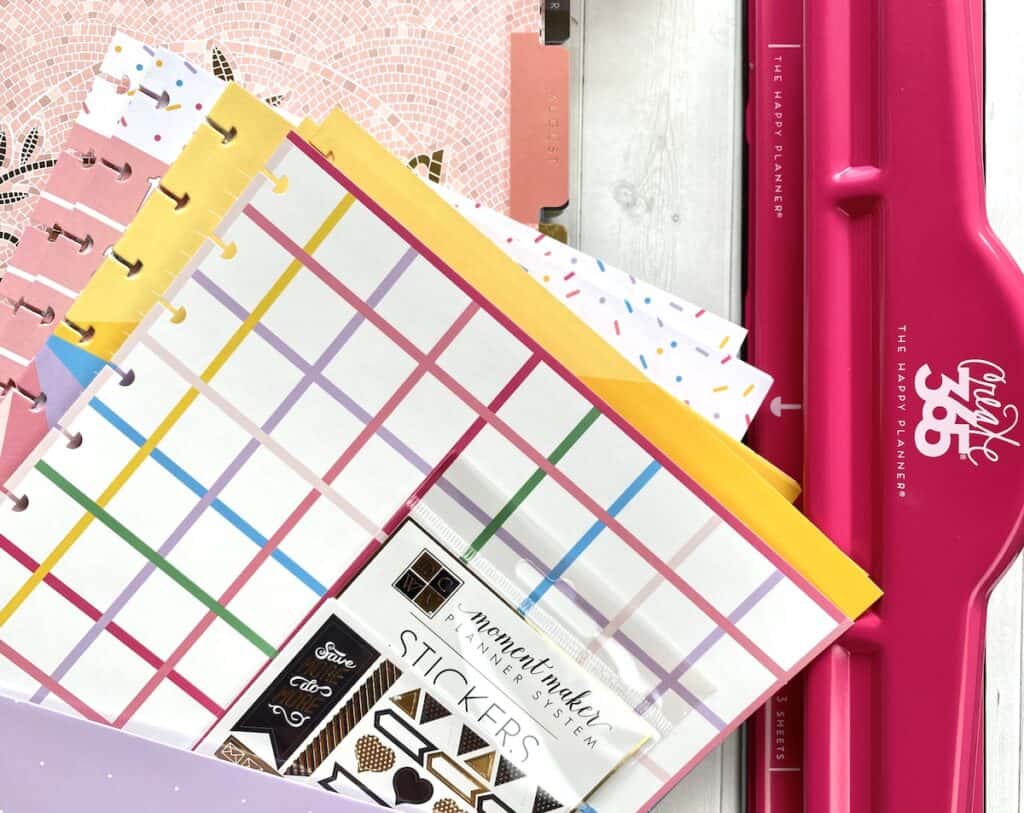
Resizing printables to fit your planner is actually way easier than you may expect. I was thinking there would be a TON of math involved. And measuring. Then cutting. Most likely some cursing and paper wasted.
That doesn’t have to be your planner style. I promise.
Know Your Planner Sizes
Which planner system are you using? Do you have one of the glorious Happy Planners? Or a super duper cute ring binder that you grabbed at Target?
Check out this post [CHEAT SHEET POST] for a quick cheat sheet for all the different planner sizes (or grab the Printable Planner Companion Starter Pack and dive into using your planner effectively).
Get Ready to Resize and Print
Now that you know what size to print your planner pages, lets get to the good part.
Print all your planner printables at the correct size. No messing around and guesswork required.
OPEN the planner printable of your choice.
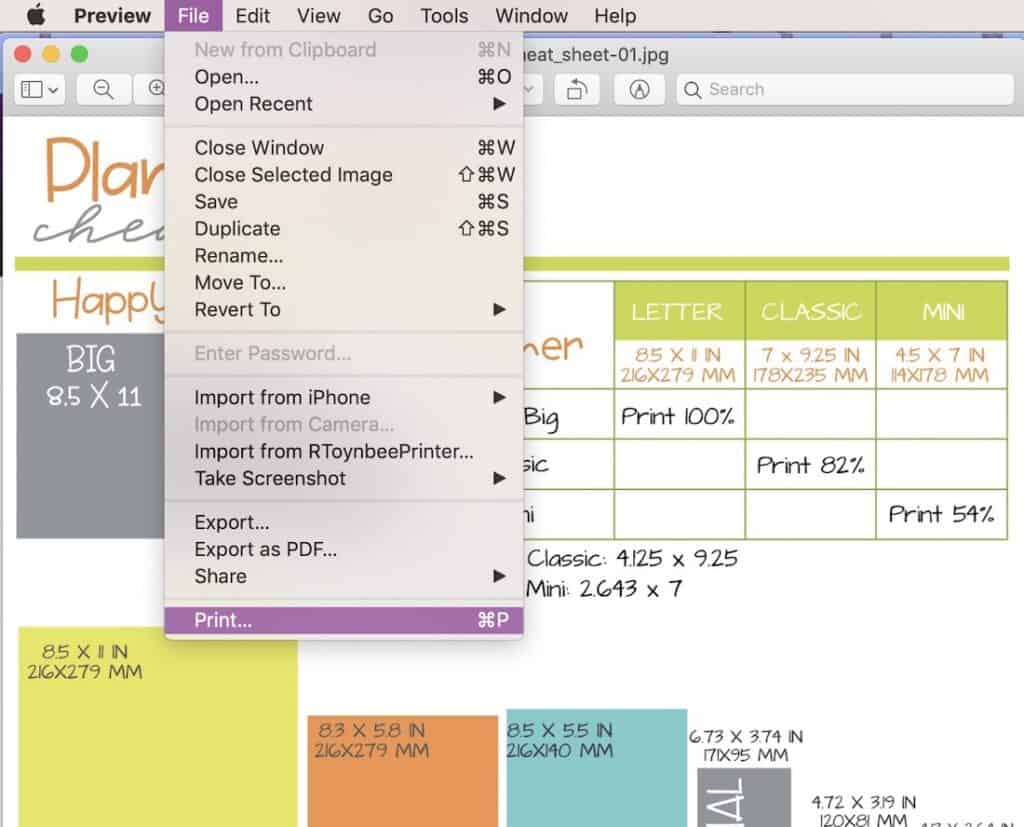
Click on the PRINT button (this can be up in FILE > PRINT or just the printer icon…doesn’t matter).
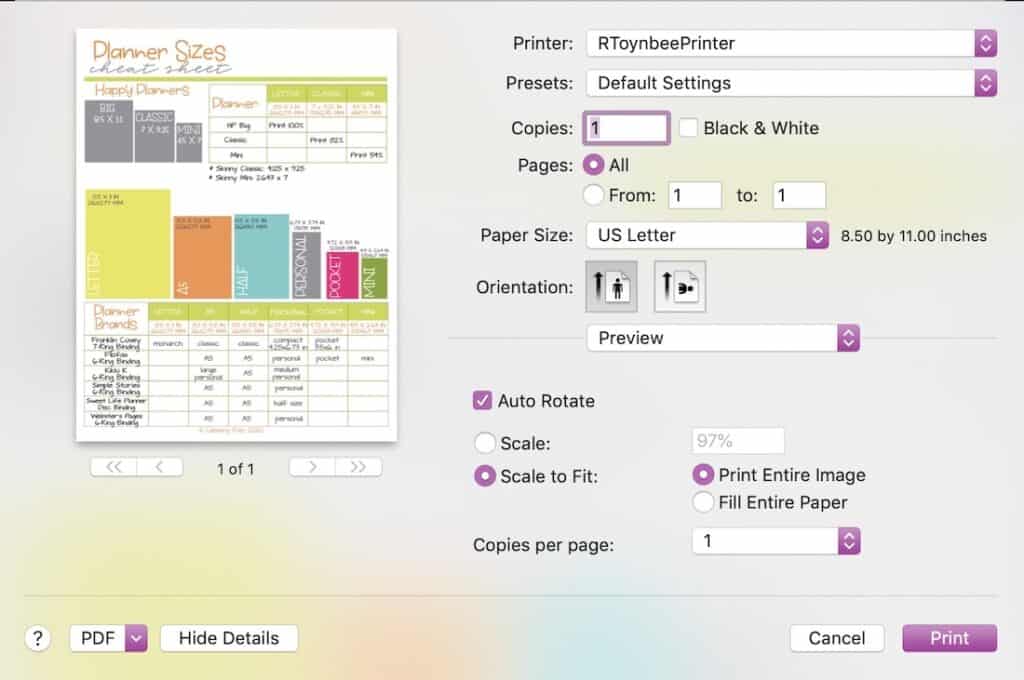
Your default printer settings will look similar to this. If they are not exactly the same, that is ok.
We are going to add some customizations so that next time you are ready to print your planner printables, you don’t even have to measure your planner or remember any numbers.
CLICK on PAPER SIZE
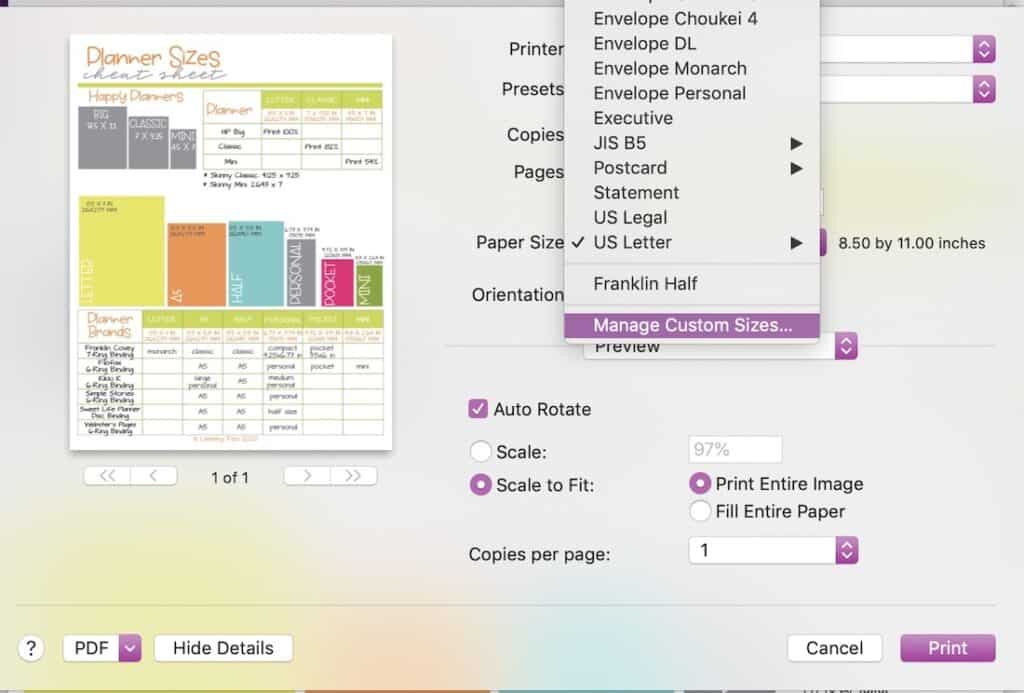
You will get a drop down menu that includes all the different variations that are pre-programmed into the printer’s software. These include A4, A5, U.S. Letter, U.S. Legal, envelope sizes, and index cards.
Save Your Custom Planner Printable Settings
SCROLL all the way down to the MANAGE CUSTOM SIZES option.
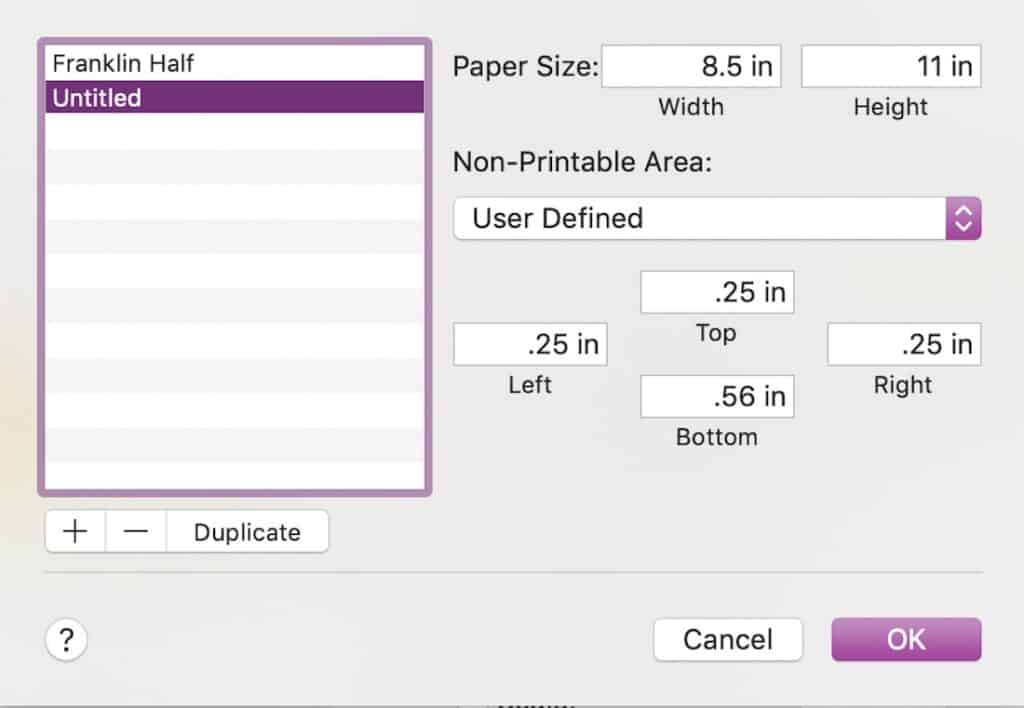
Now CLICK on the + symbol on the left. We are going to add some new options. Once you click to add a new option it will pop up as UNTITLED.
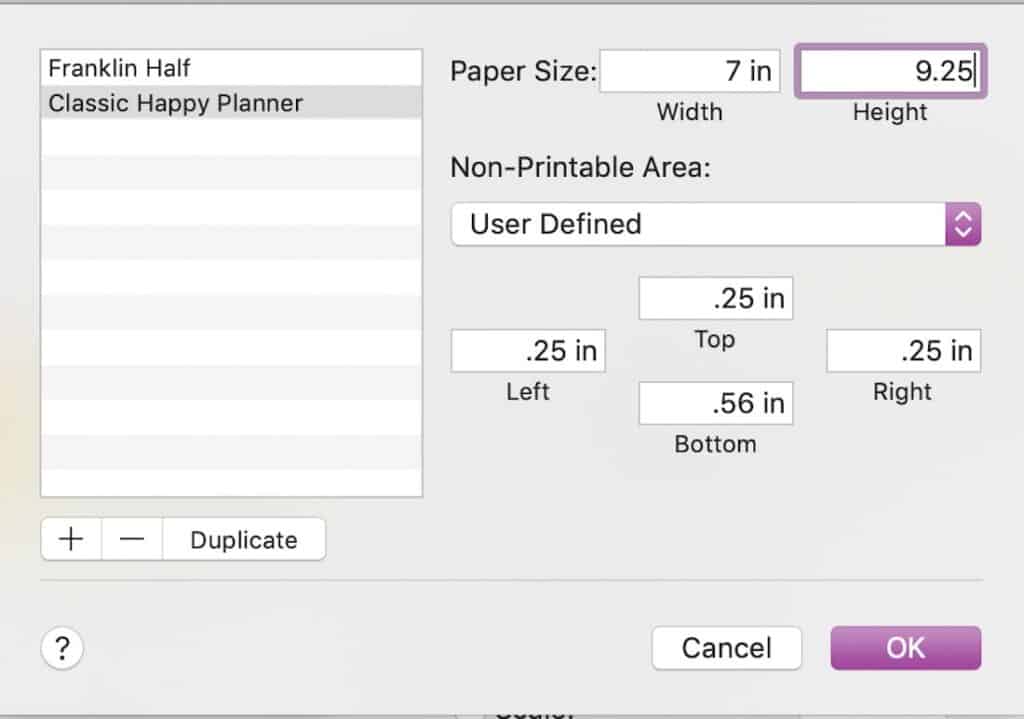
If you DOUBLE-CLICK on the new entry you can rename it. We are going to call this one CLASSIC HAPPY PLANNER. You will notice that Franklin Half is already one of my options because I added it earlier.
After you rename the print option, you will want to set the print sizes. On the right-hand side where it says PAPER SIZE you will see options for WIDTH and HEIGHT.
Type in your custom sizes here. If you are not sure about the size of your planner pages you can read this post to see if yours is mentioned (or if all else fails, measure your pages with a regular ruler).
Click OK and your planner settings will be saved. Each time you want to print a page for a specific planner, the page settings are set and ready for you.
A Quick Print Option When You Can’t Save Your Planner Size
There is a second way to resize your planner printables when you are working on your customized organization system.
The three main Happy Planner sizes and Personal planner pages work best with this option.
CLICK on your PRINT button like you normally would.
Before you send the printable to your printer, you are going to size it down by a specific percentage.
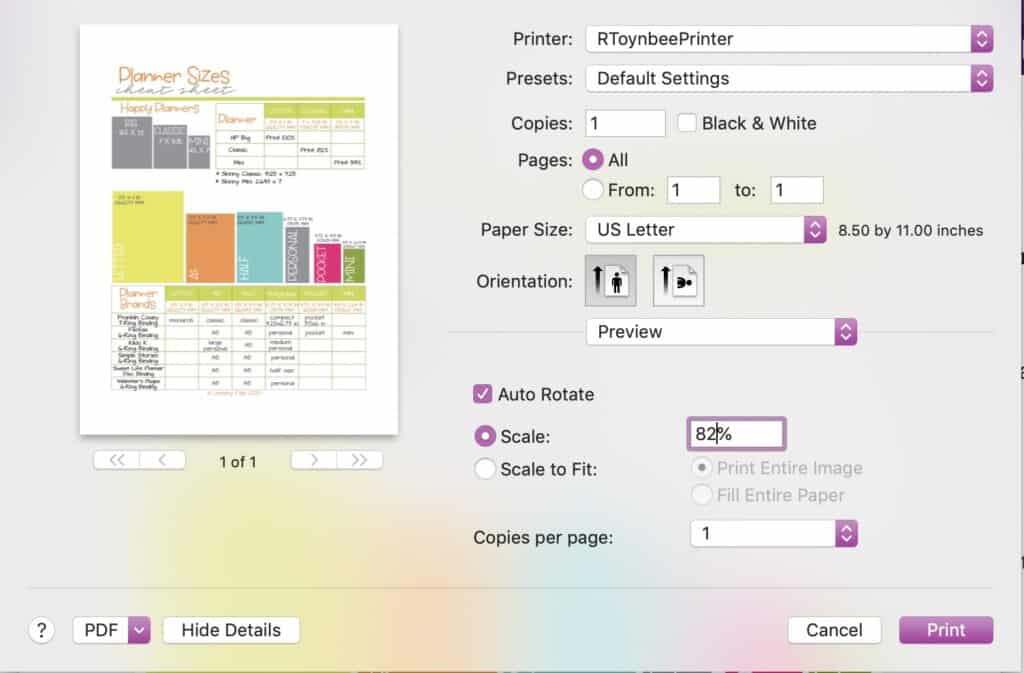
Click on the SCALE radio button. Set the percentage to the sizing you need for your planner pages. In this example I am printing for a Classic Happy Planner and I have it set to 82%.
Read this post for the other planner page percentages.
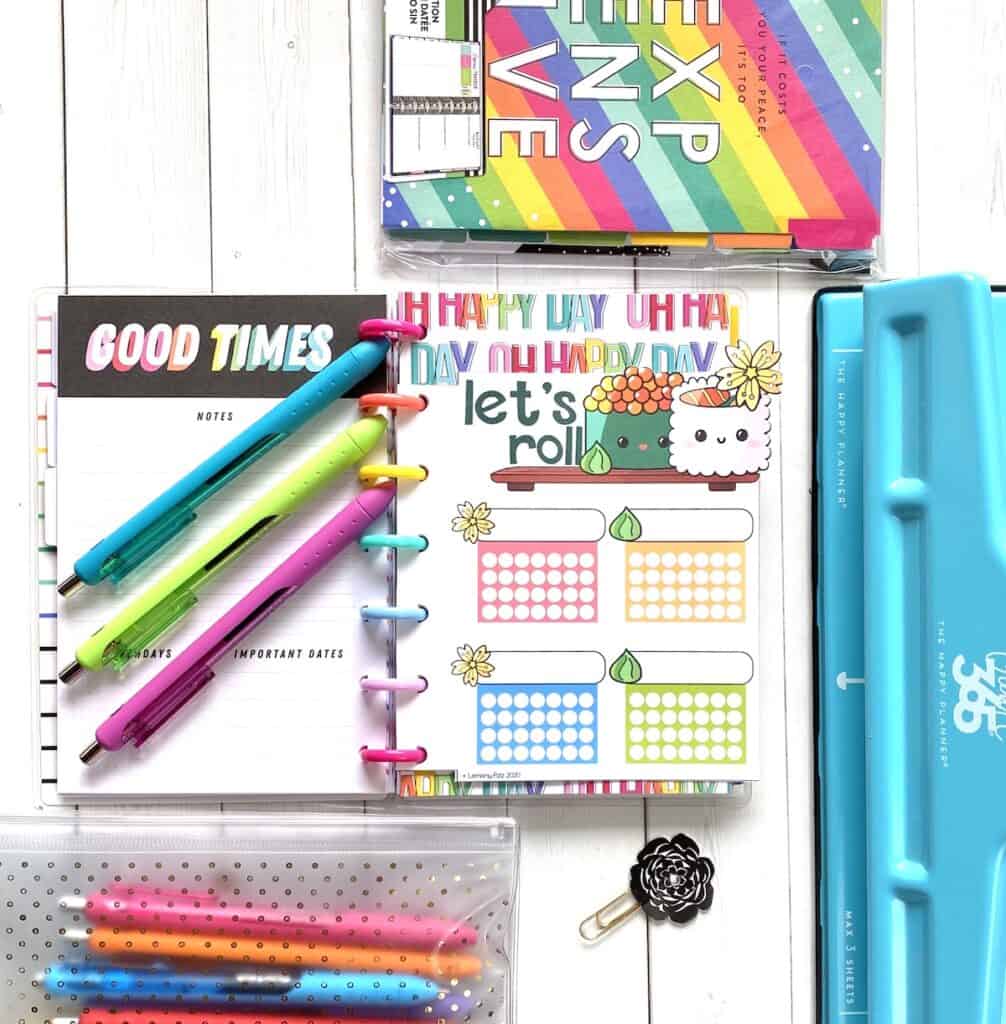
Are you ready to tear your hair out at the idea of a DIY custom planner…but you really really want to make your own planner? This guide will walk you through the entire process (plus it includes some gorgeous planner pages to print, prompts to help you actually USE your planner consistently, and ways to make your planner cute (while still keeping your life organized).
Create Custom Planners with Printables
That was easy right? Your best planner ever is just around the corner with a few clicks of your mouse (and a lot of printing).
Design your own custom planner. It doesn’t have to take forever or be hard. This should help.
Need a Printer?
My favorite printer of all time is the HP Insta Ink Printer. I bought this one when I moved back to an elementary classroom and needed to print all new posters, centers, and task cards.
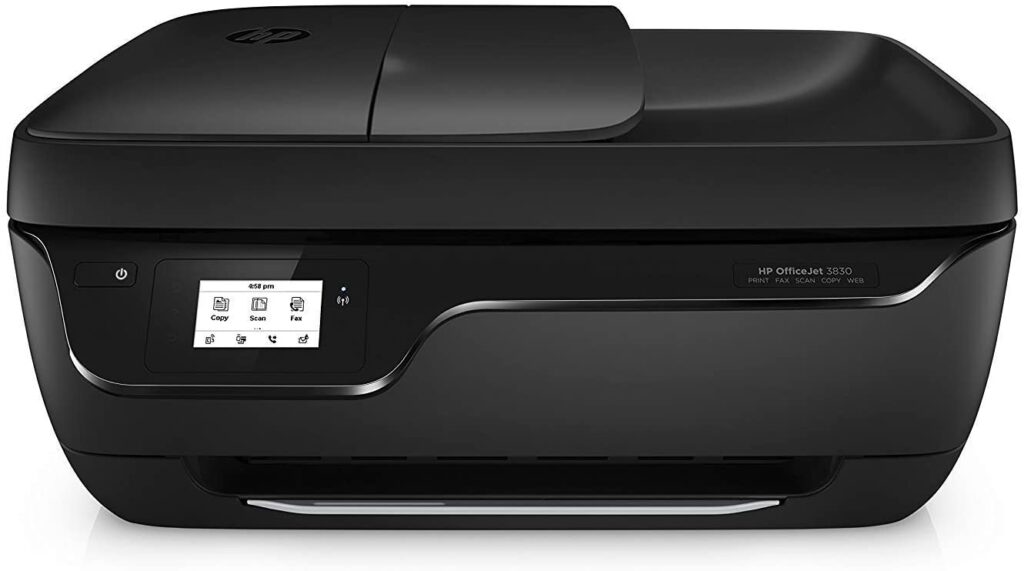
I was the print and laminate queen (the Kinder teacher was a close 2nd…maybe).
Having a new box of ink in the mail before I even need it was always a huge time saver. And the quality was better than any other printer I have owned (plus $5/mo beats $60 every 3 months, hands-down!).
