
Quick and Easy Happy Planner Ideas For Beginners to Save Money
We may earn a small commission for purchases made through affiliate links in this post. For more information go to our Privacy Policy.
It is easy to collect a number of planners: Happy Planner, Dot Journals, Composition notebooks, Day Planners. The list could just keep going!
There are a number of journals in a drawer somewhere…
Intentions are always great. Follow-through is hard!
My first Happy Planner was my teacher plan book. My daughter bought it for me. I figured it would go the way most planners do for me. I’d use it the first month or so and then it would fade off.
I finally found the exception. My next purchase was a regular planner for my daily use.
There are a few planner ideas or hacks that can make your Happy Planner work even better for you too!
Get the Most Out of Your Planner
What Sizes do the Planners Come in?
Let’s go over a few of the basics of your custom disc planner before we move on to the ideas that will help you make the most of it. You can buy planners in different sizes.
- The classic Happy Planner covers are 7.75” x 9.75” and the pages are 7” x 9.25”
- The Mini Happy Planner covers are 5.125” x 7.5” and the pages are 4.5” x 7”
- The Big Happy Planner covers are 9” x 11.25” and the pages are 8.5” x 11”
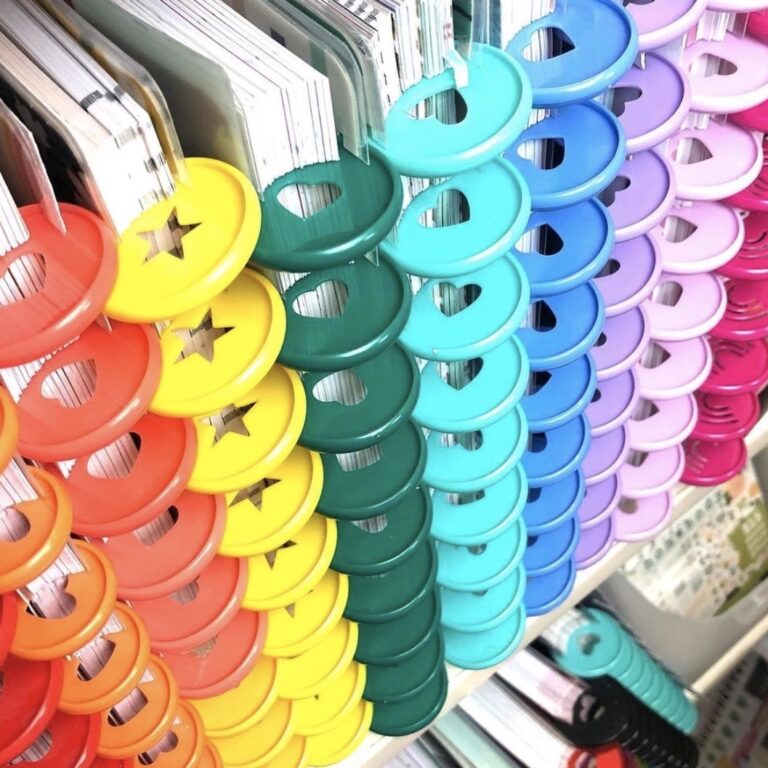
You can also buy the disks or rings in different sizes and colors.
The Happy Planner Classic the most popular size for most planner users.
What Sizes are Happy Planner Rings?
- Expander Discs 1.75” (the rainbow set)
- Classic Discs 1.25”
- MINI Discs 0.75”
If you purchase a Paper Punch you can add even more accessories, pages, and ways to organize your planner.

Idea #1 Find More Space
When you start to add more pages to your planner, you may find that it feels a little tight. It becomes harder to turn the pages. The little holes might tear a little bit.
Flipping back and forth between your monthly planning calendar and the daily planner pages can feel slow and tedious. Or like you are going to ruin your pages each time.
Taking out a month or two will help with this. You can also just take out the daily spreads for a handful of months and then return them to the planner when you are ready for them (and remove your finished pages to keep your planner slim).
NOTE: You could also try the Expander Discs. They don’t look like they are that much larger but they give you just enough space to make turning pages comfortable again.
Idea #2 Storing Extra Pages
Now that you have removed a few months or a couple of sets of daily planner pages, what are you supposed to do with them?
How do you keep them in order or from getting all torn up on a countertop somewhere?
Store them in gallon size Ziplock bags. They fit perfectly.
Some tips include just using an extra set of discs to store your extra pages or months. The problem with this is you have to remove them from the discs, add them back to a set of discs, and then repeat the process to put them back in your planner.
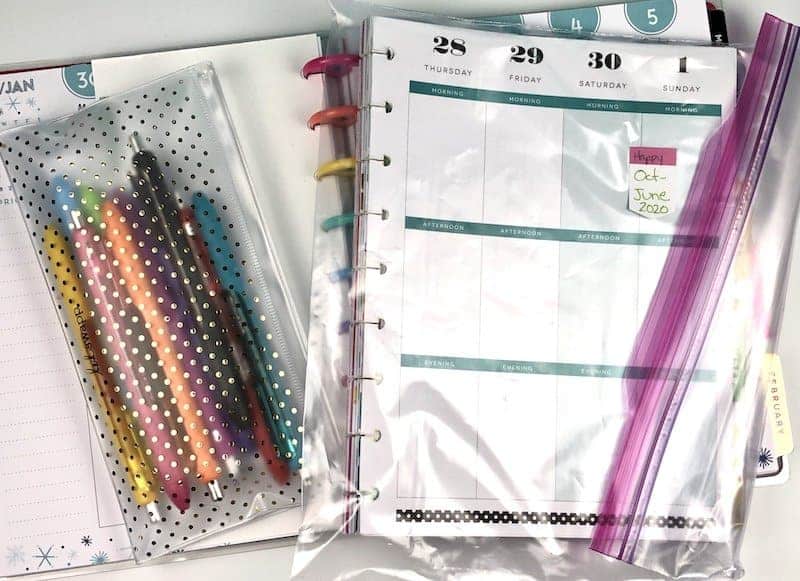
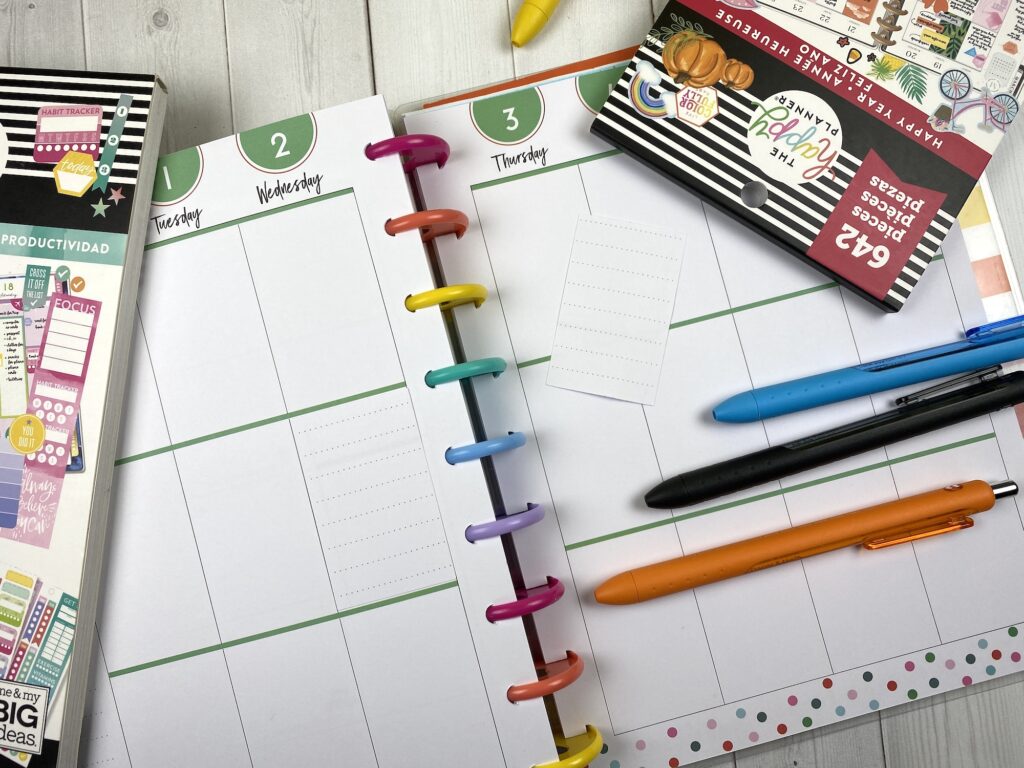
Those pens are some of my all-time favs. You can read more about planner pens in this post.
They also aren’t very strong and won’t be protected if you put them on a bookshelf.
If they are in a plastic Ziplock, they will be kept in order, the page corners will be protected, and you can store them in a bin, drawer, or another type of storage container.
What do you with old Happy Planners?
The Ziplock trick works great for older planners too. Remove the pages from the discs (if you are planning on reusing the discs and to save space) and put your entire planner in a bag.
Store them on a shelf, in a box, or with your Happy Planner collection.
If you have used your planner as more of a dairy or memory keeper, you may want to keep them on a shelf with your scrapbooks. They will be fun to look back through a year or two later.
Idea #3 Reversible Covers are Interchangeable
There are so many options in the “Happy Planner World”. That is part of the appeal. You can mix and match and make a custom planner that works just for you!
Once you have had a planner for a year and start to add more types of pages and planning formats, you might get a little tired of your current cover.
The joy of these planners is you can just swap out your cover. Or replace the front cover with the back so your old date is no longer the main focus of your cover. There are also covers that you can purchase online that make your planner even more custom.
One thing to keep in mind about your planner covers – match up the sizes:
- Classic – 9 holes
- Big Planner – 11 holes
- Mini – 7 holes
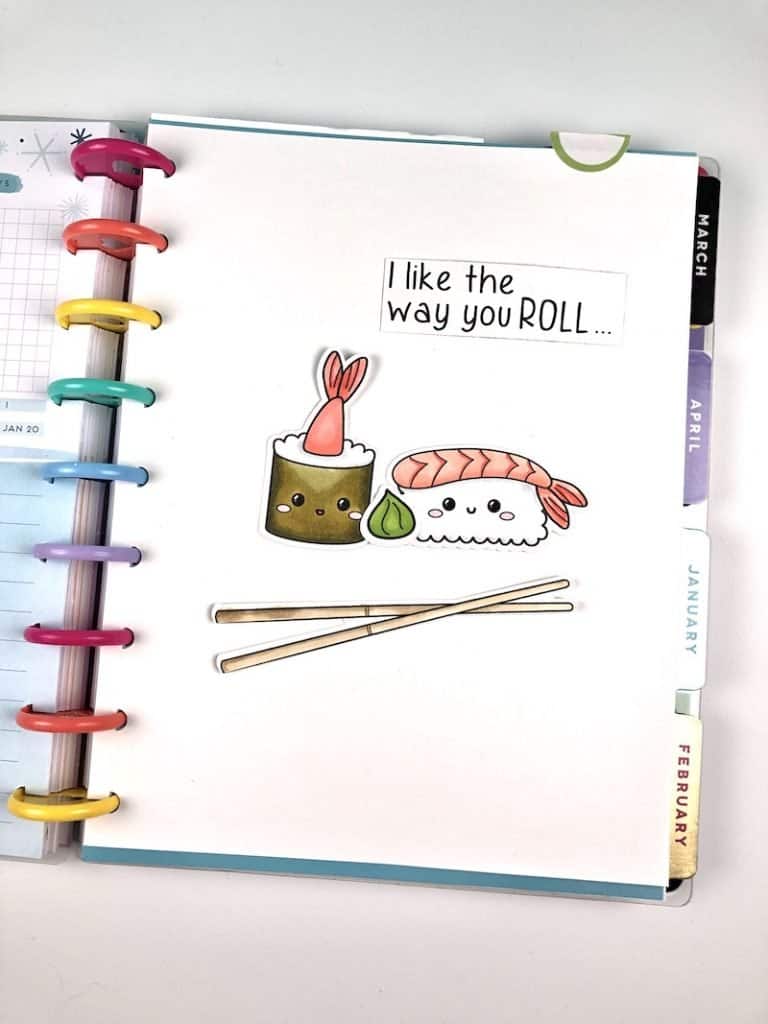
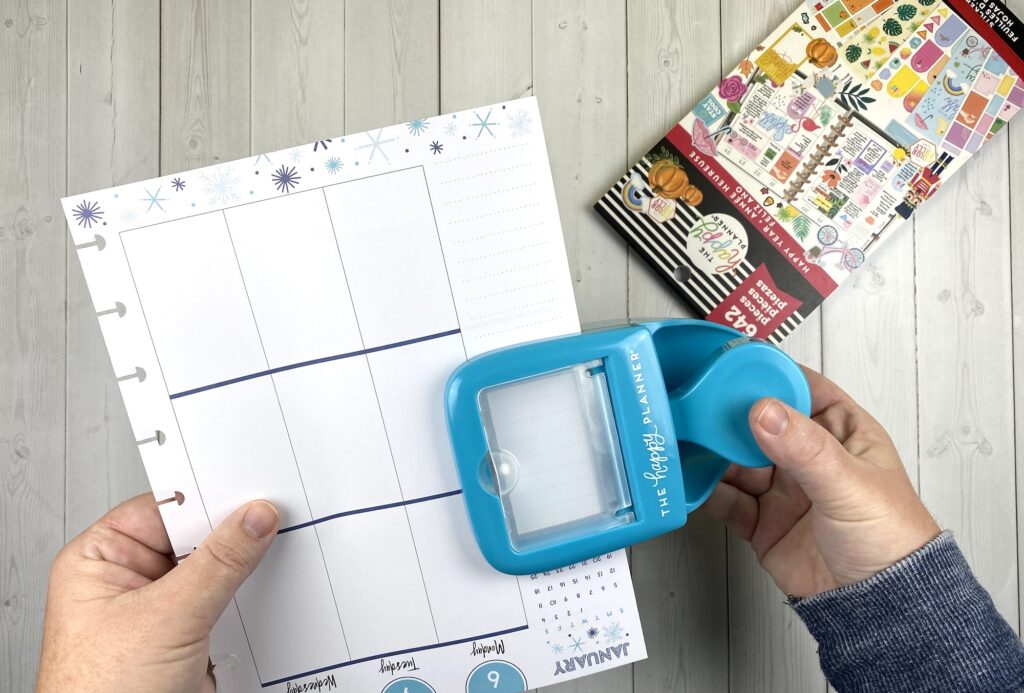
Idea #4 Use Stickers to Change the Format of Pages
There are a few hourly page inserts that you can find. You can also find budging inserts.
What do you do if you can’t find an insert that you need and you don’t have time to make your own? Use stickers!!
There are so many different varieties of stickers. Not only can you dress up your monthly spread or daily spread, but you can also change the format of a page.
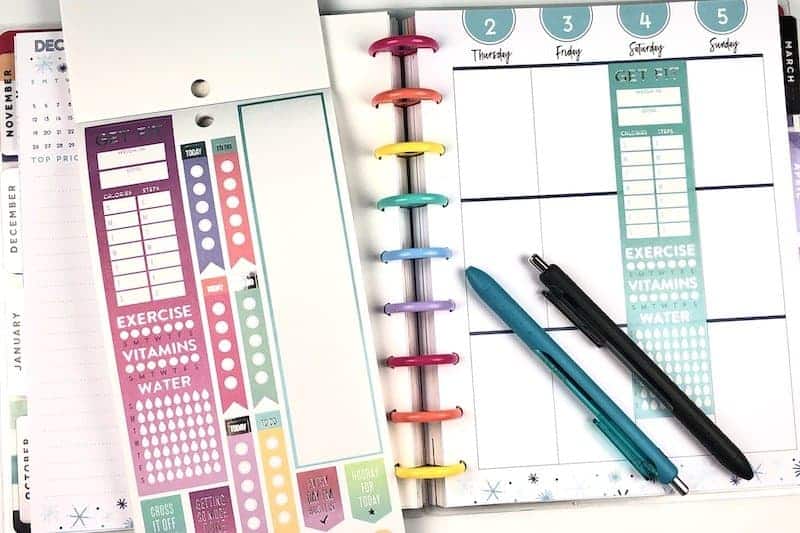
Need an hourly plan for the first half of the day and then regular block scheduling for the afternoon? Add an hourly sticker to the top of the day’s column.
Want to change from hourly to block? Or make a block into a to-do list? Add a sticker!
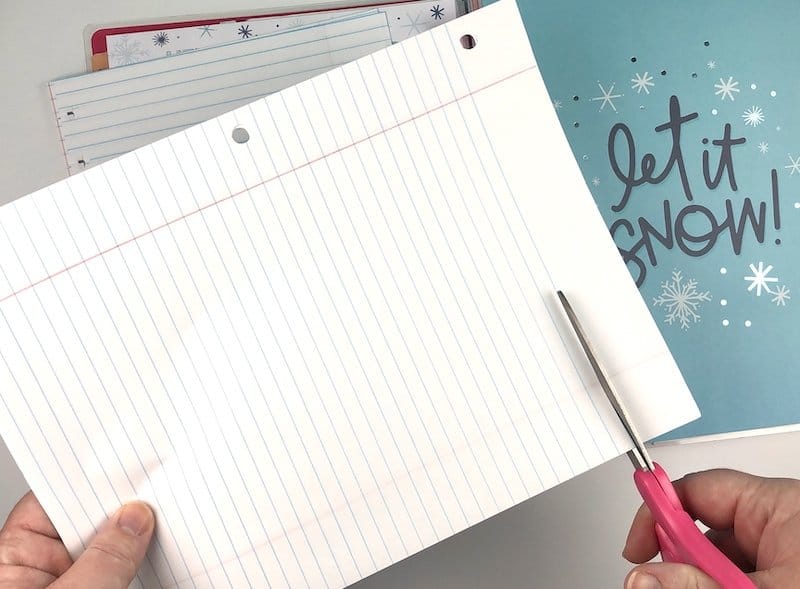
Idea #5 Use Notebook Paper, Printer Paper, or Cardstock
If you buy a Planner Punch you can add in any type of paper that you want. This makes it super simple to add more dividers, journaling pages, or even pages you can doodle on.
Notebook Paper: cut off the top and side margins. Punch the side and you have instant journaling pages with lines.
Printer Paper: cut it down to the size of your journal pages. Punch the sides and add it where you need extra space to journal, doodle, or even bullet journal.
Cardstock Paper: cut it down to the size of your journal pages. You can also cut it a little larger and use it for dividers with a tab on the side. Add a tab to the top and use it as a bookmark that you can move to different areas of your planner.
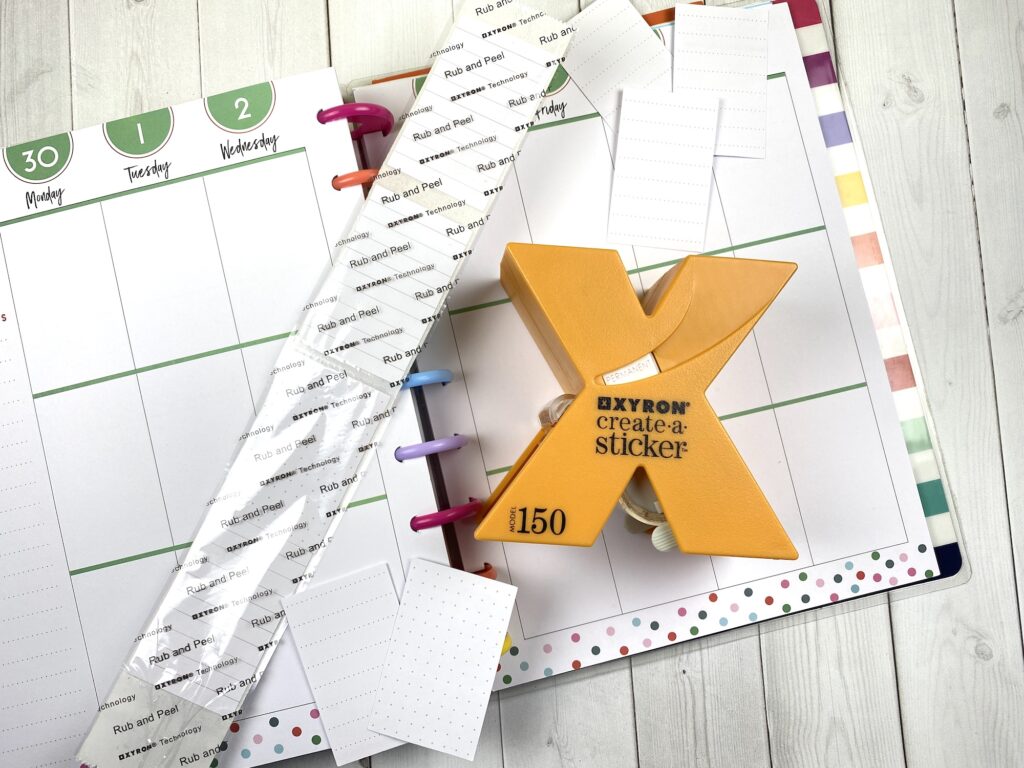
Idea #6 Repurpose Old Planner Pages
Sometimes, you get too busy and don’t plan out a week. It happens.
Instead of giving up your “planner habit”, use those pages to set up your next planner spread. Cut them up. Use bits and pieces.
The Happy Planner punch works great for pre-sized cuts. Or you can use a scrapbook paper cutter, a ruler and scissors, or even the fold and tear method if you are desperate.
I have loads of pages that just didn’t get used in my planner (I thought I didn’t have enough to plan or that I sucked at it…so I ignored it for a few months).
The dots and line work great when cut with the punch to fill in the vertical planner boxes on the days that I am setting up.
Run the squares through a Xyron (this is the one I use) and you will have a set of instant stickers that you can use when you are planning out the next spread in your Happy Planner.

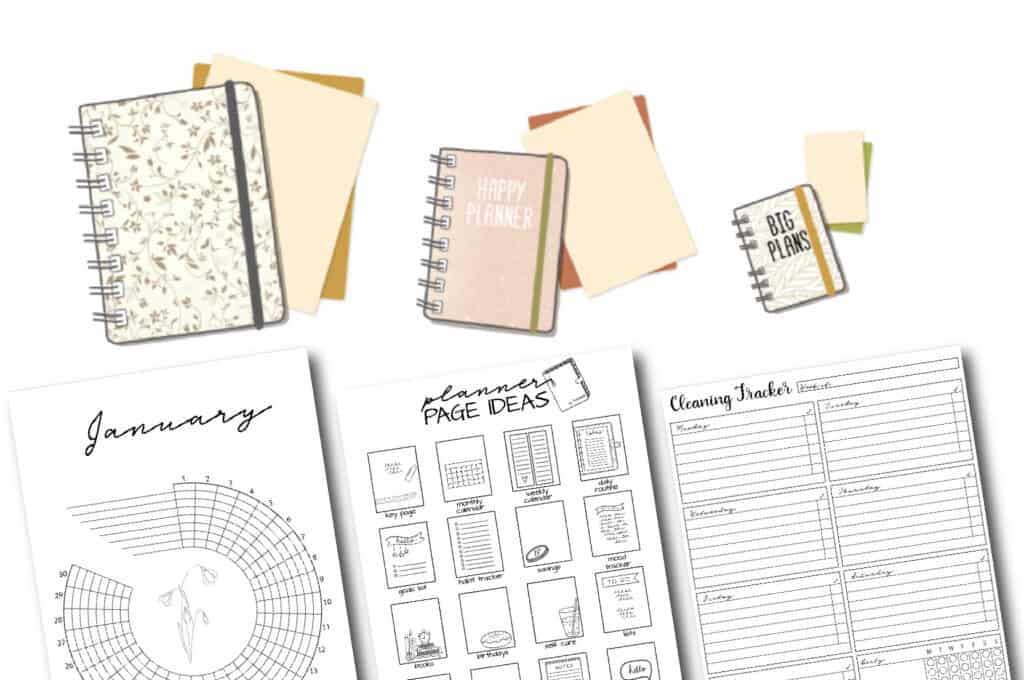
Want to DIY your planner even more and turn it into a Frankenplanner that works as a daily Happy Planner and bullet journal all at the same time?
Check out the Mini Printable Planner Companion Kit.


LOVE this blog post!! I have been a “Happy Planner Babe” for about a year now and I love all of your tips and the size info is awesome too!! Thanks for the great post!!
I love happy planner! Been using this brand, all diff sizes & inserts for 5years now. I make all kinds of covers & dividers for my planners for each season & holiday (gift bags from dollar tree work great…cut to size, add cardstock to the back, laminate, punch holes & thats it!) Also, the mini happy planner only has 7 holes, not 8.
Great tip to use gift bags from Dollar tree for covers and dividers. I love that idea! Also, thanks for the heads up on the mini happy planner. All fixed! 🙂
Thanks for sharing!! Great idea!! I am going to try this!!
I appreciate the information! I received a happy planner for Christmas and I love it!
I love the Happy Planner Big. I use regular printer paper to print out custom pages or even print outs from doctors etc. I will also use a heavier weight of paper for things I plan on using longer term such as budgets and such. Much cheaper
Hi,
You might consider using multi-media paper. It works well with colored pencils and watercolor pencils. I use it for drawing and planning crafting projects. You can find multi-media art books and take a few pages out.
Happy Crafting!
Just got the medium Happy Planner a few weeks ago. Love your tips. I’m looking for a carrying tote for my planner. I have an organizer cover.
Love these Ideas! I also just took a piece of thick scrapbook paper full of rainbows, cut it to the size of a cover, laminated and punched it!
I love all of your tips and thank you for sharing them! When I make notebooks using dnack bags, I keep the top and the left margin on lined paper. The holes are already there and I line up my paper, mark the hole then punch my covers. Use fasteners, ribbon, string in the holes. Love your ideas!
There is also the “Skinny Happy planner”, 71/2” L & 3/14” W which is perfect for your purse or if you just want something more minimal. I’m retired and don’t need as much space as I use to need, so it is perfect
I don’t have a happy planner…I can’t afford it. I love reading the tips you have if I ever am lucky or blessed enough to own one! I can’t even afford a notebook and supplies I would need to build my own planner! so I guess you can call me the not-so-happy planner!