Alexa, Do the Dishes: Quick and Easy Hand Lettering Trick
We may earn a small commission for purchases made through affiliate links in this post. For more information go to our Privacy Policy.
Alexa, do the Dishes. Wouldn’t it be so great if she actually did? Or “Hey Alexa, do the laundry.”. That would be a common phrase for me, for sure.
Alexa makes some thing easier. But not everything.
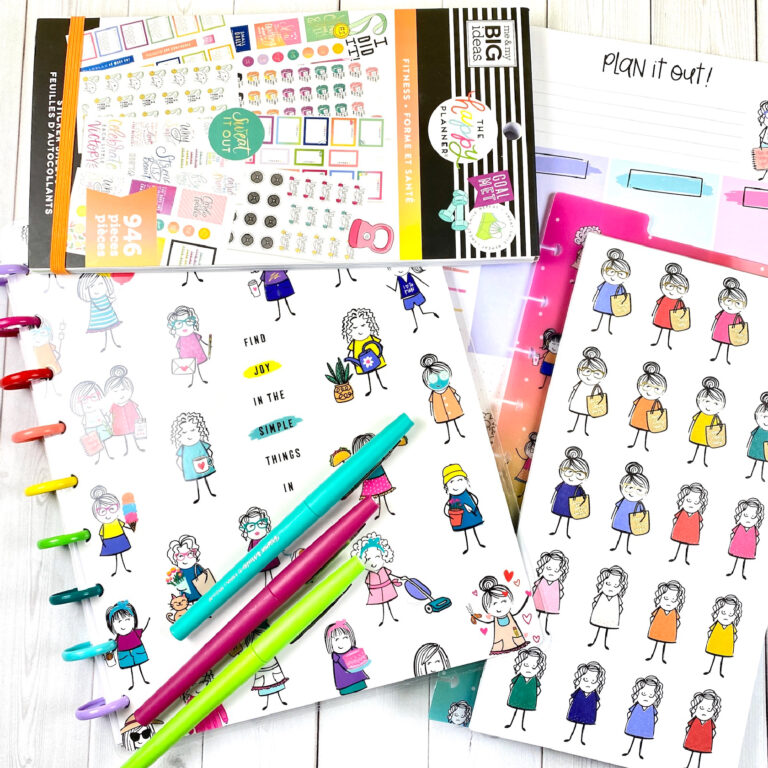
This post is going to make adding a hand lettered quote to your planner easier. Even if you don’t think you are any good at hand lettering.
After trying this quick and easy trick for adding quotes to your planner, you will be looking for other things Alexa can do, so you can spend more time playing in your planner. (Like we need a reason to spend more time with our planners…funny.)
Quick and Easy Hand Lettering
Sometimes, you want a quote in your planner that doesn’t come in your sticker book. How do you get a fun quote onto a sticker without ruining the sticker? And how do you make it cute when you don’t have great handwriting?
I’ll show you.
Supplies you will need to get started:
- writing pens (different sizes of tips are great if you have them, I use Staedtler)
- stickers of your choice
- printer (if you have an iPad you can always trace off the screen)
- your quote of choice
- masking tape (mine is green)
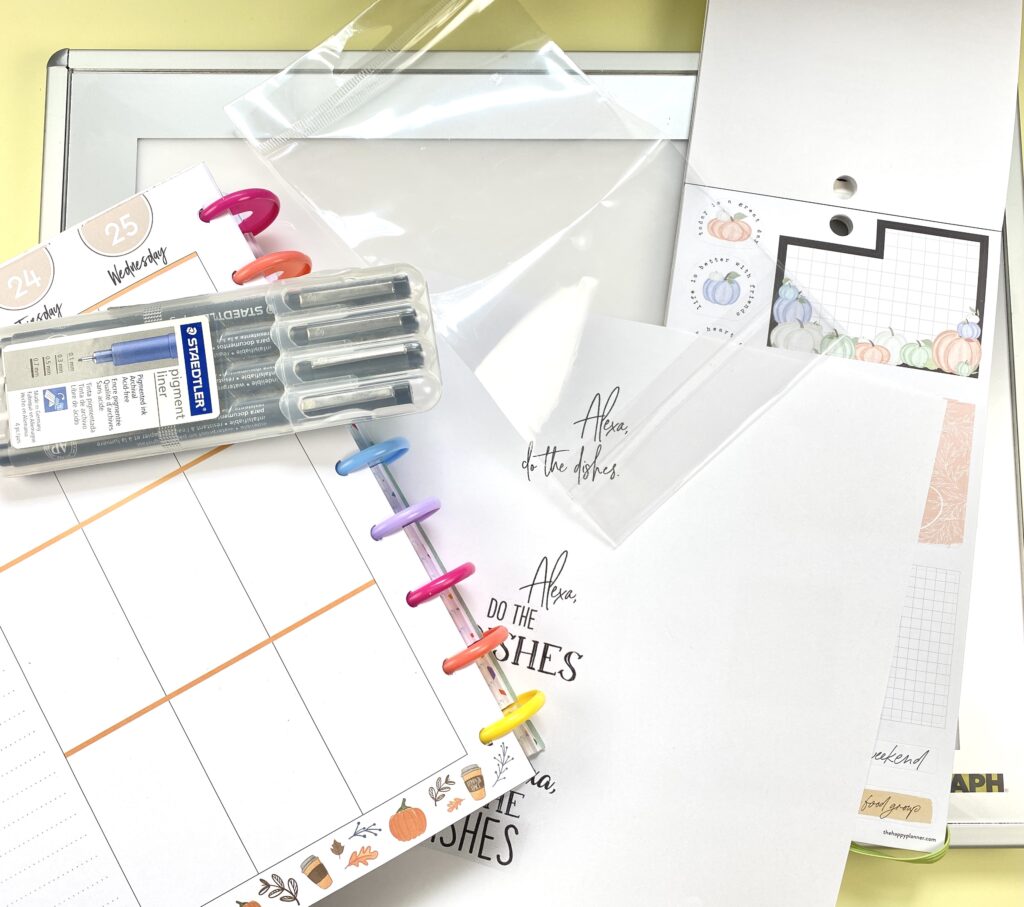
- something clear to put the sticker on so you don’t ruin it but can still see through it
- light table for tracing (or a window)
How to Hand Letter on a Sticker
Find a Clear Smooth Material
The first thing you need is to make sure your sticker will come off your clear material. The whole point is to easily hand letter on the sticker and then be able to use it in your planner.
The material needs to be clear enough that you can see through it when you put a light behind it. I used the plastic cover of an older Happy Planner.
Plastic from a package or any type of material that will not ruin your sticker will work great.
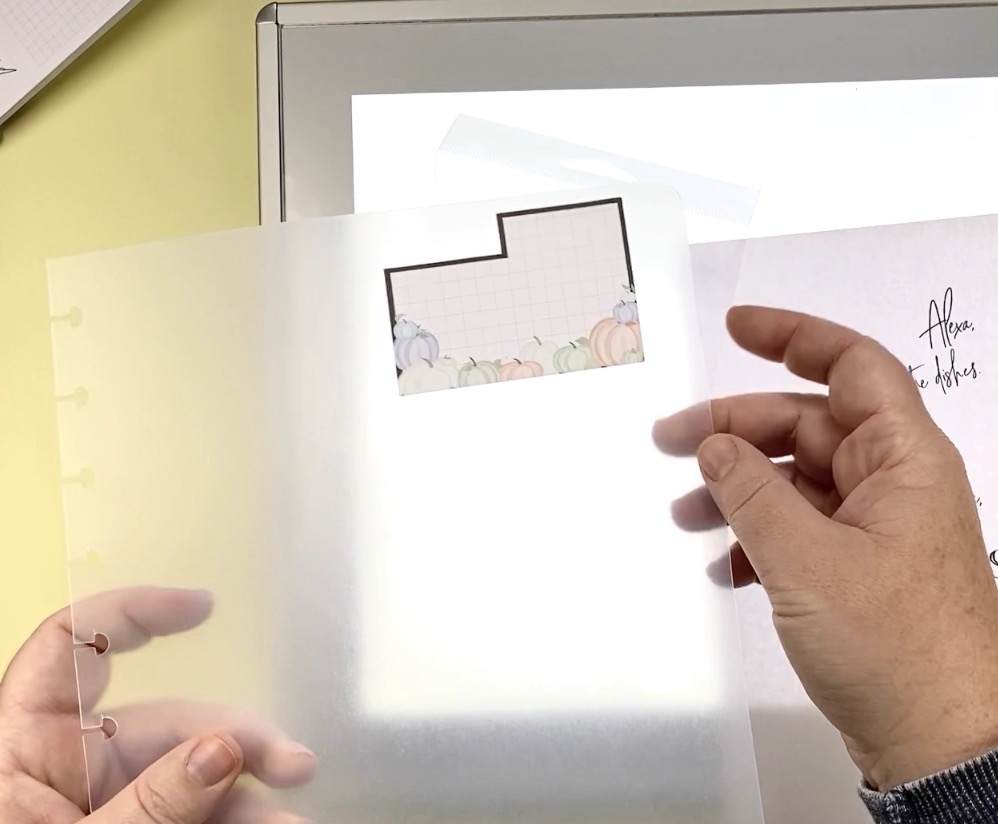
Place your sticker on the clear material. Then move on to step 2 and prepare your quote for hand lettering.
Print Out Your Quote
You can type up your quote in Word or Google Docs and play with all the fun fonts.
After you have your fonts picked out, change the size so it fits on your sticker. In my example the sticker was 3 inches wide and 2 inches tall. I made sure my quote was arranged so it fit inside the sticker area.
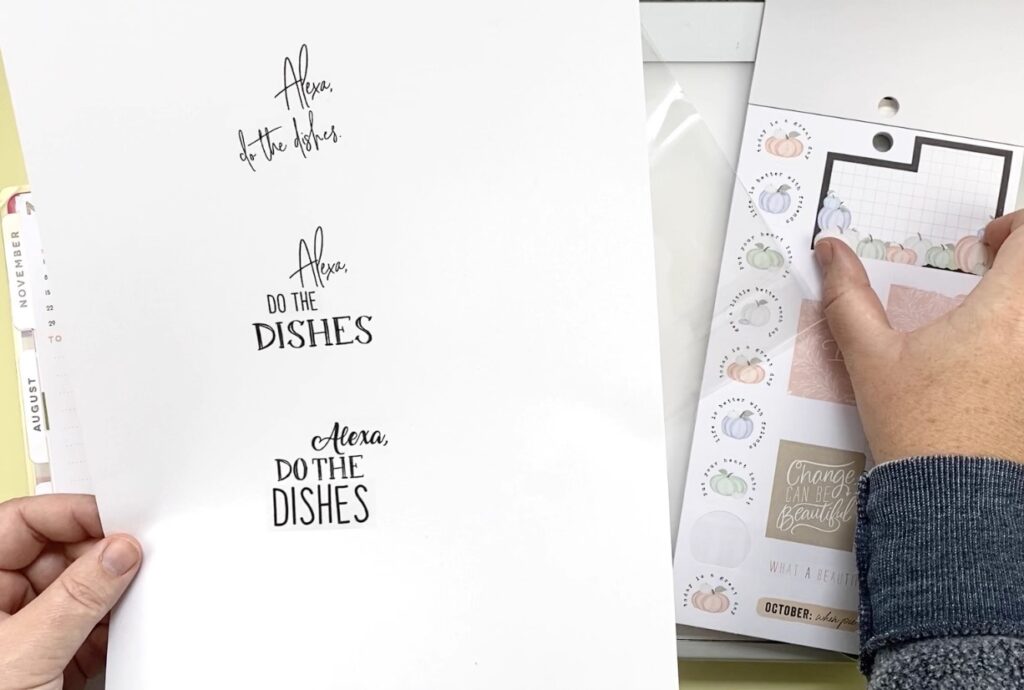
Print the quote (a few sizes to play with on one paper will save you time and paper).
Tape Down Your Quote and Sticker
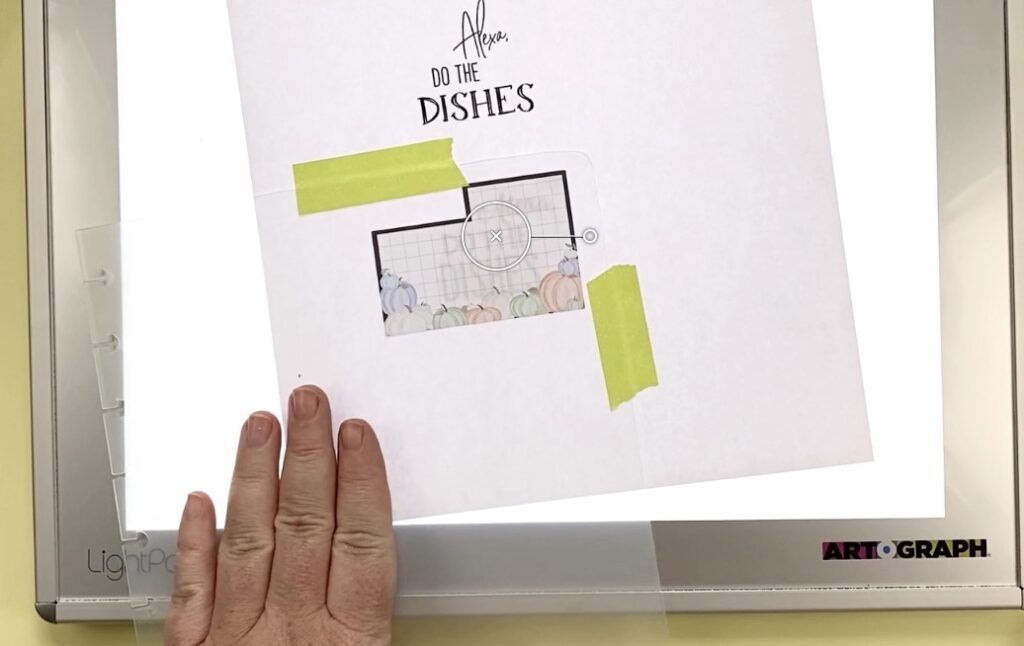
Everything is prepped, now you need to line up your sticker over the Alexa, do the Dishes quote (or whatever you chose).
The clear material is keeping your sticker from being ruined but making it so you can still see the quote underneath.
Trace Your Quote onto the Sticker
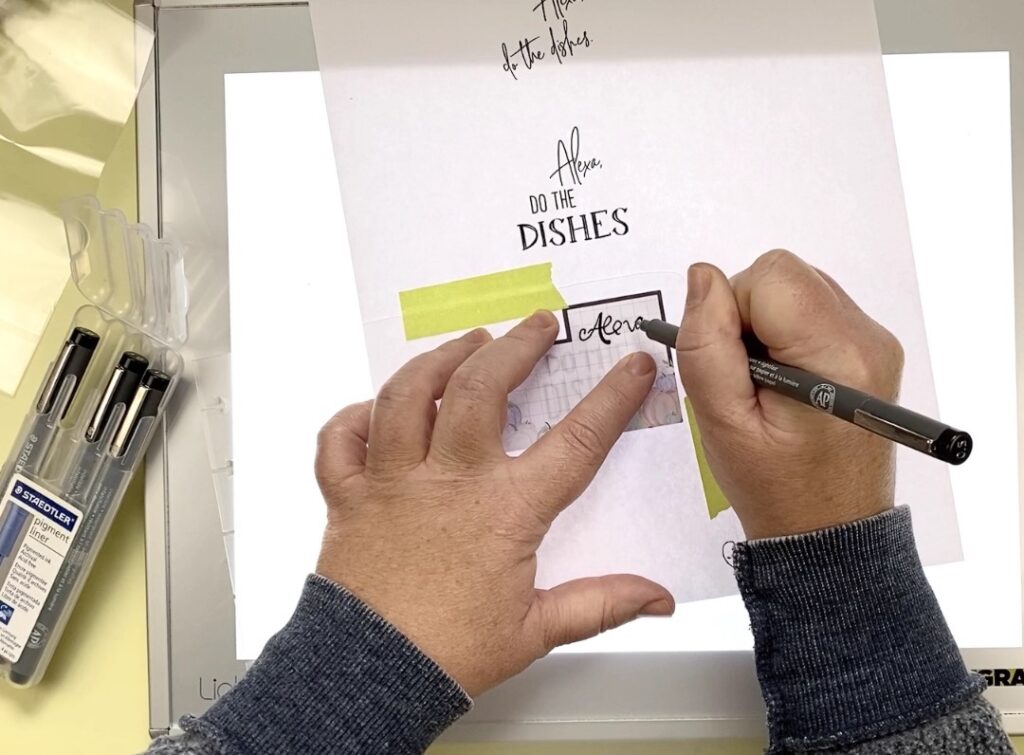
All the parts are in place now. The only thing left to do is to trace your quote onto the sticker.
NOTE: if you aren’t sure about how well you are going to do…practice on a piece of scratch paper first. Or use a pencil instead of a pen (really lightly).
Use Your New Sticker Quote in Your Planner
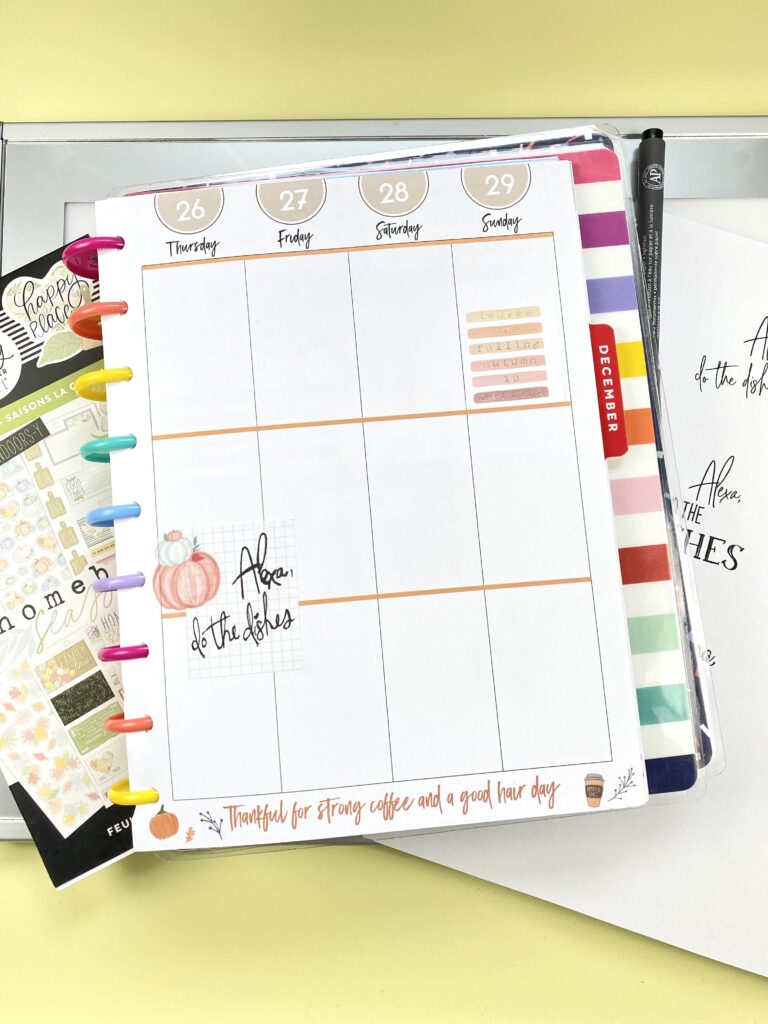
That’s it. You now have a hand-lettered quote on your Happy Planner sticker. It is a custom sticker, just for your planner layout.
This works with easy to trace illustrations or quotes. If you can trace it, you can add it to a sticker or paper to put into your planner.
Alter a Sticker
You’ll notice that the sticker on my planner page is not the sticker that I started with. This is because I experimented with a few different types of stickers from my collection.
This sticker was actually a pre-made quote sticker with some space for writing. I cut the sticker apart, added my quote, and then dressed it up with the pumpkins.
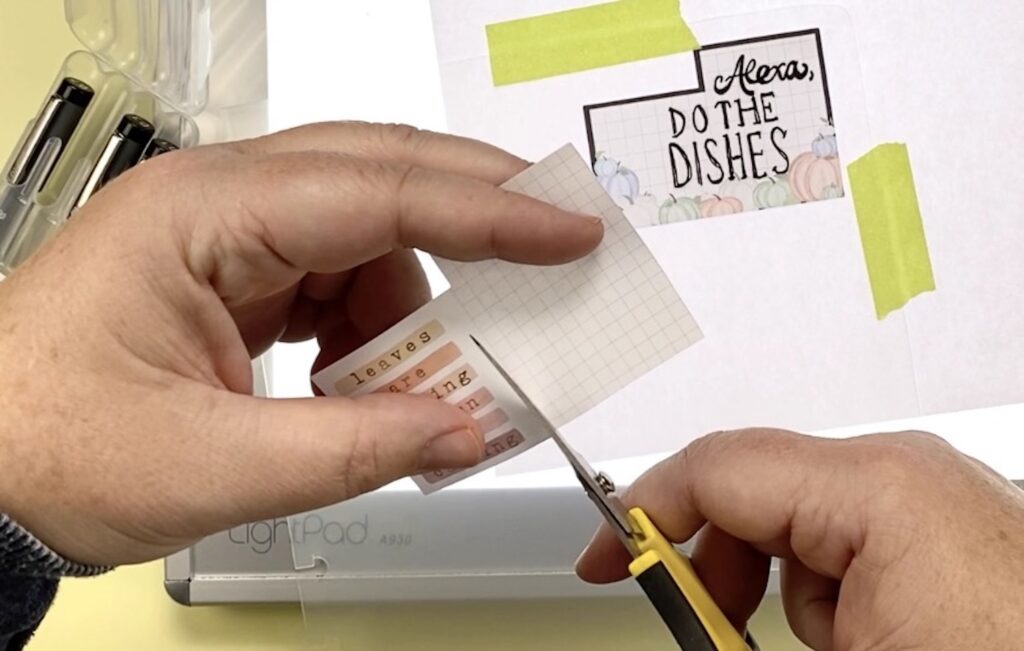
You can mix and match your stickers to create the best version of your quote that will fit your planner layout. Experiment 🙂
Get more planner stickers in the shop, including 2021 mini calendar stickers.

