9 Must-Have Planner Organization Tips You Need
We may earn a small commission for purchases made through affiliate links in this post. For more information go to our Privacy Policy.
One of my very favorite things is to open up a clean, new planner and get started with adding my life to it! Every time I do that, it feels like a fresh start that’s full of possibilities.
If you want to keep your life on track and your ducks in a row, using a planner is essential. One simple planner can help you keep track of appointments and work schedules for the entire family, sports and activities, school events, deadlines, menu planning, and SO much more.
It’s a powerful tool, indeed. But, the key to making your planner work FOR you and to help eliminate stress lies within your planner organization.
If you want to see the true power and potential of the simple daily planner, use these ideas for organizing your planner to get the most use out of it.
How To Keep A Planner Organized: Top 9 Planner Organization Tips
One of my very favorite things about using a flexible planner is that there are no rules on how to use it! We all think and plan a little differently, and a good planner takes that into account by building in the ability to personalize it.
With a little planner organizing, you can truly set it up and use it in any way that fits your life and personality. The downside can be that it takes you slightly longer to really get “up to speed” with getting the most out of your planner, but it’s really WORTH the time.
I know that when I first started using a planner, I didn’t use it to its full potential. Sure, it helped – at that point, anything would have helped. However, it took me a while to figure out how to organize it so that I could REALLY increase my productivity.
Now, I’m sharing the top 9 planner organizing ideas I’ve learned with you so that you can set your planner up and start accomplishing your goals faster.
1. Decide Which Type Of Planning System You Want
Do you want a pre-formatted but flexible planner like a Frankenplanner or a Happy Planner? Or, are you someone who would really prefer to let their creative side out and start from scratch using a bullet journal system?
There is no right or wrong answer here! It’s just important to choose the best fit for you so that you can get the most out of your planner – and enjoy it too!

2. Choose The Planner Layout That Works Best For You
Once you choose your preferred planning system, it’s time to select the layout that will work best. To help you do that, consider these questions:
- Is your day structured around long to-do lists?
- Do you need an area dedicated to setting goals for the week?
- Do you need space to write longer things down or do you only need enough space to write 2-3 word tasks/reminders?
Most planners have two basic layout versions: horizontal and vertical, and they function very differently to appeal to different personalities. The Happy Planner actually also offers a dashboard layout that was originally offered on a limited basis for busy moms. Still, it became so popular that it became one of their primary planner layout options.

When it comes to choosing a layout, here are my suggestions:
- Choose the vertical layout if you like to think of your day in a task-oriented way, prefer to follow a daily schedule, or view your day in blocks of time (such as morning, afternoon, evening).
- Try the horizontal layout if you like to use your planner as more of a journal than a task list and like to add details to your day.
- Use the dashboard layout if you like to see everything your week entails at a glance. This layout is sort of a combination of the vertical and horizontal layouts with lots of flexibility built in to add lists, goals, trackers, and more.
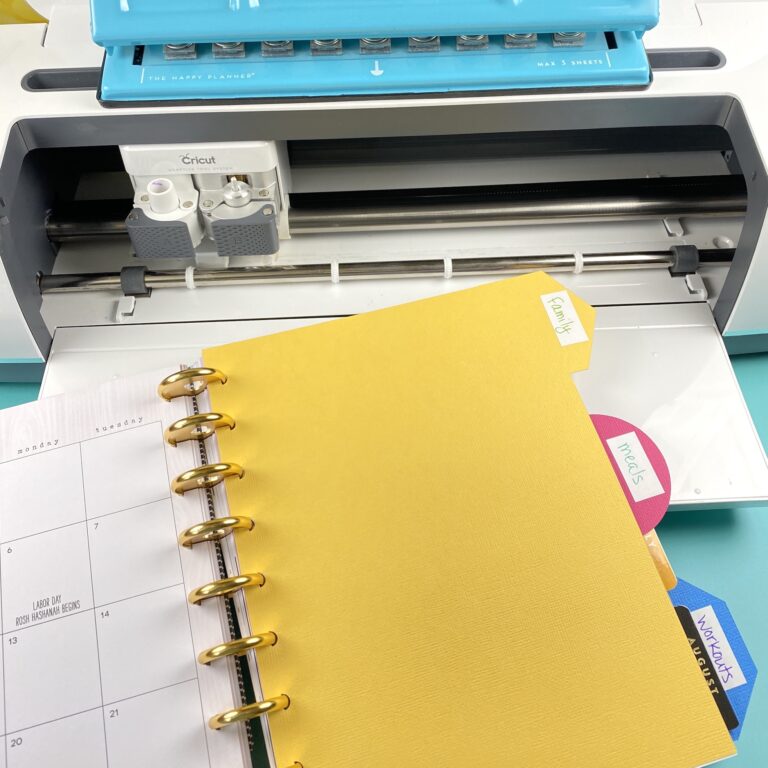
3. Determine Whether You Want Inserts
If you use a system like the Happy Planner, you can buy inserts to help you stay on track as you work toward certain goals or track certain habits.
Basically, planner inserts are the difference between your planner fitting your life like a well-worn pair of shoes versus fitting your life well enough to help you get by. When your planner is personalized to REALLY fit your life, the difference between it and a brand-spankin’ new planner is night and day.
The Happy Planner offers a huge number and variety of insert options, and the disk design makes it a breeze to completely rearrange your planner so that it makes sense to you.
Here are just a few types of planner insert options that you can incorporate into yours:
- Dividers
- Pocket folders
- Envelopes
- Tabs
- Planner extension packs
- Themed extension packs
- Personalization items (washi tape, clips, stickers, sticky notes, etc)
Note: Flexible planner systems allow you to arrange and rearrange your planner anytime and as often as you like. So if you start approaching your planner organization one way and then realize you need to add a budget extension pack or a couple of pocket folders, you can!
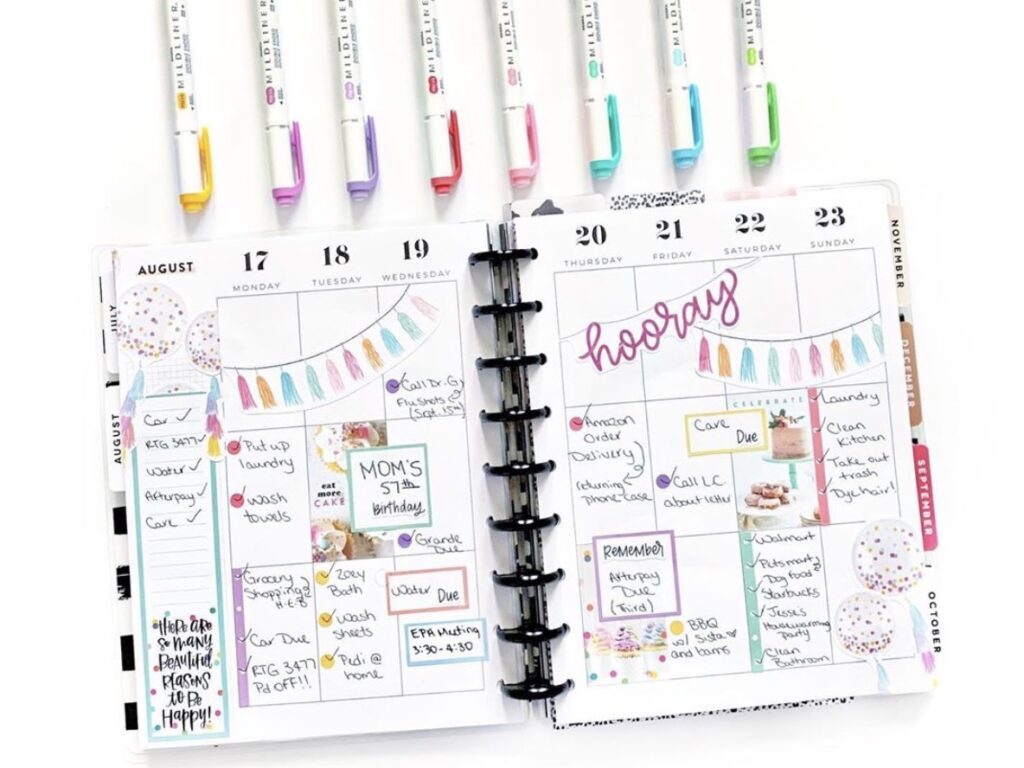
4. Planner Organization At A Glance With Color Coding
Color coding is one of my favorite ways to organize ALL. THE. THINGS. You can designate certain colors for different categories or people, but you need some amazing colored pens to do that. Using the wrong pens will ruin your planner – and probably your day too.
Once you have your pens and your color designations, it’s off to the races! Just remember to take a minute to create a quick color key, so you don’t get confused about what each color means. 😉
Pro Tip: If you happen to have subcategories for any of your categories, one way you can handle color-coding is to use highlighters.
For example, if you have a category for appointments and then subcategories for each family member, you could write down the appt in the pen color that correlates to appointments and then highlight it with the color that coordinates to the specific family member.
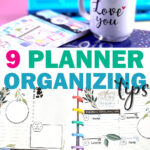
5. Create Planner Sections
In addition to color-coding, planner organization can also involve creating separate, dedicated sections for different tasks or purposes. For example, you may want to use dividers or other accessories to establish areas in your planner that are devoted to lists, habit tracking, budgeting, trip planning, gift-giving, notes, etc.
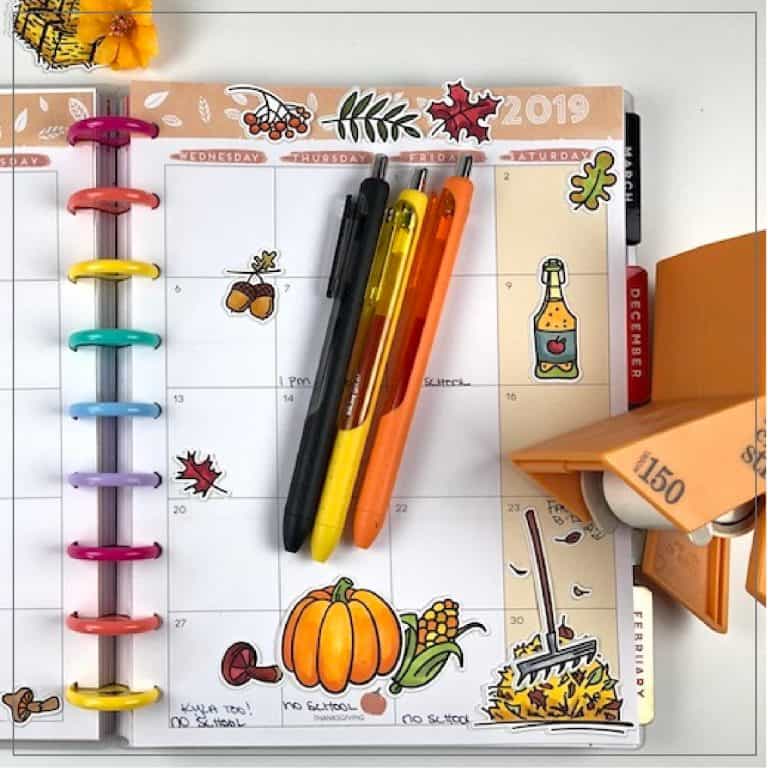
You can have so much fun using stickers, washi tape, dividers, tabs, and other decorative elements to create certain sections in different areas of your planner!
6. Identify Your Task Priorities
One of my favorite planner organizing ideas is to prioritize my task list. I have a habit of creating huge to-do lists that are longer than any sane person could accomplish in a day. Then, I’ll compound the problem by focusing my time and attention on tasks that aren’t important while effectively ignoring important tasks.
As you write down your task lists, take an extra few seconds to mark with symbols which tasks need to be completed first. You could also use symbols to indicate if there’s a specific deadline for any of them.
If you have several “levels” of prioritization needed, feel free to build that into your system (ex: urgent, high, medium, low) using different symbols too. Or, make it super simple and rank your tasks in numerical order of importance.
Whatever system you choose to implement, make sure to include it in your planner key!
7. Add Recurring Important Dates
What good is a planner if you don’t have any idea when important events are happening?
Once I get a basic planner organization set up, my next task is to add dates like birthdays, anniversaries, school calendar dates, and any other special occasions.
Don’t forget to call your sister on her birthday…write the dates down!
8. Use It
Your planner won’t work for you unless you use it for everything! It’s just too easy to forget things – important things – due to our busy pace of life. That’s why I think one of the most important planner organization tips is to write EVERYTHING down in one single planner, so it’s all in one place.
Consider including these different things in your planner:
- Appointments
- Important dates (birthdays, anniversaries, holidays, etc.)
- Phone numbers/Email addresses
- Reminders
- Deadlines
- To-do lists
- Meal planning
- Grocery lists
- Work schedule
- Sports and activity schedules
- Vacation/trip plans and dates
- Bill-tracking and due dates
- Goals
- Habit and behavior tracking
- Car repairs
- And more!
If you make a habit of writing everything down, it frees up valuable mental space and reduces that panic-inducing feeling you get when you forget something important.
9. Plan Your Planning Time
Ok, once you get to this point, you’ve done the “hard” work. You’ve chosen a planner, set up a high-level planner organization structure, and implemented more detailed organizing ideas to help you see the information you need at a glance.
Now, it’s time to make it a regular routine to sit down with your planner on the same day every week or at a certain time each evening to check in with any daily trackers and create a general plan moving forward.
If you do it daily, it may only take 5-10 minutes. Trust me; I know from experience that spending 5-10 minutes to get organized and know what I need to do the next day saves me a LOT more time than that.
In order to stay organized, this step is essential because you have to keep your planner current!
Planner Organization: Follow Up
I hope these planner organization tips help you benefit the most from your planner and feel more stress-free!
If the idea of buying a planner and then changing it all around to fit your life doesn’t feel right, consider investing in a DIY Printable Planner Companion Pack instead. It’s a digital approach that allows you to customize your planner to have everything you need easily – and nothing that you don’t.