
How Do I Print and Cut Cricut Design Space: Quick Tutorial
We may earn a small commission for purchases made through affiliate links in this post. For more information go to our Privacy Policy.
The Cricut print and cut feature is a great addition to the Design Space software.
This feature is for you if you are a crafter who despises using scissors. It is also a feature you will love if you create projects that need multiple items cut out in repetition.
Think sanity saver.
Sometimes. It’s a little tricky to figure out. That’s why I am writing this post. A Cricut cutting machine can do SO MANY THINGS. Unfortunately, knowing how useful it is can make it a little intimidating.
That’s why I am breaking it down into pieces for you.
Little bite-sized bits that you can try and become more confident using your machine.
Are you Ready to Use the Print then Cut Cricut Tool?
The way this feature is designed it will send an image to your personal home printer. The printer will print the design that is designated as printable. (You don’t need a specific Cricut printer to use print to cut on Cricut machines. Any printer that you can access with your computer will work!).
TIP: If you want to know the best printer for Cricut (or the one that I use and think is the best for all my printing, check out the HP Insta Ink Printers. You can get a month of free ink by clicking here.)
Then you will load that printed piece of paper onto your cutting mat.
The Cricut machine will scan your printed paper. It will read the guidelines around the outside of your design. Then it cuts out the lines that were designated as “cut” in your design.
There are a few drawbacks to this process. I’m going to share how to do the process normally and then a few hacks that you can try to work around the Design Space limitations. We are going to walk through those so you will know how to print and cut on Cricut by the time you finish this post.
This tutorial and tips and tricks will work for a Cricut maker print and cut projects as well as Cricut Explore Air 2 print and cut.
A Few Notes Before We Start
- There is a Cricut hack at the bottom of the post for those of you who cannot get Print and Cut Cricut features to work. It will also work if you do not have a machine that is compatible with the Print then Cut feature.
- Calibrate your machine. If you have never used the Print and Cut feature on your machine this is a must. If it’s been awhile or you have tweaked your housing changing blades multiple times, you will want to do a calibration. You can see a comparison of a non-calibrated cut, a calibrated cut and the Cricut printing hack in the image below.
- The Cricut print and cut size is 9.25″ x 6.75″. This is the area of the paper that it will print inside and then put a black line around. The machine “reads” this line and cuts inside that area. (Remember it is NOT your Cricut printing the images. It is a regular printer and then the Cricut cuts them out when you run it through the machine.)

Cricut Access Projects
There is a wide selection of print and cut designs in the Cricut Access area. I chose to make a birthday card that is printable with an accent element that is cut out.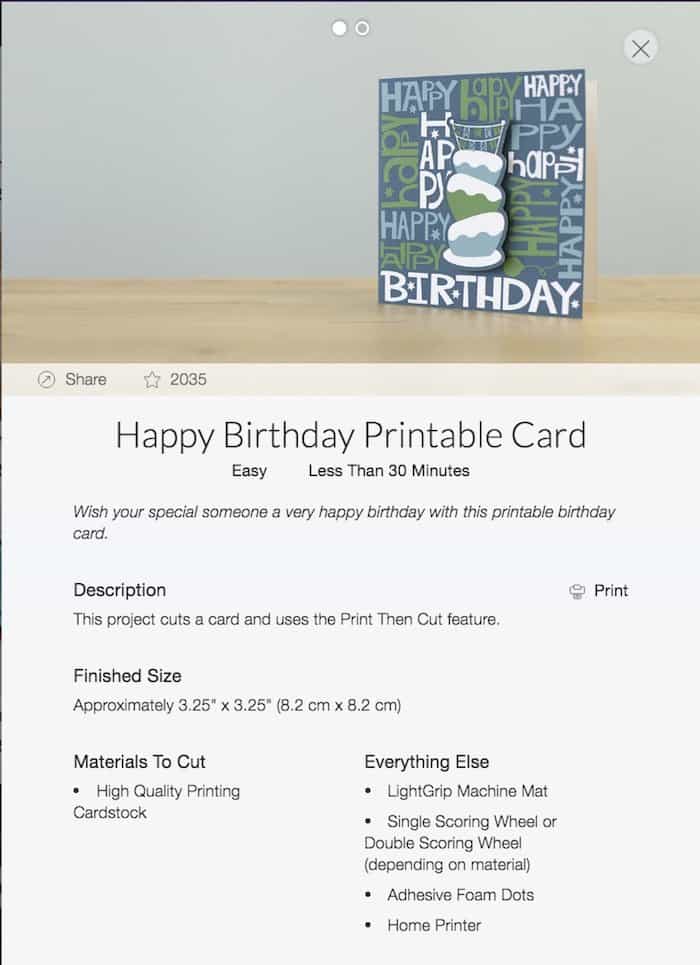
The designs in Cricut Access will tell you all the details and materials about your project:
- the dimensions
- the time it takes
- if it’s an easy or hard project
- the supplies that will be cut
- additional supplies to complete the project
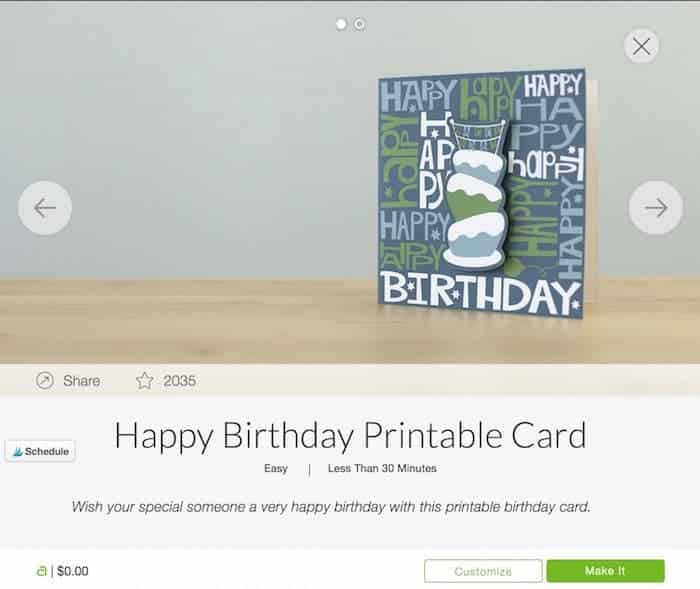
Once you have selected the project you will click on MAKE IT.
Notice that the price for this project is $0.00. This is because I have a Cricut Access subscription. You can still find these projects without a sub but it will charge you for the project when you select MAKE IT.
The program will tell you to send the design to the printer. You will want to choose a white material (cardstock, paper, vinyl, etc.).
When you click on SEND TO PRINTER the design will be printed out on your personal printer. If you start the project and need to come back to it later you can click I’VE ALREADY PRINTED. Either way, the design will be printed and ready for the cutting step.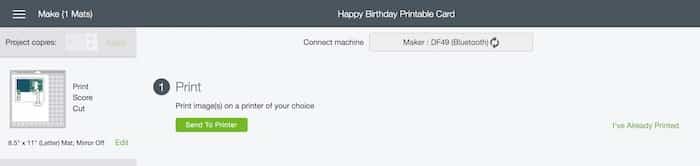
For this project, I used a white cardstock that I cut to 8.5 x 11 to fit into my printer.
NOTE: Print and cut Cricut projects need to be less than 8.5 inches wide by 11 inches long so they will fit through your printer.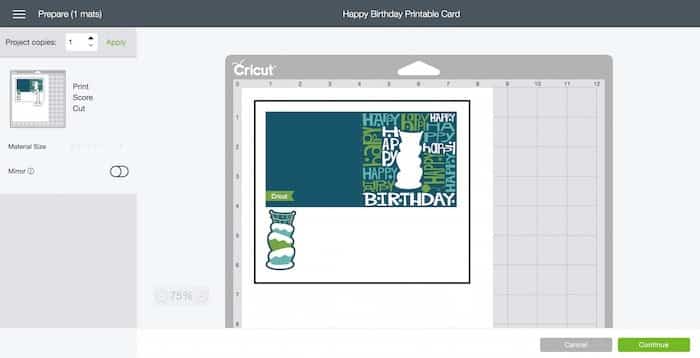
Your screen will show you how the image will print. That black bounding box will be printed as well. This is the line that your Cricut machine will scan so it knows how to print.
The image is also showing you how you need to place your 8.5 x 11 paper on the cutting mat.
The small thumbnail in the top left is also showing you the different steps the machine is going to take to make this card.
First, you will print the design.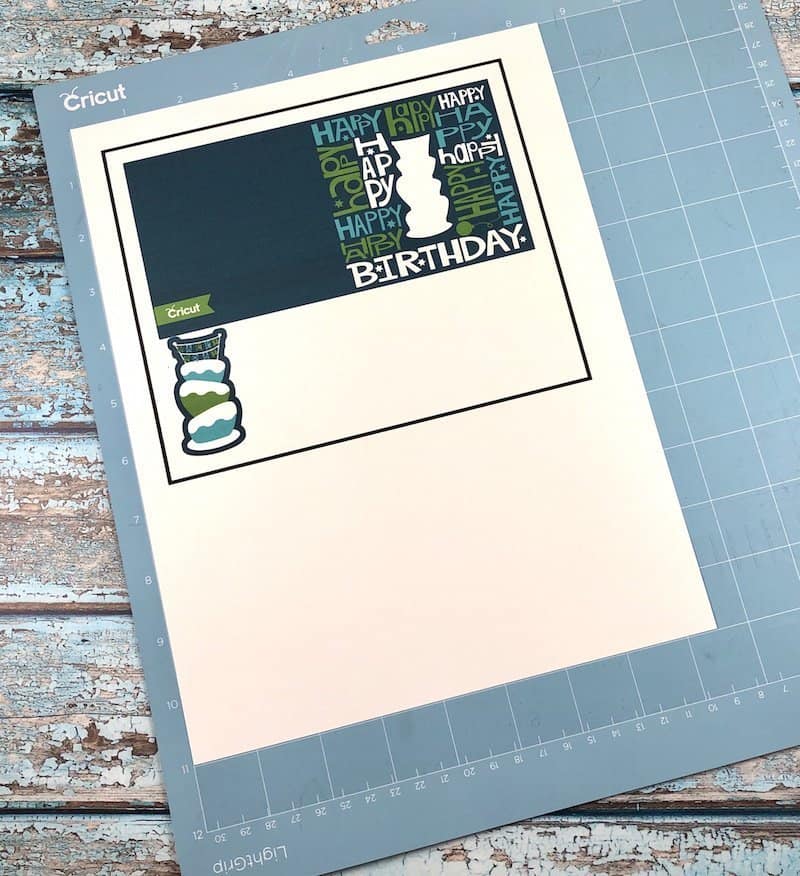
Next, the machine will score the card so it is easier for you to fold when you remove it from the mat.
Last, it will cut the card out as well as any embellishment pieces.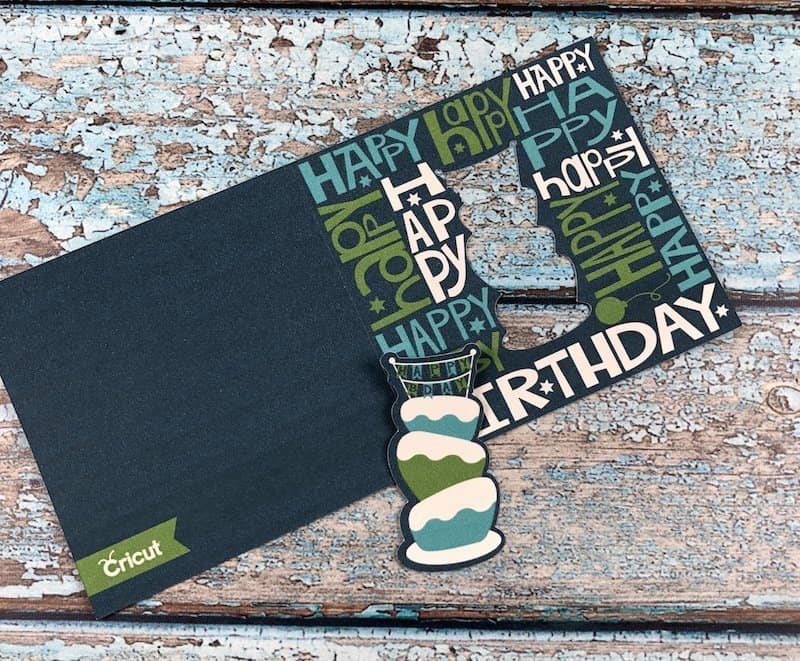
If you need to make any changes to the design or want to save it for later then click on CUSTOMIZE. You can adjust the size, change the print colors, or remove elements with this option.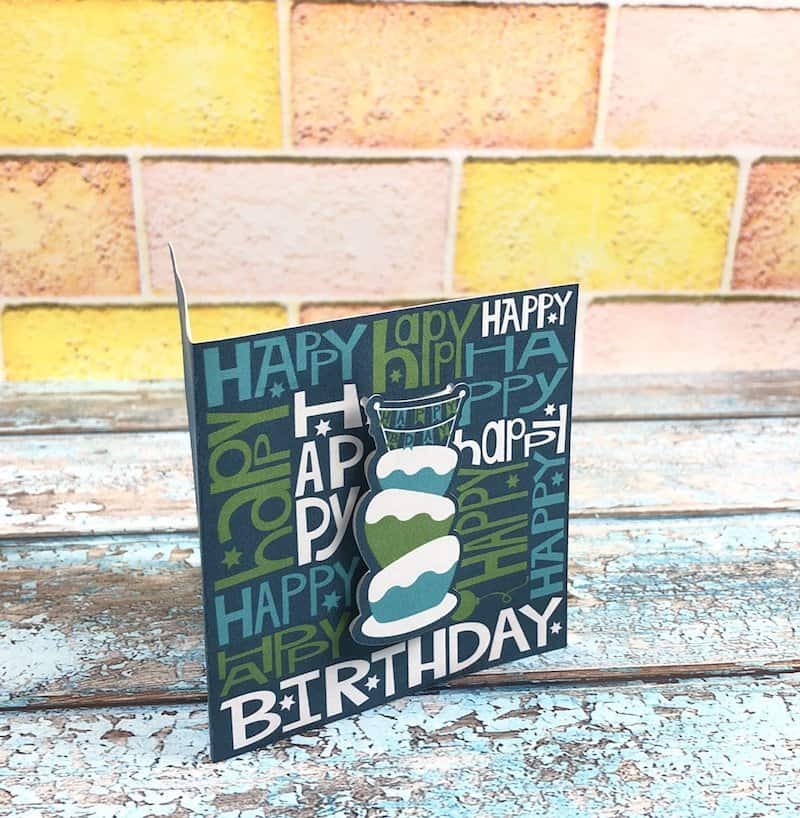
Using Your Own Design Files for Projects
You can also make any project or design that you may find on other sites besides Cricut Access. You can upload JPG, PNG, and SVG files and also set those to print and cut.
Let’s start with a JPG. Uploading a PNG will be almost exactly the same. There are fewer steps for a PNG file (and I will point out which ones you don’t need for a PNG when we get there).
- Launch Cricut Design Space
- Click on NEW PROJECT
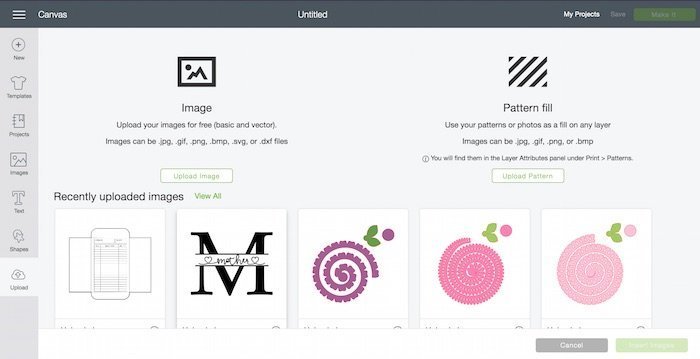
- Click on UPLOAD on the bottom left tool panel
(if you are unfamiliar with Cricut Design Space and need help then you should read this post: Cricut Design For Beginners).
When the upload screen opens, choose BROWSE or if you have the file where your image or project is saved already open, you can drag and drop the file onto the Cricut Design Space window.
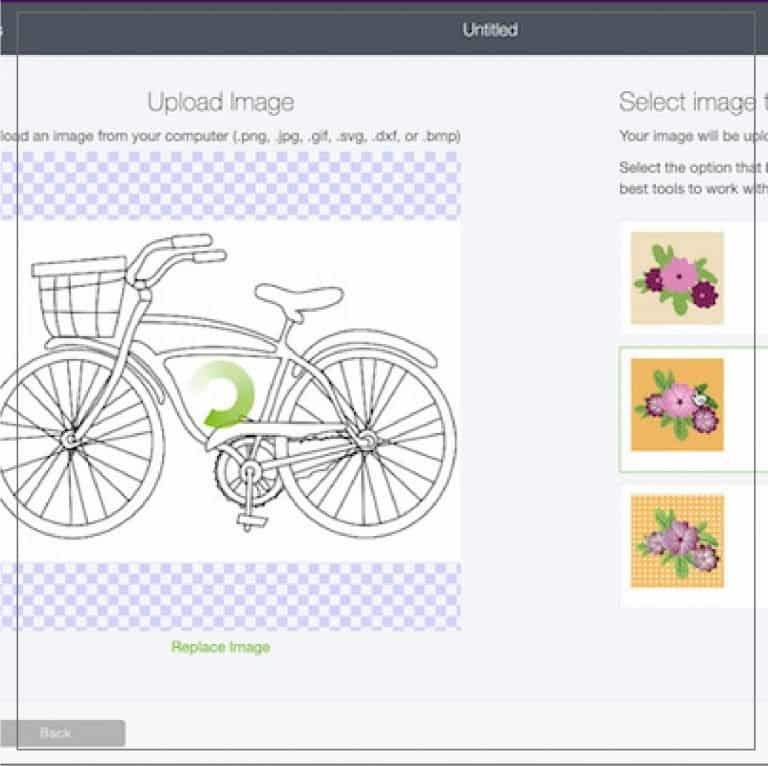
If you clicked on BROWSE you need to navigate to where you have saved the file. Click on the image file and then click open. You will see your project in a window that gives you an option to choose your image type.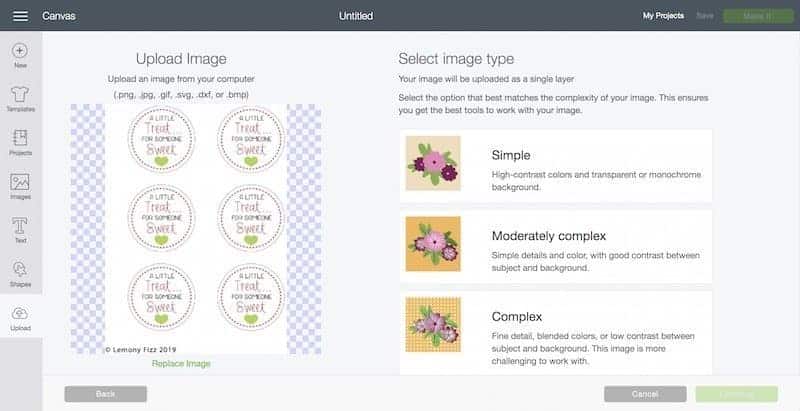
Unless you have a very very simple project, you are going to choose COMPLEX most of the time. It gives the program a better chance of catching all the fine details. If you are in doubt about which option to choose, err on the side of more complex instead of less.
Click on COMPLEX. Then click CONTINUE.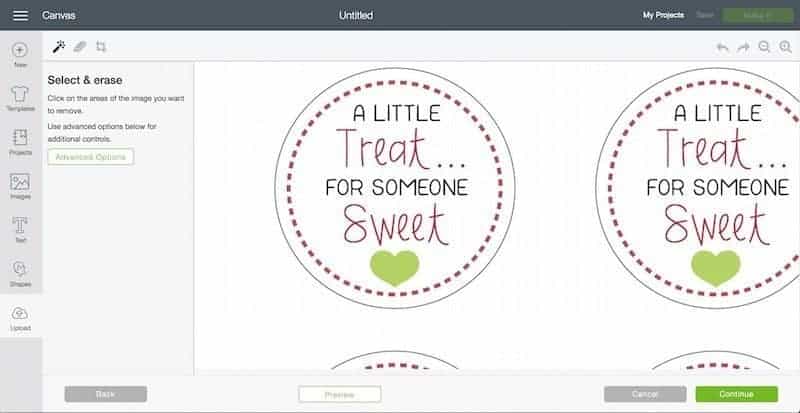
You are now going to erase all the background so the machine knows what shape to cut when you send the printed paper through.
Click on the white background and it disappears!
If you click on PREVIEW it will show you the shapes that will be cut: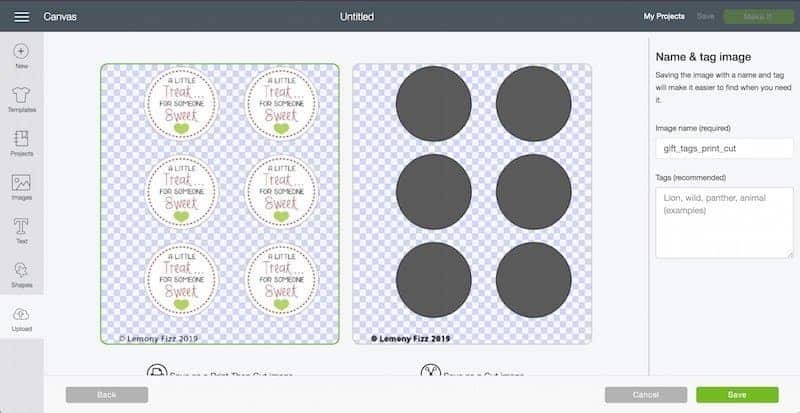
Click on SAVE.
The image is now saved in your PROJECT files on Cricut Design Space.
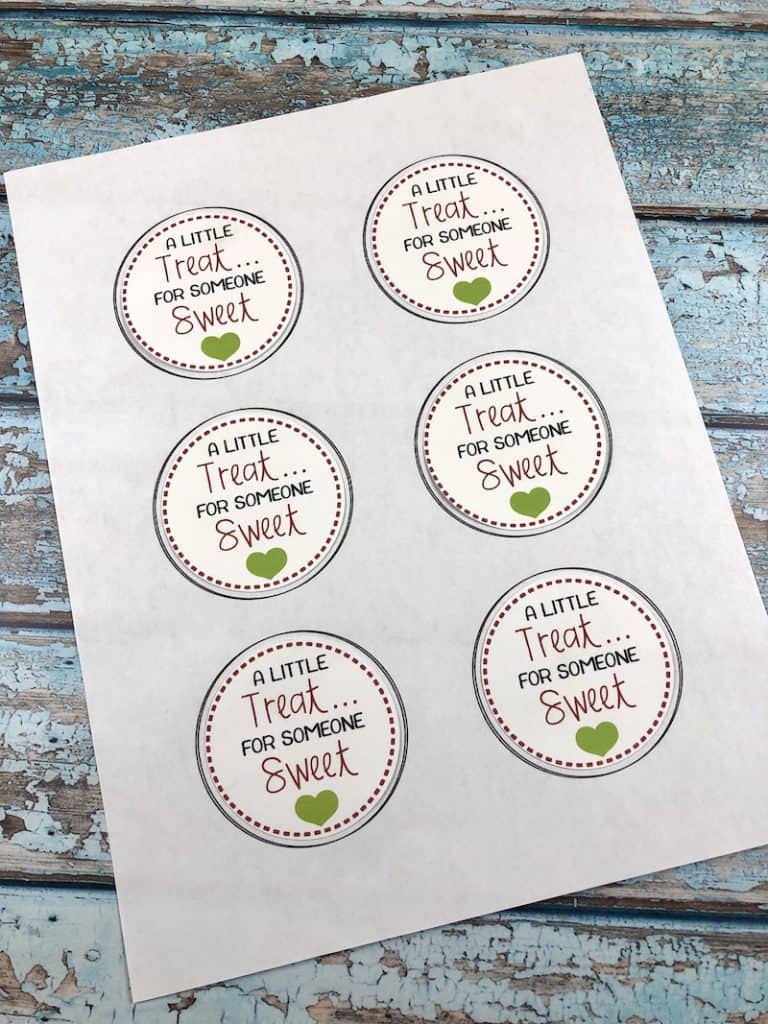
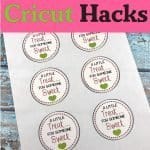
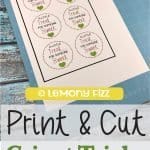
Make Some Treat Tags
The file to make the treat tags should now be in your projects if you have been following along with the free Treat Tags download.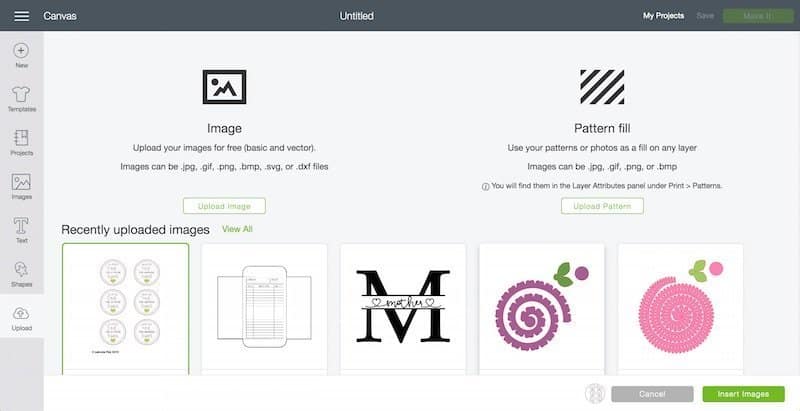
Click on the project and then click on INSERT IMAGES. This will bring the file onto the Cricut Design CANVAS.
Note: If your file comes in a little large, you can use the width and height ratio to resize the image. Print and Cut Cricut features only work with images that are less than 6.25 x 9.5 inches.
You will see your design with the black bounding box around it. You are now ready to send your design to the printer.
Click on MAKE IT.
After your images have been printed on the paper of your choice that you added to your printer you are ready to load them on your Cricut Cutting Mat to cut.
This same process can be used with PNG files. The only step that you won’t have to worry about is the step where you delete the background (as long as your PNG was saved with a transparent background…there may be exceptions to this).
Turning an SVG into a Printable File
Some SVG files will already be set up as a print and cut file. Depending on how the SVG was designed it will import and be ready to use just like a PNG file.
If the whole file is set as a cut file then you will need to do a little tweaking and changing.
Ready for this?
You will bring in an SVG file just like you import a PNG for JPG file. Once it is uploaded then you will start making the changes.
Insert the design onto your CANVAS.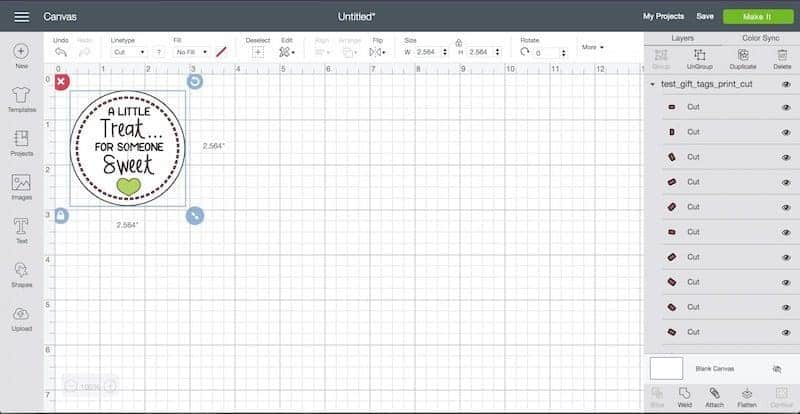
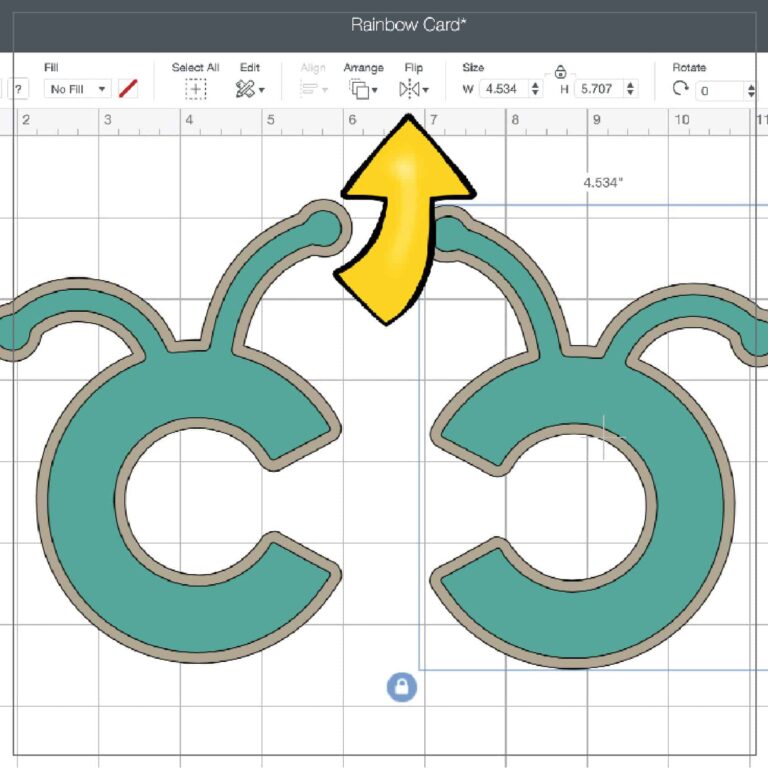
Notice how the whole thing has a black outline (even the heart and the text). On the right toolbar (the layers panel), you can see that every single element of this design is set to CUT.
First, you want to click on ungroup on the top of that panel (while the design is selected). This will make it so you can manipulate just pieces of the file.
Ultimately, we only want to cut the circle around the tag. If you click on just the outline of the circle it will select it in the LAYERS PANEL.
Click on the EYE for that layer to HIDE it. This makes it so your next clicks will not affect that layer.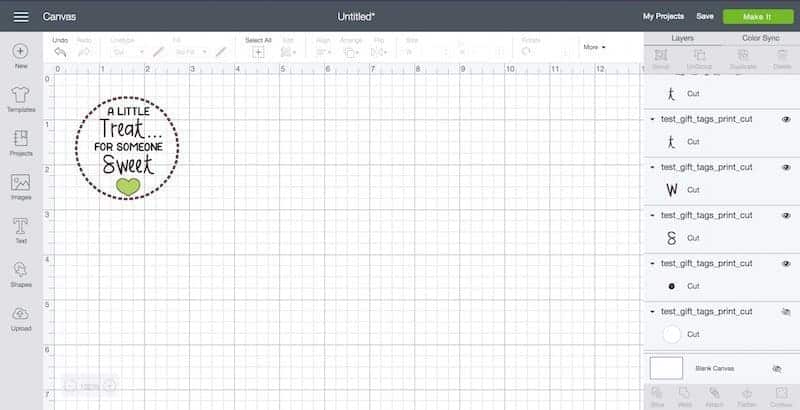
Notice how it has a line through the EYE now. That means it is hidden and not editable.
Now you want to select all the other layers. You can do this by clicking the SELECT ALL button on your top toolbar or by clicking your mouse to the top left of the design and dragging it across all the elements.
Once they are all selected you are going to change them from FILL (which will cut them out) to PRINT.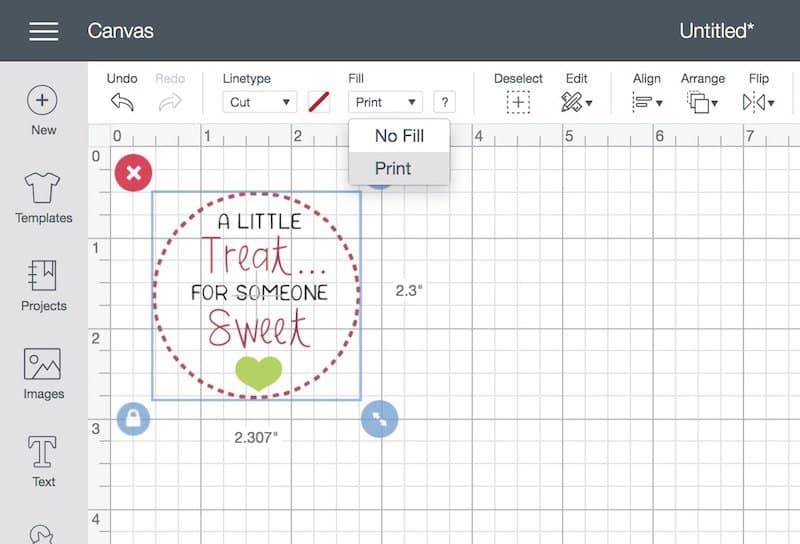
Having these layers set to PRINT will tell your Cricut not to cut that part of the design. While they are selected, click on the ATTACH button on the lower right of the LAYERS PANEL.
You could also use the FLATTEN tool on the print layer so it becomes all one layer. This is also found on the bottom of the LAYERS PANEL. It helps to clean up your layers panel and makes it easier to find elements and turn them on or off.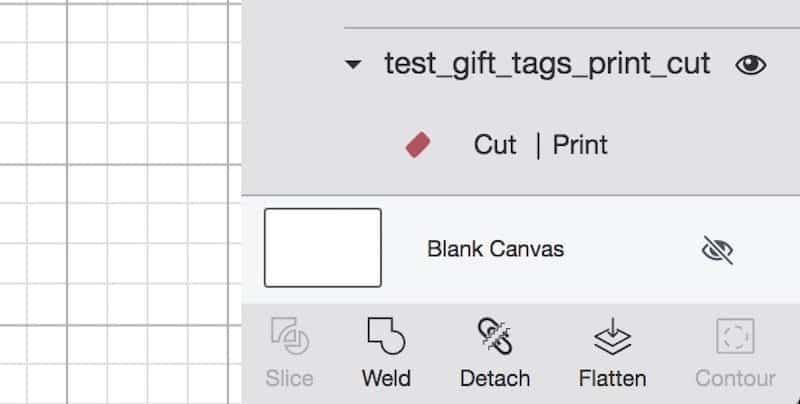
If sections of the design are attached that means they will stay in that location (and in relation to the CUT portion of the file in a moment). You can tell that they are ATTACHED because the tool now gives you the option to DETACH.
Turn the EYE back on for your circle outline (the CUT part of the file).
Click the SELECT ALL button again.
Click on ATTACH one more time.
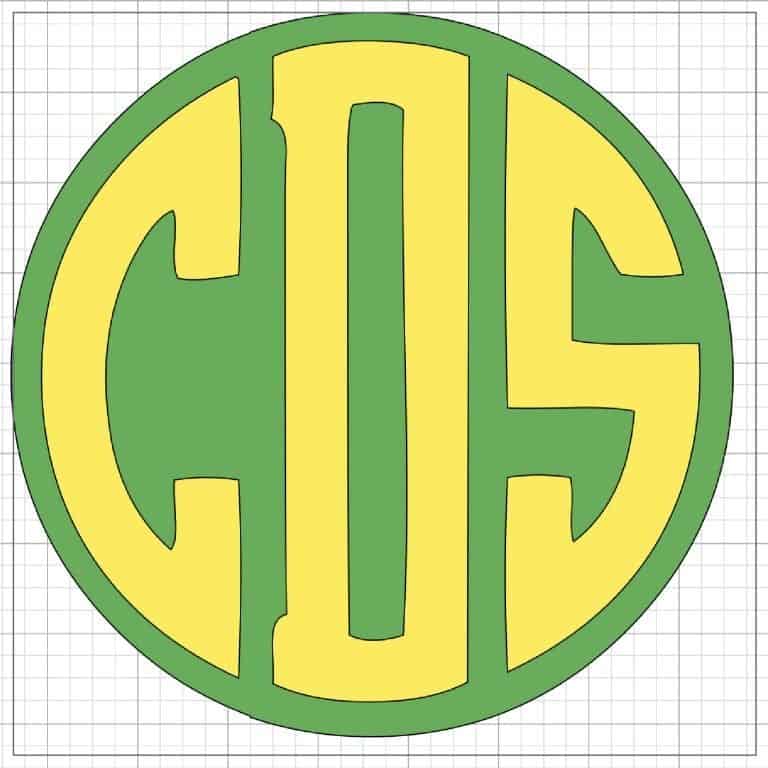
When you move on to the next screen to make your project, all your elements will stay together and be arranged in the right order to make your tags print the way they should and then cut out properly.
If you had not used the ATTACH tool, this is what your design would look like on the next screen: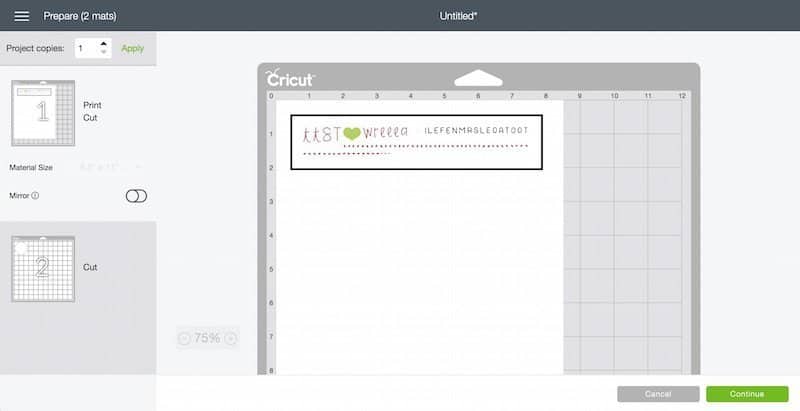
Cricut tries to use the least amount of material that it can. The idea is to help you save money by not wasting material on spread out cuts.
This is not how we want our tags to print and cut. Using the attach tool will tell the machine that we want our original design to stay in the arrangement we had it in.
Your label is all formatted and ready to go.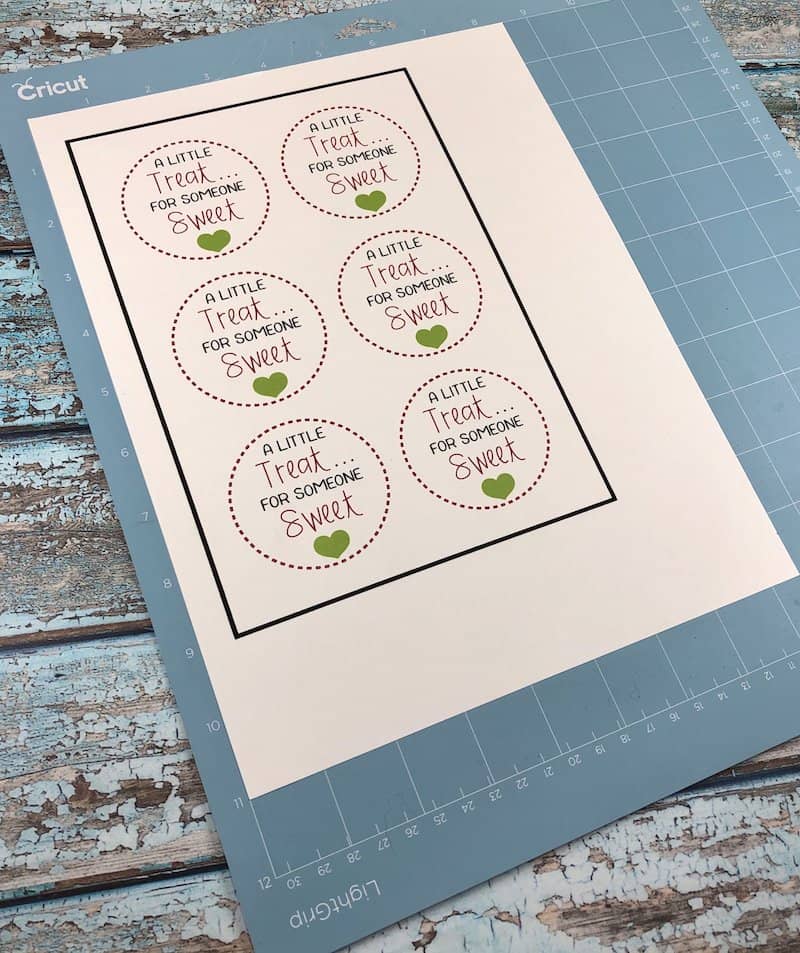
Put as many pages of thick white cardstock or paper into your printer as you need for your project and then click on MAKE IT. Cricut Design Space will send your Print and Cut Cricut file to your personal printer and then prompt you to place the paper on your cutting mat and load it in the printer. This part of the process also works exactly like a PNG or JPG file.
Bleed Marks or Colored Edges
If you are cutting a piece of word art or an image that has color all the way to the edge you might want to mark the BLEED option on your cut.
This will make the ink print “outside the lines”. Then when the Cricut cuts the image there will be some color left on the scrap paper and your cut out image will not have a white shadow or halo around it.
You can see the difference between a BLEED print and a regular print on this print out: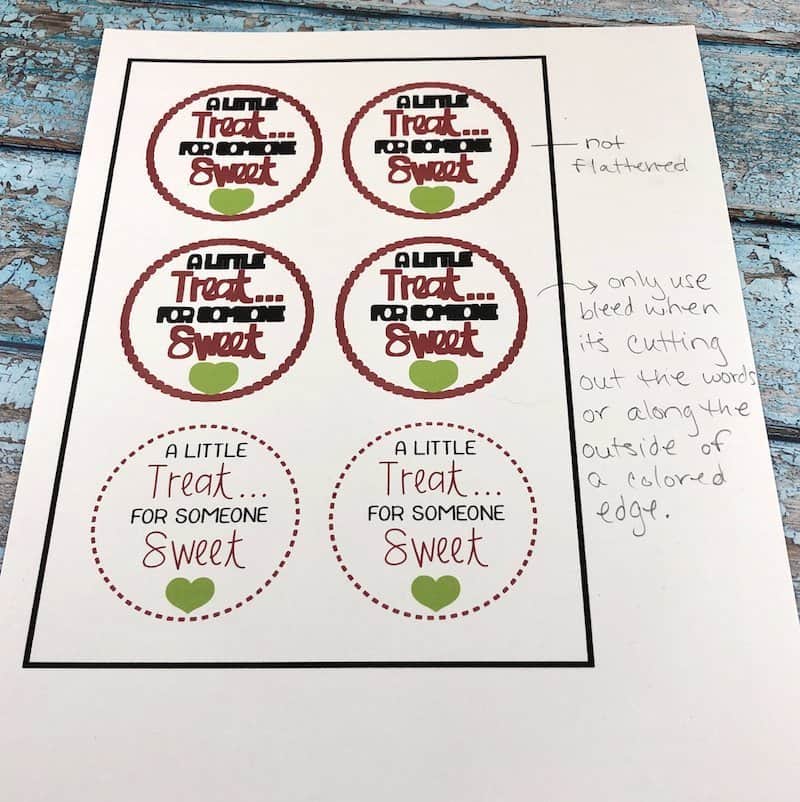
Cricut Hack for Color Paper
The Cricut Maker is the only machine that has an extra sensor when you print and cut. It can read your designs on some colored paper.
So how are you supposed to print on colored paper and have it cut?
There is a Cricut hack for that!
Print the design twice. Once on white paper and once on colored.
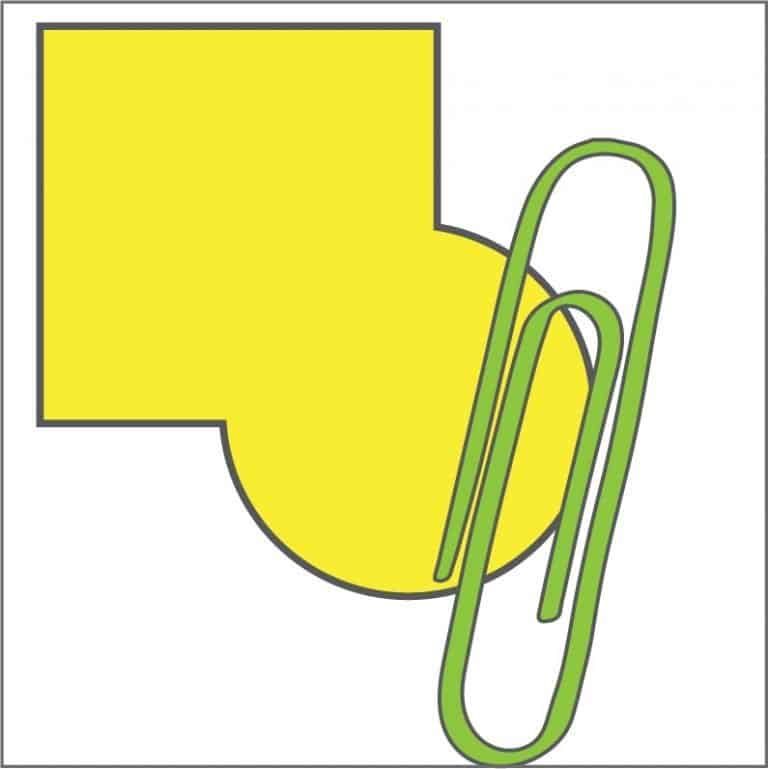
Trim your colored paper so it will fit onto the white paper within the black guidelines that the machine needs to see to cut.
Tape along the edges and then flip the paper over and trim away all the extra white. You only need to keep the guidelines. The idea is to uncover enough of the colored paper that your Cricut mat will be able to hold onto it while the machine does the cutting.
Once you have your guidelines (the white paper) attached to your colored paper you can place it on your cutting mat. It should be in the same position as your paper would be if it were only one solid color (you want to line up the print design before you trim the white paper).
The Cricut software is going to read the black lines and then assume that your print design is laid out just like it was when it printed the design.
This is definitely a hack and you may have to fiddle with it a little to get your process down.
NOTE: Looking for other Cricut Hacks that you can use to save money. Read this post!
Larger Than 6.25 x 9.5 Cricut Hack
Back before there was a Print and Cut Cricut feature I used to print and cut designs with my Silhouette. The way to do this is to get your design set in the cutting software and then get it set to the exact same size in a print program (Word, Photoshop or Illustrator work best).
Cut the design out using your Cricut. If your project has a PRINT section, turn that off by hiding it (click on the layer’s EYE).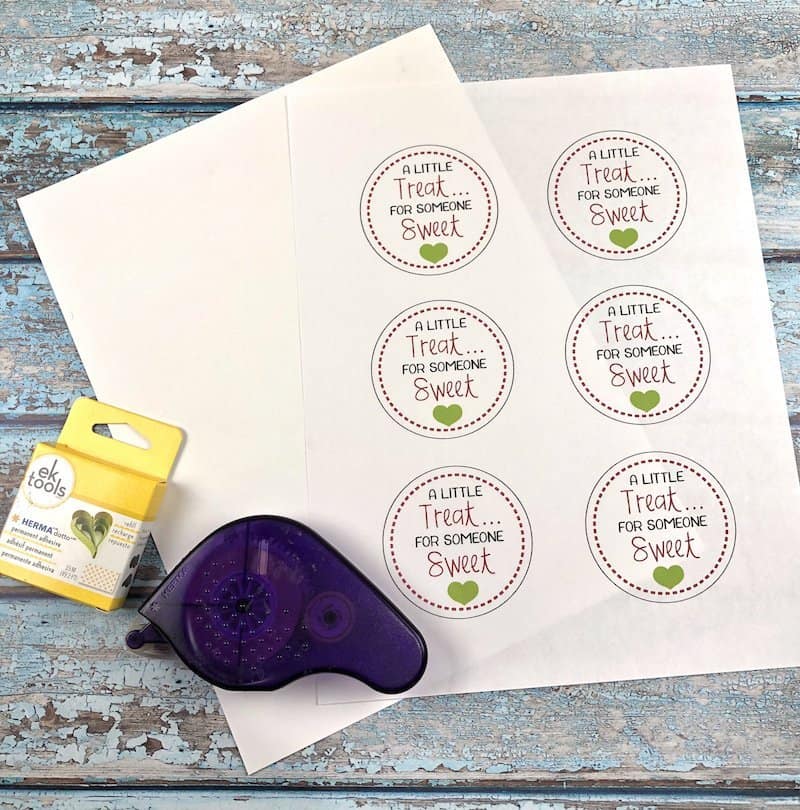
Once you have cut the design, move over to your print program and print out the design onto white copy paper.
Line up the cut paper from your Cricut over the top of the printed design on the copy paper. Use a removable adhesive to stick the cut design over the print design.
I use a removable dotted Herma Fix.
You can use tape, double sided tape, or anything else that you have that is strong but removable. You can even run a piece of tape along the top edge of the design (as long as you know you can remove it without destroying it!).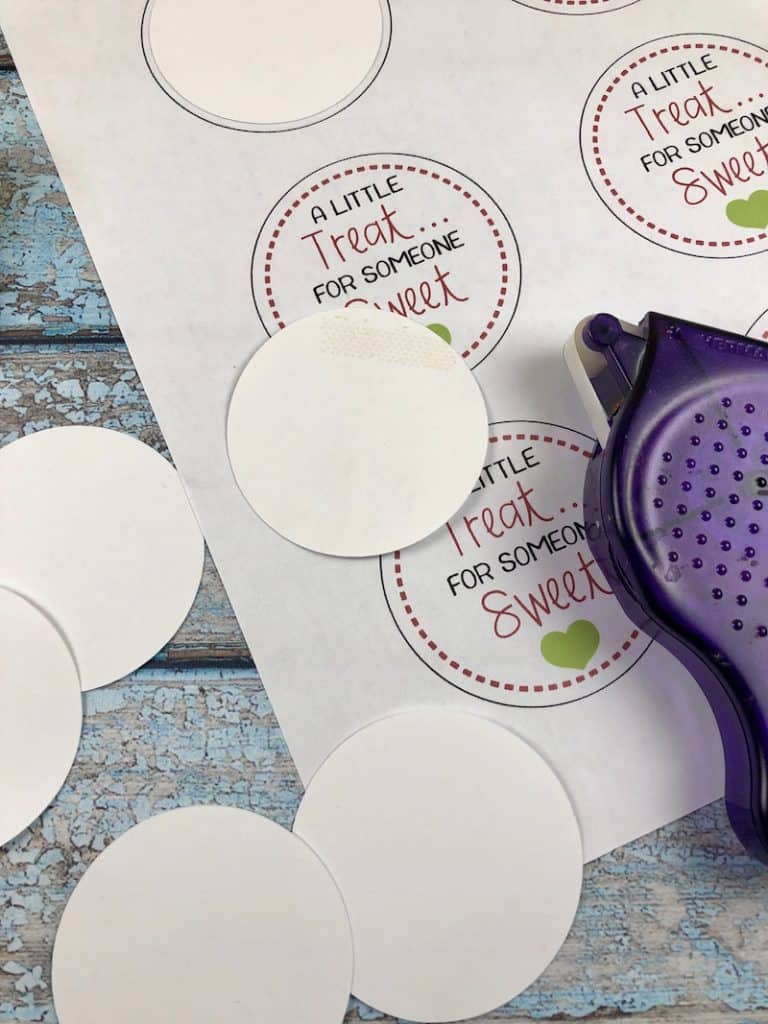
Once you have all the cut pieces adhered to the print paper you can run it through your printer again. Be sure you know which way your printer processes a piece of paper so you know which end to insert first.
It will print the design again, only this time it will print it on the cut paper that you have attached to the base page.
This is the best way to print and cut a design that is larger than what the Cricut will process (6.25 x 9.5 inches).
All the Ways to Use this Cricut Feature
This was a long post.
That was a TON of information to cover. Now it’s time for you to go and play. Make some tags, create a card, or make headings for a scrapbook page.
You now have all the tools you need to print and cut Cricut files and use them to make beautiful things. What are you going to work on first?
Make Your Own Planner Inserts
Now that you have the hang of the Print then Cut process, you can try making things besides tags. One of the ways I use my Cricut the most is to make accessories and pages for my Happy Planner.
It is a very easy process to print and cut planner inserts for your planner or bullet journal. Habit trackers, week at a glance pages, birthday trackers, health trackers. You name it…you can make it.
Try this project next for some print and cut fun.
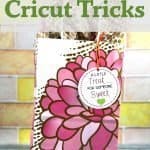
Using Your Cricut to Print and Fussy Cut
Print and cut is also a great way to use digital stamps for your cards and other papercraft projects.
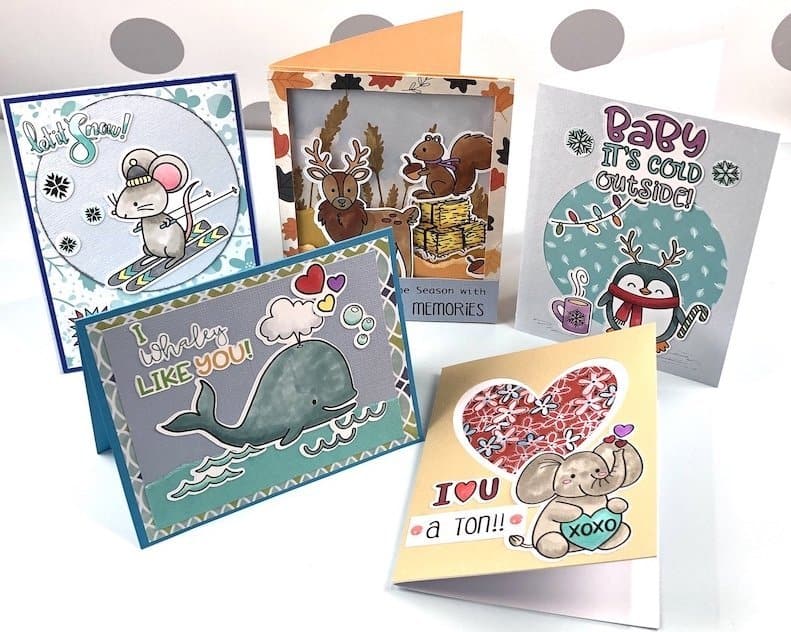
Any type of JPG or PNG file will upload to Cricut Design Space. But most of them need to be “cleaned up”. You could potentially spend hours getting the background removed and the cut lines just right.
I love coloring and I love using digital stamps because they can be resized and printed multiple times. It is a great way to get more out of your Cricut machine!
Cutting Stickers with a Cricut
There are some great sticker sets out there that work with your Cricut. If you love to use stickers with your papercrafts or in your planner, you can check out the ones in the shop.
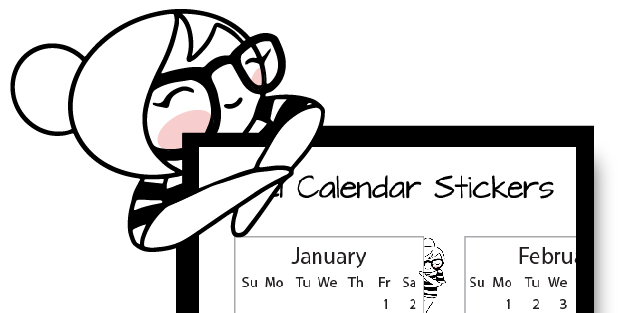
Keep in mind that changing the size to fit the “print area” will change the sizes of the boxes. Some stickers are great for cutting with a Cricut. Other are more of a pain in the rear (there are actually days that I despise my Cricut). Good ol’ scissors are a crafting girls best friend some days!

GIRL…I have been looking all over creation for a tutorial/blog post on this! “This feature is for you if you are a crafter who despises using scissors” FINALLY…apparently, that isn’t a very common feeling. I’ve printed this out with highlights, and I am not the type of person who prints out posts from the web…just saying.
Maybe you could help me with some confusion I’m having with Adobe Illustrator. I’m trying to make return address stickers for my wedding, and using adobe illustrator for the design/formatting the text, and cricut for the cutting. I’m basically going for something super similar to your round sticker example; so basically, text printed on a white background that will be cut to the label size. I understand how to make the text into a PNG or SVG, but I’m wondering if one or the other turns out better if it’s going to be flattened onto a white background in the end?
Also, I saw your “a little treat” file already had the background with the image, was that created in Illustrator? I haven’t been able to figure out how to bring over that part into design space with the text image (the white circle you attached the ‘image’ to). I don’t know if that makes sense—I apologize for asking so many questions.
I appreciate any feedback, and THANK YOU for laying all this out! You’ve already helped me so much.
I’m so so happy that you found my post useful Vivian!
To make your return address stickers, I would tackle it with a few specific steps.
Make your label shapes on one layer. You can lock this while you work on text so you don’t get different elements mixed up.
Then make your text on a 2nd layer.
Type the text and then rasterize it so that it’s no longer an SVG (It will be a PNG). You want it this way because it no longer contains anchor points or the mathematical path that the Cricut will follow to cut out objects.
I did create the “Little Treat” in Illustrator. I took a circle design in Illustrator and I left it as a vector element. Then I added the text and rasterized it. Next, save the file as an SVG.
You could do a whole sheet of labels with the label shape on the one layer and then all the addresses on the 2nd layer.
Hope that all makes sense. If you have any other questions, I’m happy to help!
Rhoda
Thank you for this tutorial! I will be making decorative tags for 90 jars of peach preserves for my husband’s convention! I knew there had to be a way to do it in my Cricut!
I’ll test it out before cutting on my special paper! Fingers crossed!
That is a lot of peach preserves (sounds yummy)! You most definitely can do it with your Cricut. Just take your time and be methodical. They will turn out 🙂
Best of luck!!
Rhoda
Bonjour
J’essaie d’imprimer sur une feuille adhésion autocollente qui est déjà découpé soit en rond soit en rectangulaire mais je n’arrive jamais à imprimer dans le bon emplacement (ça dépasse les formes)
Avez vous une astuce qui pourrait m’aider svp ?
I would print your designs on regular paper first. Then tape your sticker paper over the design on the printer paper (line everything up and use a strip of tape along the top edge of your sticker paper). Run it through the printer again. I do this all the time with smaller scraps that I want to print on, scrapbook paper, and sticky notes.
Hope that helps 🙂
Rhoda
Hello!
I am looking to print on an 110 lb inkjet printer to use the print and cut capability on my cricut maker, but have been unsuccessful finding a reasonable priced printer. Could you please share a model that you recommend??
Thank you!
Hello Amina,
I bought an HP Insta Ink printer (around $50) that I use to print on cardstock. Then I run the cardstock through my Cricut. It works really well and the Insta Ink is a huge bonus. Especially when I am printing centers for the classroom!
Rhoda
This was very helpful! But any idea why my printer won’t print in color when using the print then cut feature? The printer itself can and does print in color any other time except when I’m using the print then cut feature and I cannot figure it out for the life of me. For instance, if I upload an image from the internet and go through all of the steps listed above, it is in color when I’m on the “Print” screen, but when it comes out of the printer it’s grayscale. However if I click on the same image while on Google Chrome and click print straight from the browser it prints it in color. I’m at a loss, figured I’d try asking on here. Thanks!
Hello Marley,
The only thing that I can think is that there might be a setting in Cricut Design or on the print screen that is marked “greyscale or black and white”. I’ve never seen this issue before and don’t have a specific solution for you. Sorry 🙂
Rhoda